
DIY halloween projects
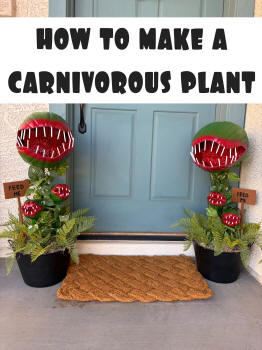
Audrey 2: man-eating piranha plants
This post may contain affiliate links.
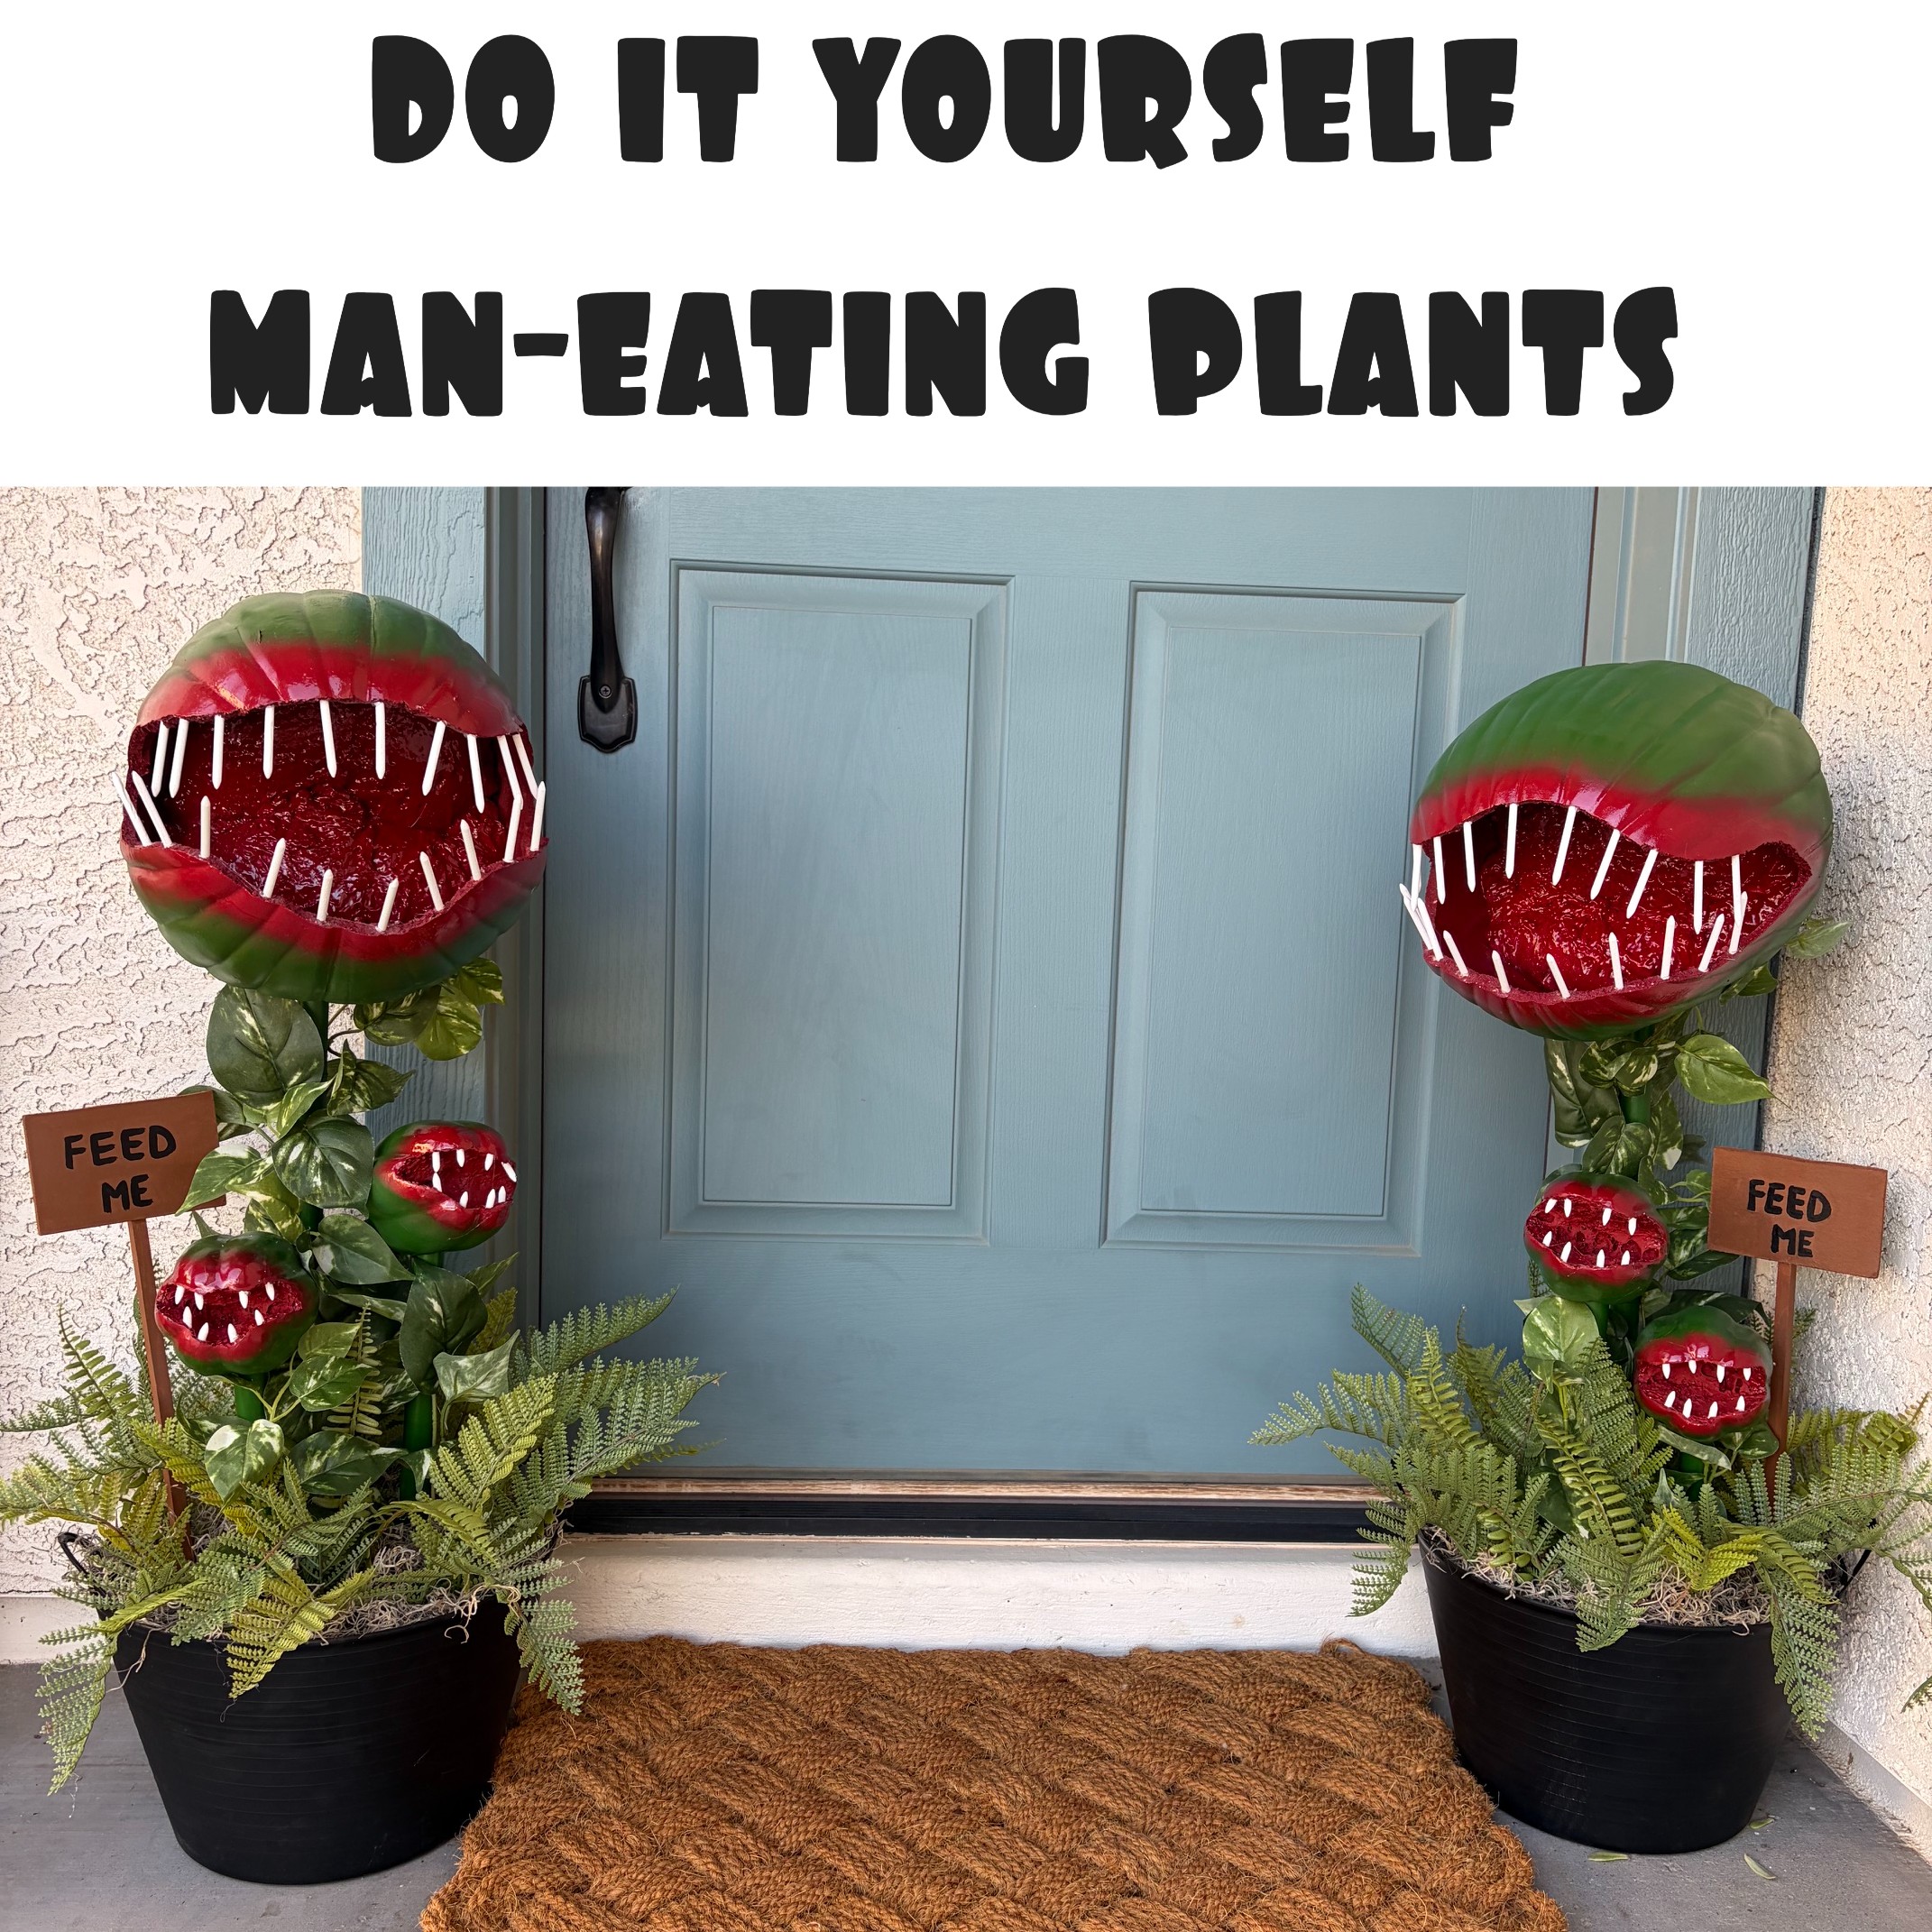
I was really wanting to do something different for halloween this year. I'm not blood and guts type person and wanted something more cute and fun for my porch. This Audrey 2 from Little Shop of Horrors turned out to be exactly what I wanted!
What you will need to make 1 pot:
1 large foam pumpkin
2 small foam pumpkins
1/2" pvc pipe - approximately 5-6' total
1" pvc pipe - approximately 2' total
some fake plants
pack of golf tees
a pot or bucket
expanding foam
green and red paint
scrap wood or cardboard for the sign
wire cutter to cut golf tees
drywall saw
dremel
hot glue gun and glue
I found my large foam carvable pumpkins at the thrift store, which is why they are funny colored as someone previously pained them. Start off by drawing on and then cutting out the mouths of your pumpkins. I used a drywall knife and it cut quite easily through the larger and smaller pumpkins. Then decide where you will put the pvc pipe through the pumpkin. Hold the pipe in place on the pumpkin and trace around the pipe so you know where to cut out. For the larger pumpkins I cut all the way through, but for the smaller pumpkins I only cut about 1/4" out of the pumpkin, just enough to fit the pipe into it so the hot glue will hold it in place.
.jpeg)
.jpeg)
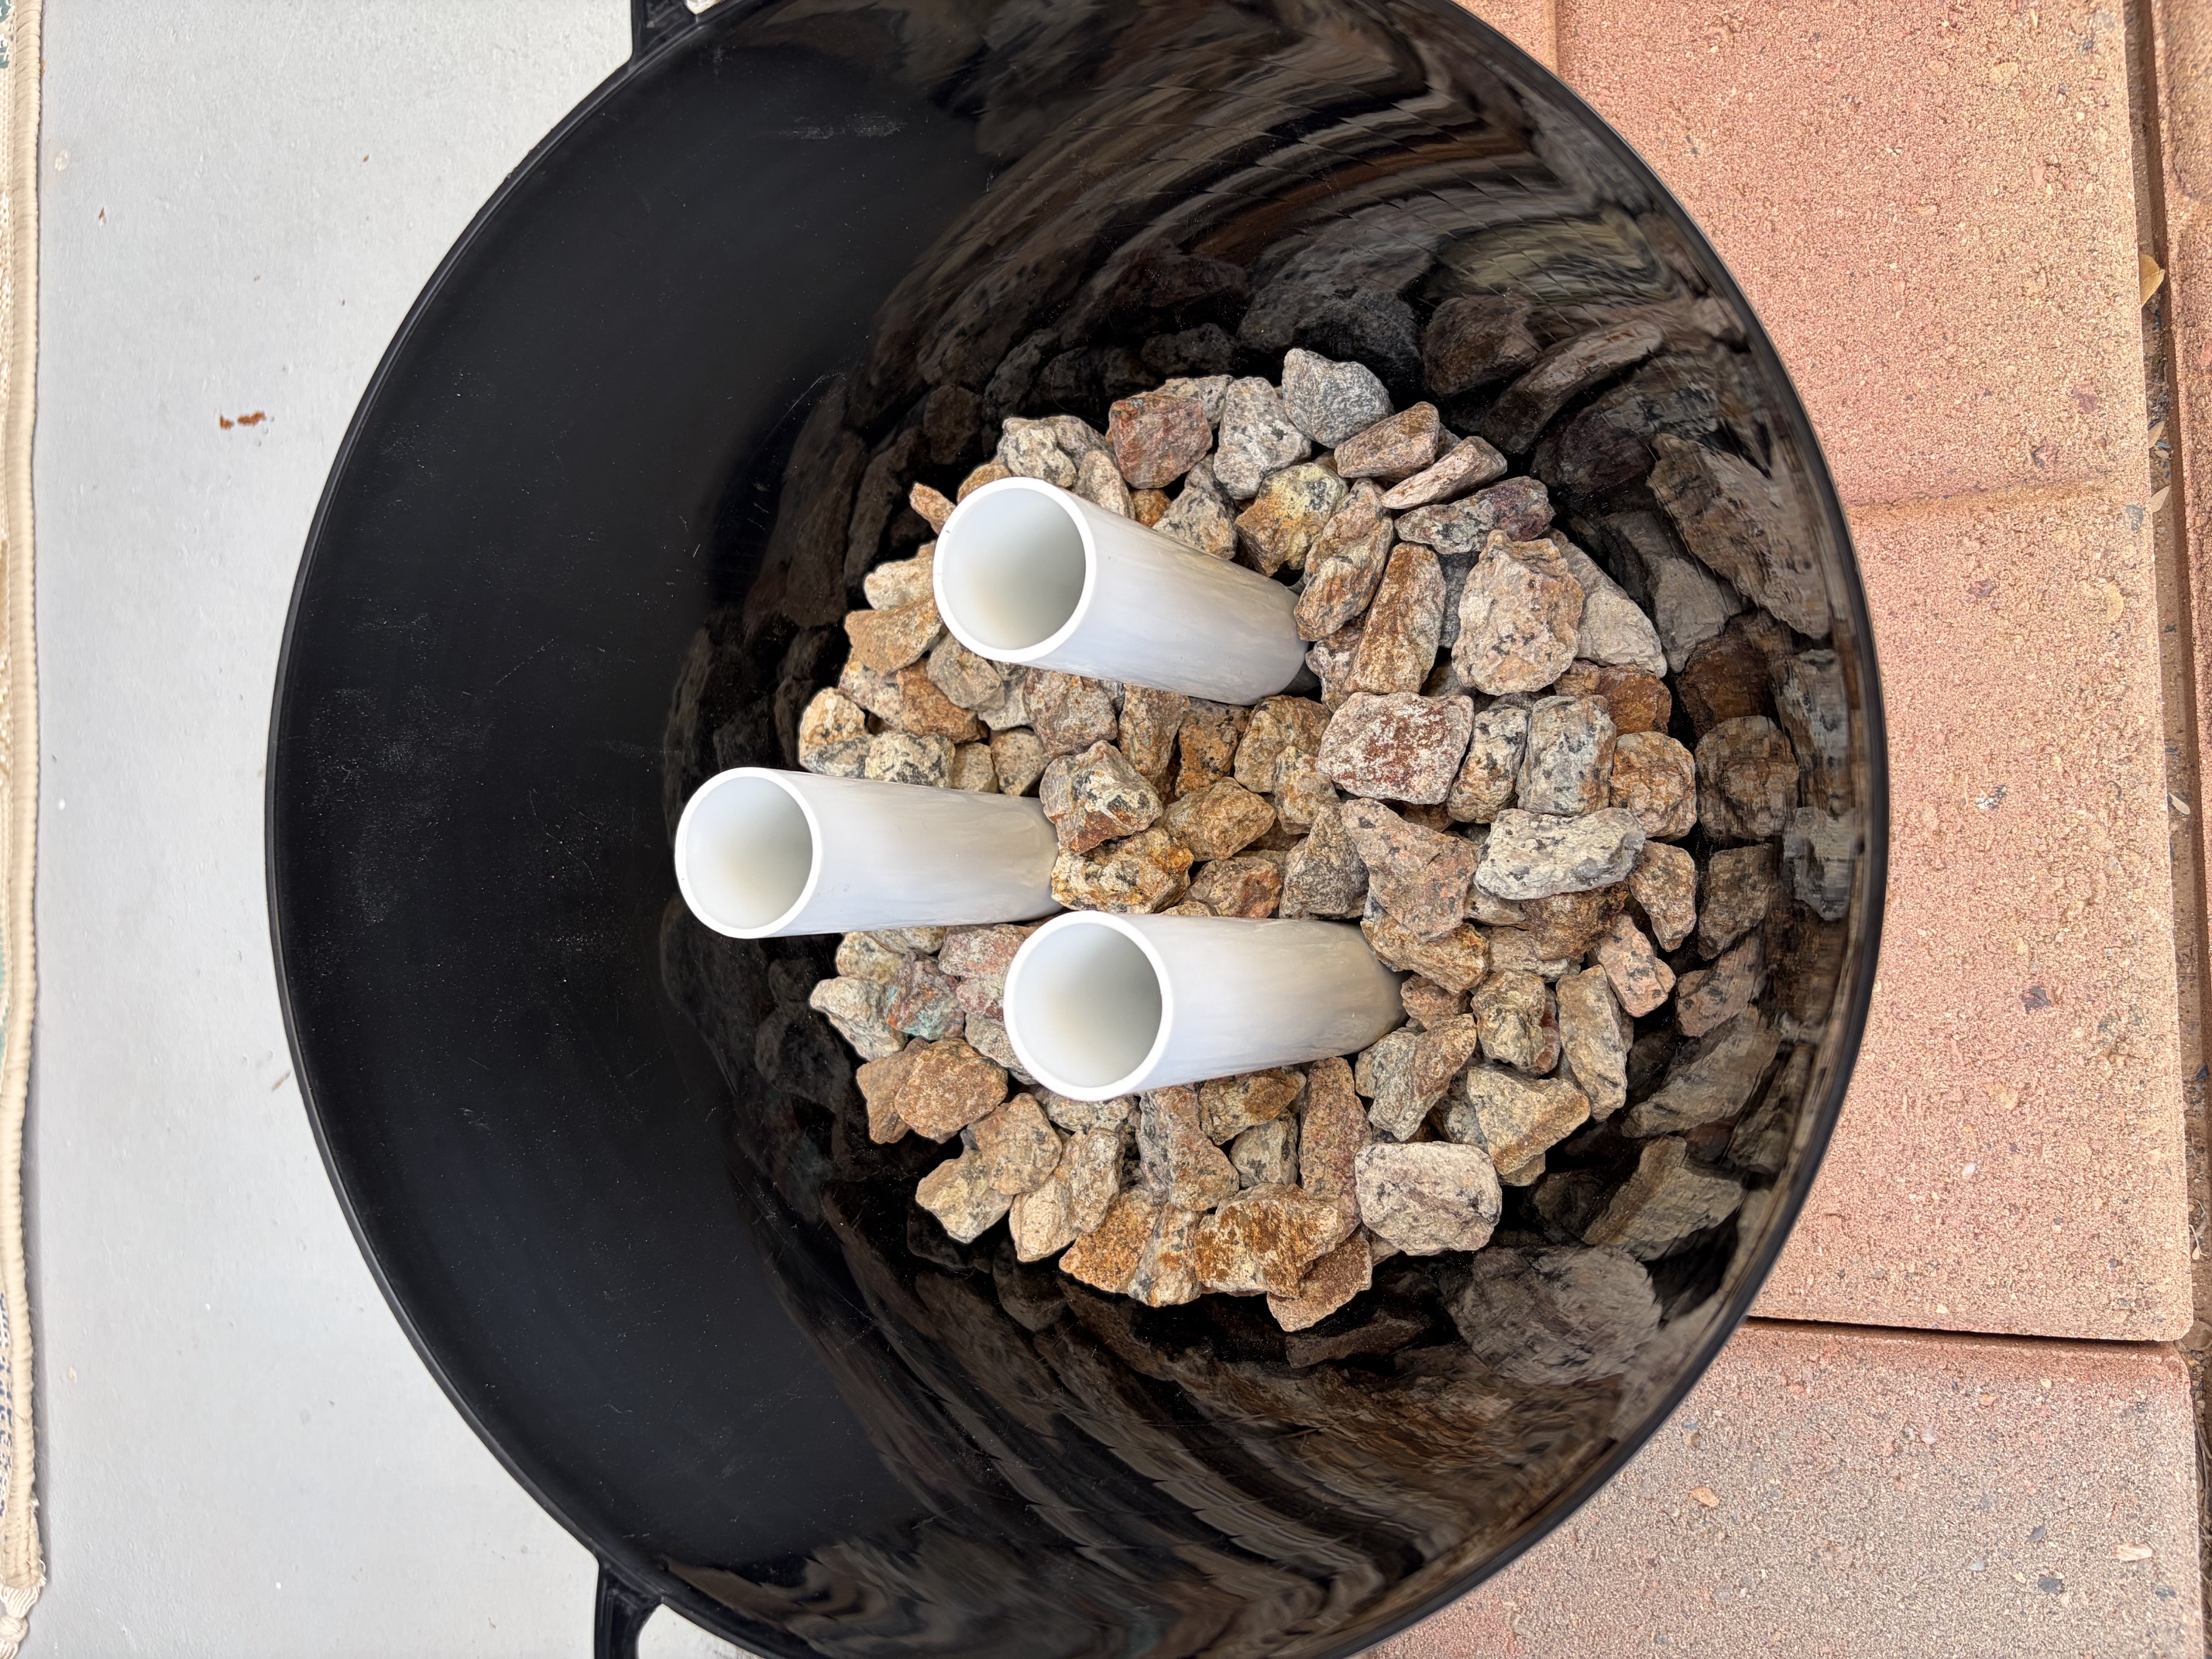
Assemble your bucket/pot next. I used some rocks to add a little bit of weight to my pot. Then cut 3 pieces of the 1" pvc that will hold your 1/2" pvc pipes. I cut mine just a bit shorter than my pot at about 7" each. I used a bit of tape to hold them upright and then put some rocks around them.
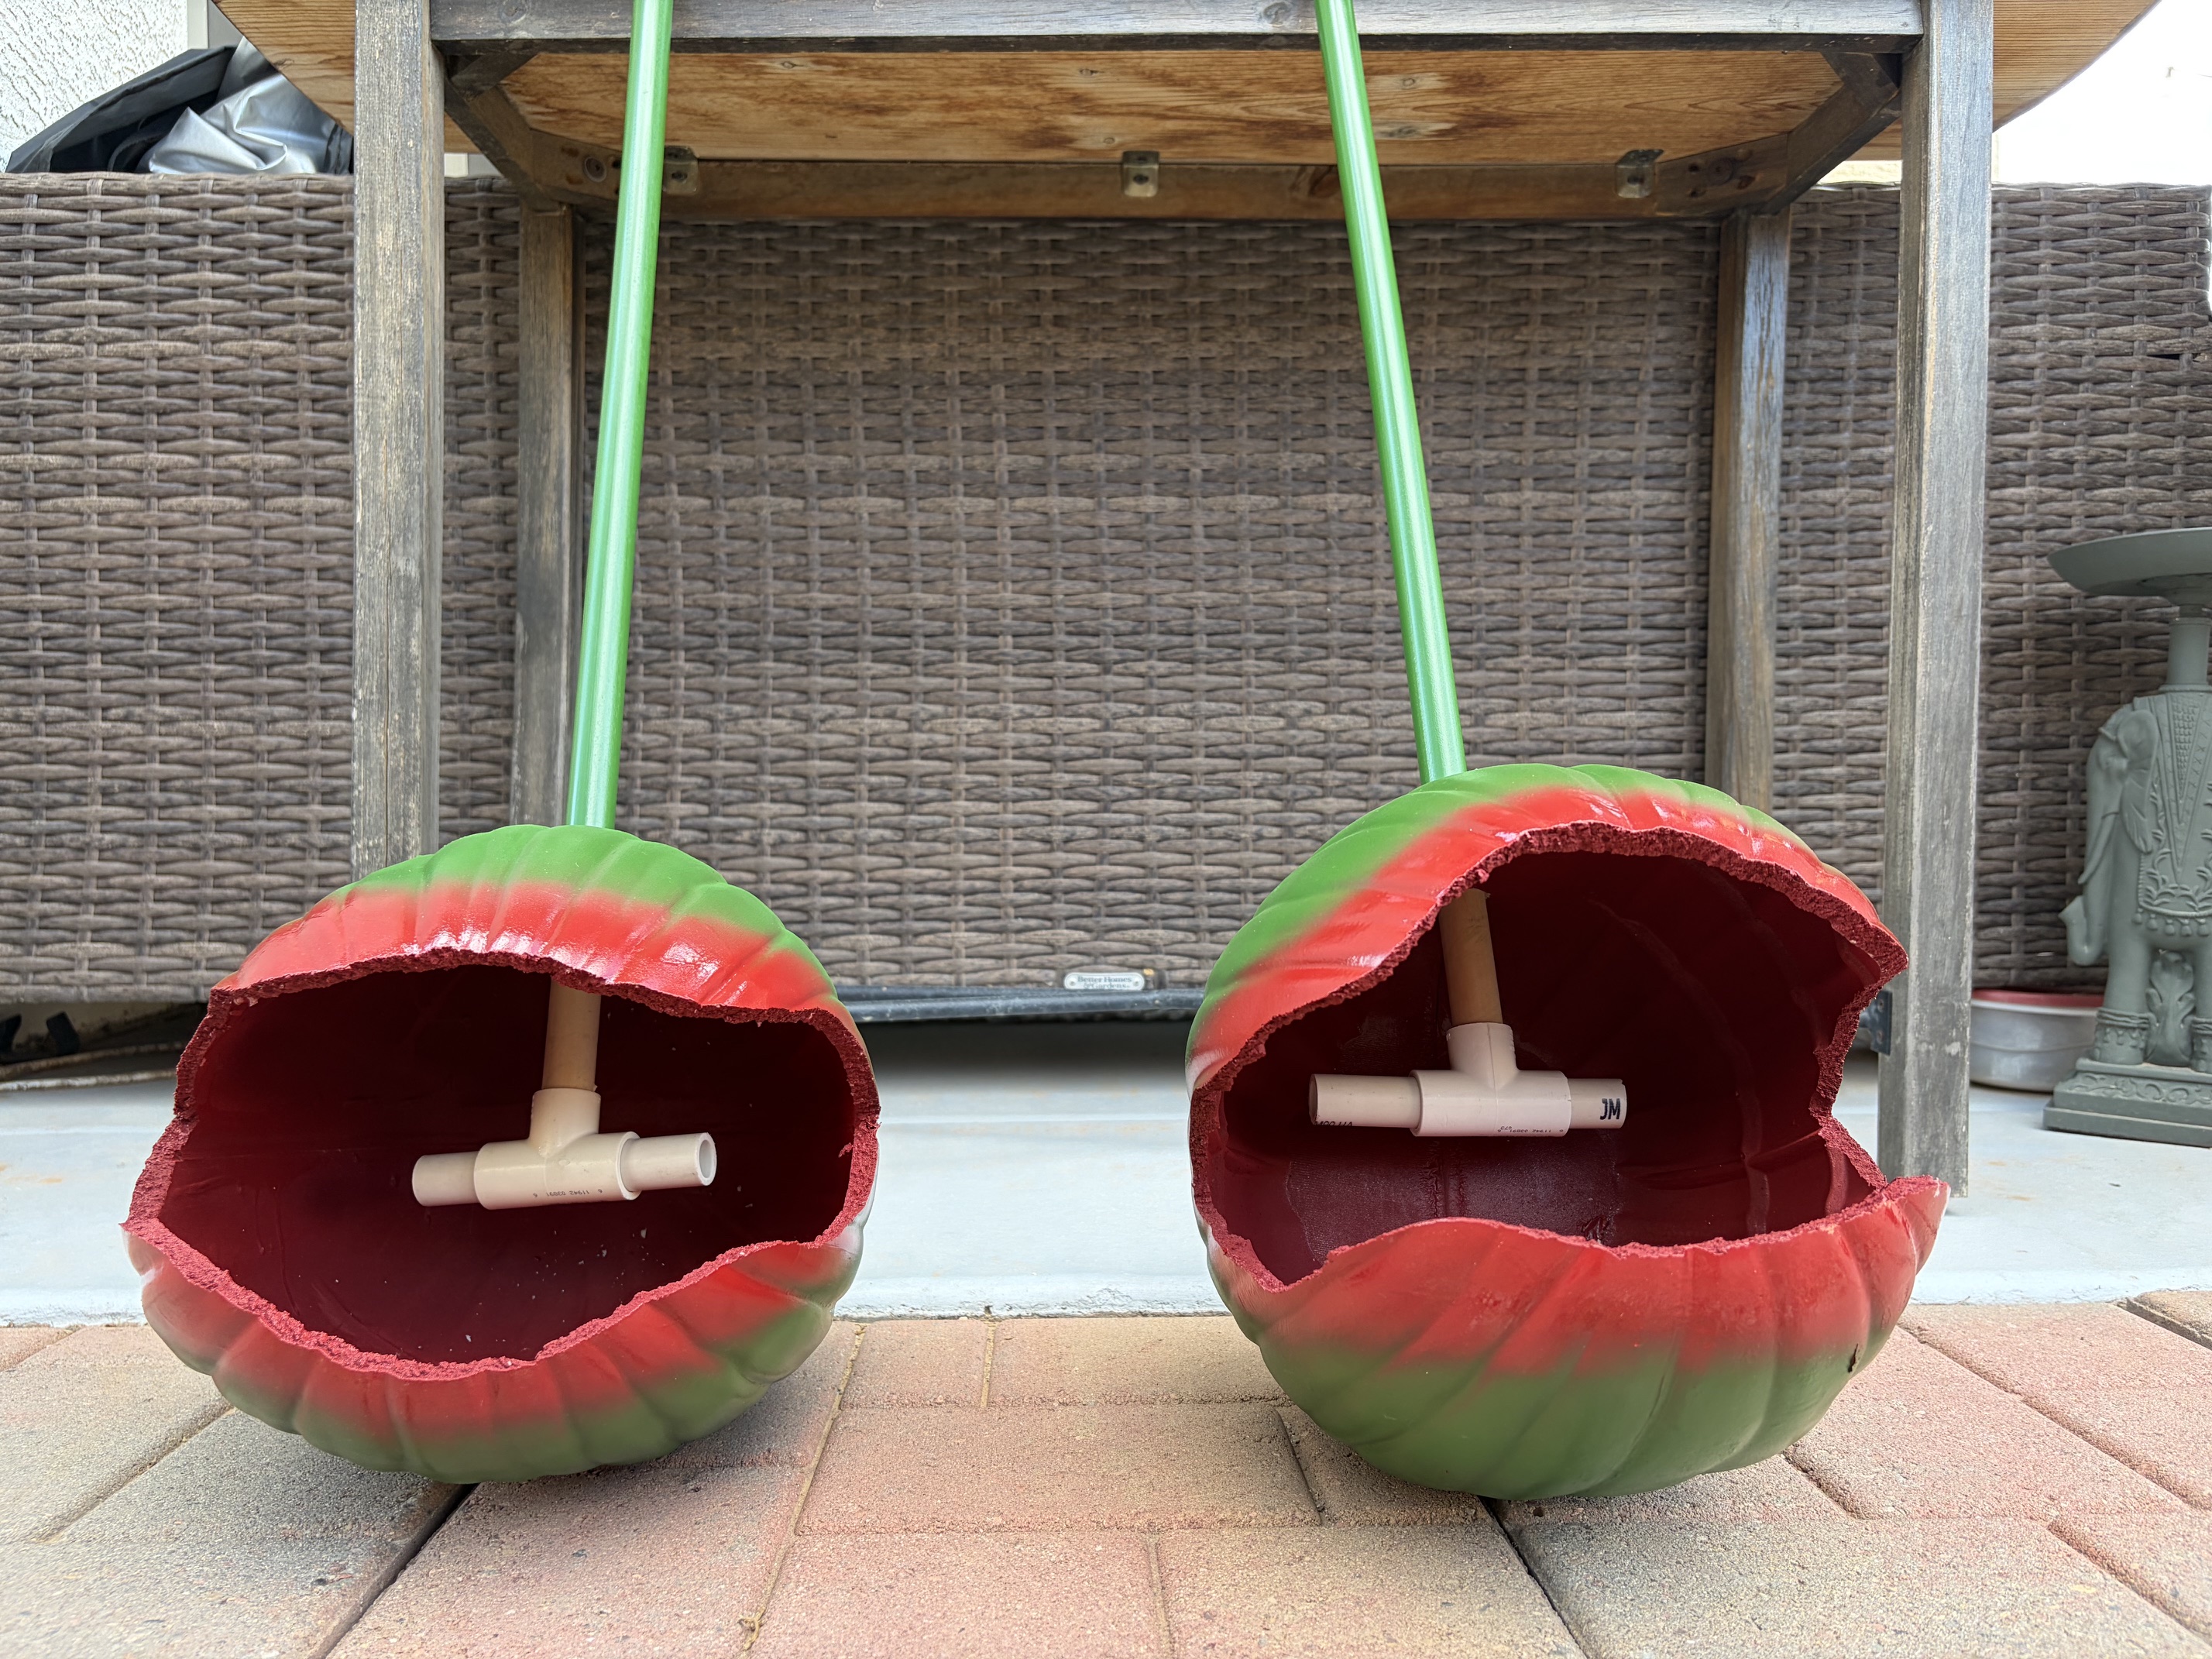
Next, I attached the 1/2" pvc pipe into the larger pumpkins mouth. I used a tee fitting because I thought it would help to brace it better and hold it into place within the expanding foam. You probably do not have to do this as the foam should hold it just fine once it's dry. Then push the pipe through the hole and into the large pumpkin and use your expanding foam to fill in the back of the mouth area completely covering the pipe. Try to spray the foam evenly into the back of the mouth so that when it dries and is painted it blends in and looks like a nasty mouthful of something! Use the expanding foam to also fill in your pot around the pvc pipes to help hold them in place and take up the extra space inside the pot. While the foam is drying, you can attach your pvc pipe to the smaller pumpkins. I filled the cut out hole with some hot glue and shoved the pipe into place.
.jpeg)
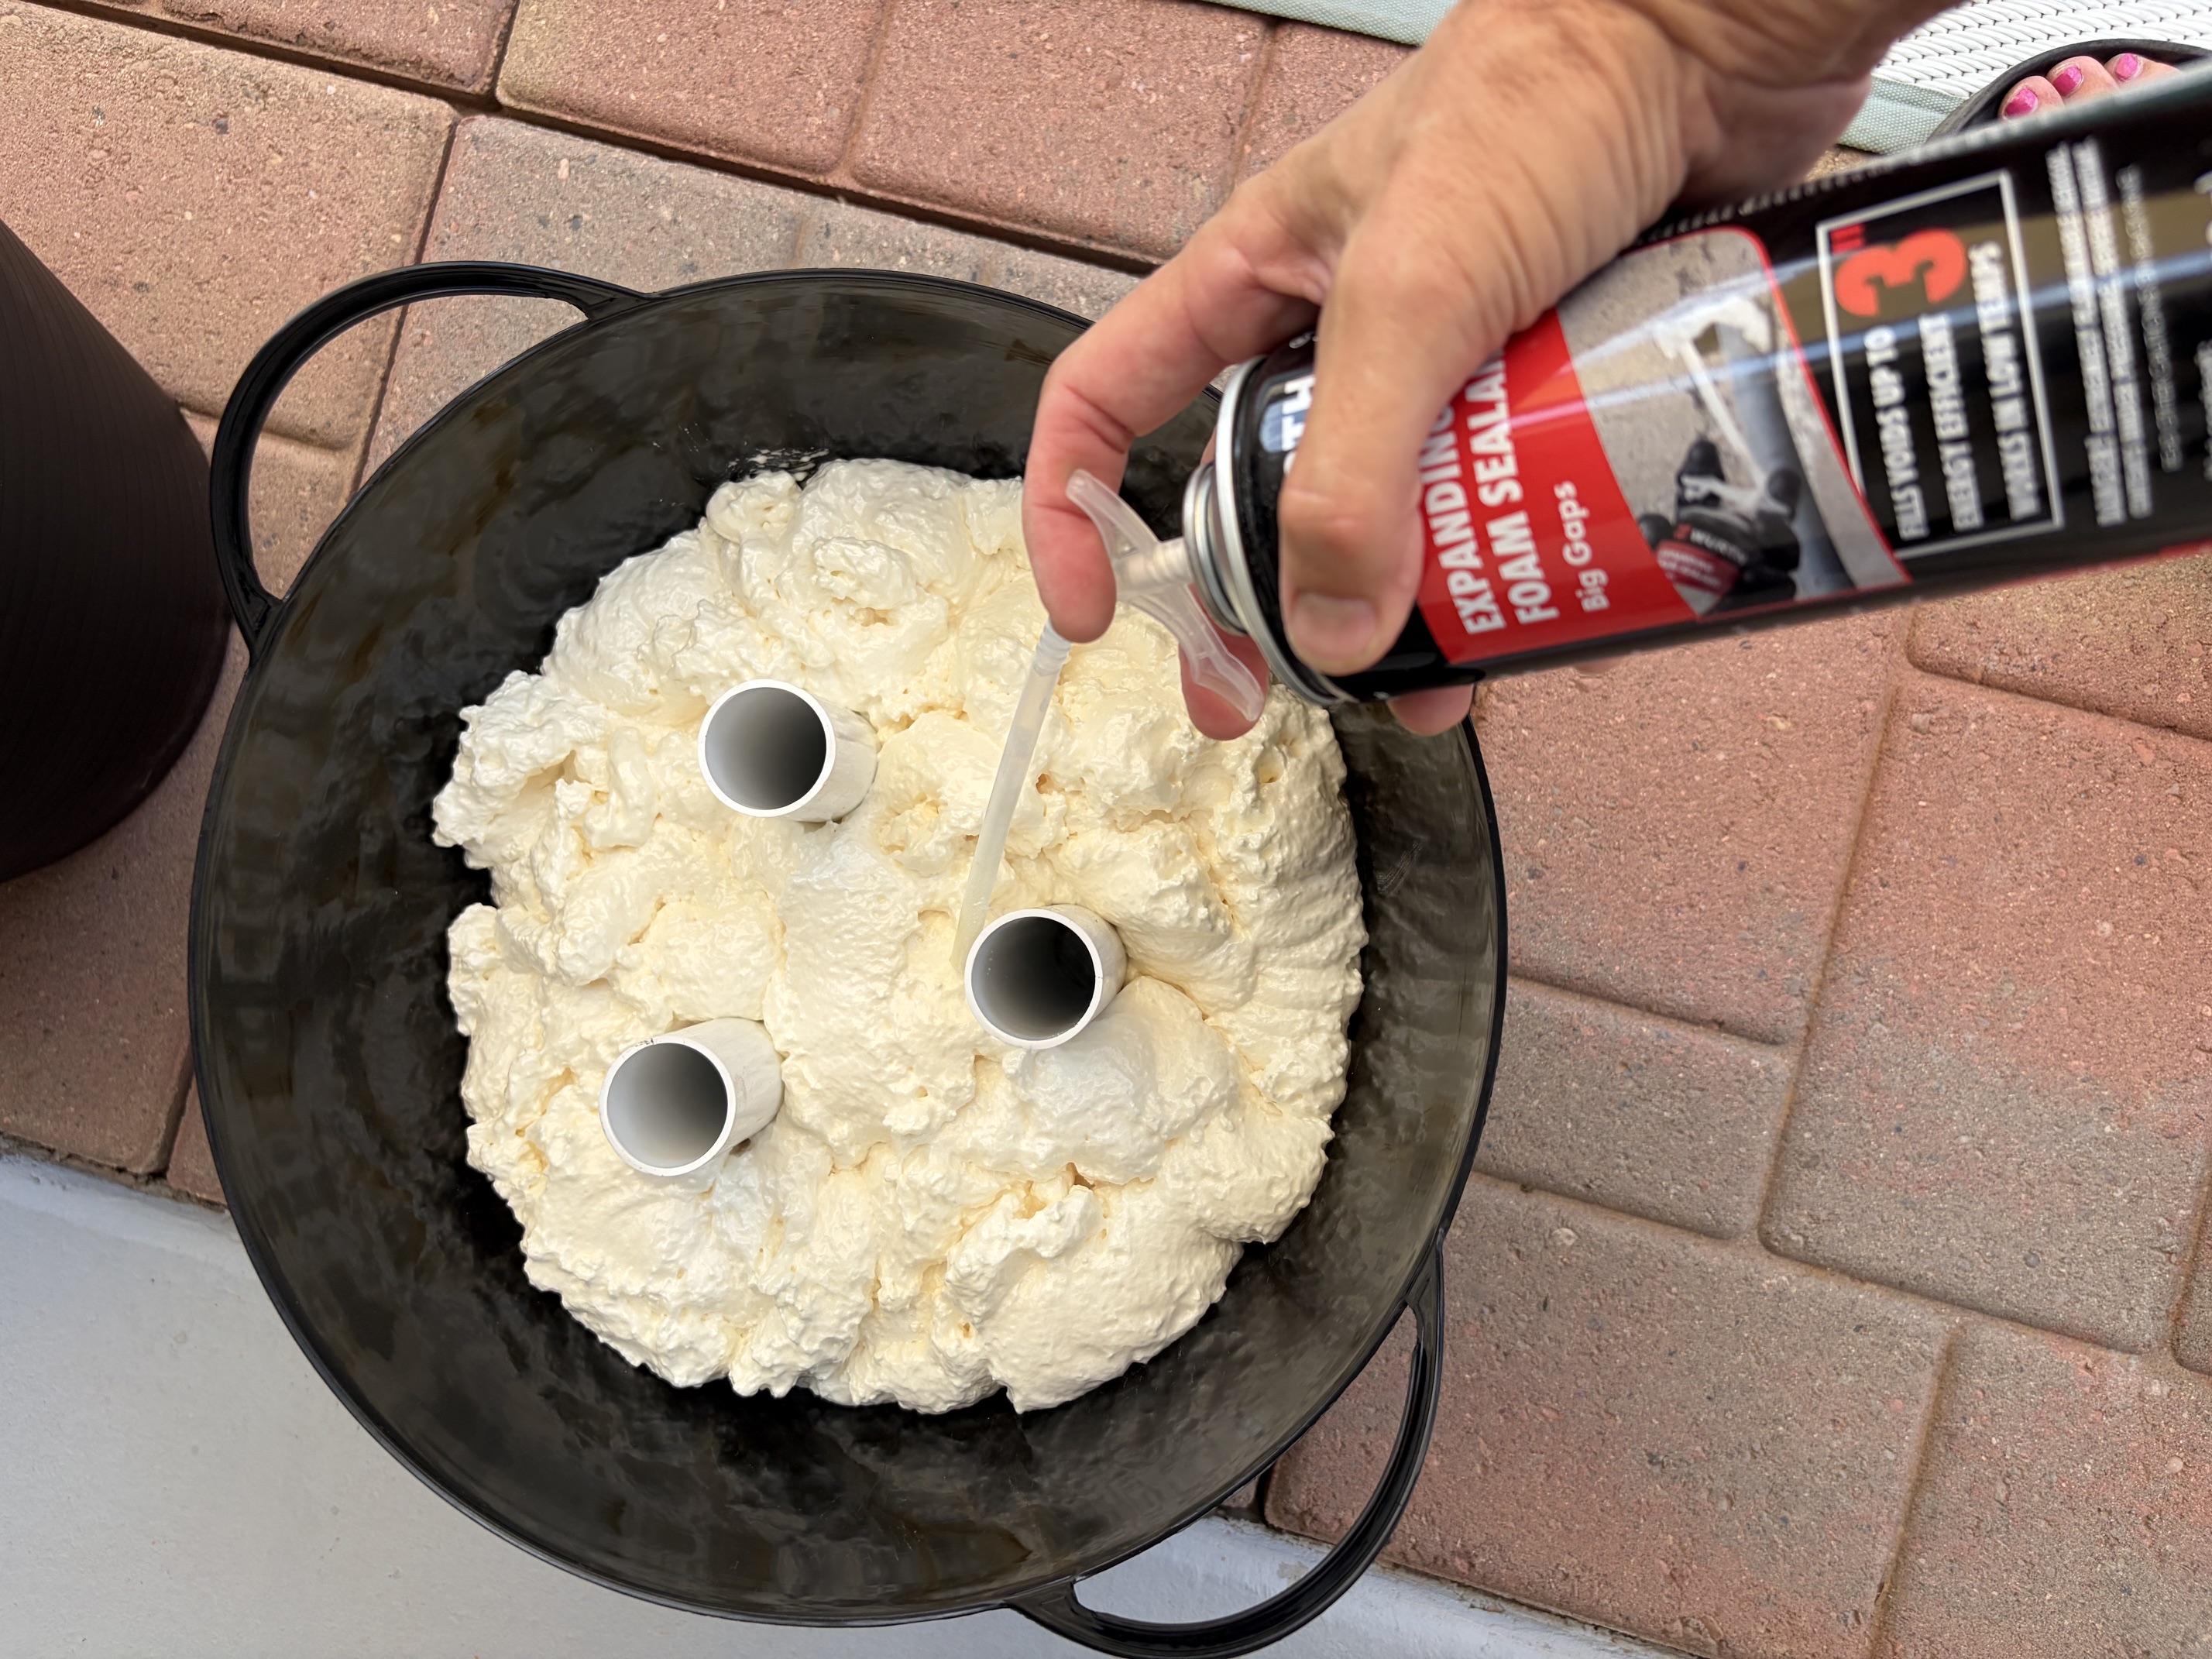
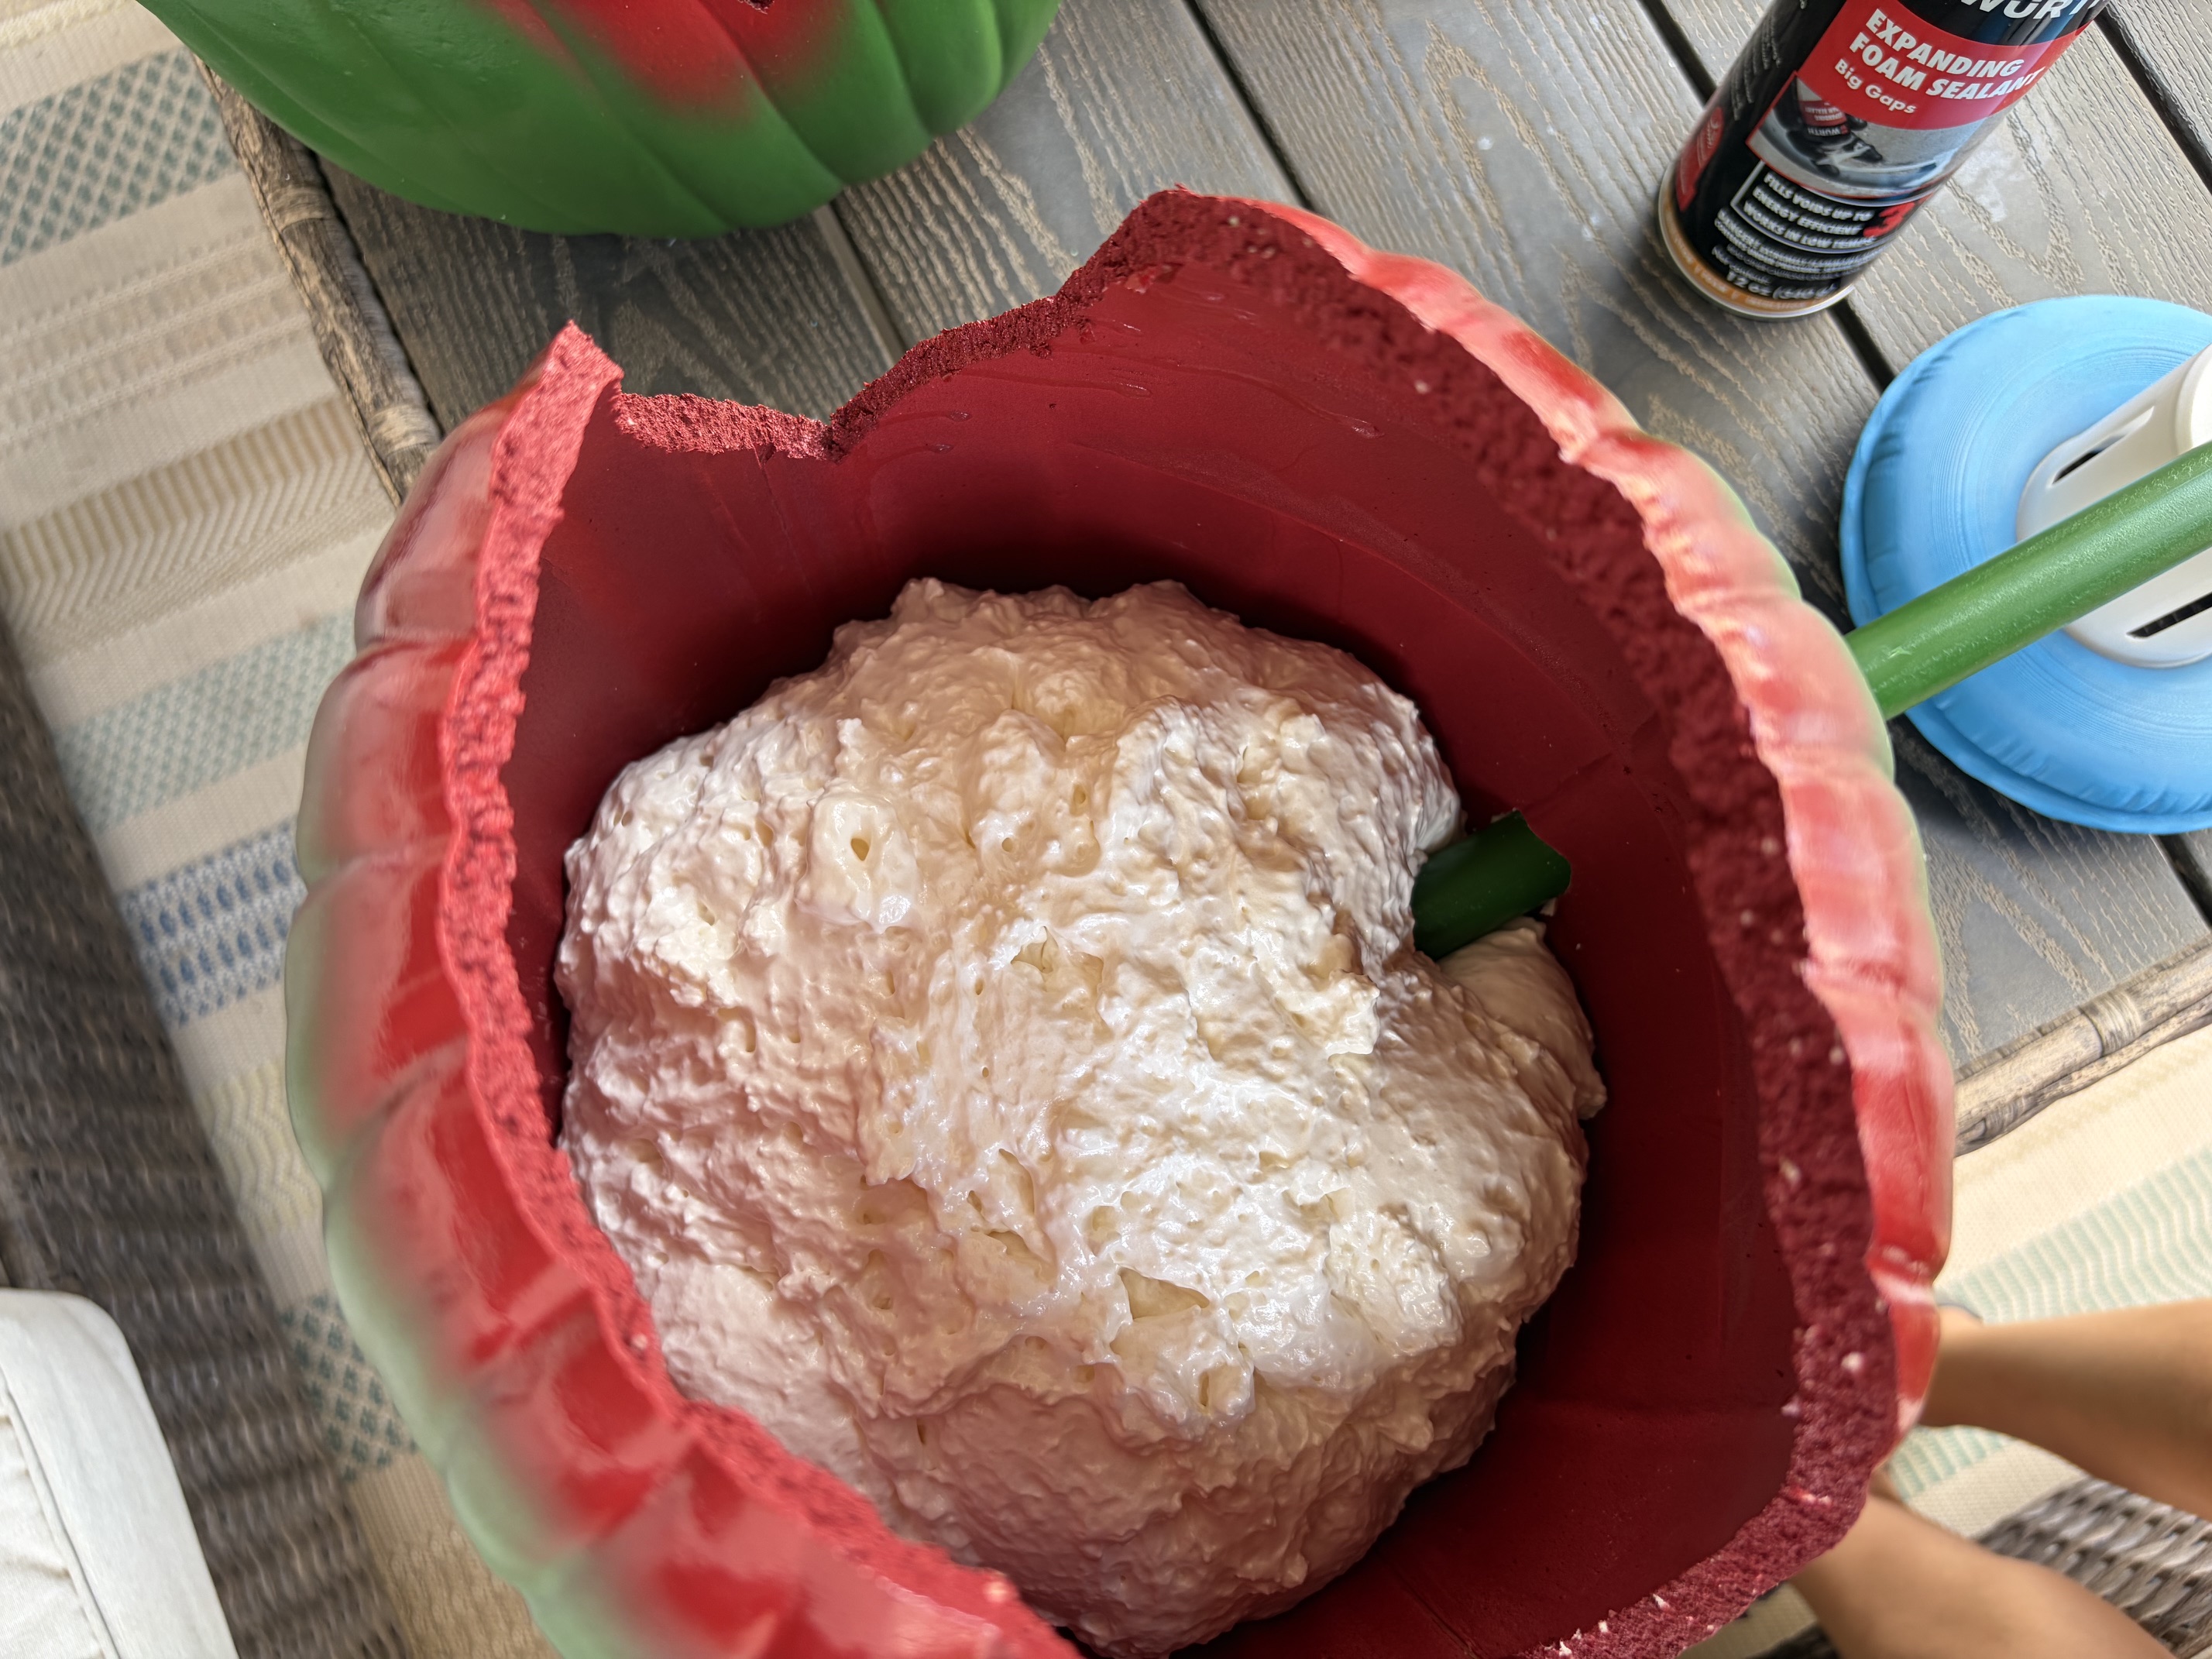
Once the foam and the glue is dry then it's time to paint. Paint the outside and inside of the pumpkins and the 1/2" pvc pipe stems as well. Don't forget to spray the foam in your pot as well to help disguise the foam in with the plants. You do not need to paint the bottom few inches as they will be sitting inside of the larger pipes and won't be visible.
diy projects
.jpeg)
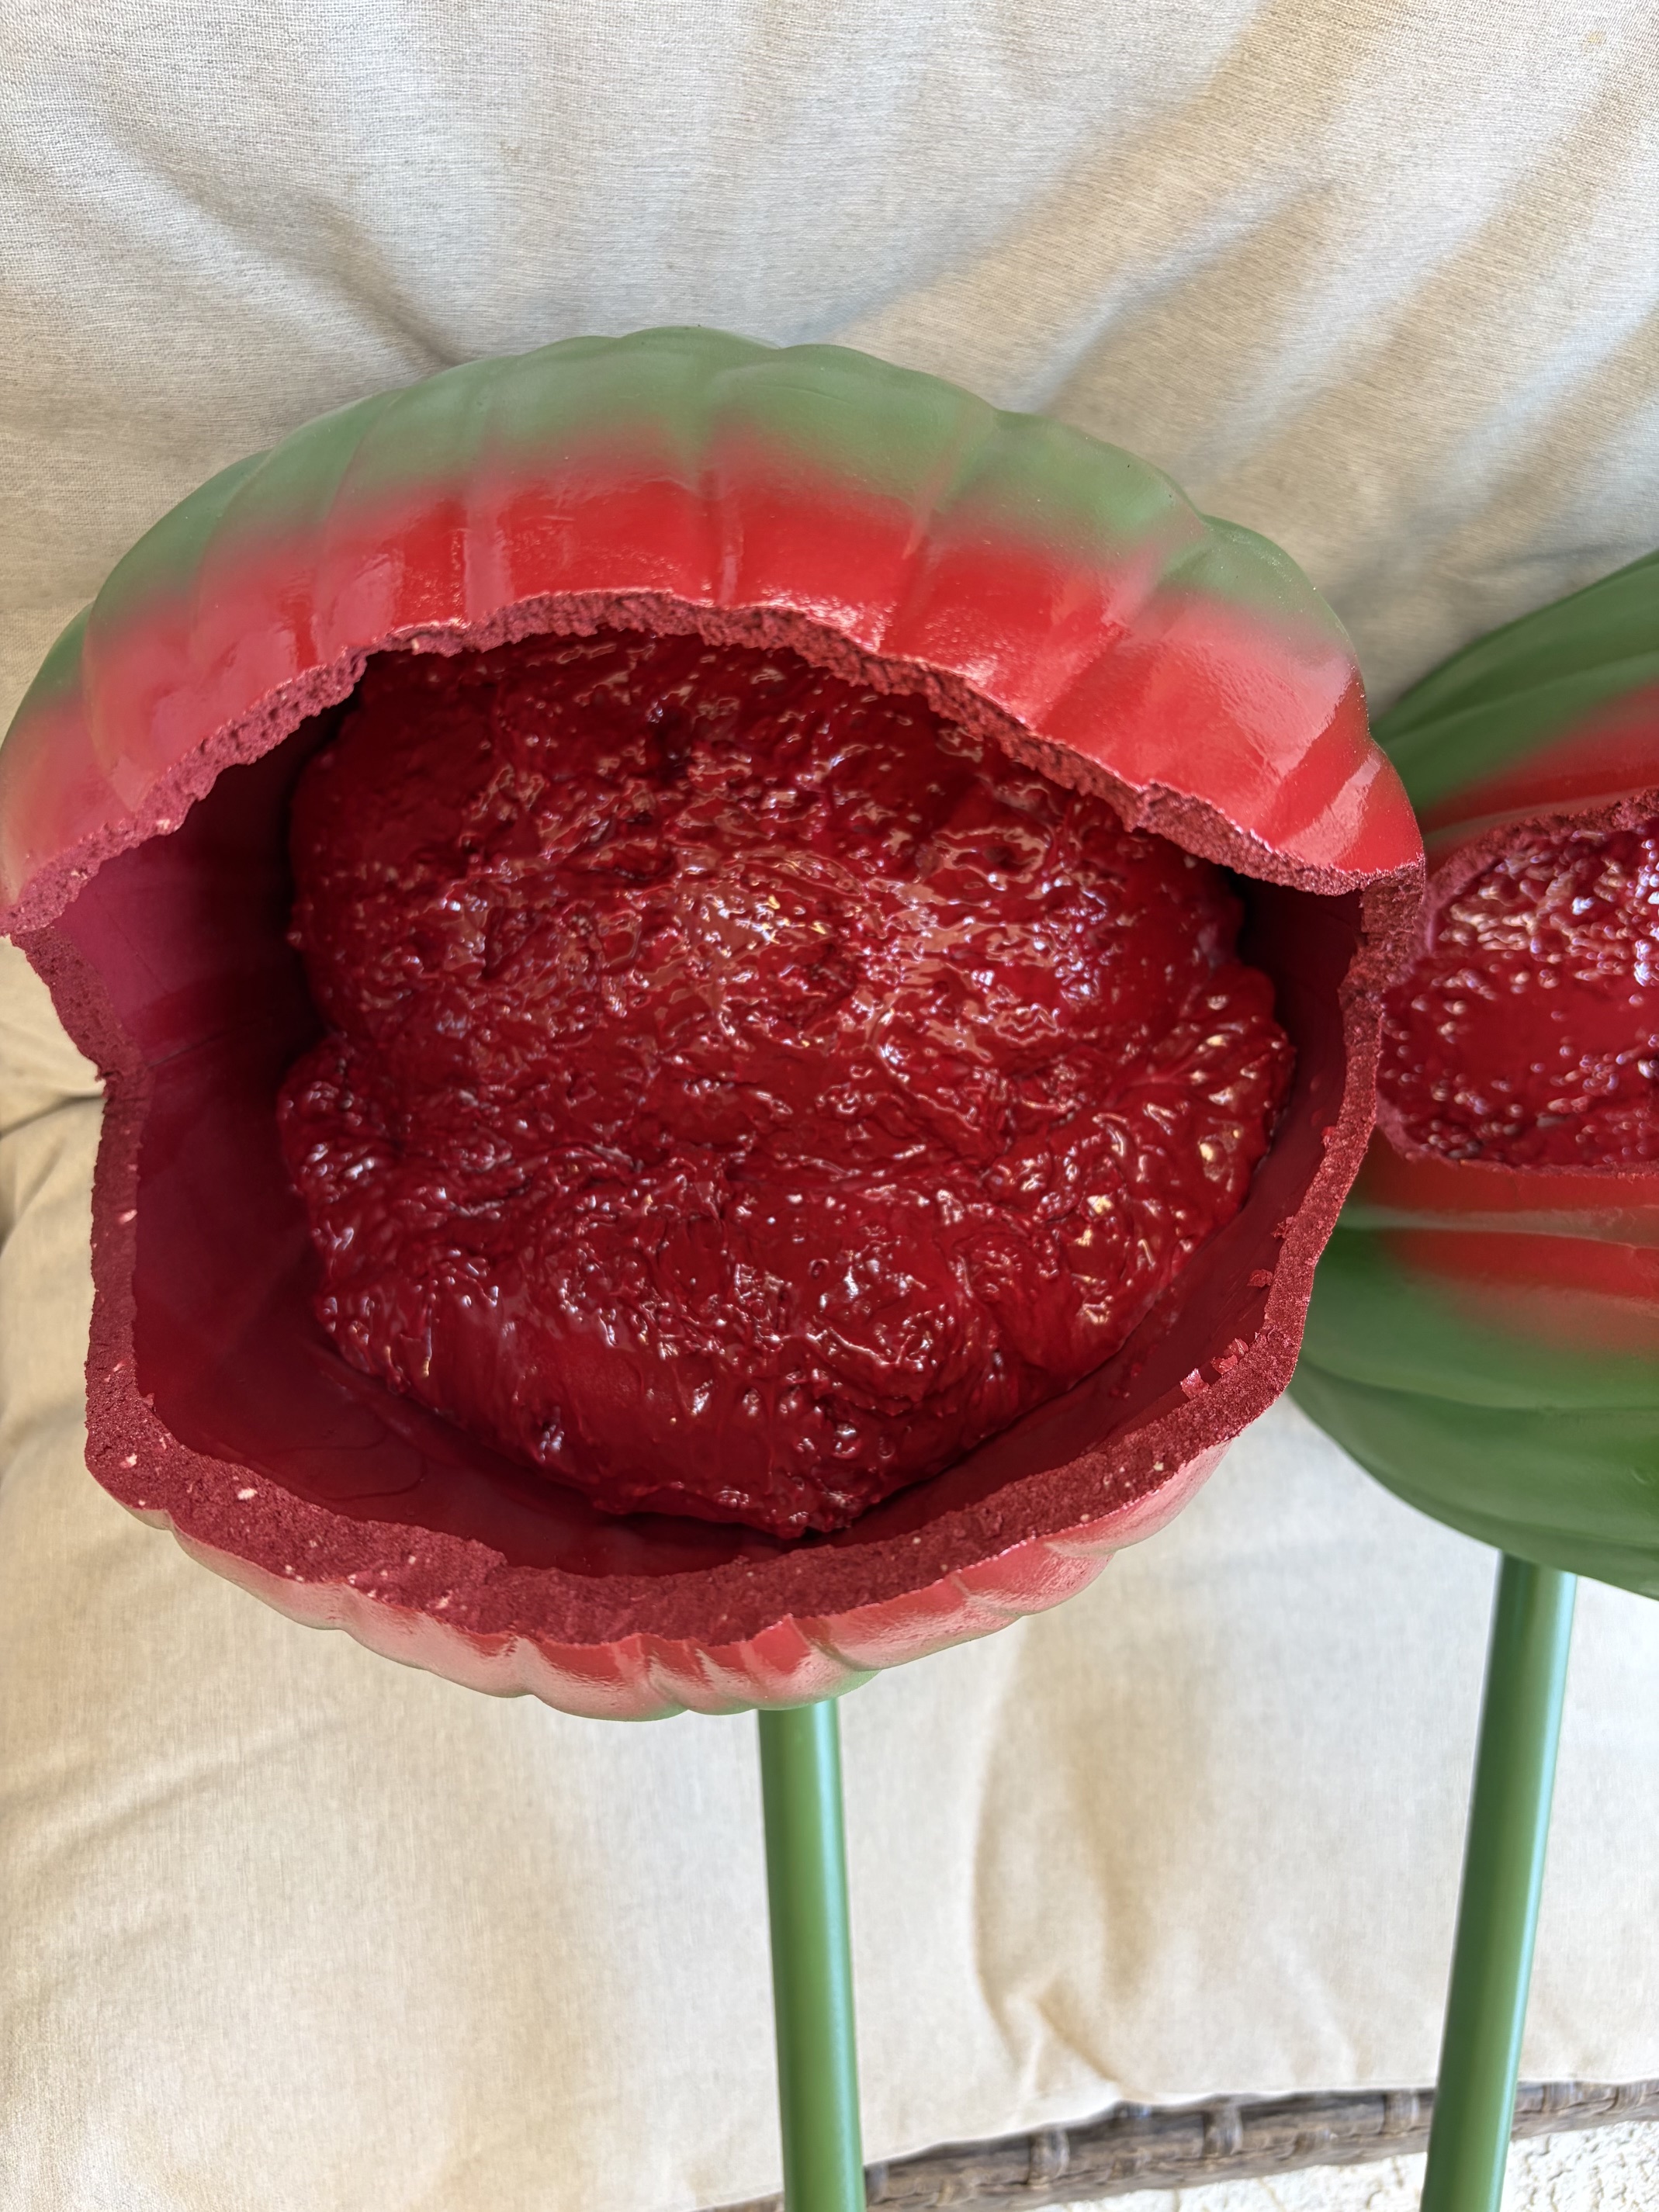
Once the paint has dried it's time to add the teeth. I used a wire cutter to cut the top of the tee off and then used my dremel to drill in about 1/16" of an inch into the foam of the pumpkins where I wanted the teeth to be. I added a little hot glue into the hole and then pushed the teeth into place. Once I had the teeth all done I started to poke my artificial stems into the foam in the pot to start filling that in. If they felt loose I used a bit of hot glue to hold them in place as well. I also added some artificial moss to make the pot look full and completely covered with plants.
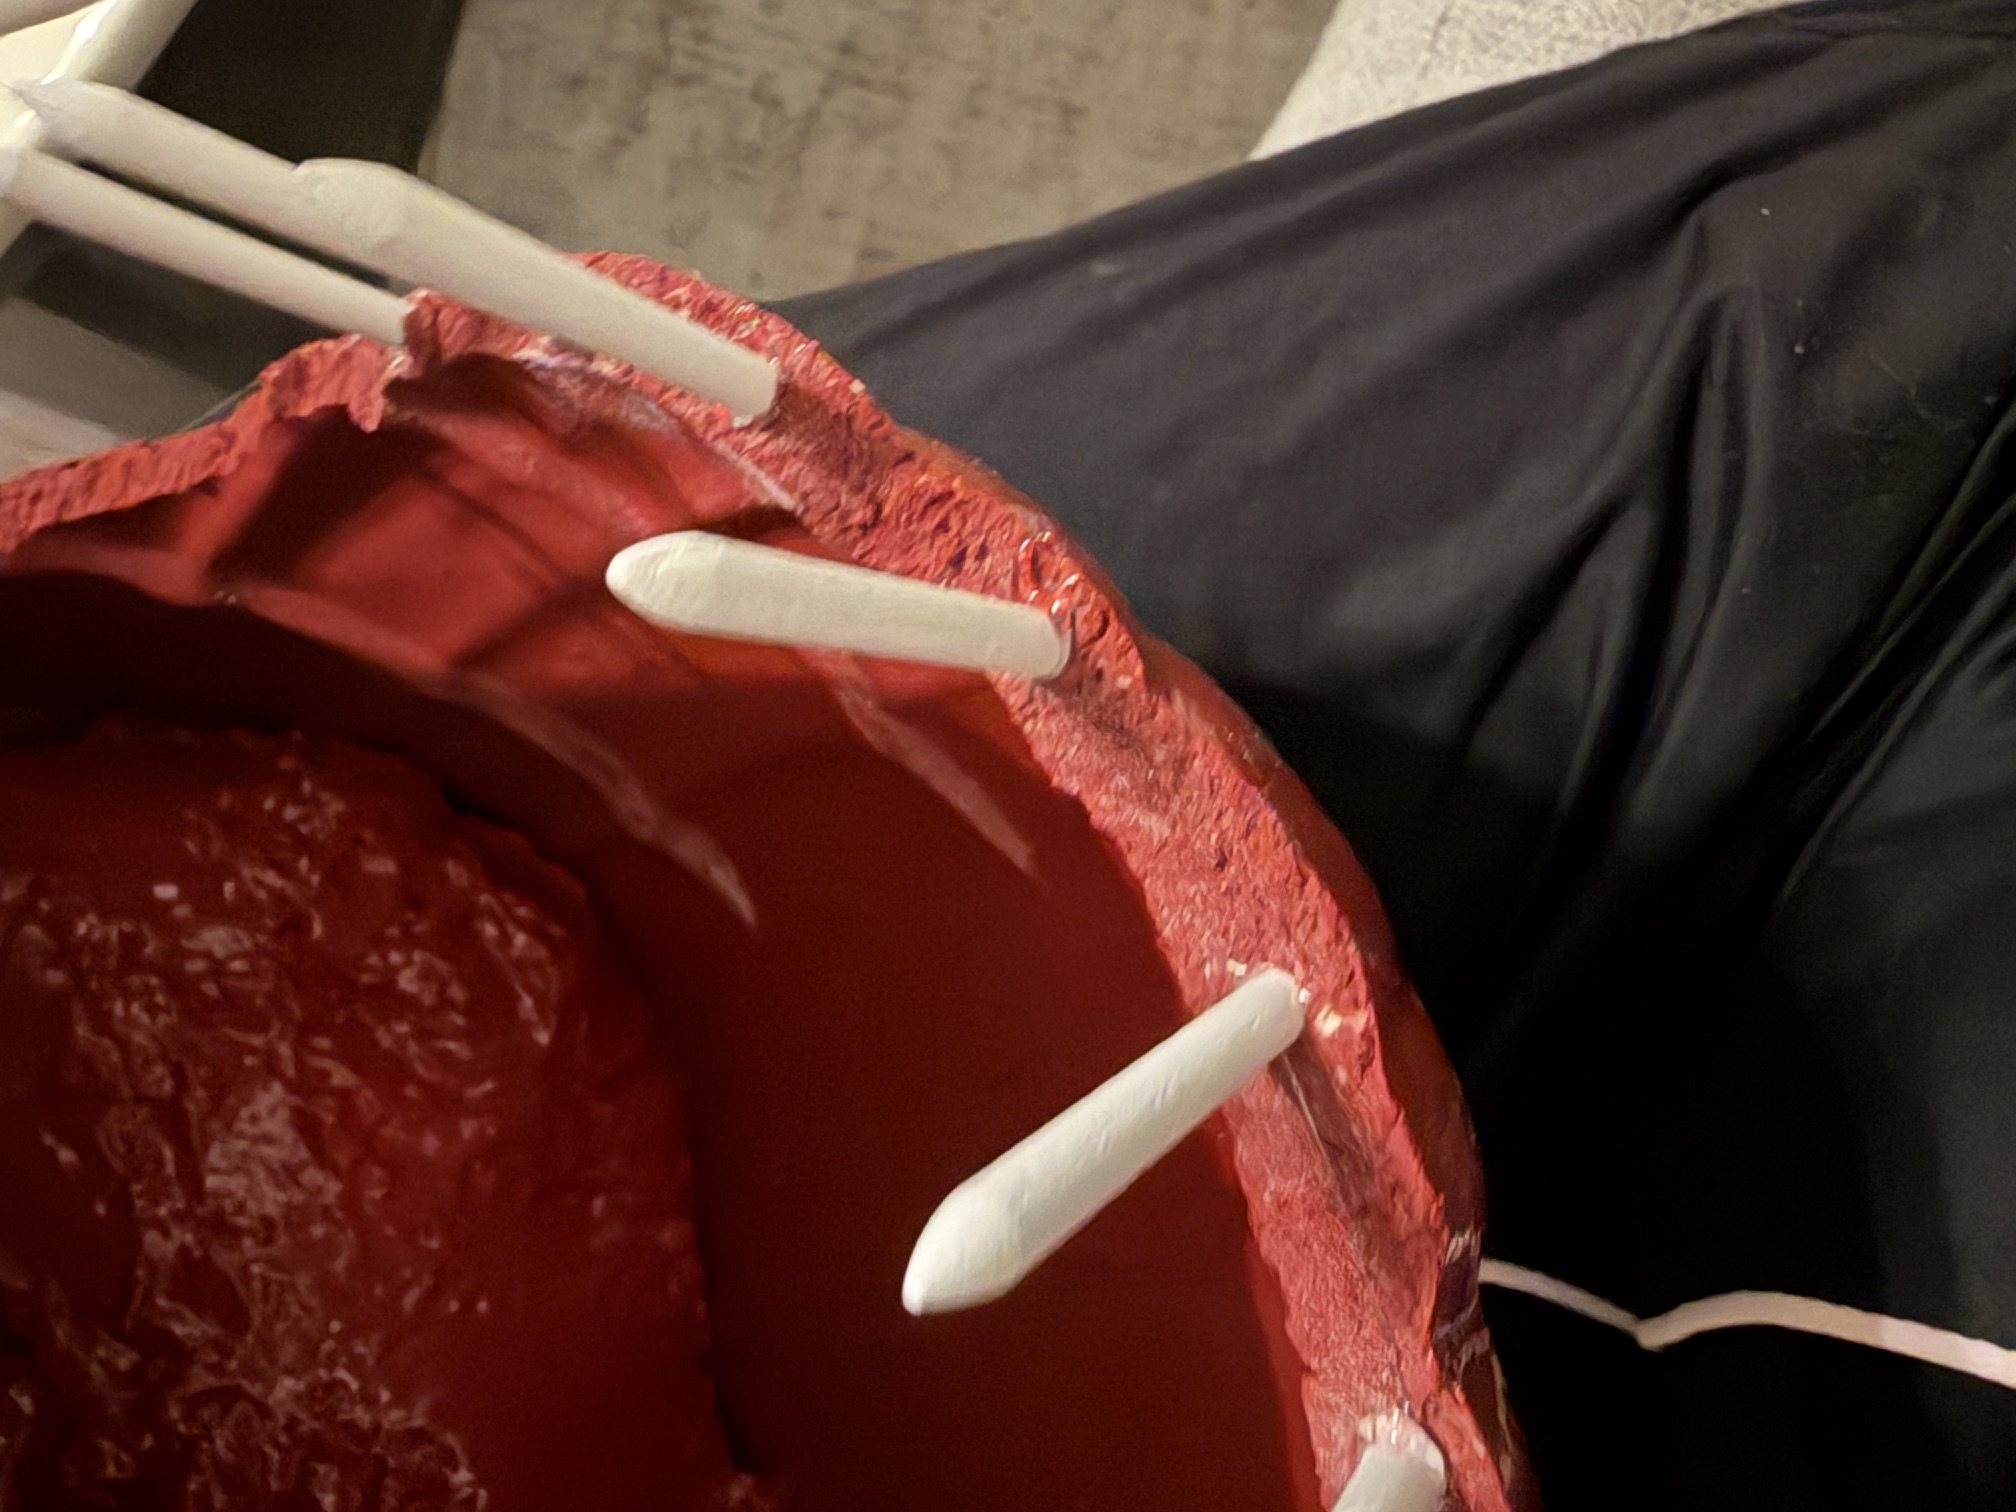
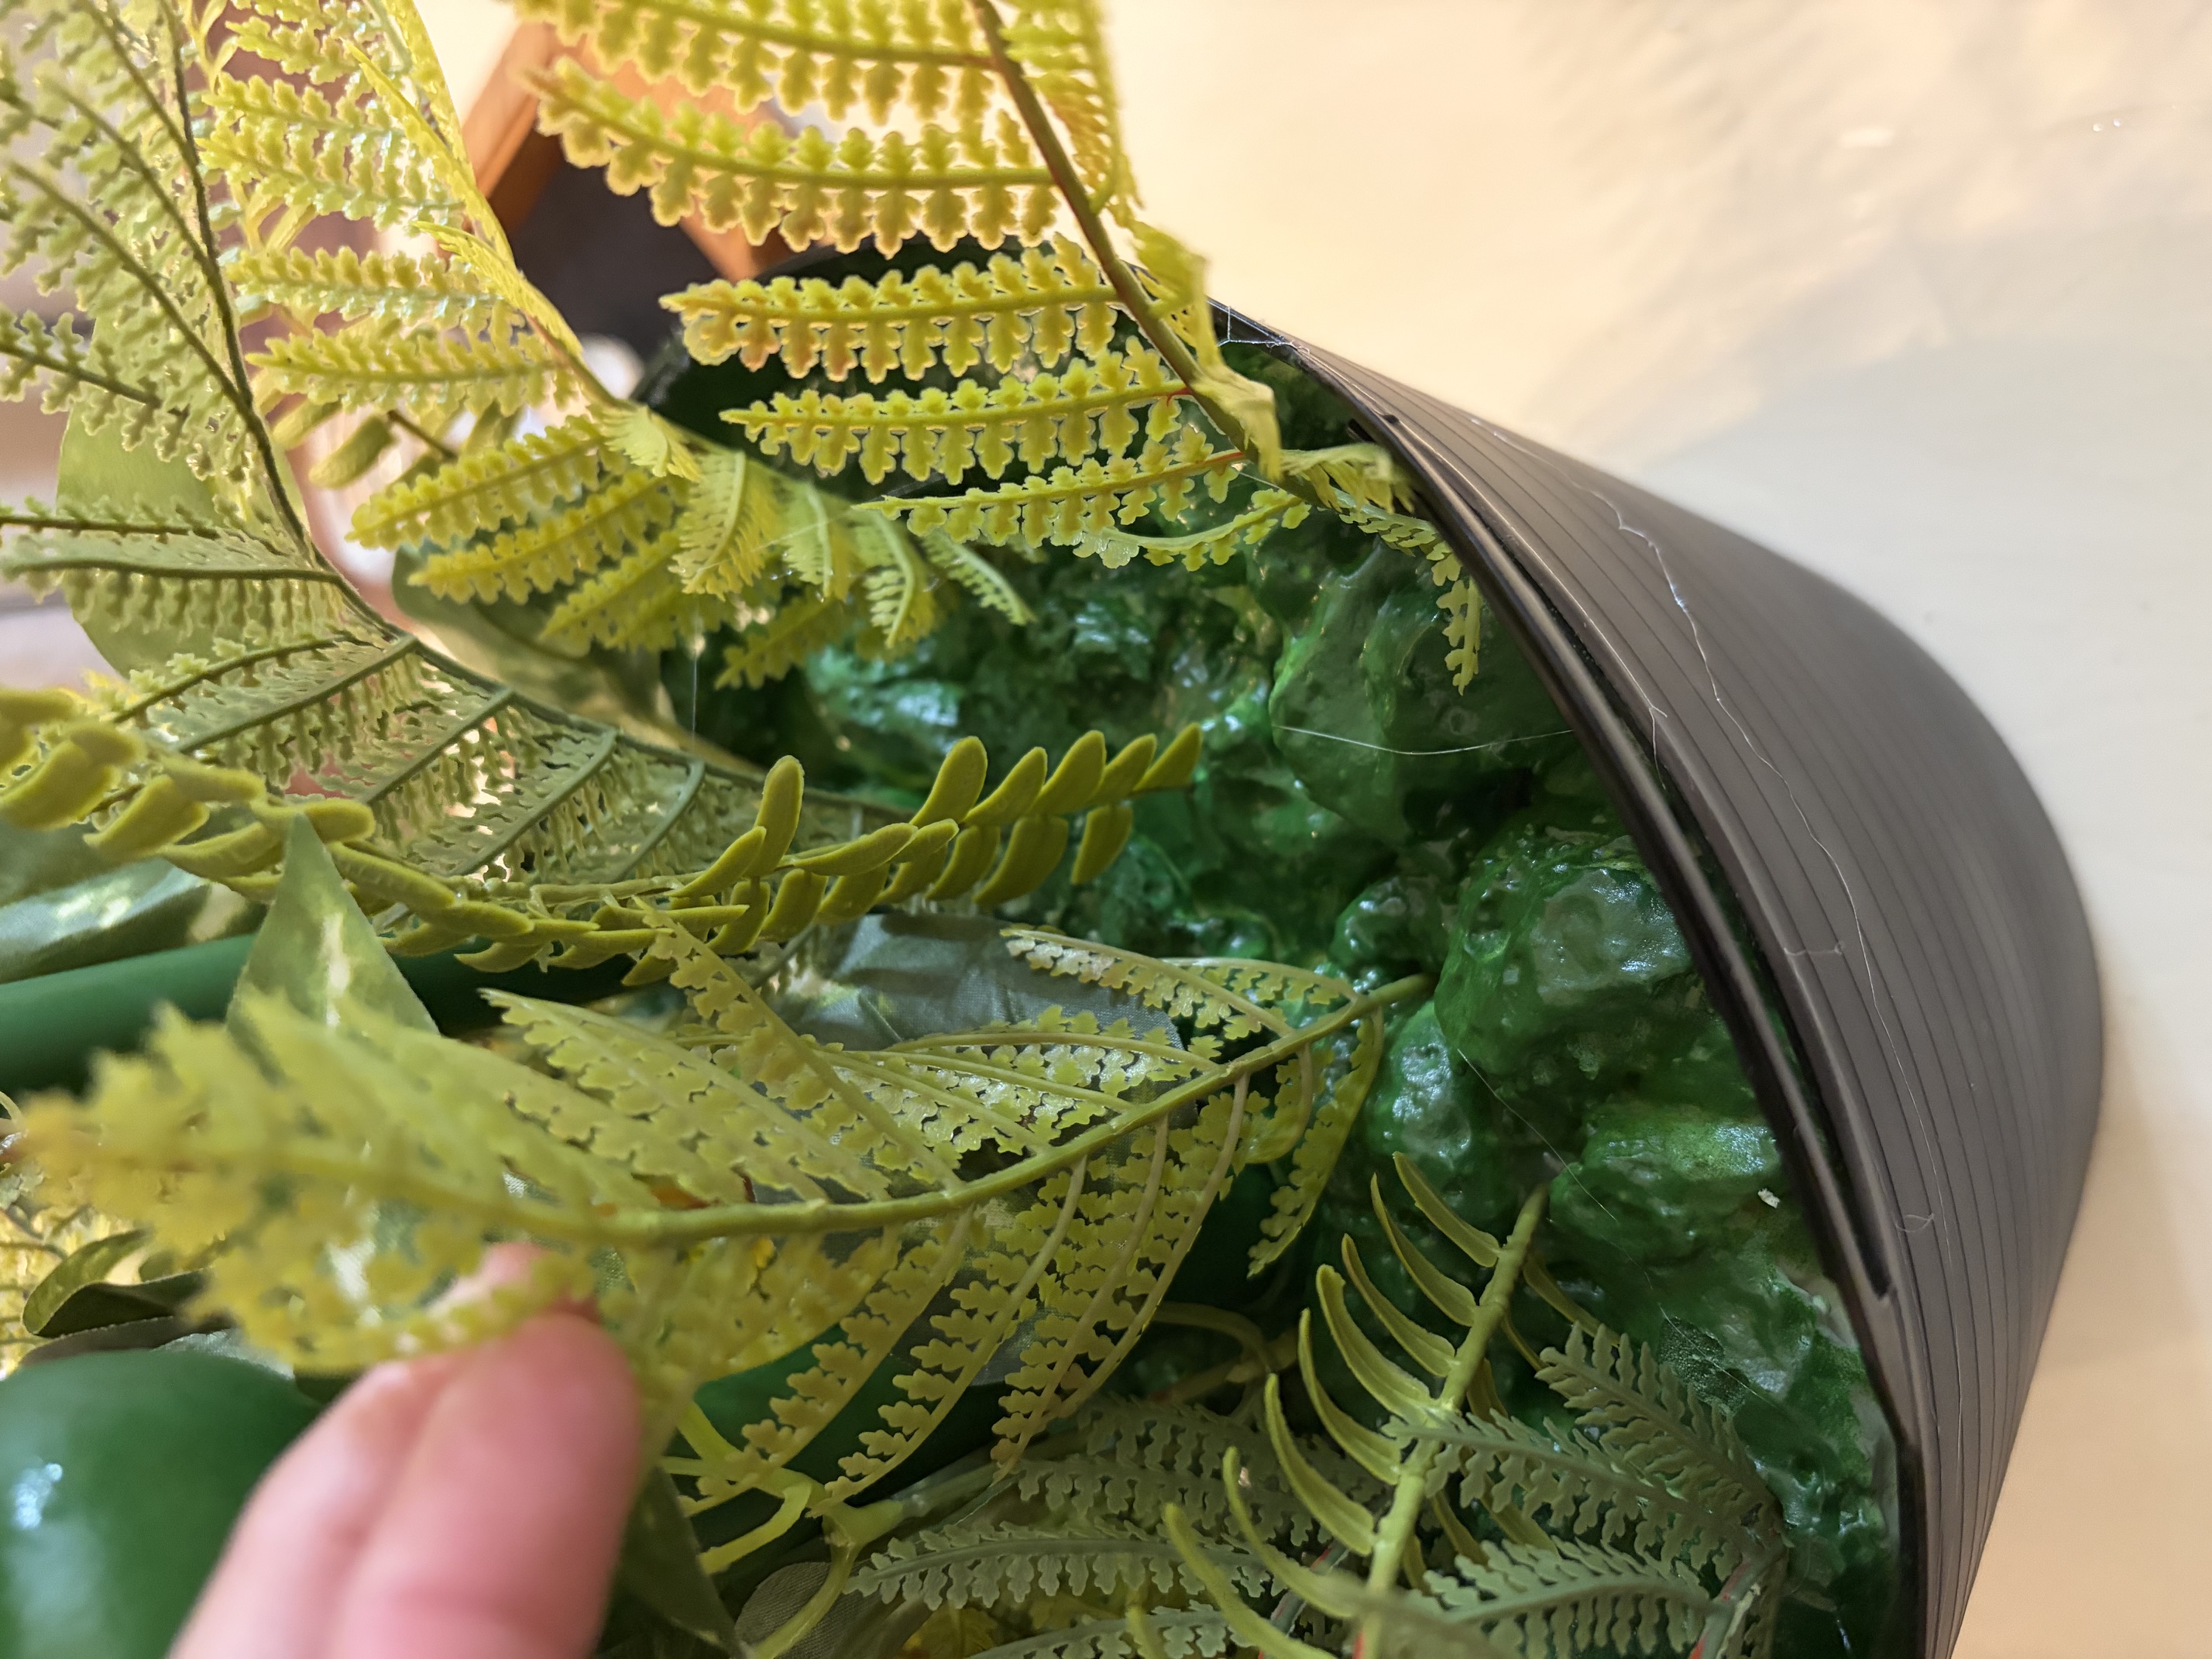
Then create a little sign that says "feed me" and stick in the pot as your final touch. Didn't she turn out adorable?!
.jpeg)
CrazyDIYmom.com Contact Us Privacy Policy Disclaimer About me