
DIY projects
This post may contain affiliate links.
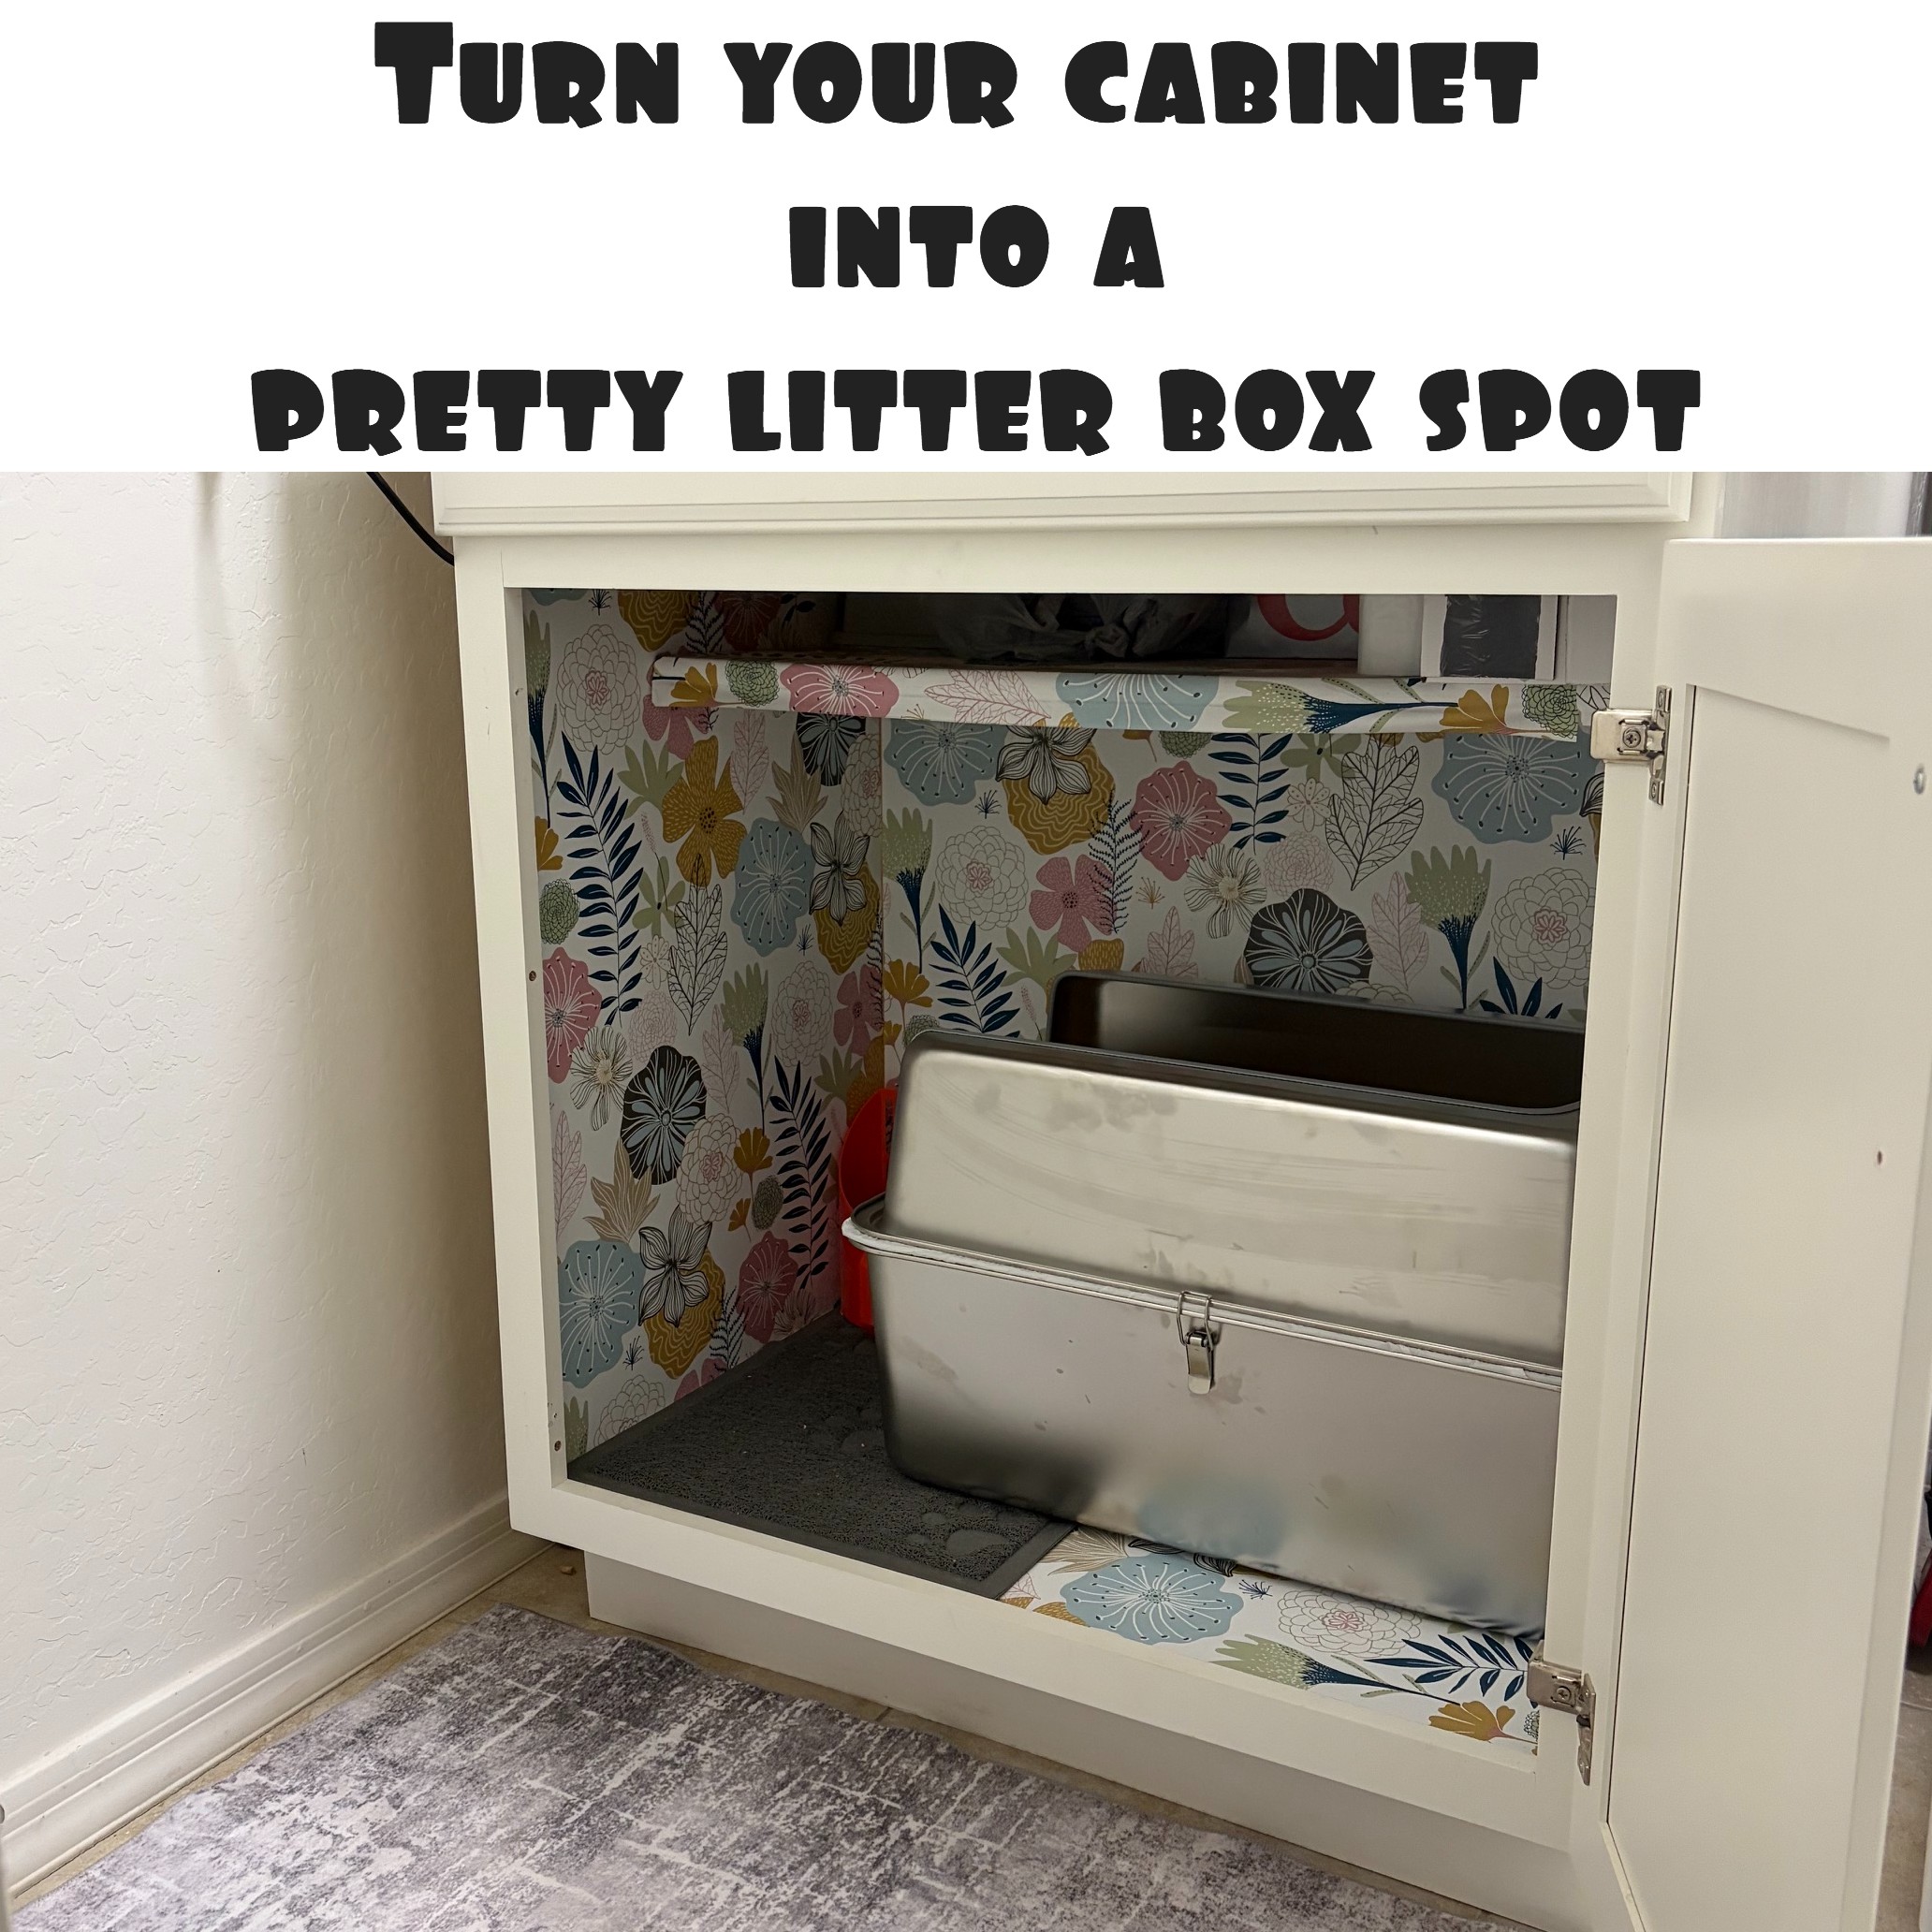
Let's face it. No matter how nice, neat and clean your litter box is, we know what is inside of it and are already grossed out. My one drawback when considering getting our first cat was "but....a litter box....in the house". So before we adopted our sweet Clover I needed to have a plan: where will we keep the litter box, how was I going to disguise it from guests and how could I make it a spot I didn't mind cleaning up.
I made 2 different cabinets!
What you will need:
Peel and stick wallpaper
tape measure
framing square or straight edge
scissors
a credit card or something similiar
OR
a cabinet
a drill and drill bit
jigsaw
sandpaper
paint of your choice
We added some upper and lower cabinets in a spot in our laundry room. We used them mostly for storage so when I decided this was where I was going to keep the litter box I had to rearrange a few things.
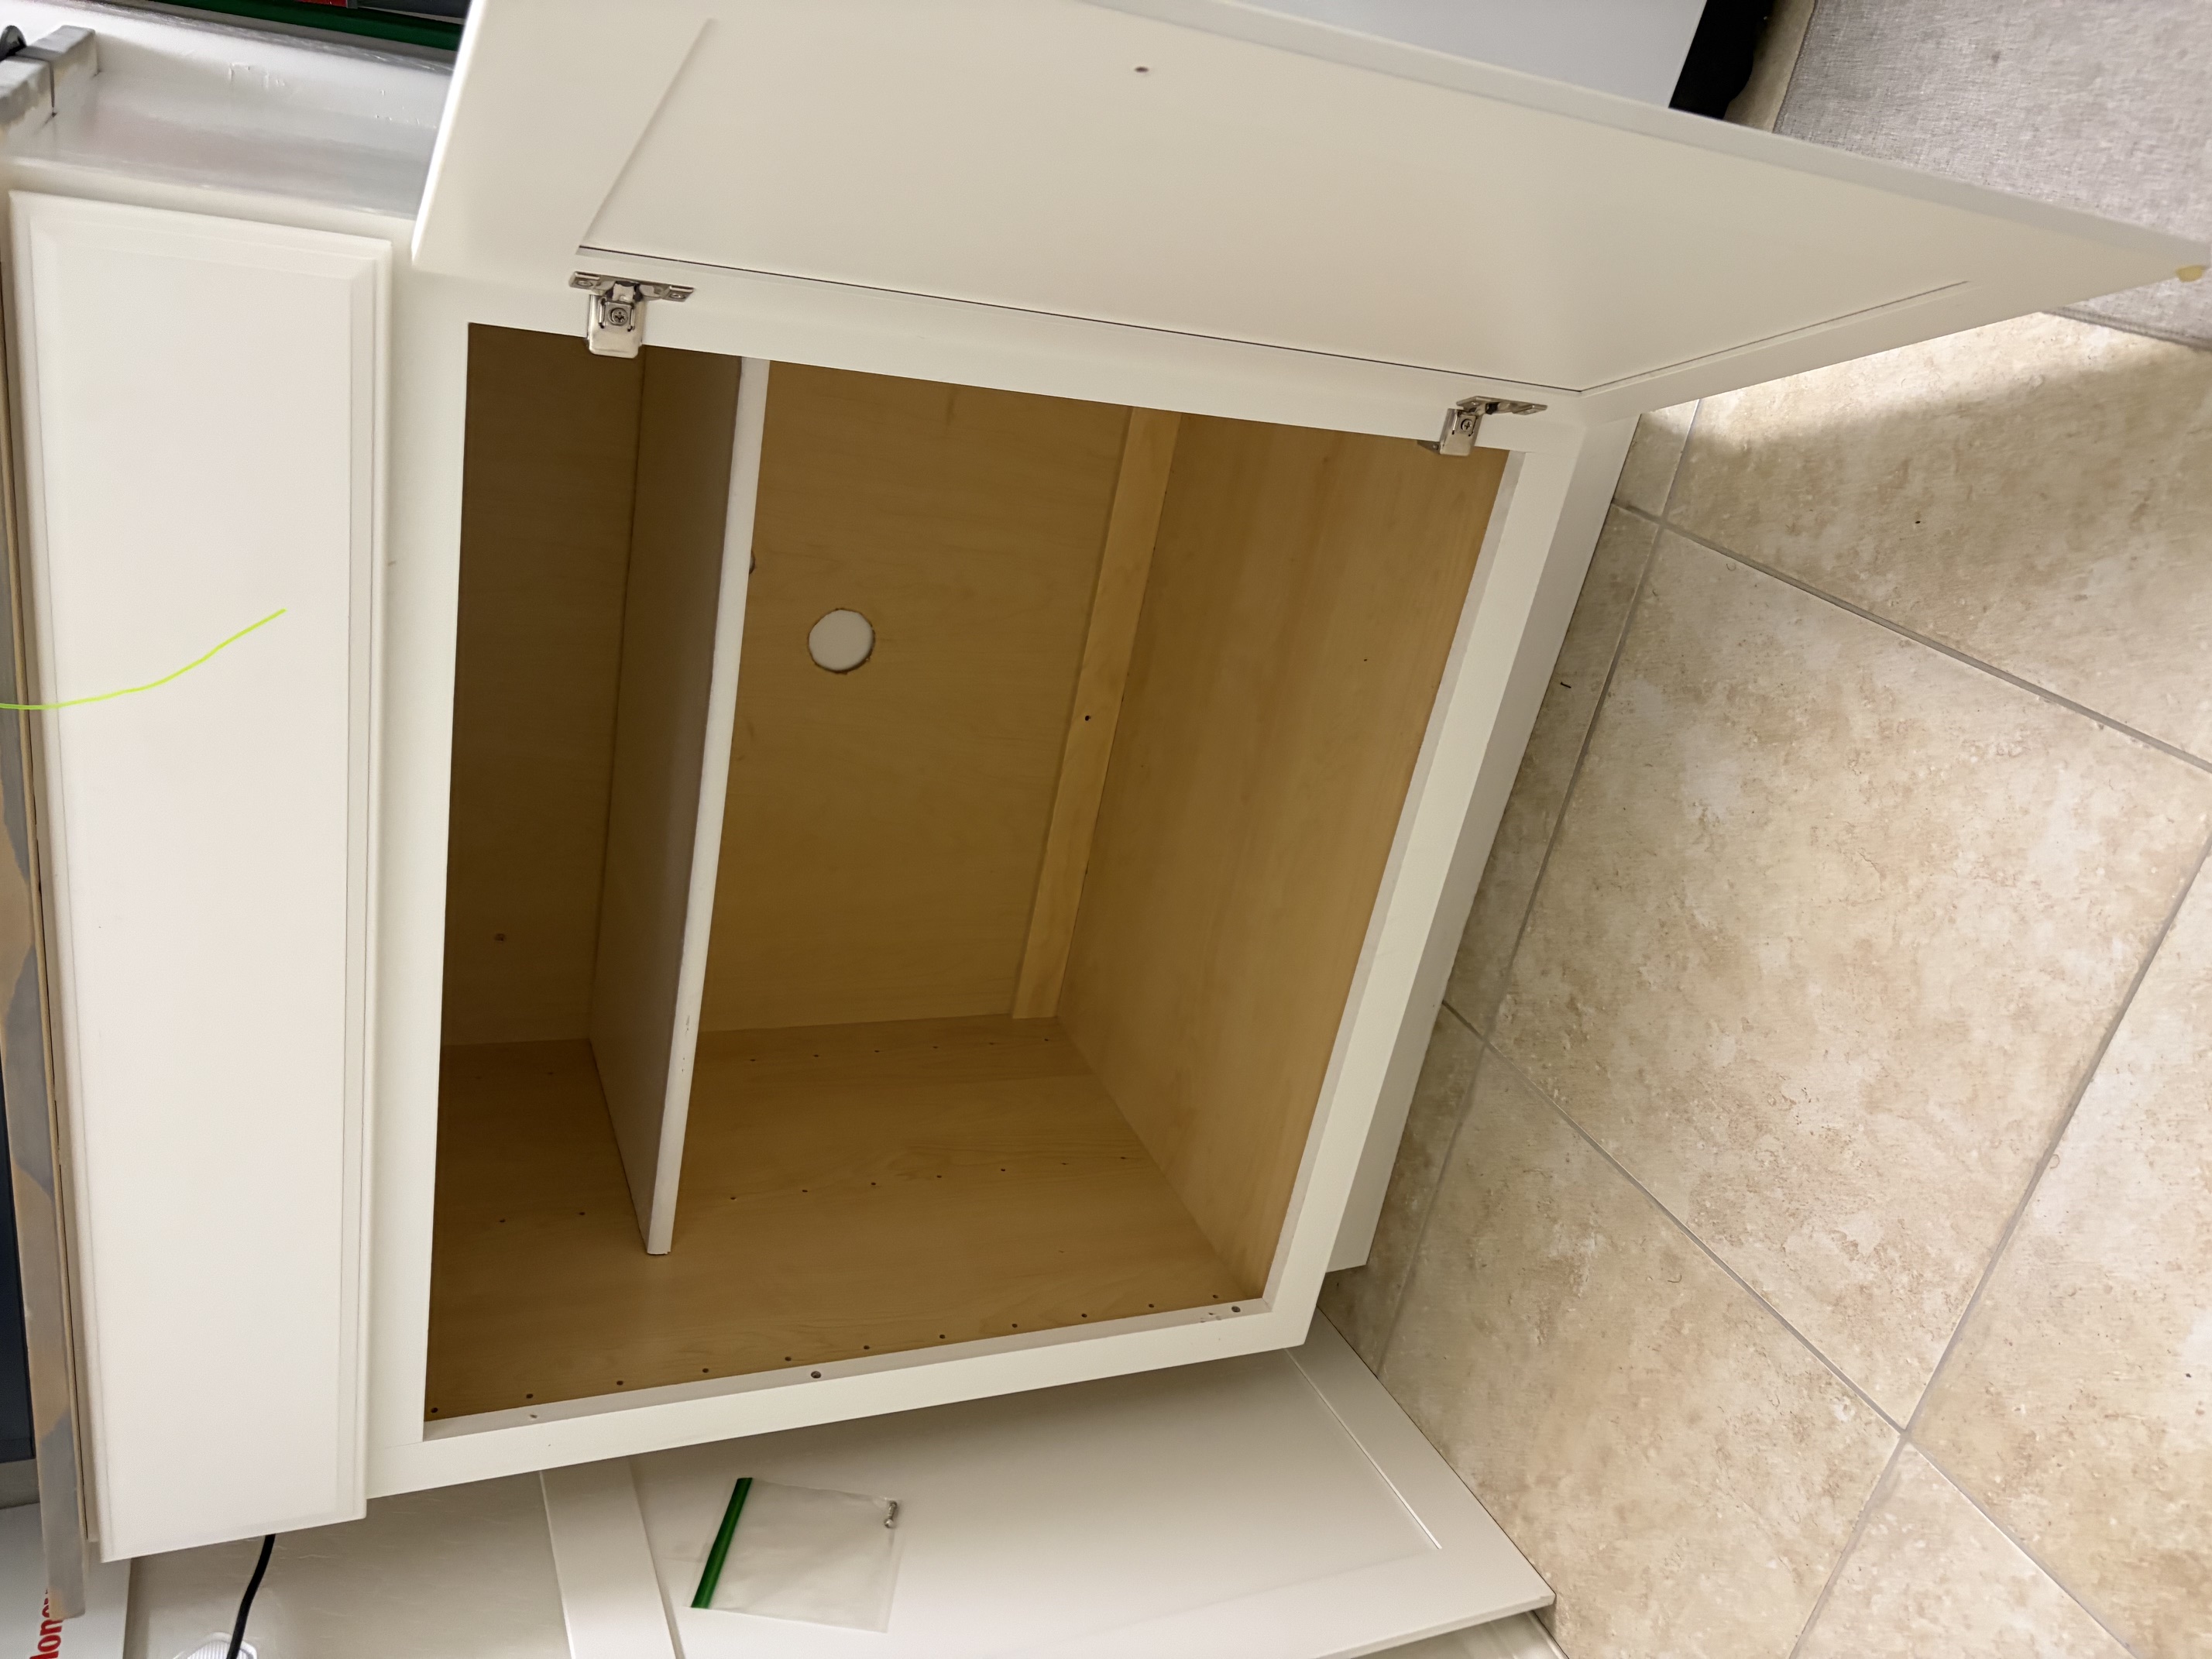
I didn't want to cut or damage the cabinet door in any way so I just removed the door completely and stash it alongside the cabinet against the wall. This way I can still go back to using the cabinet when I want to and have a way to let Clover into her litter box.
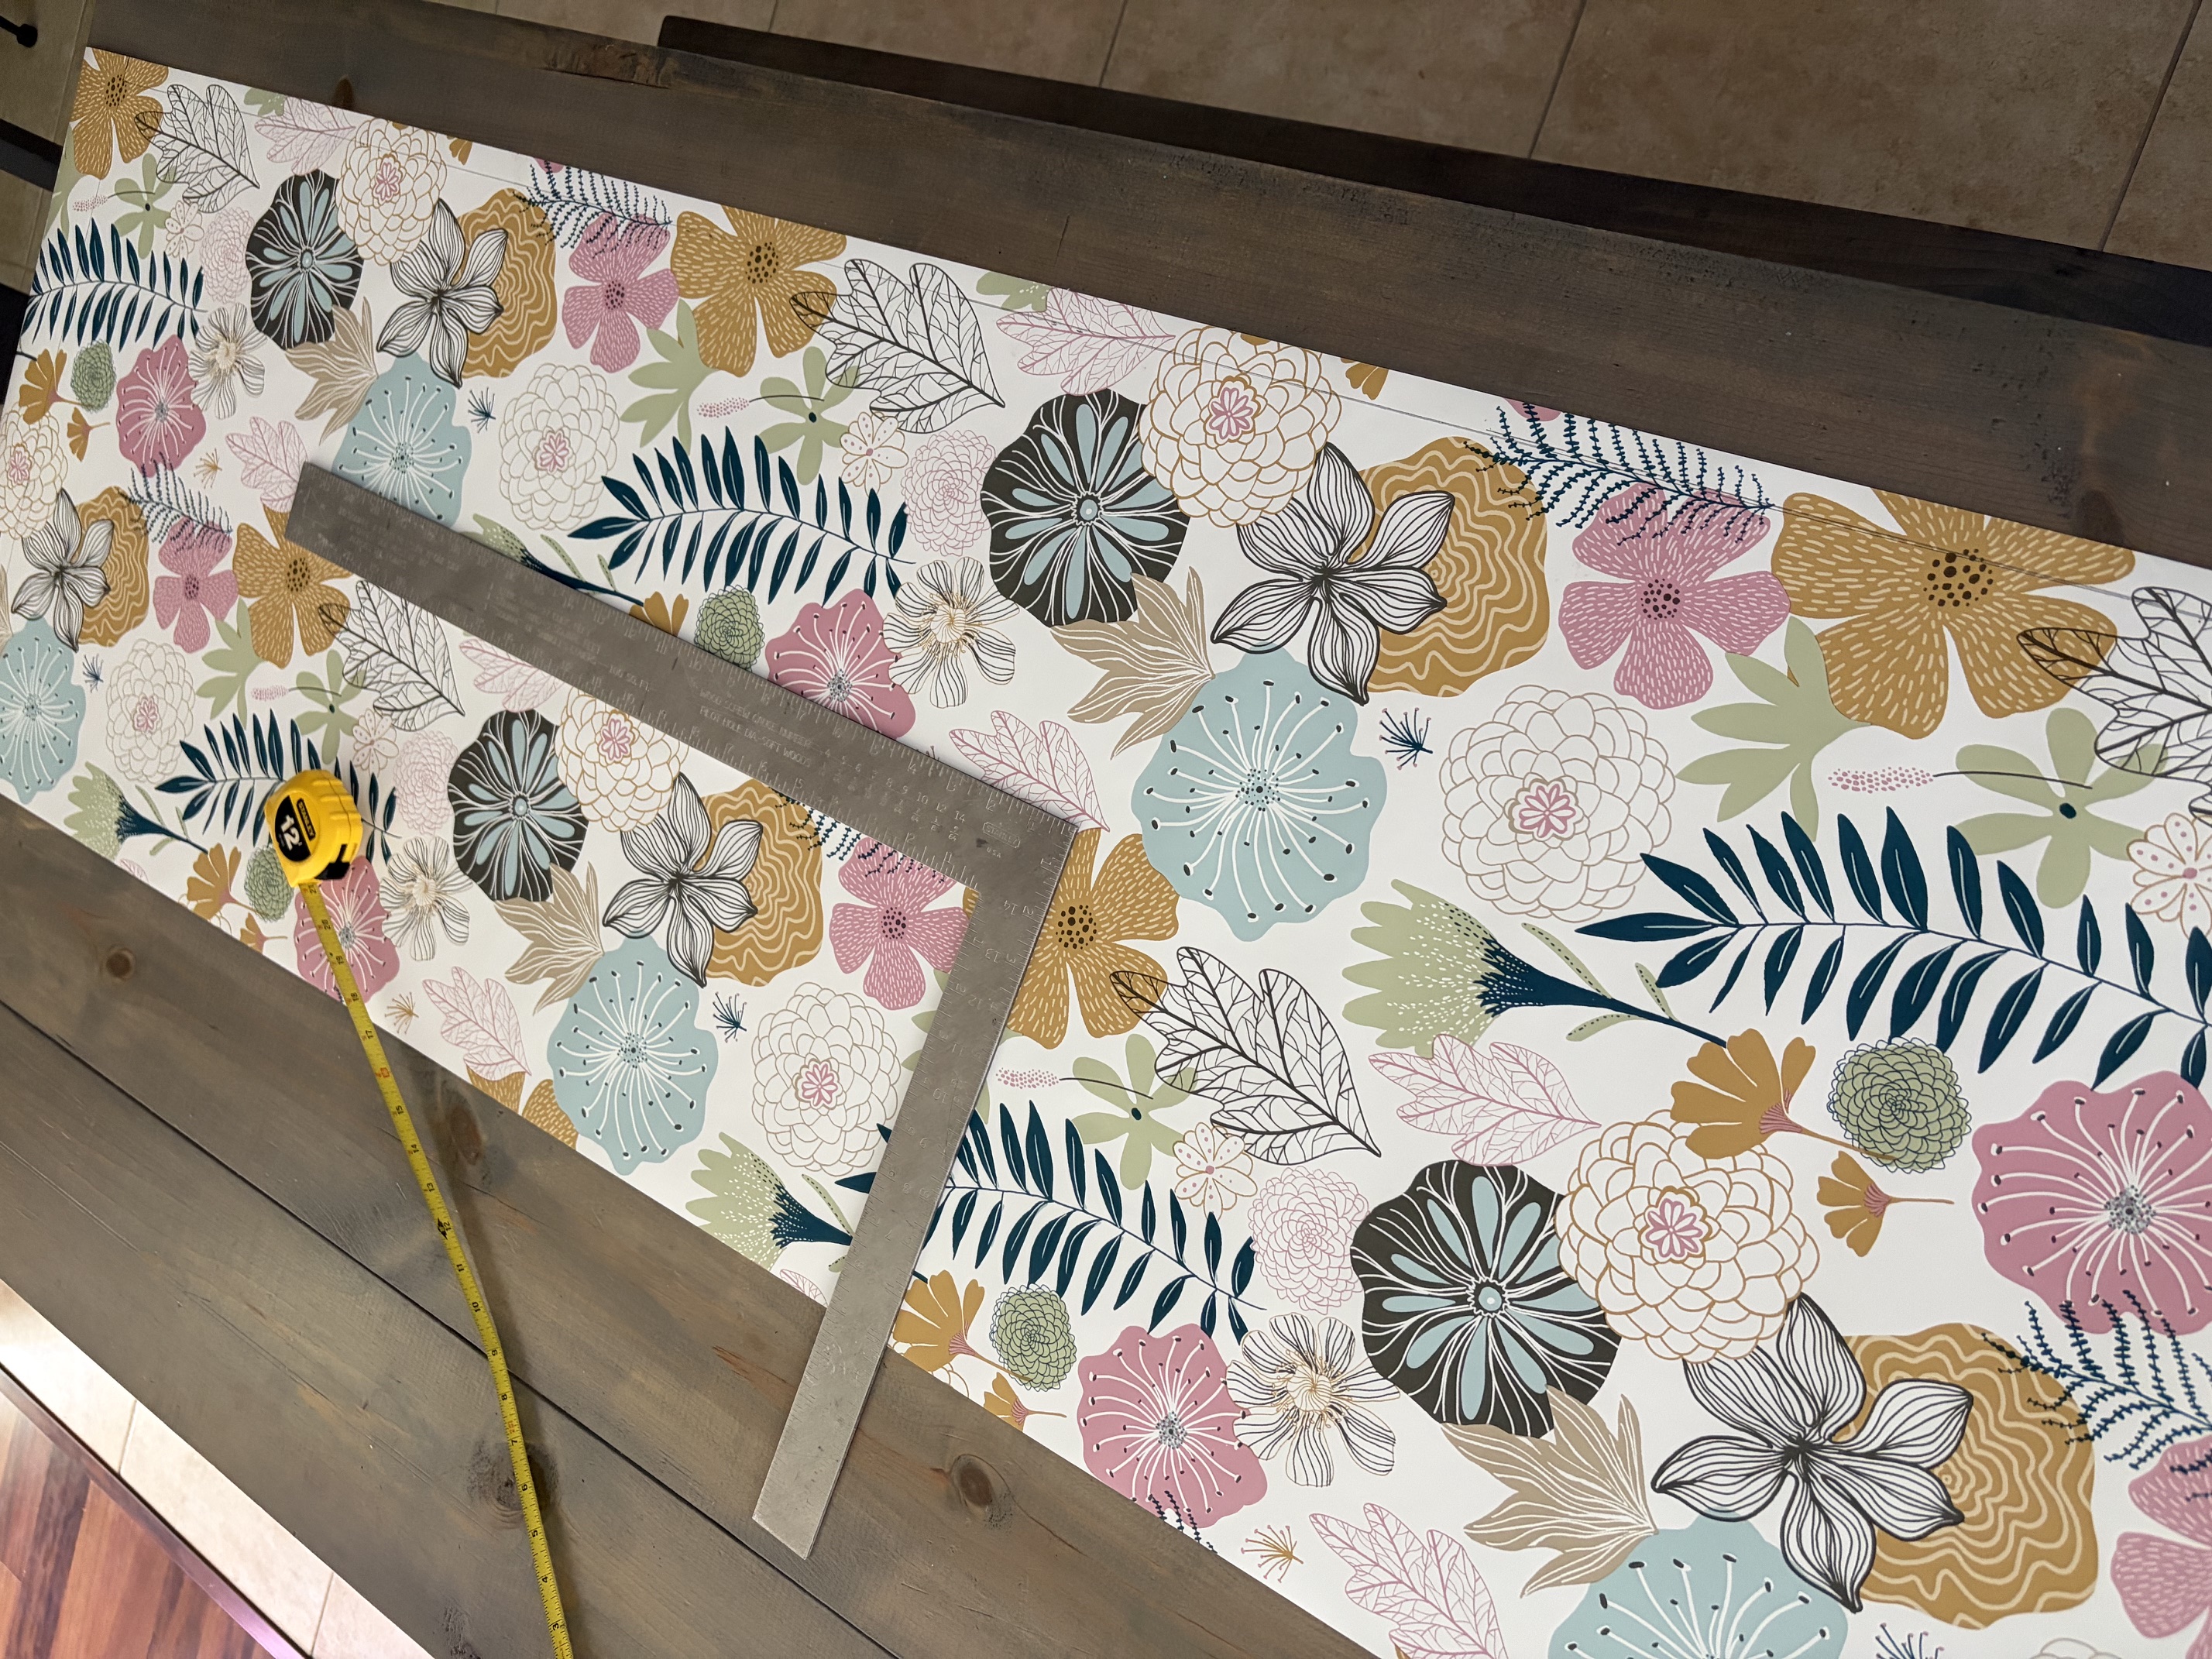
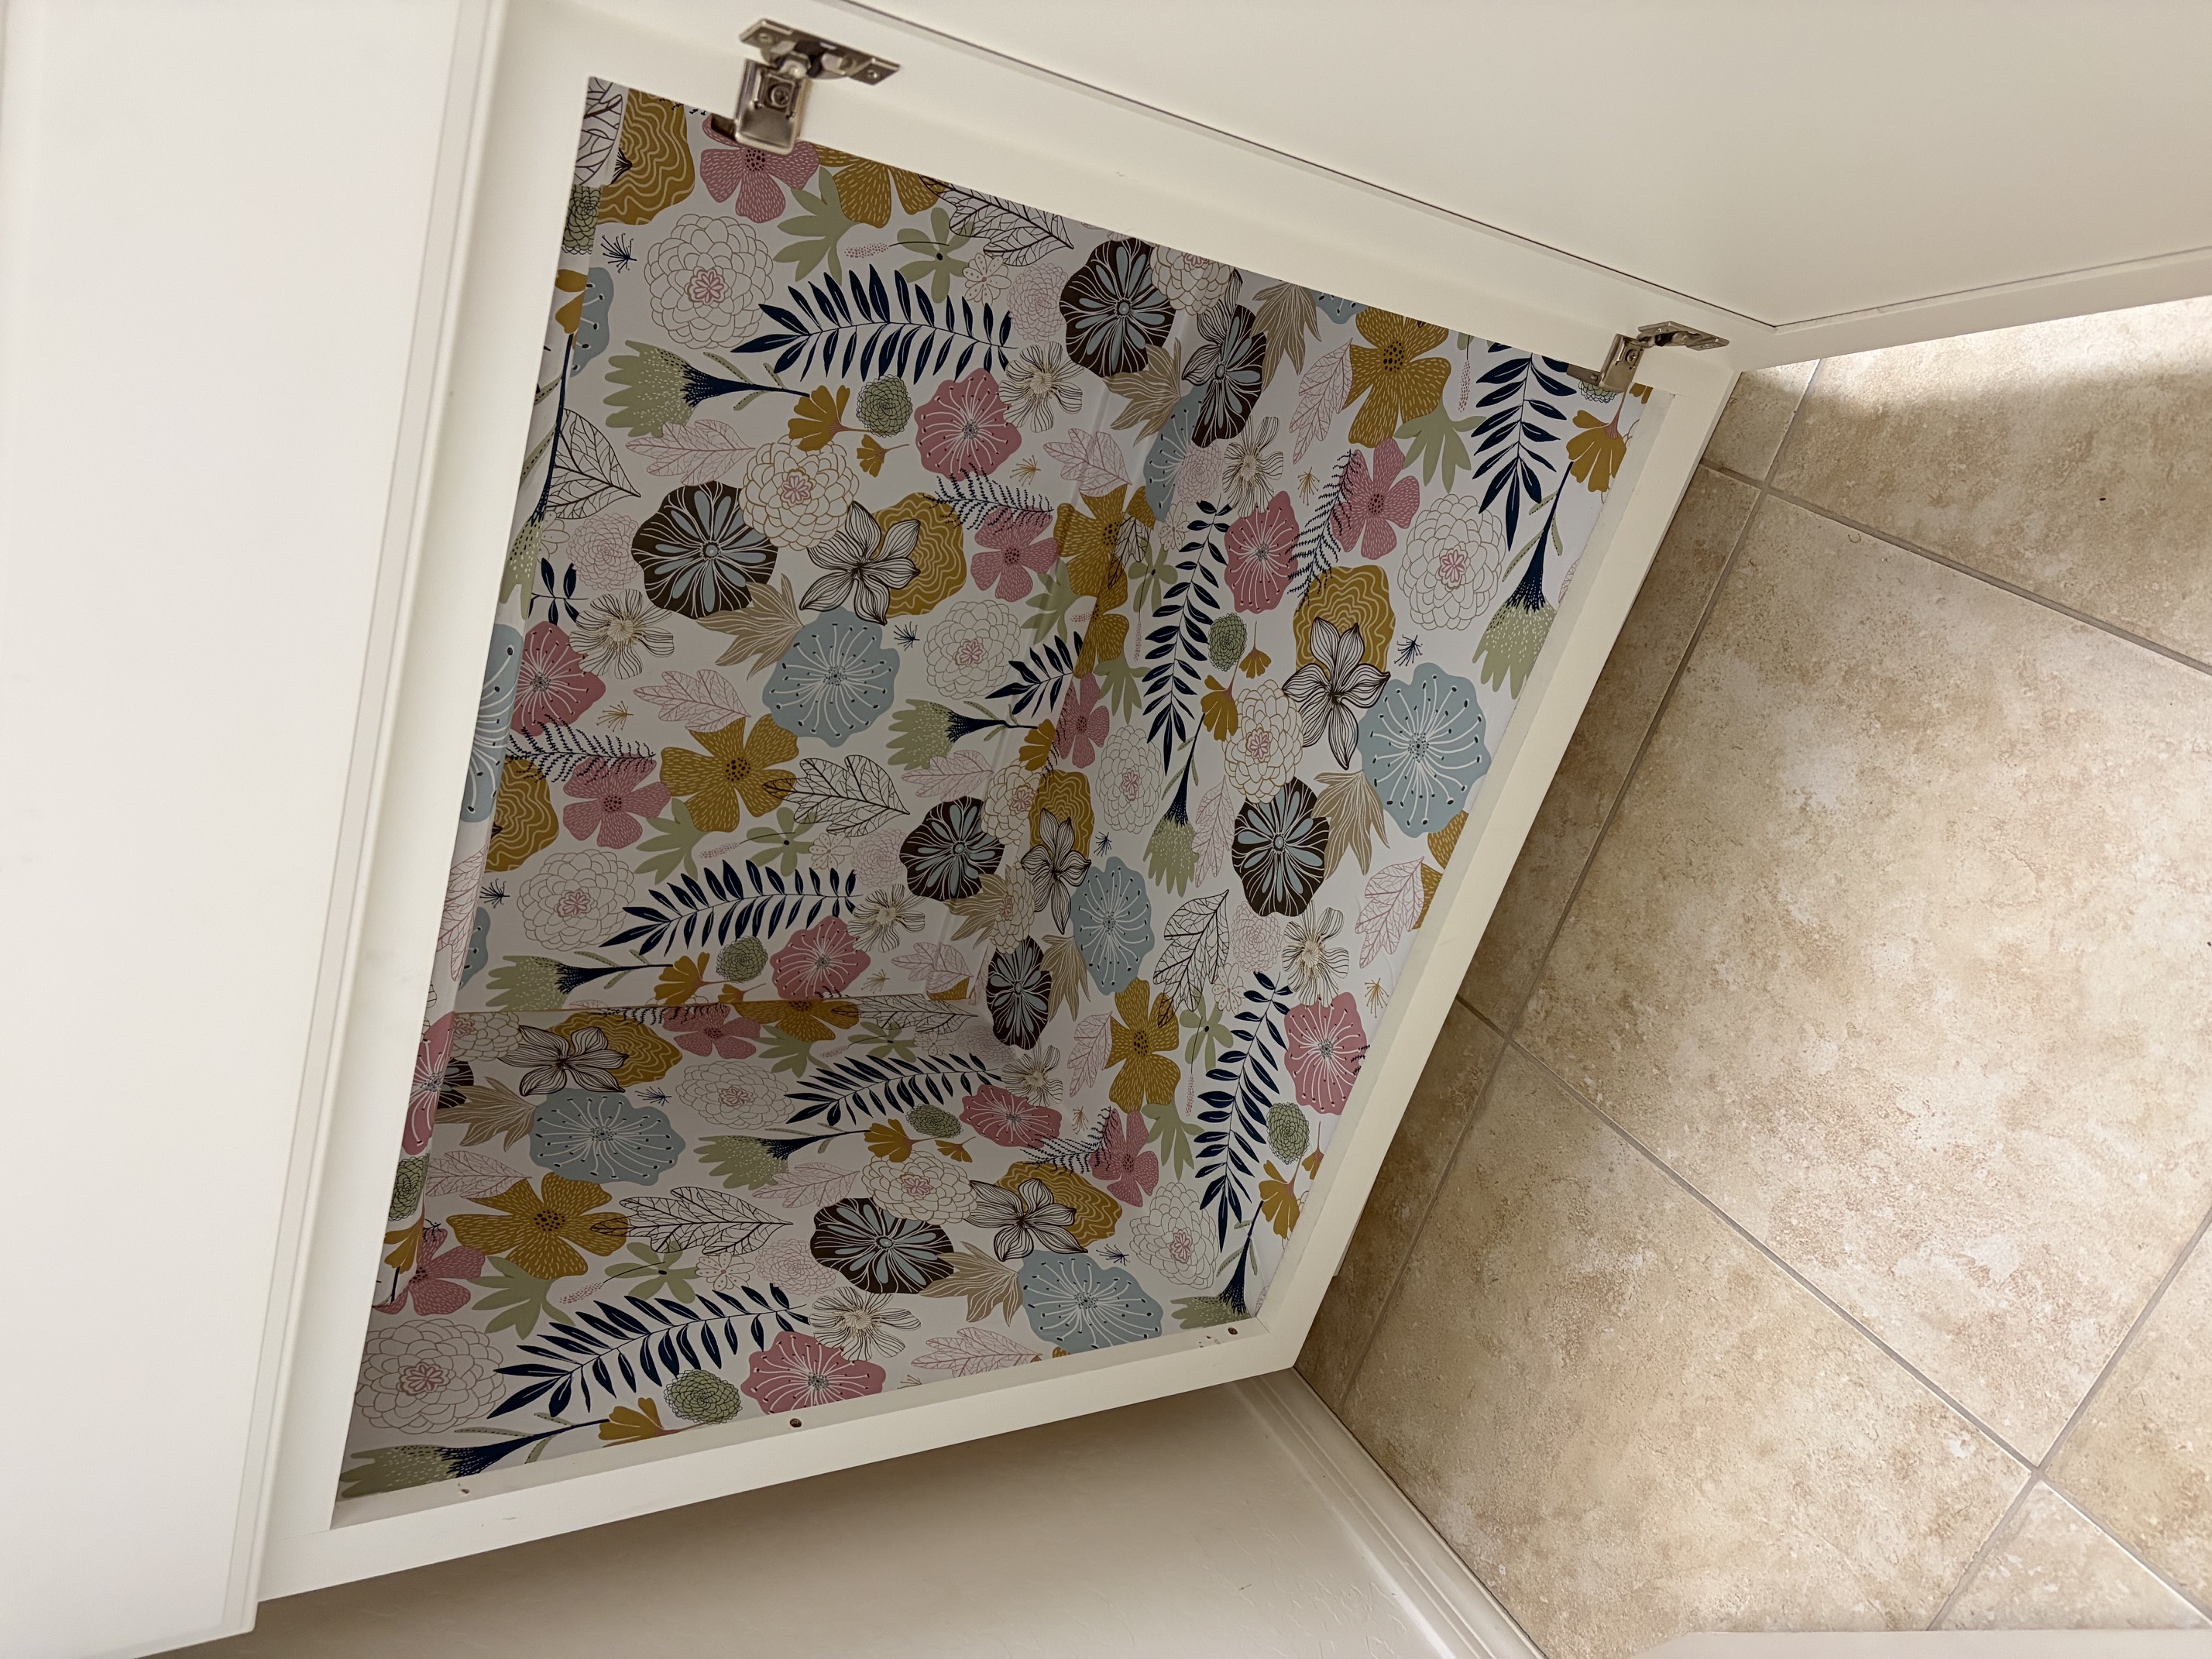
Then it's as simple as measuring out your cabinet and cutting out your wallpaper. I had never used peel and stick wallpaper before and while it was a little tricky working inside a cabinet it was very easy to work with. It easily resticks if you position it wrong and you can stick and restick multiple times. I started at the top of one side and worked my way down the wall, across the bottom and back up the other wall all with one piece of wallpaper. You could do it in seperate sections as well, whatever is easier for you.
dy projects
Follow the instructions listed on your wallpaper companies box for tips on applying it in a nice and smooth layer. I used an old credit card to help smooth it out and press it down into place. If you choose a design with lots of color or a lot of pattern it's much easier to hide if you screw up or get wrinkles in it. ;)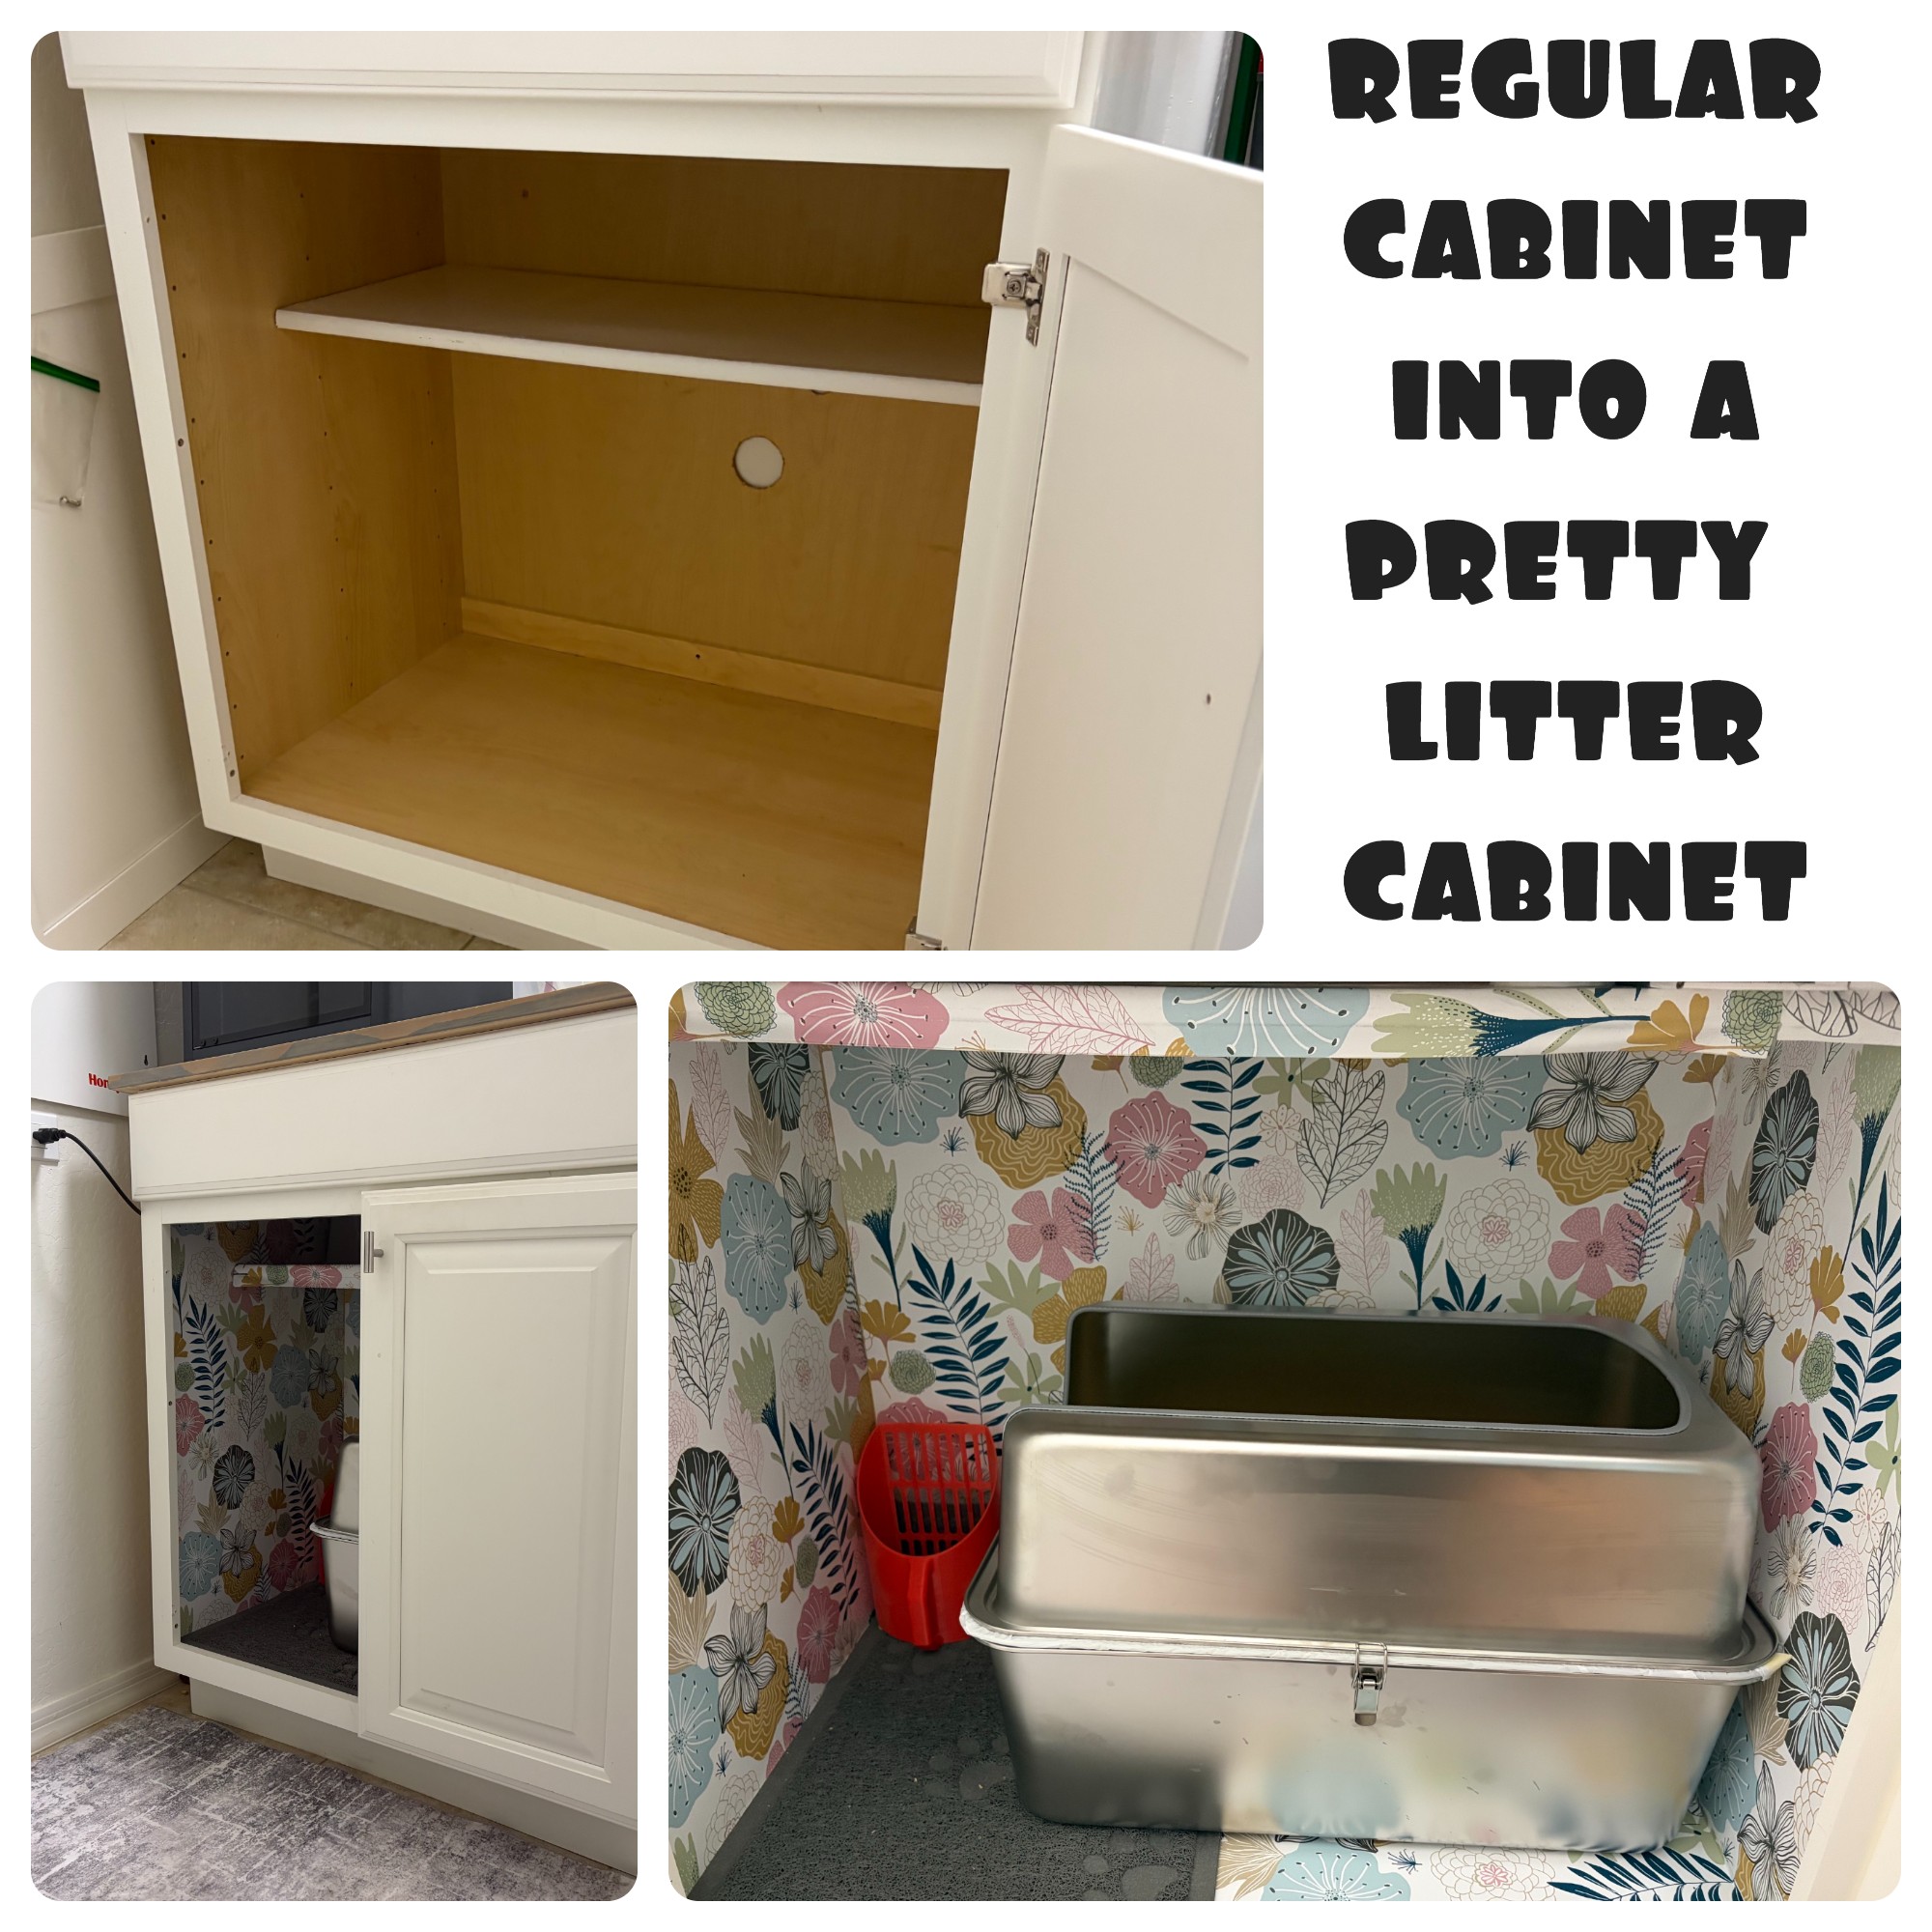
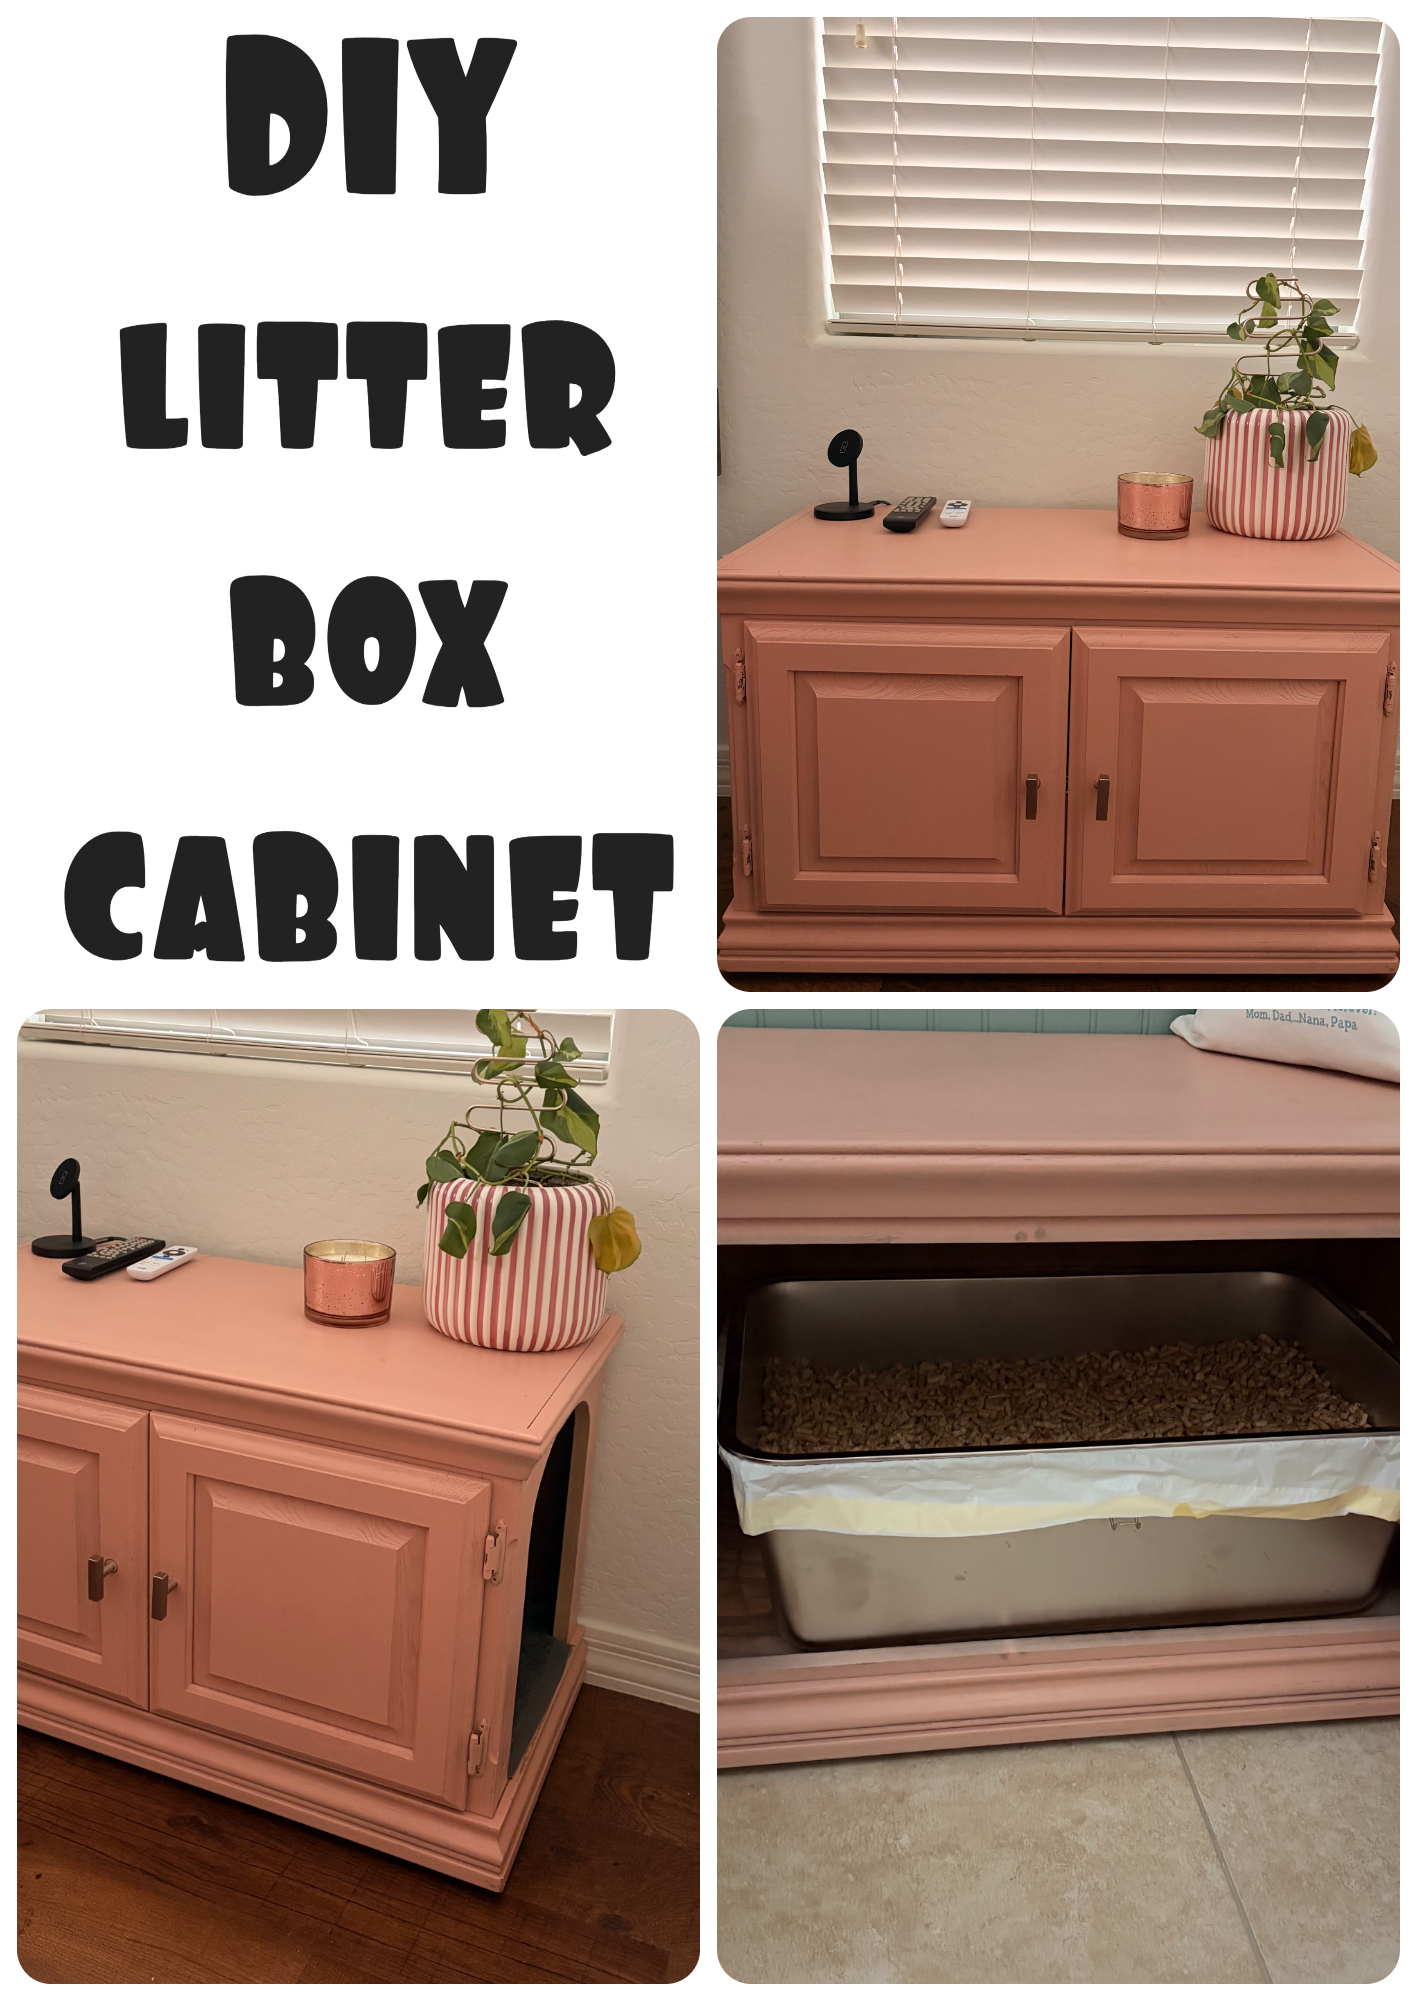
To make my other cabinet I took an old TV cabinet that I already had and decided where I wanted it to be so that I knew which side I wanted to cut out. Then I traced a little top rounded opening on the side. Make sure it's big enough to fit your cat comfortably. I have 2 siberian cats so wanted a pretty big doorway.
Use your drill and a bigger bit to make a hole on the inside edge of the door way. This will be so that you can get your jigsaw in to start cutting it out. Then cut out your hole and give it a nice sanding when you're done to get rid of any sharp edges. Then repaint it if you'd like or add knew knobs if you're looking to also update it.
Want another great DIY project for your cats? Check out how to make these cute and modern looking cat scratchers.
Have you seen our incredible PVC pipe art? Learn how to lean how to make it youself!
CrazyDIYmom.com Contact Us Privacy Policy Disclaimer About me