
DIY projects
This post may contain affiliate links.
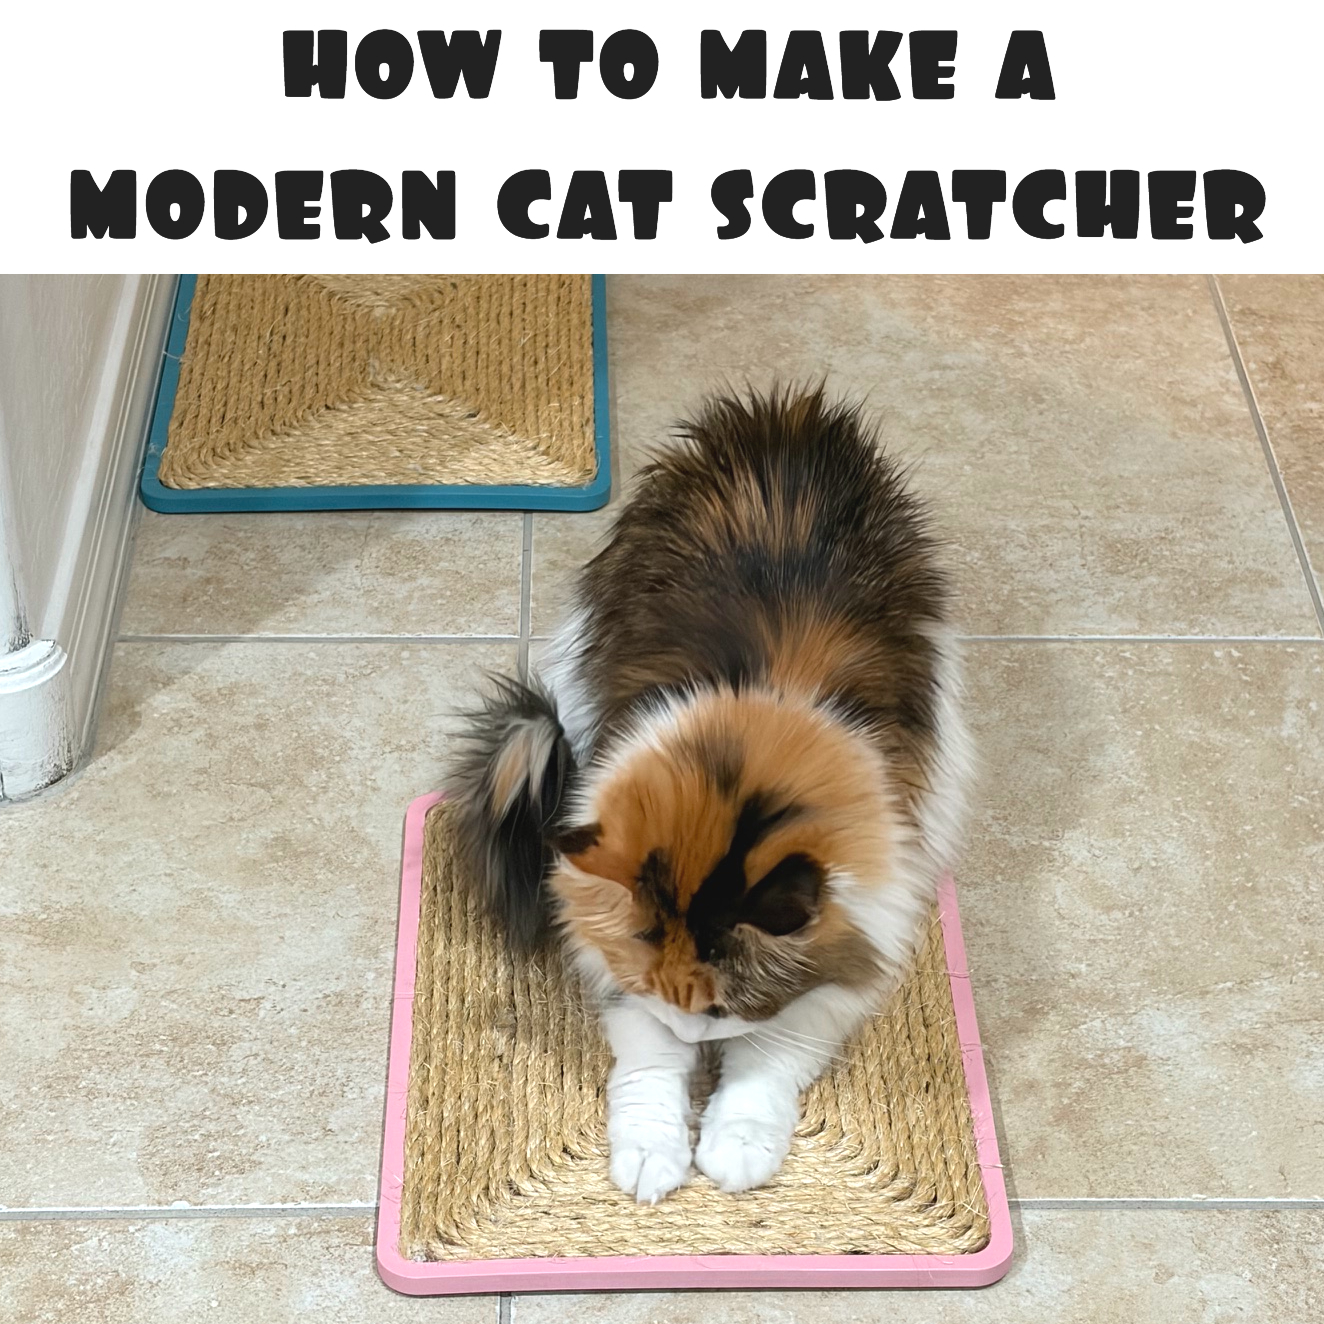
We adopted our first cat and we are completely obsessed with her. Her name is Clover and she is a Siberian. She has another tall scratching post, but I wanted a few other options and in other areas of the home for her. I really wanted to be able to put one on the wall and this was perfect.
What you will need:
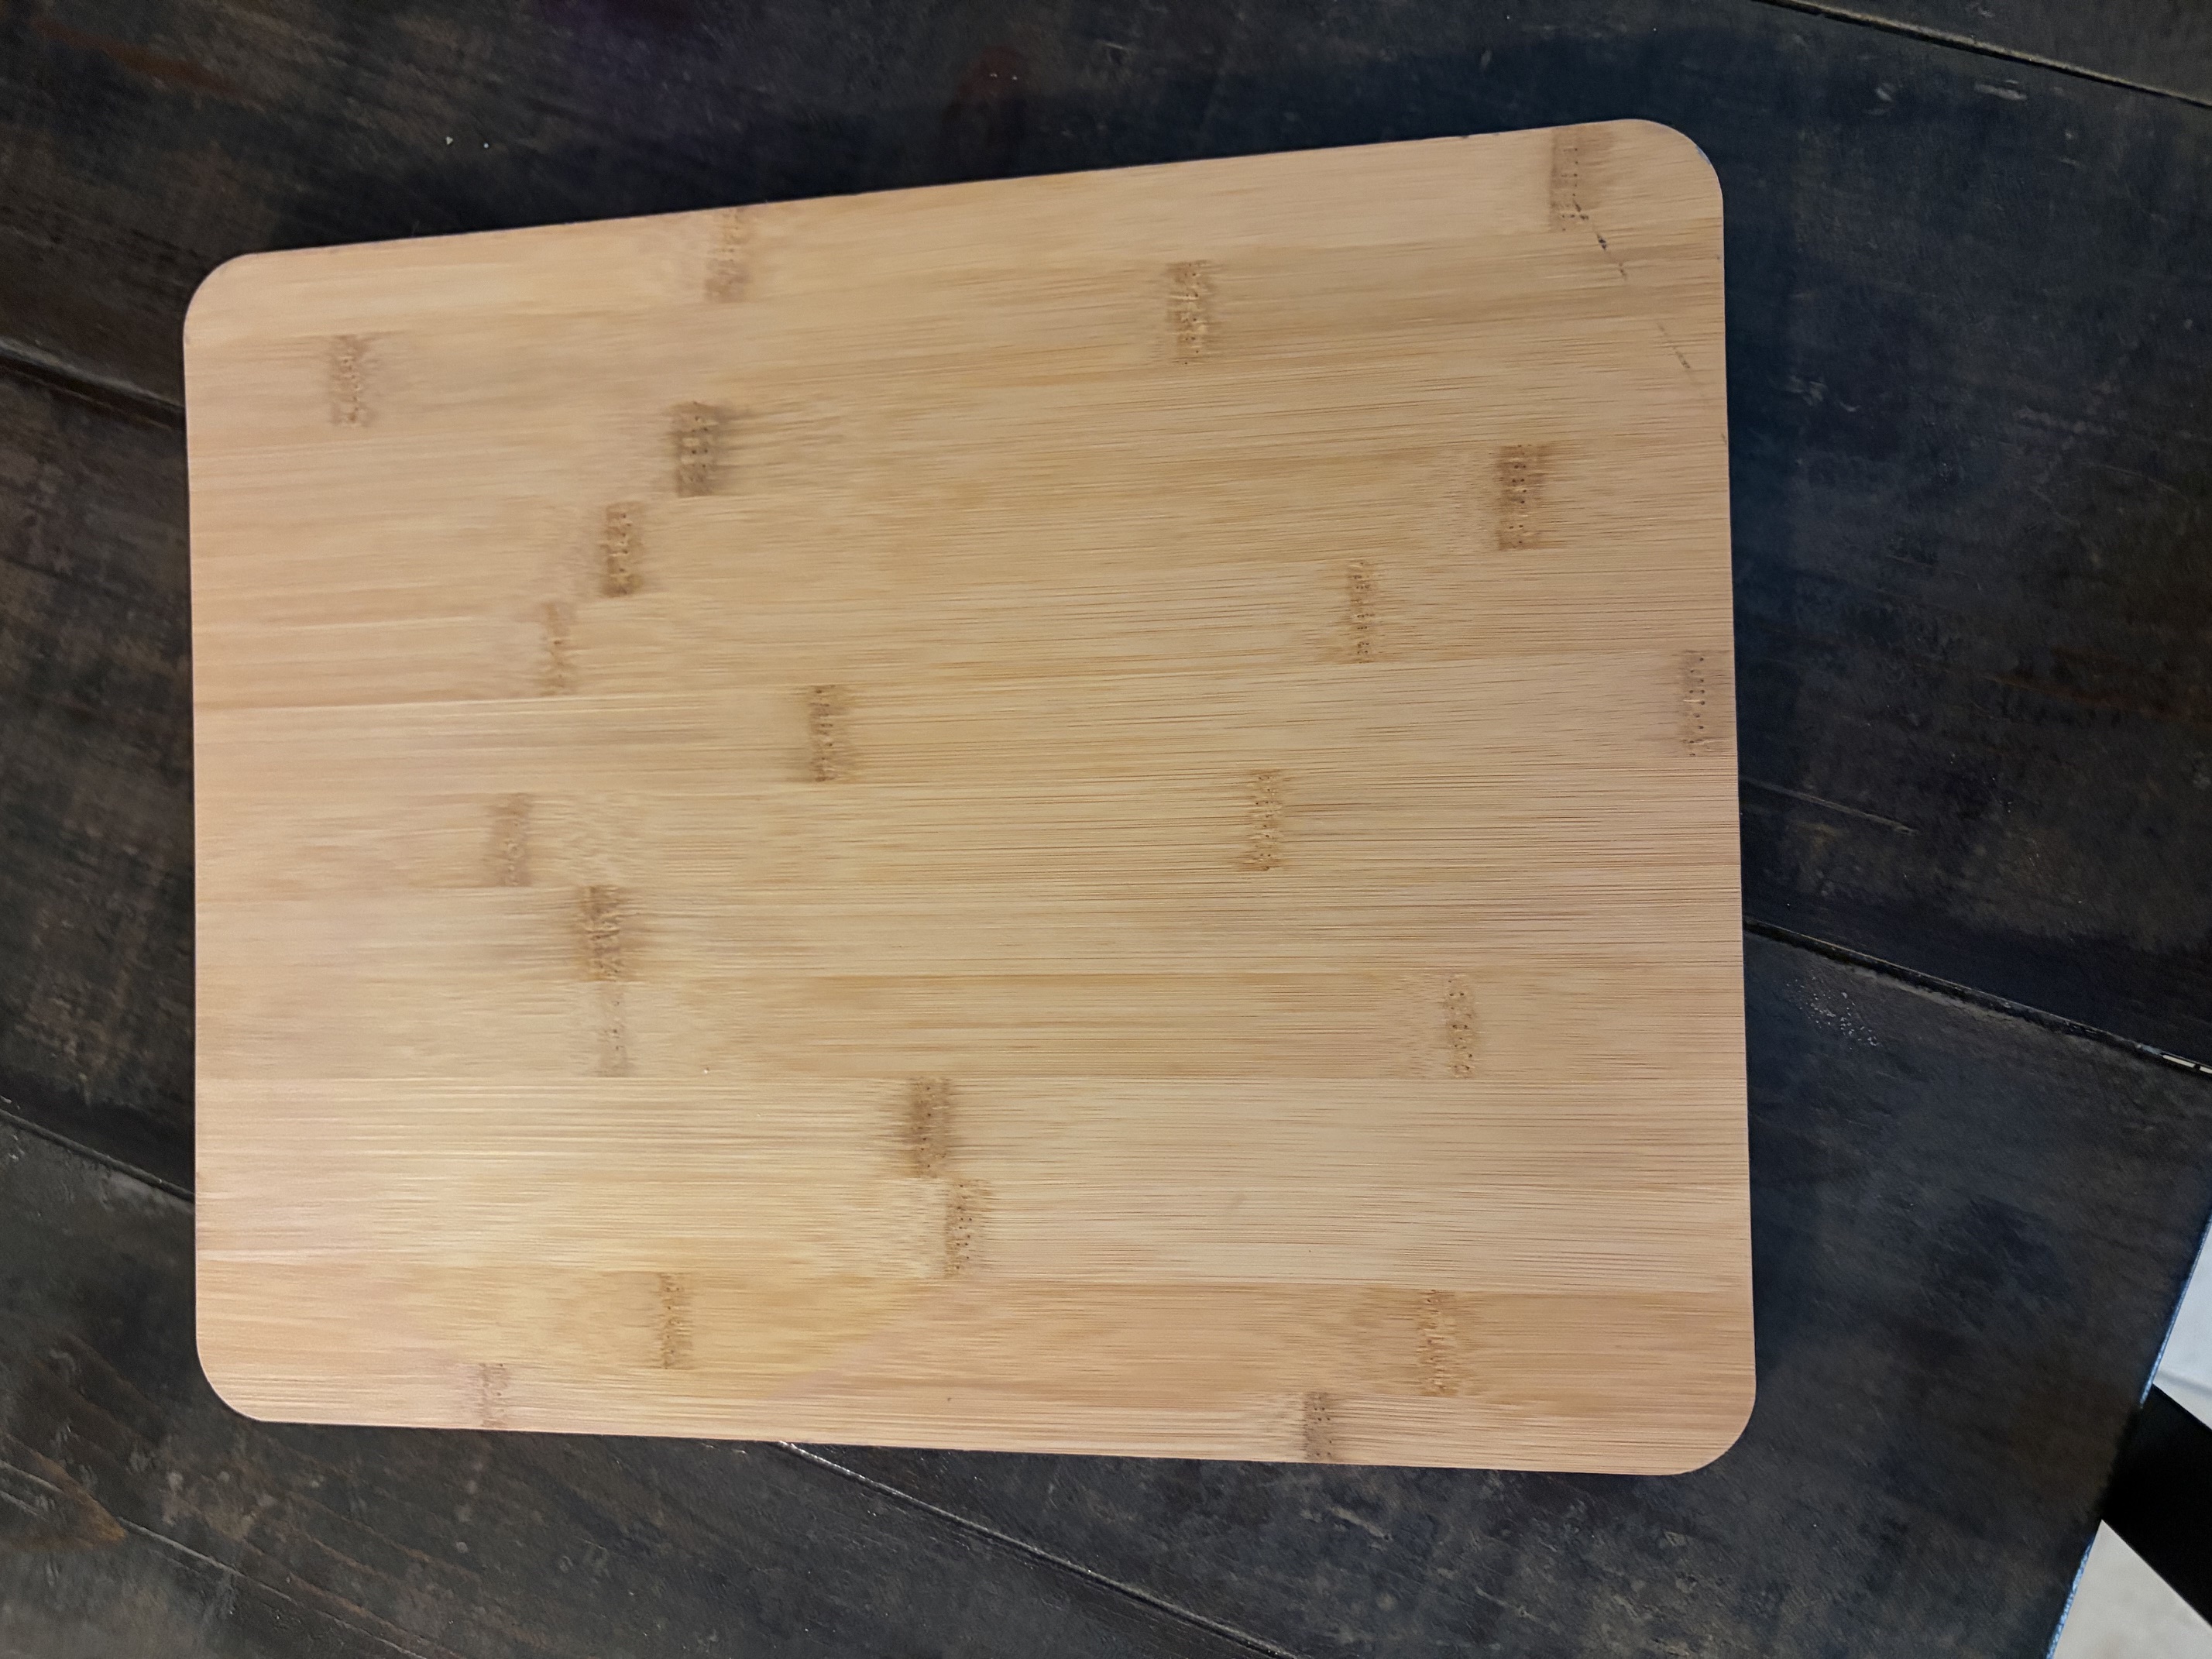
a cheap wood tray - preferably with a lip around the edge
sisal rope
hot glue gun and glue
sandpaper
spray paint in your choice of color
I'm not exactly sure what this board is. A cheap tray of some kind is my guess. I found 2 at a local thrift store for $1.99 each and knew it wold make the perfect scratch boad. Definitely check out your local thrift stores for something similiar or another type of board that will work. It's a great way to save money and repurpose old wood.
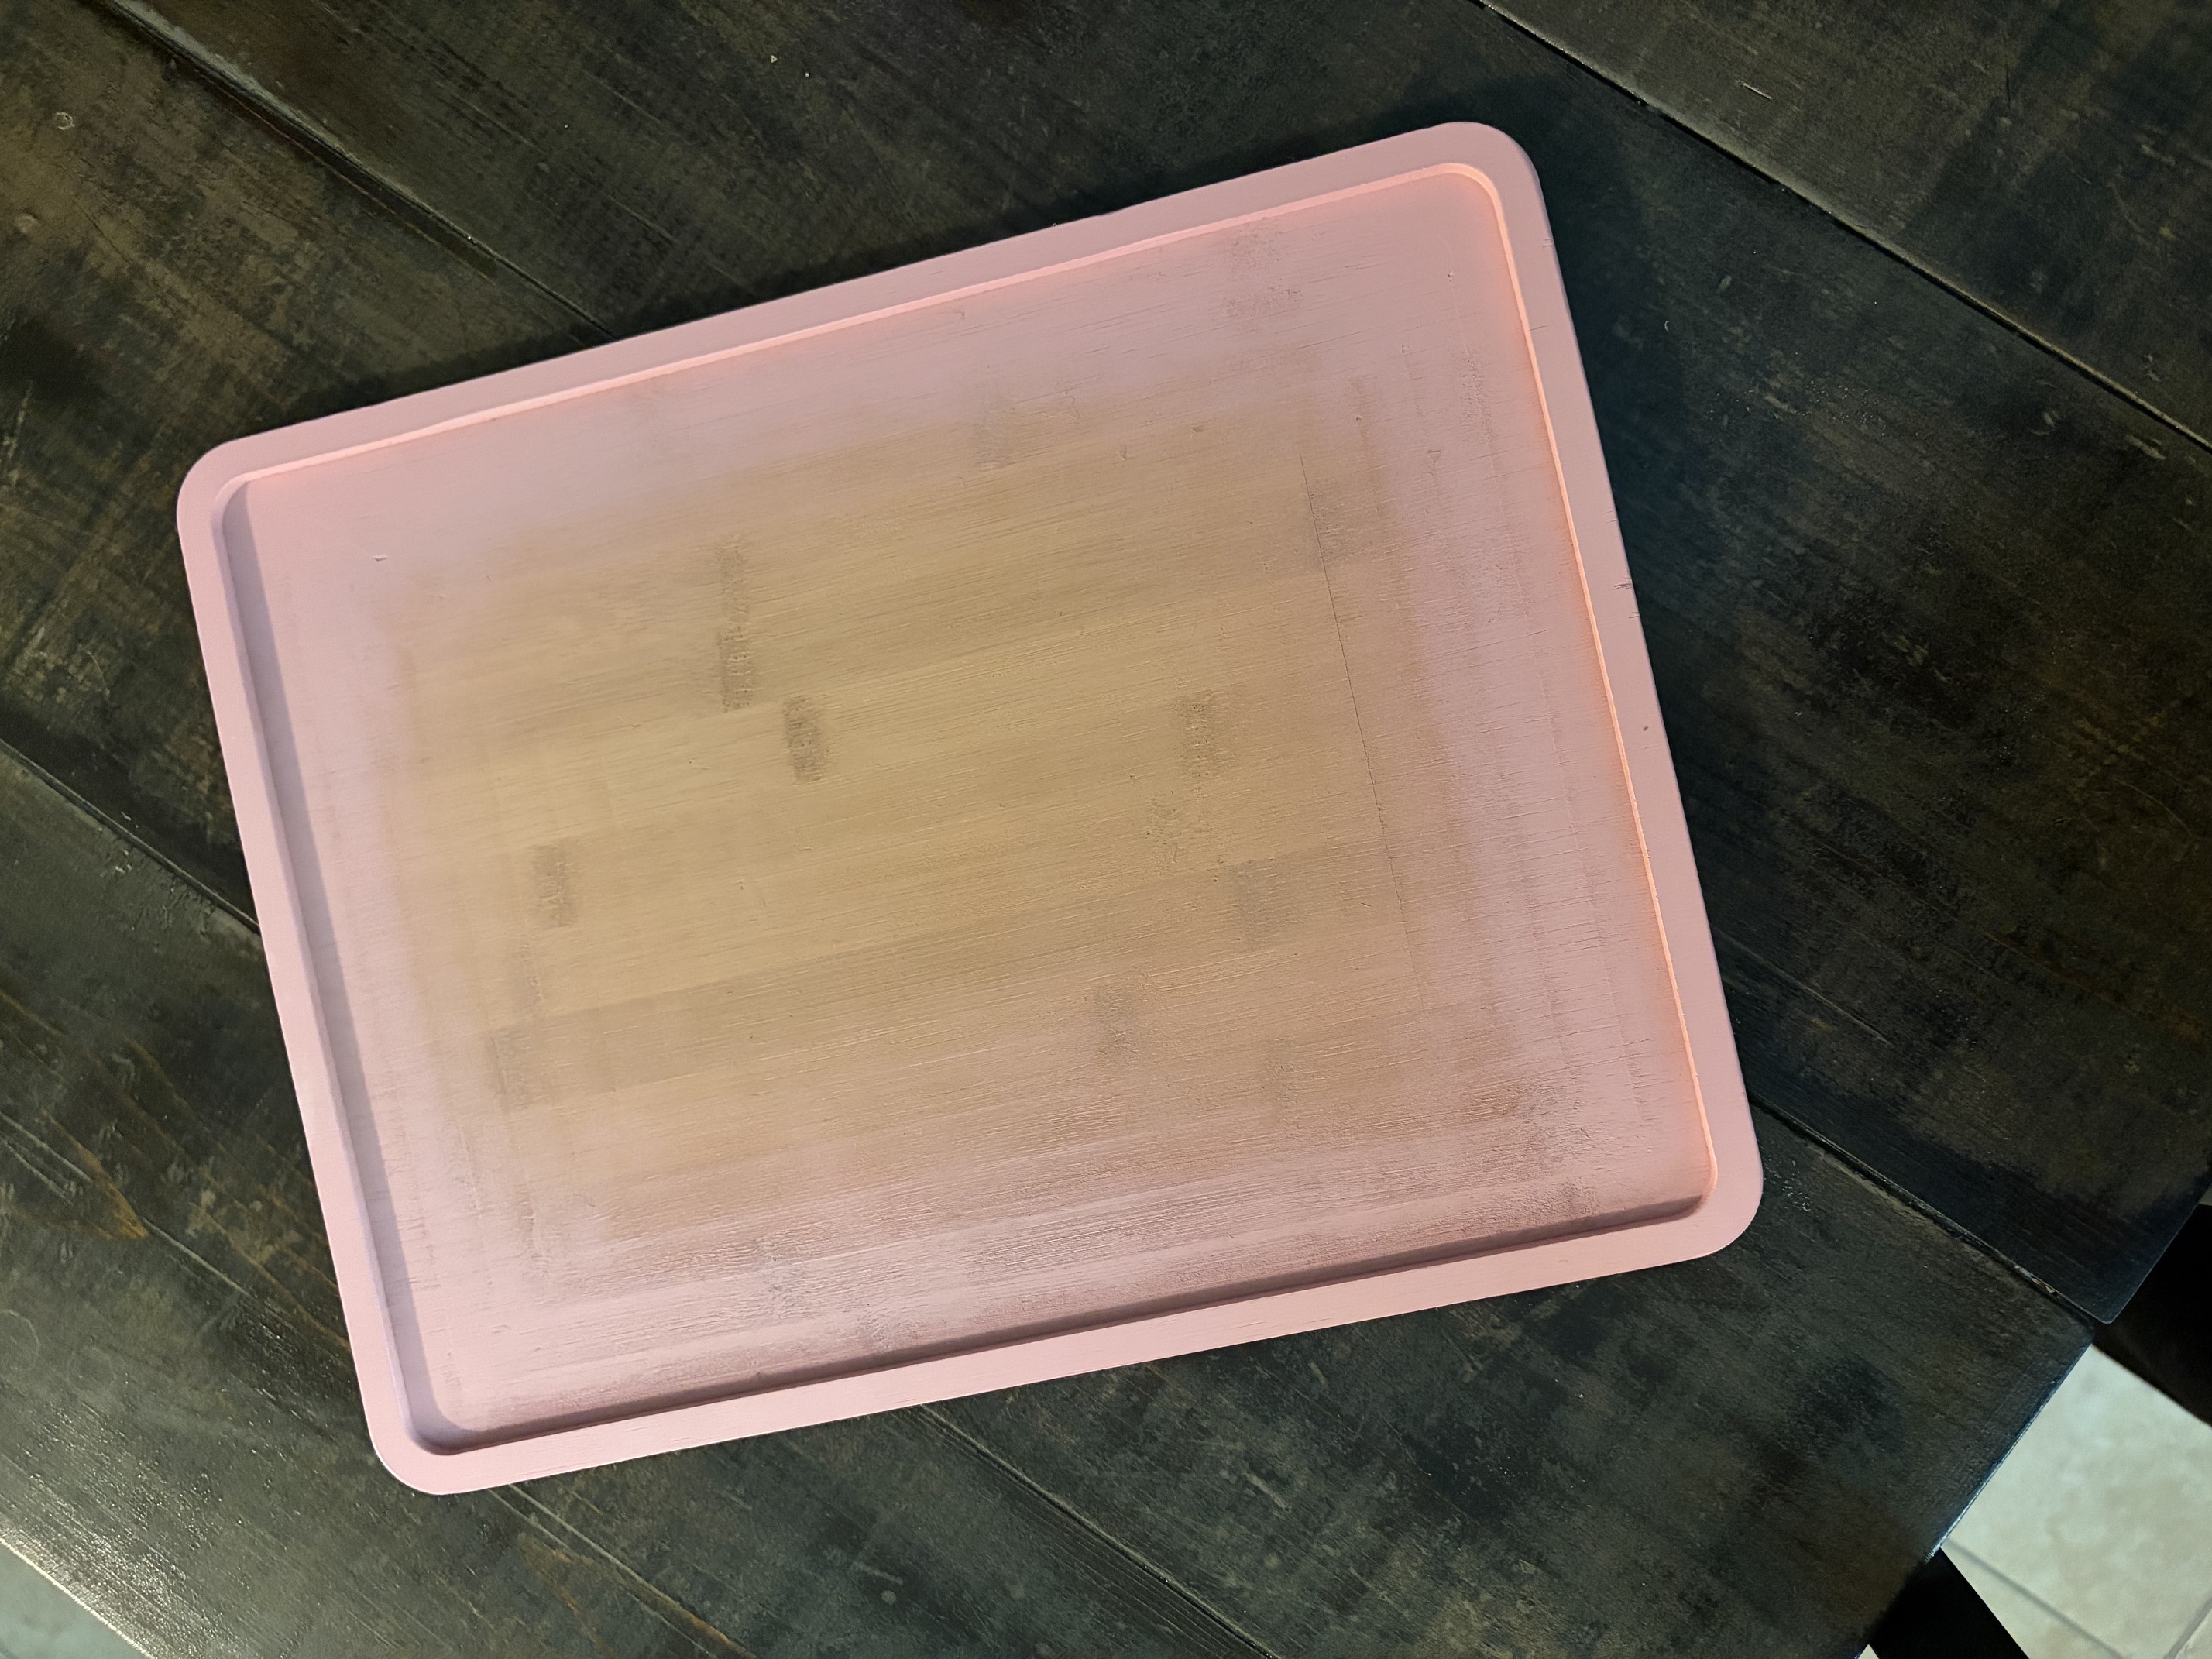
Start by sanding down all the edges of your board. This will help to smooth out any sharper edges or loose pieces as well as making a nice surface for your paint to adhere to. Dust off the board and then spray it with your paint color of choice. There's no need to paint the entire board, just around the edges that will be seen. Leave the back unpainted as well.
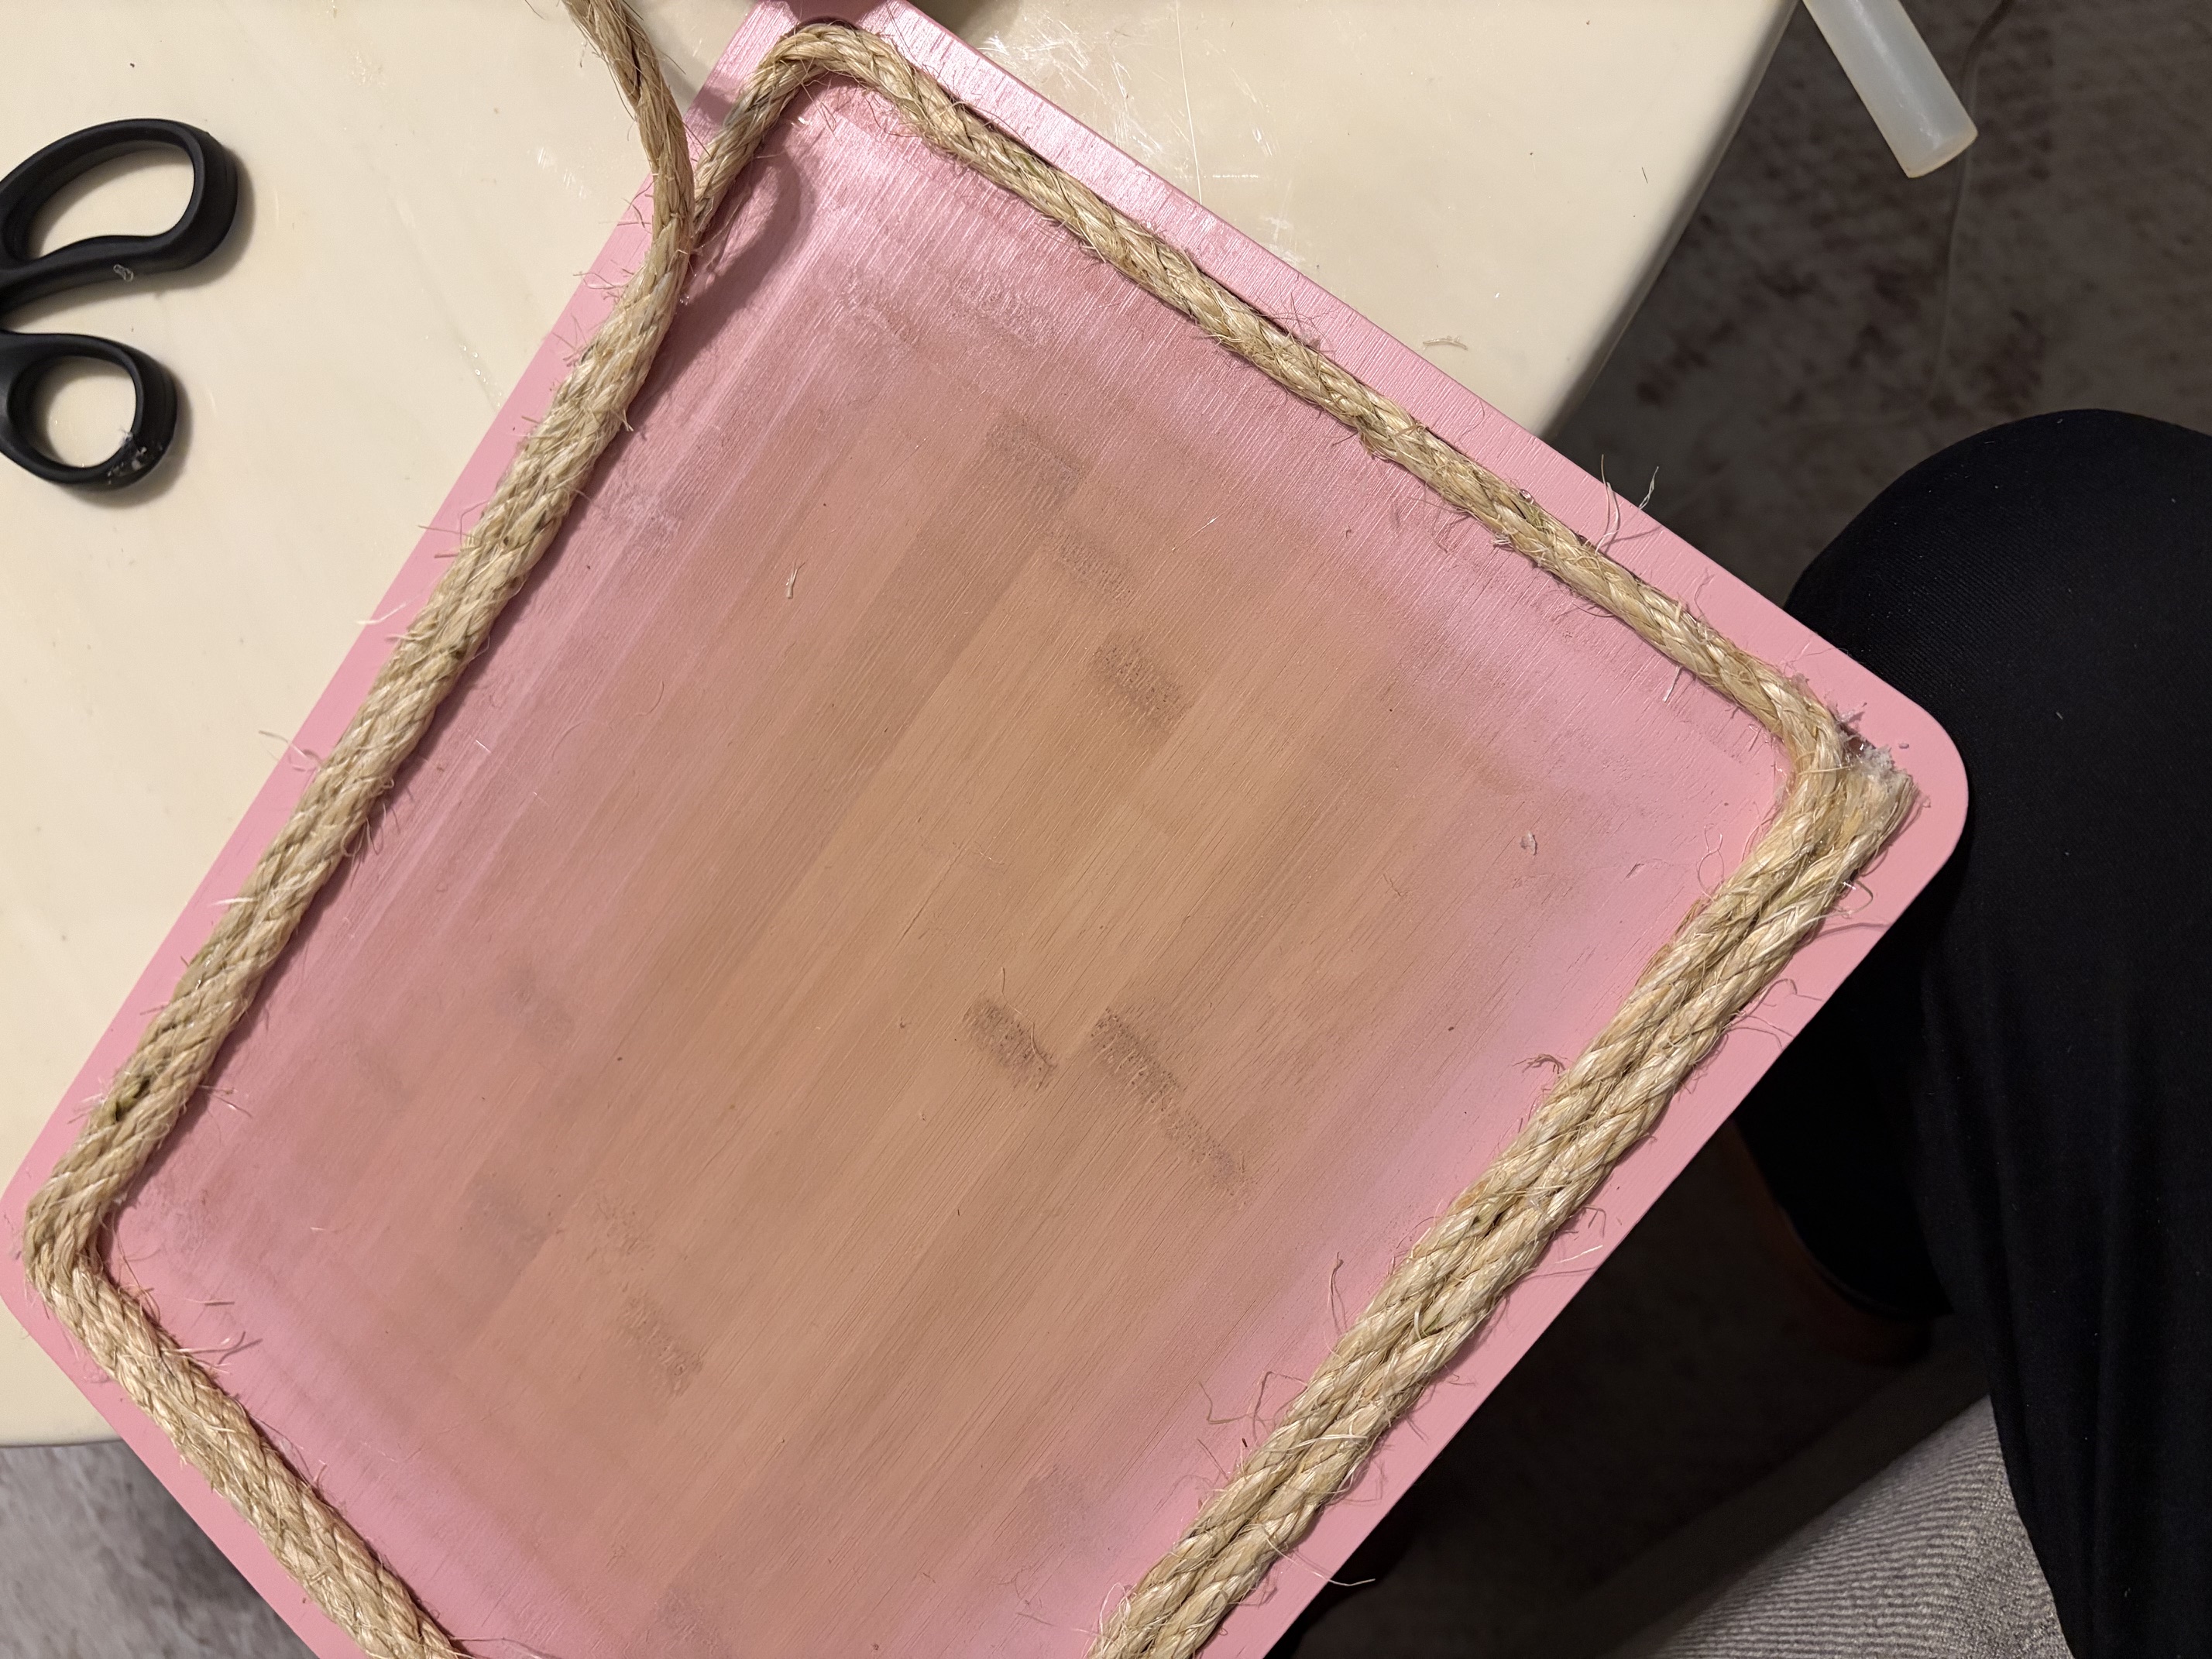
Once the paint is completely dry it's time to add your sisal rope. I bought a 50' roll of 3/8" rope and did not use the entire roll for my 11" x 14" boards.
Start in a corner and glue down the edge of the rope nice and securely. Then continue around and around and around the entire board. Use enough glue to make sure it is firmly attached to the board.
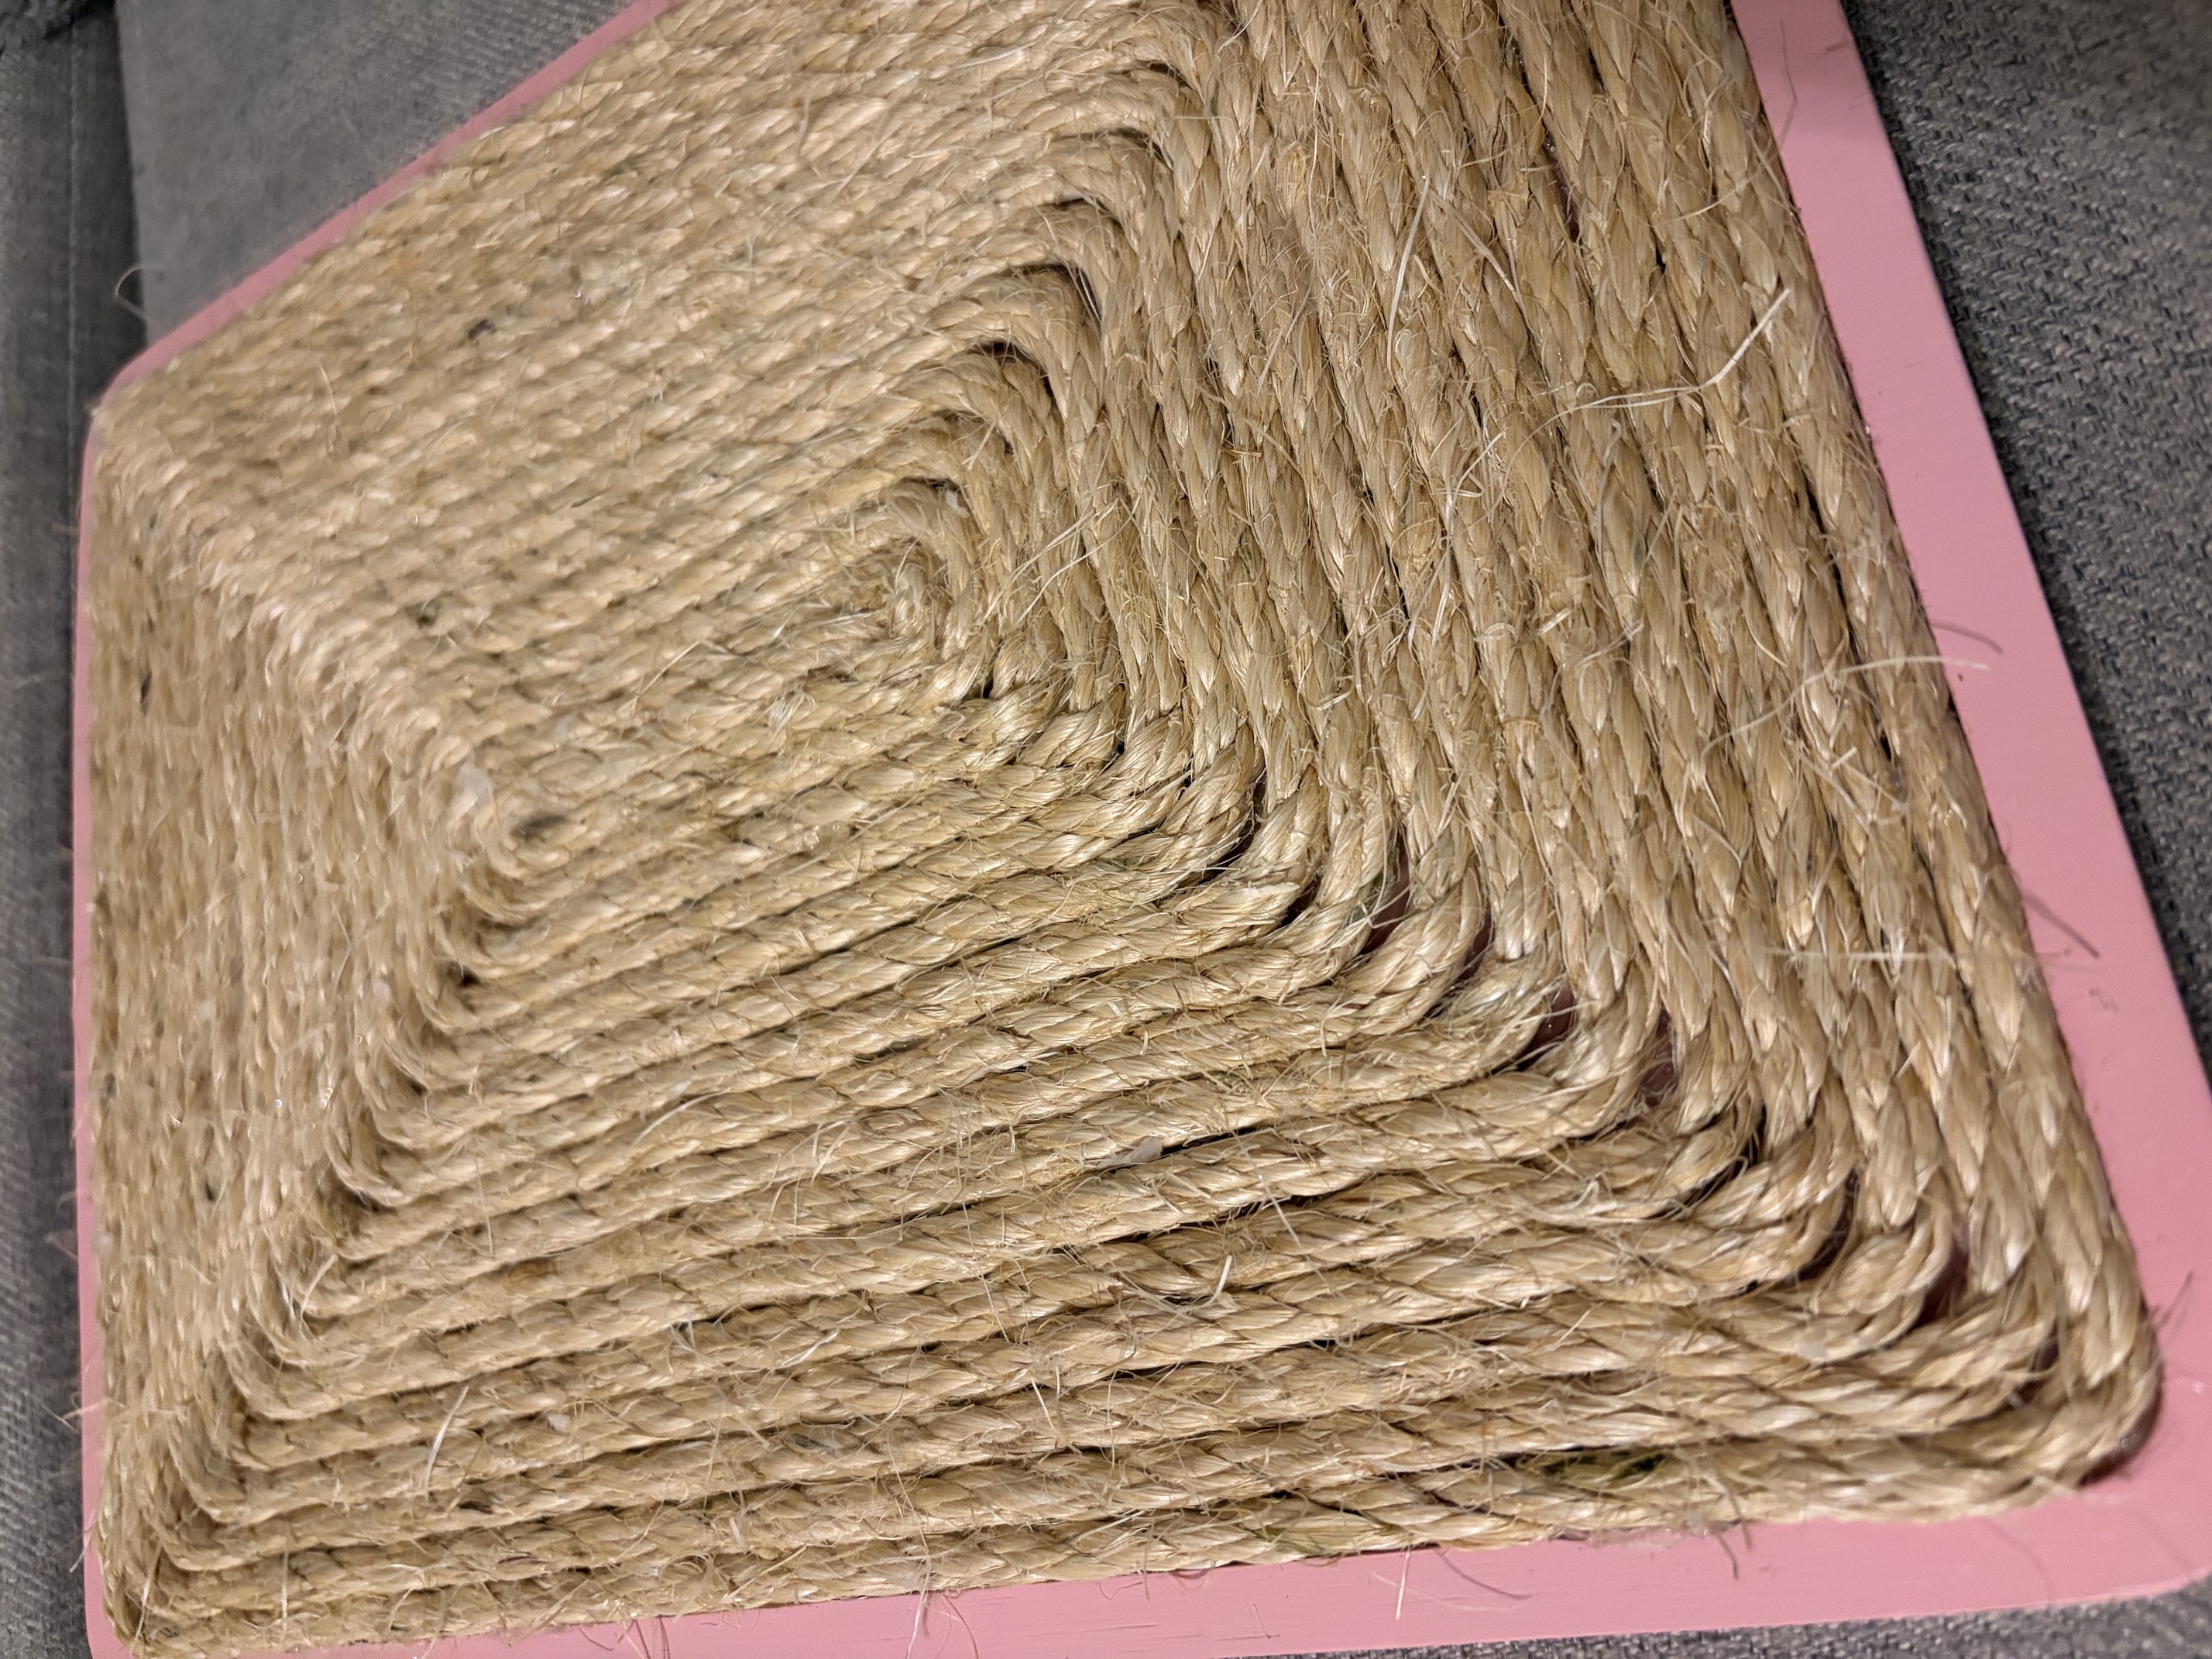
Finish it by gluing it down in the middle and firmly holding it in place while it dries. Then give it to your kitty to enjoy.
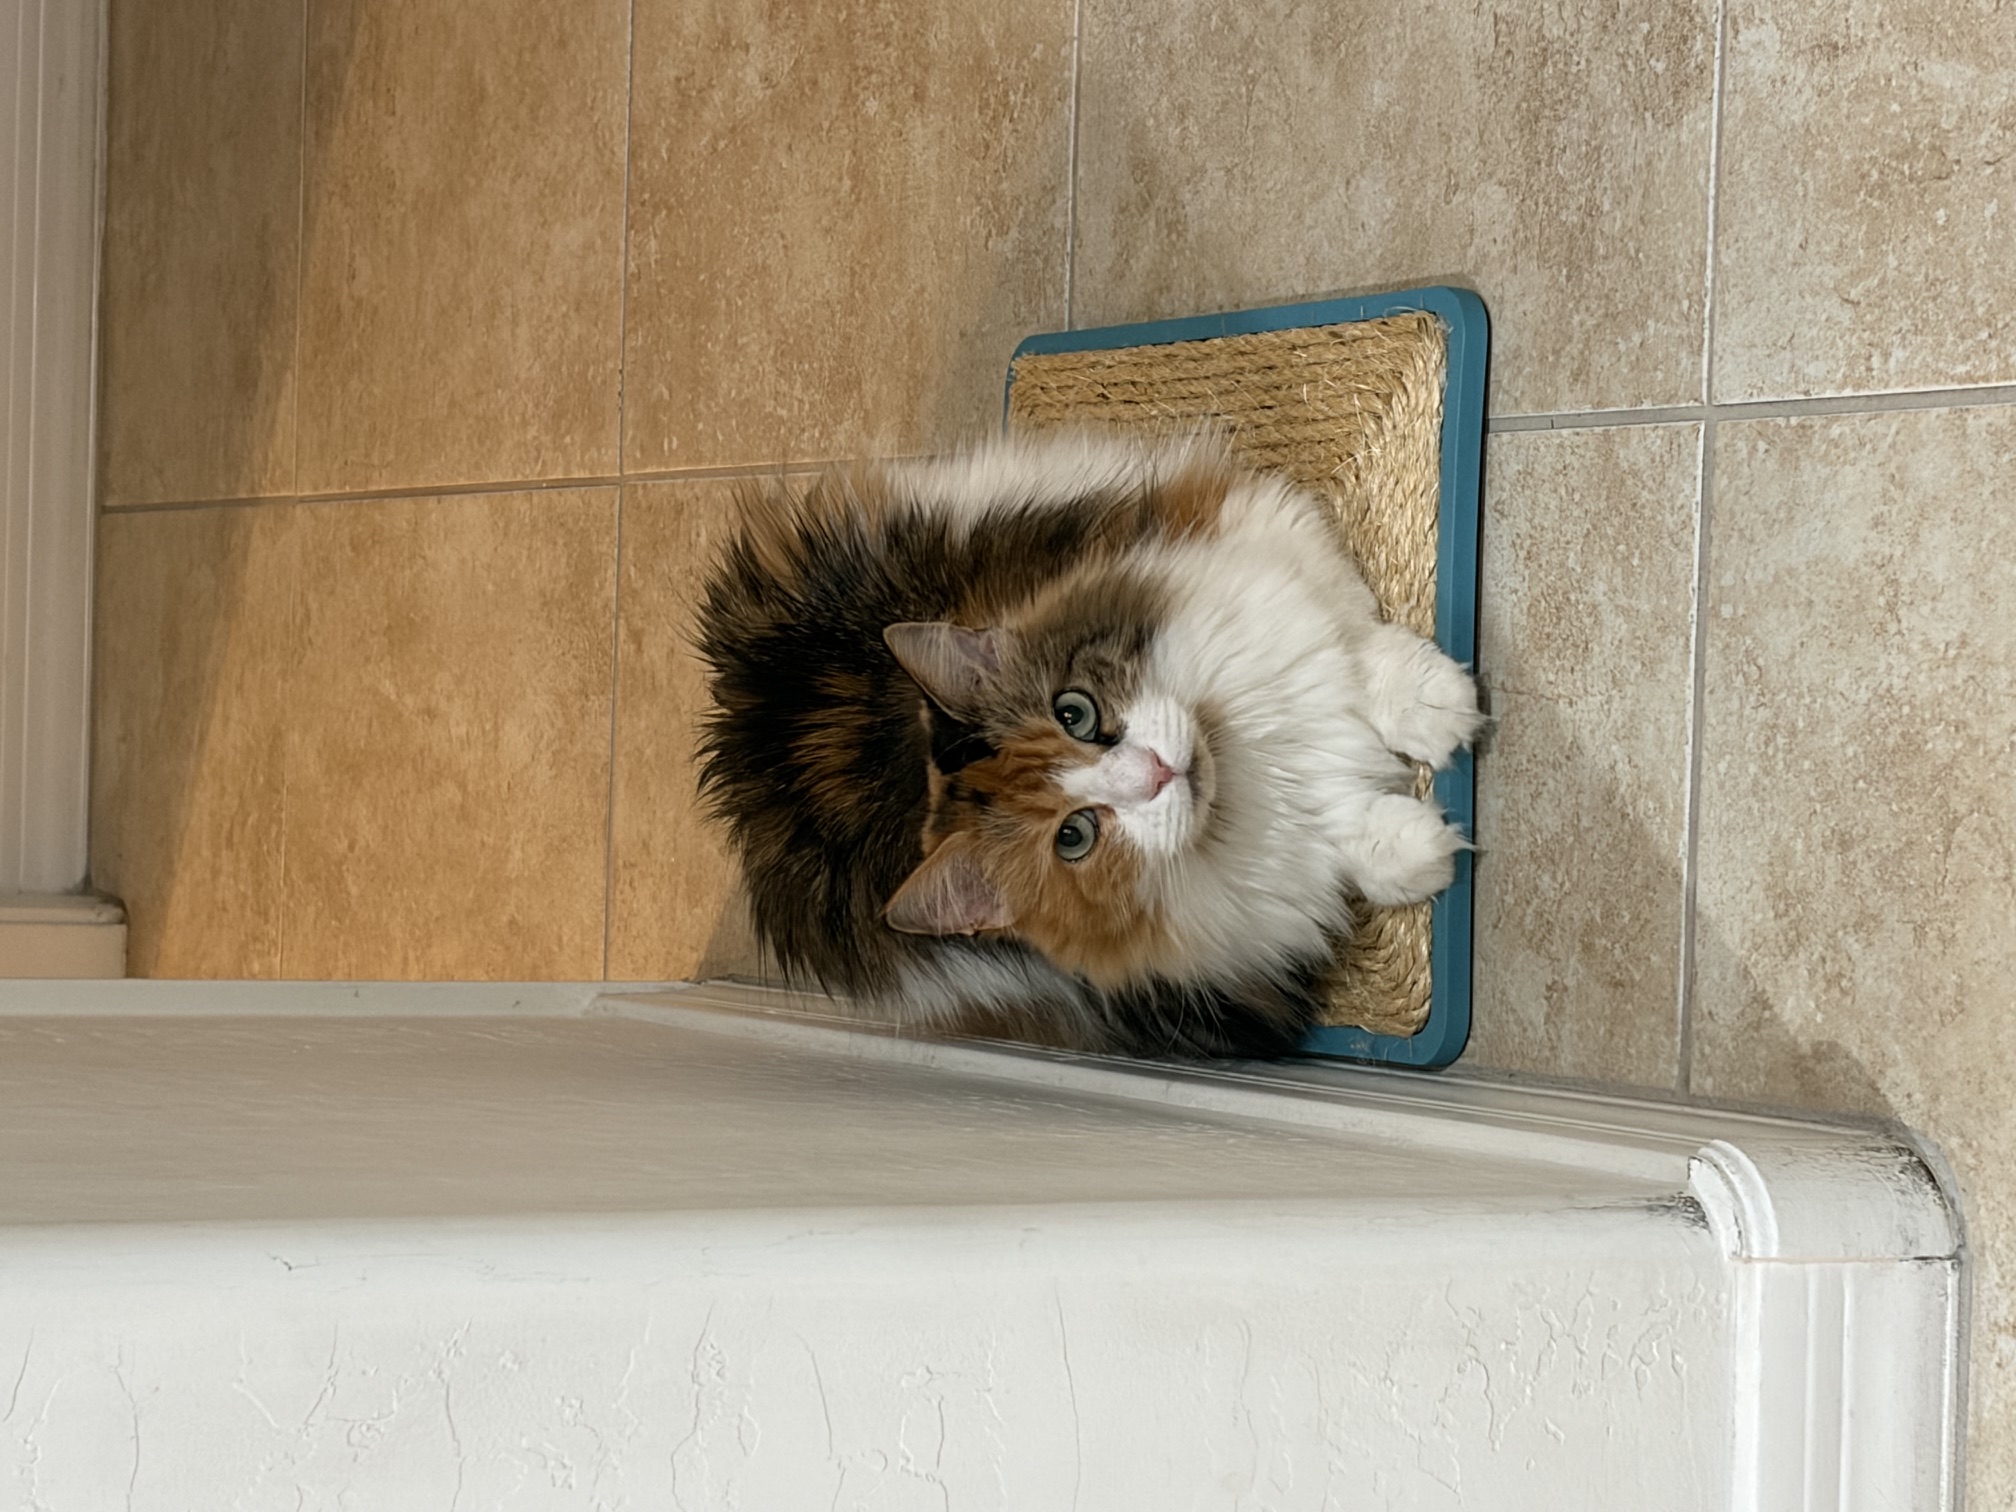
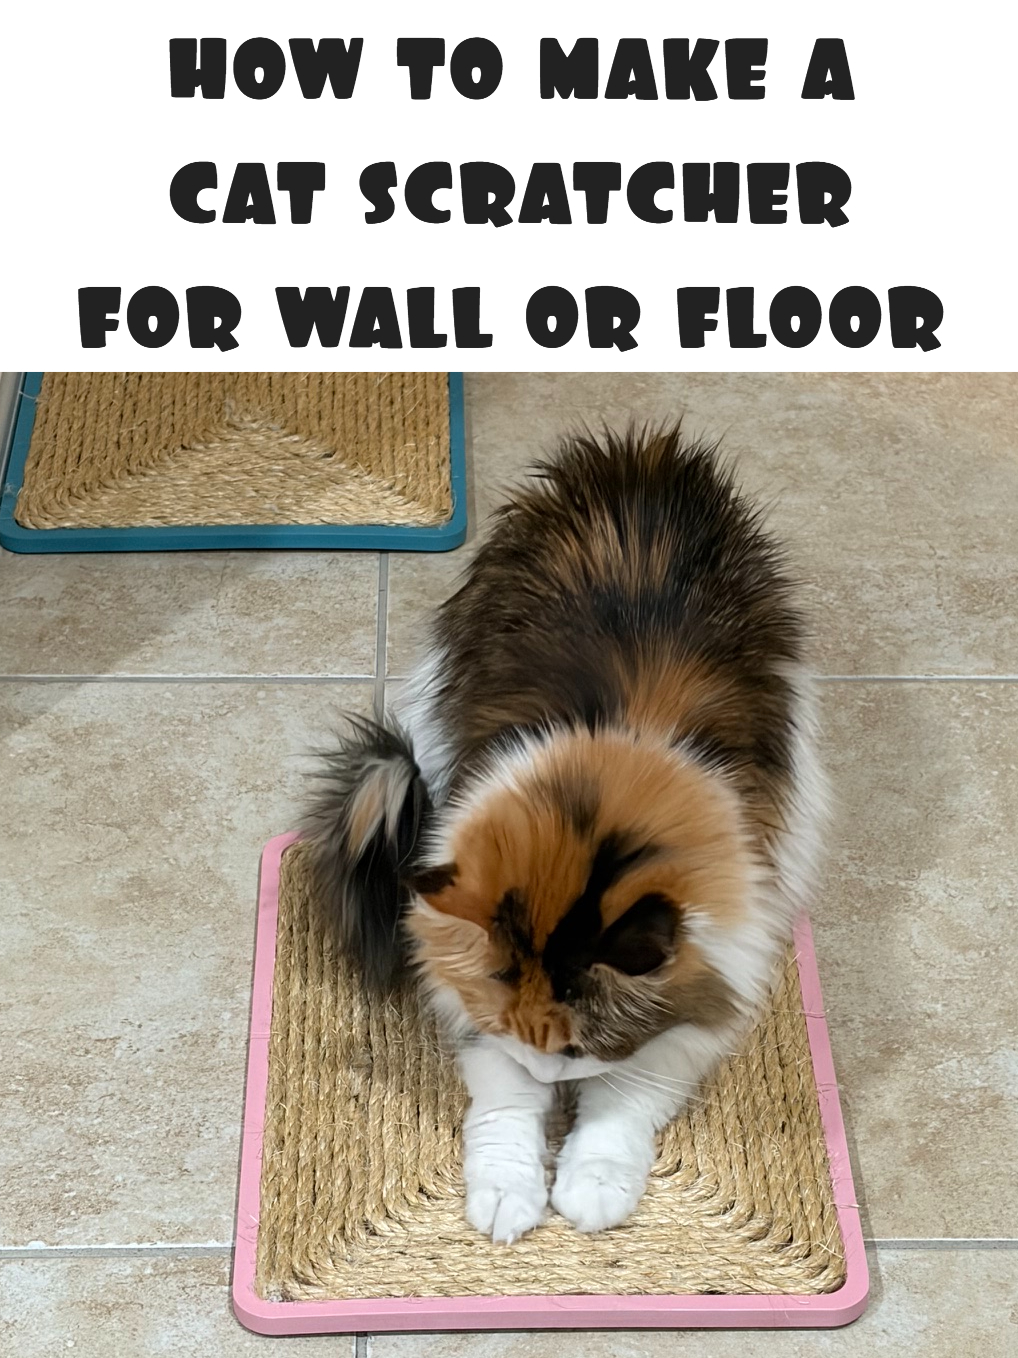
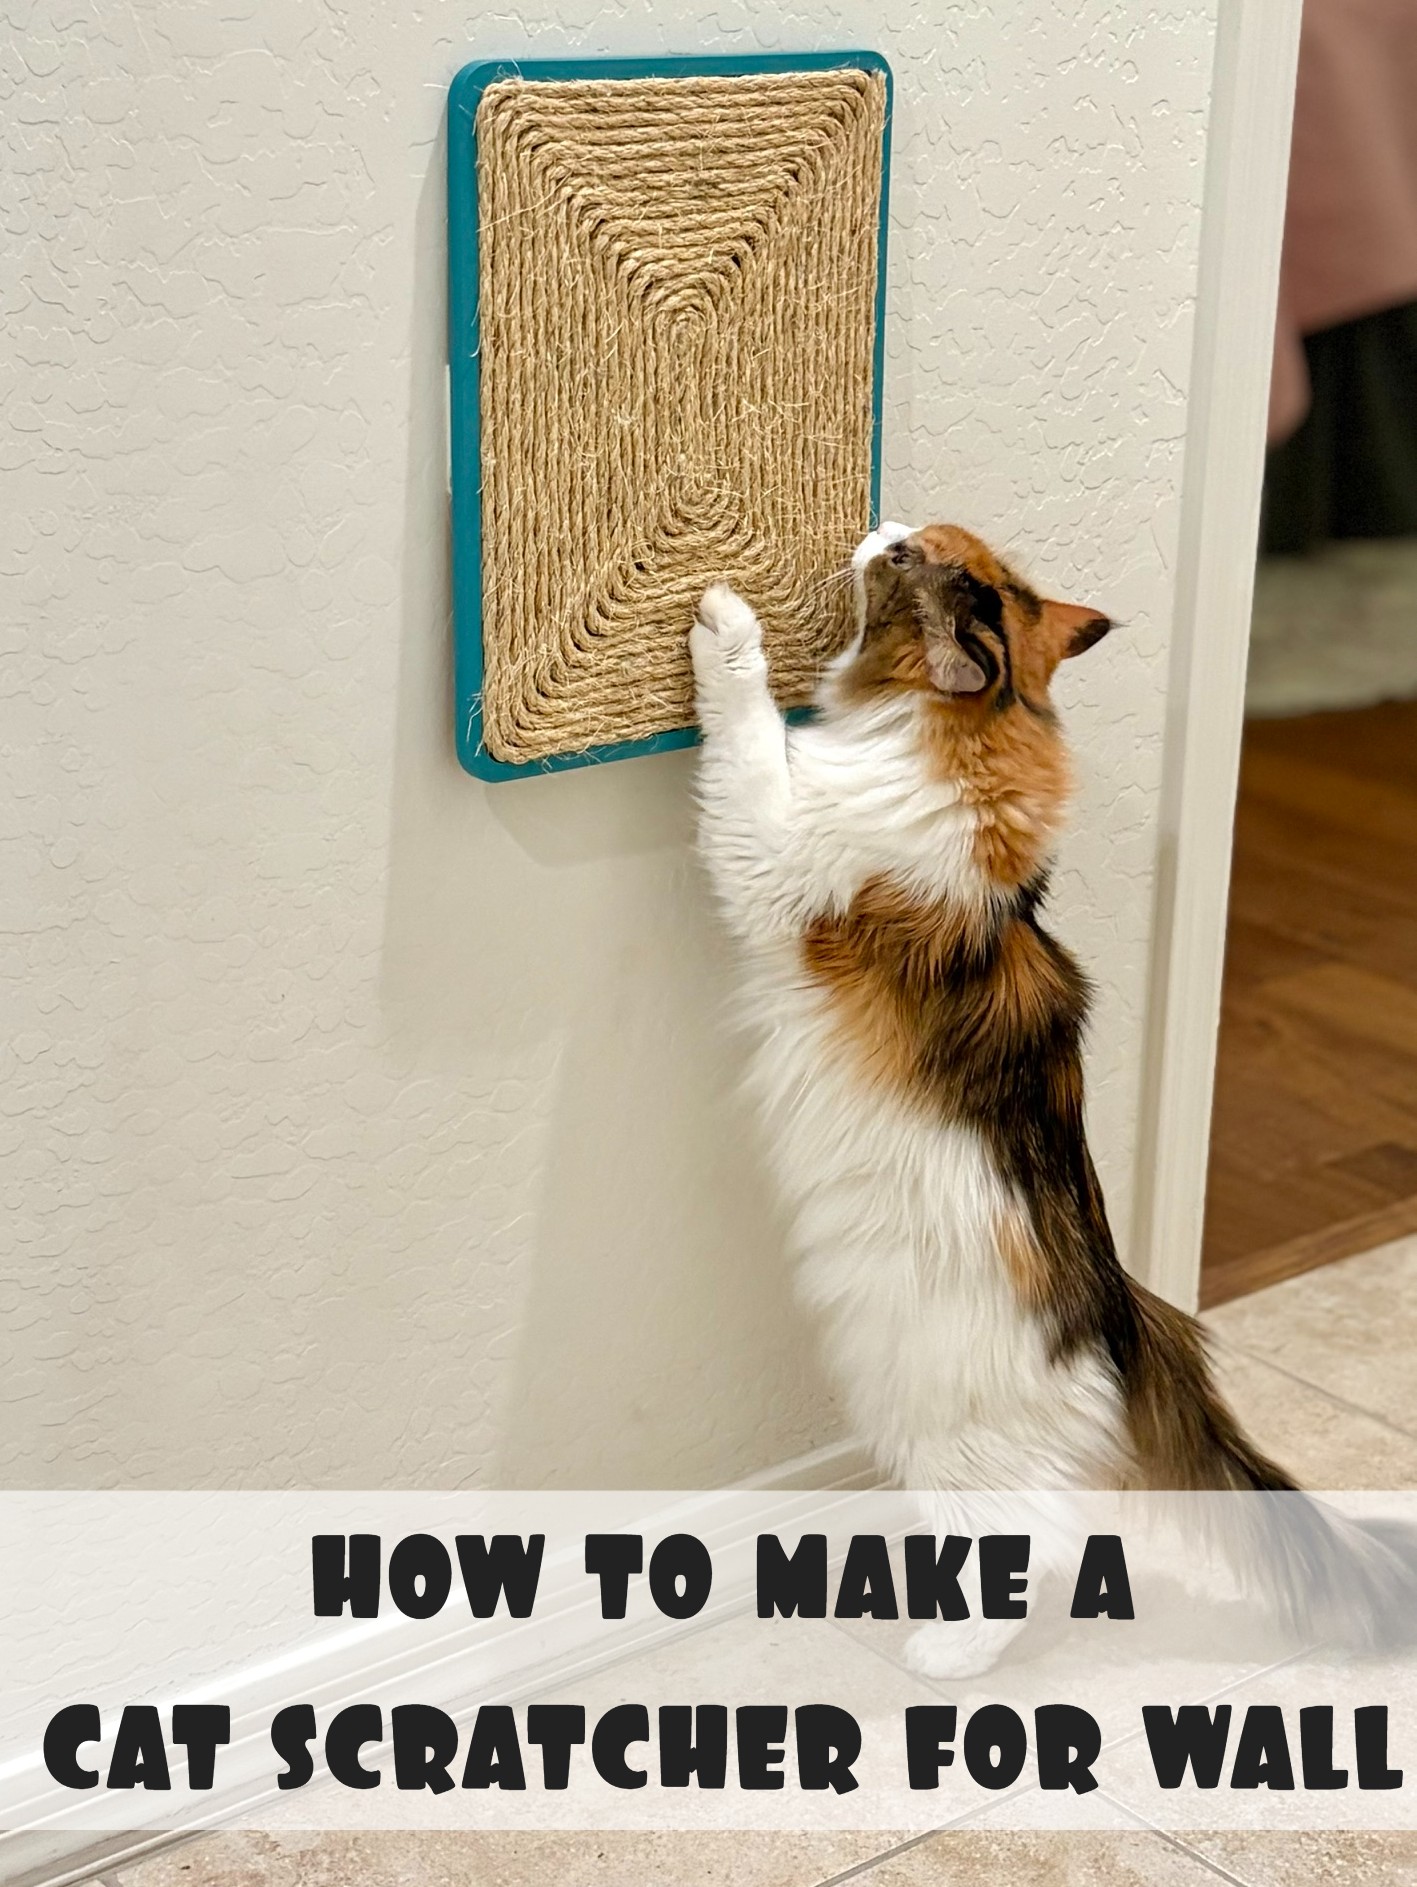
Clover loves to use it on the floor and then lay on top of it. But I also attached one of them to the wall so she can stretch out and use it. I attached that to the wall with the velcro strips and stuffed some folded up paper towel behind it so it doesn't move at all when she uses it.
diy projects
Have you seen our incredible PVC pipe art? Learn how to lean how to make it youself!CrazyDIYmom.com Contact Us Privacy Policy Disclaimer About me