
DIY projects
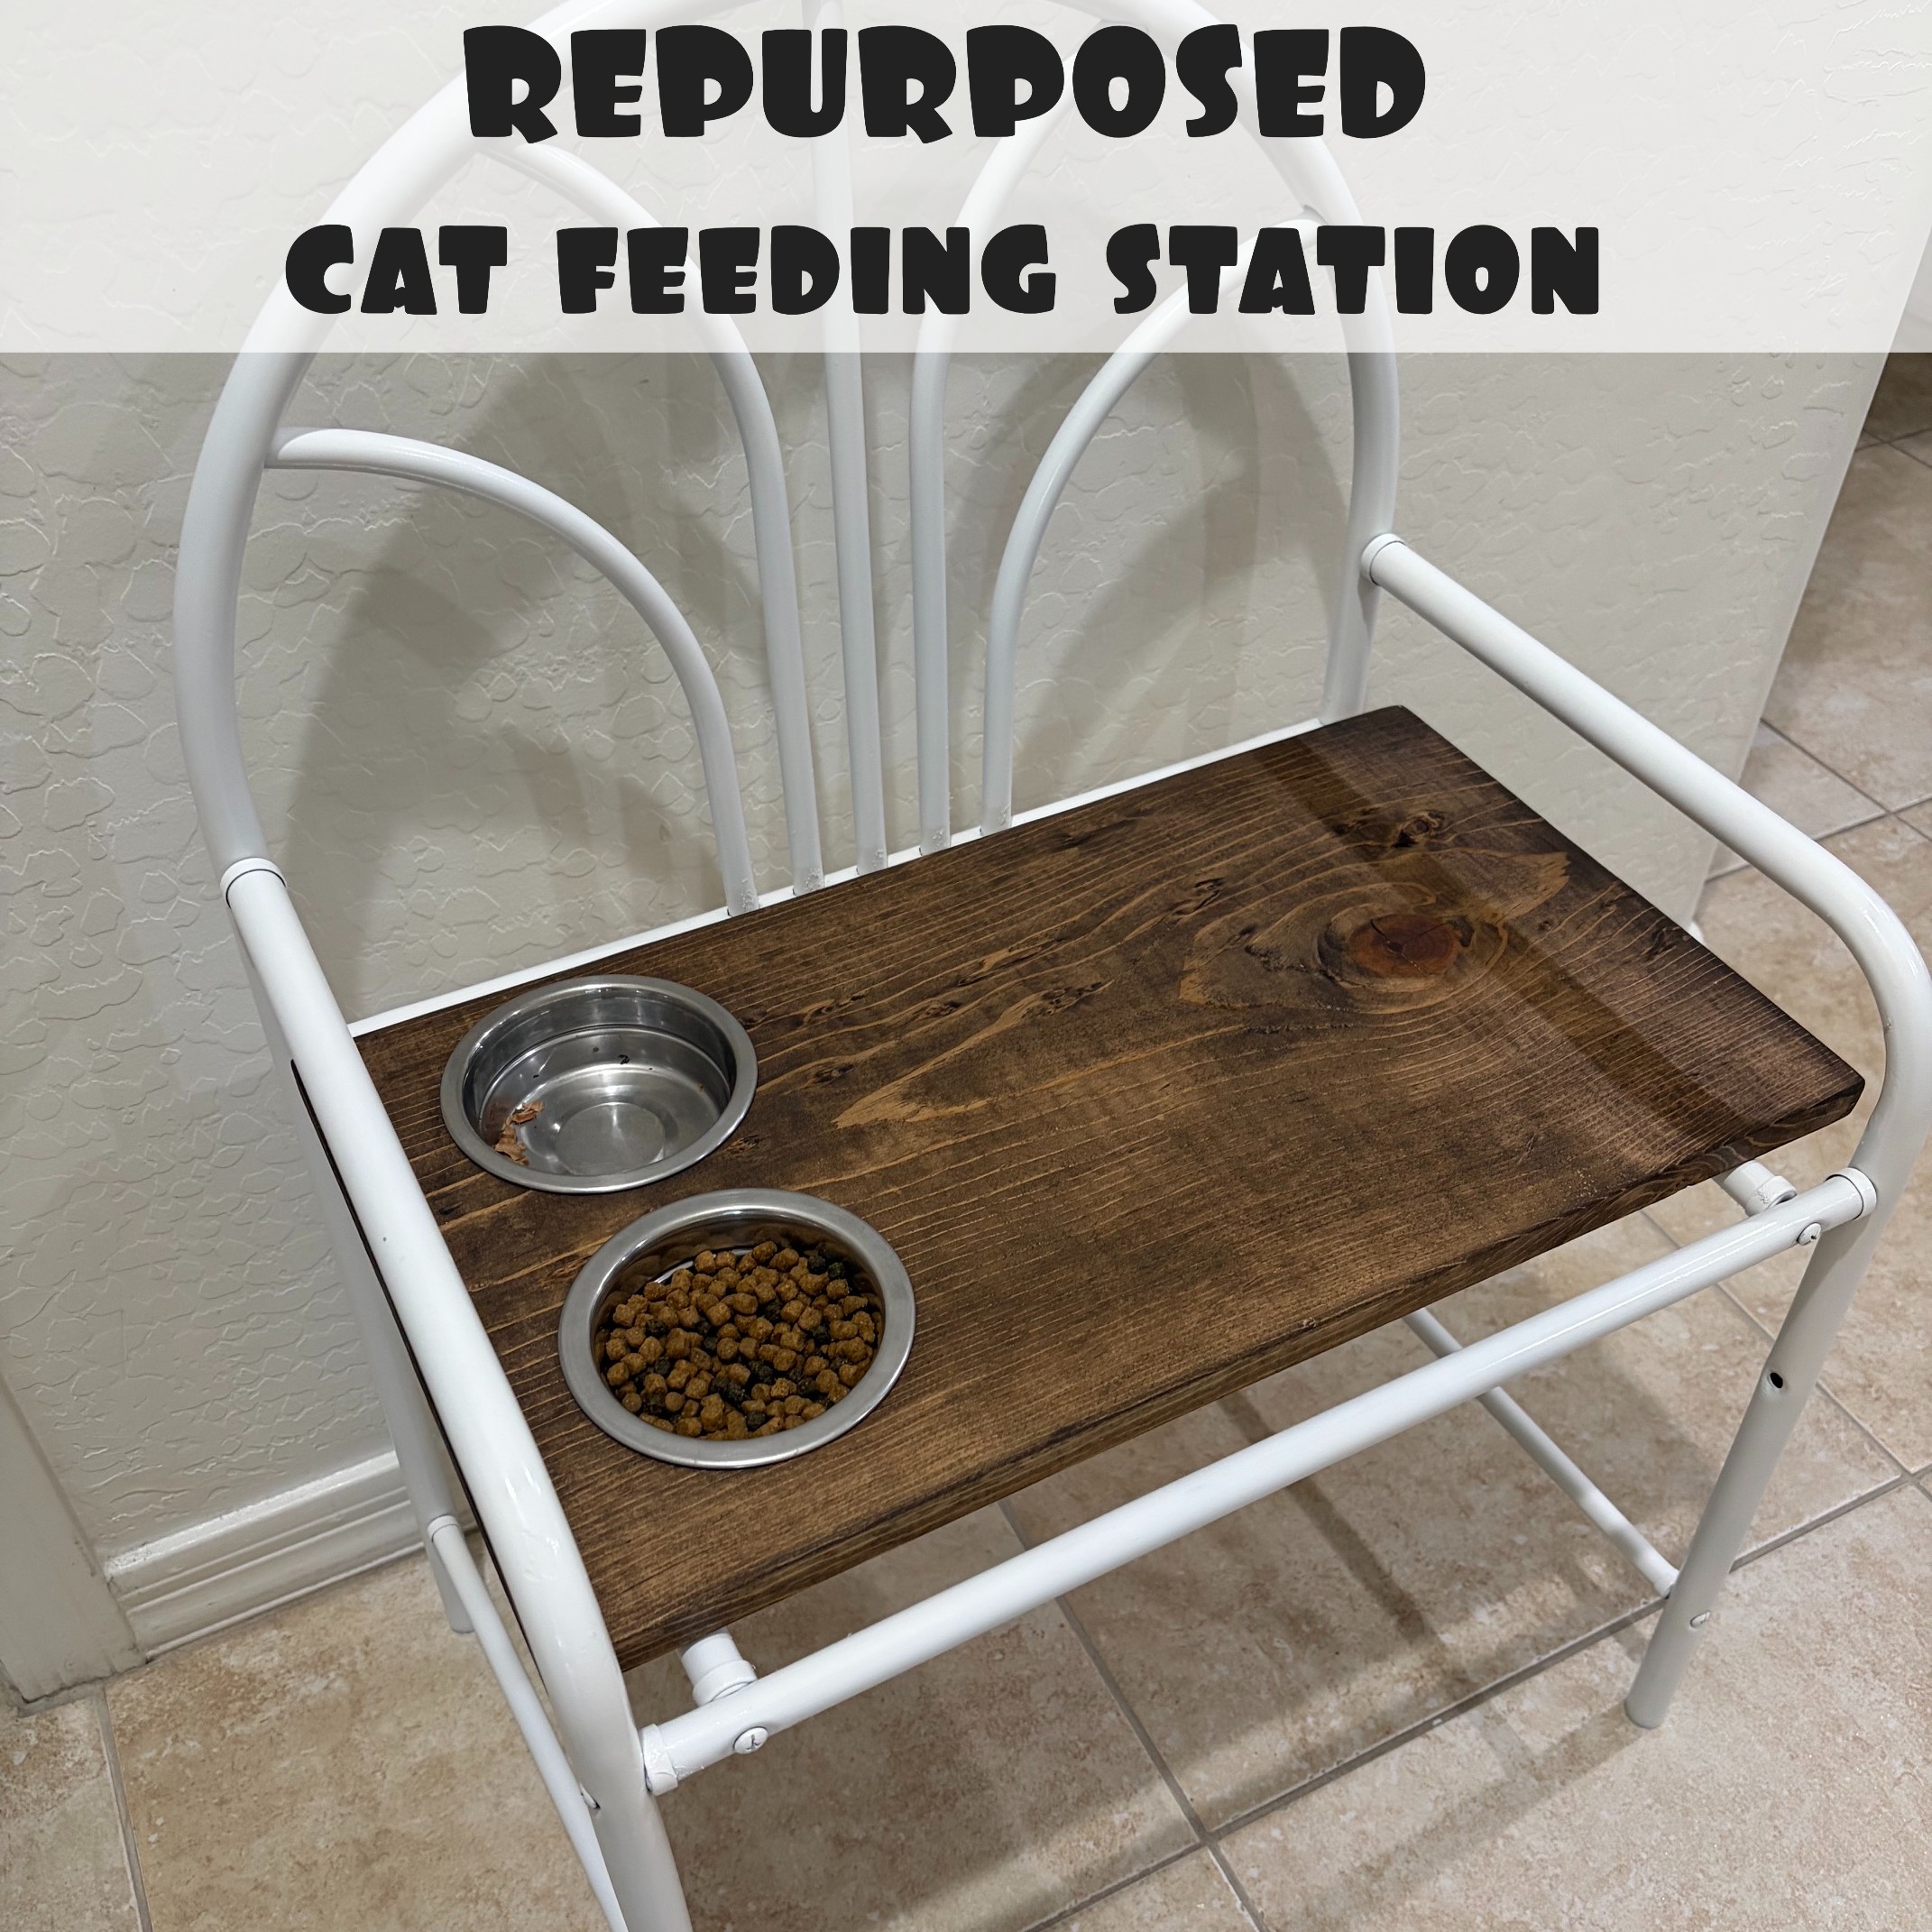
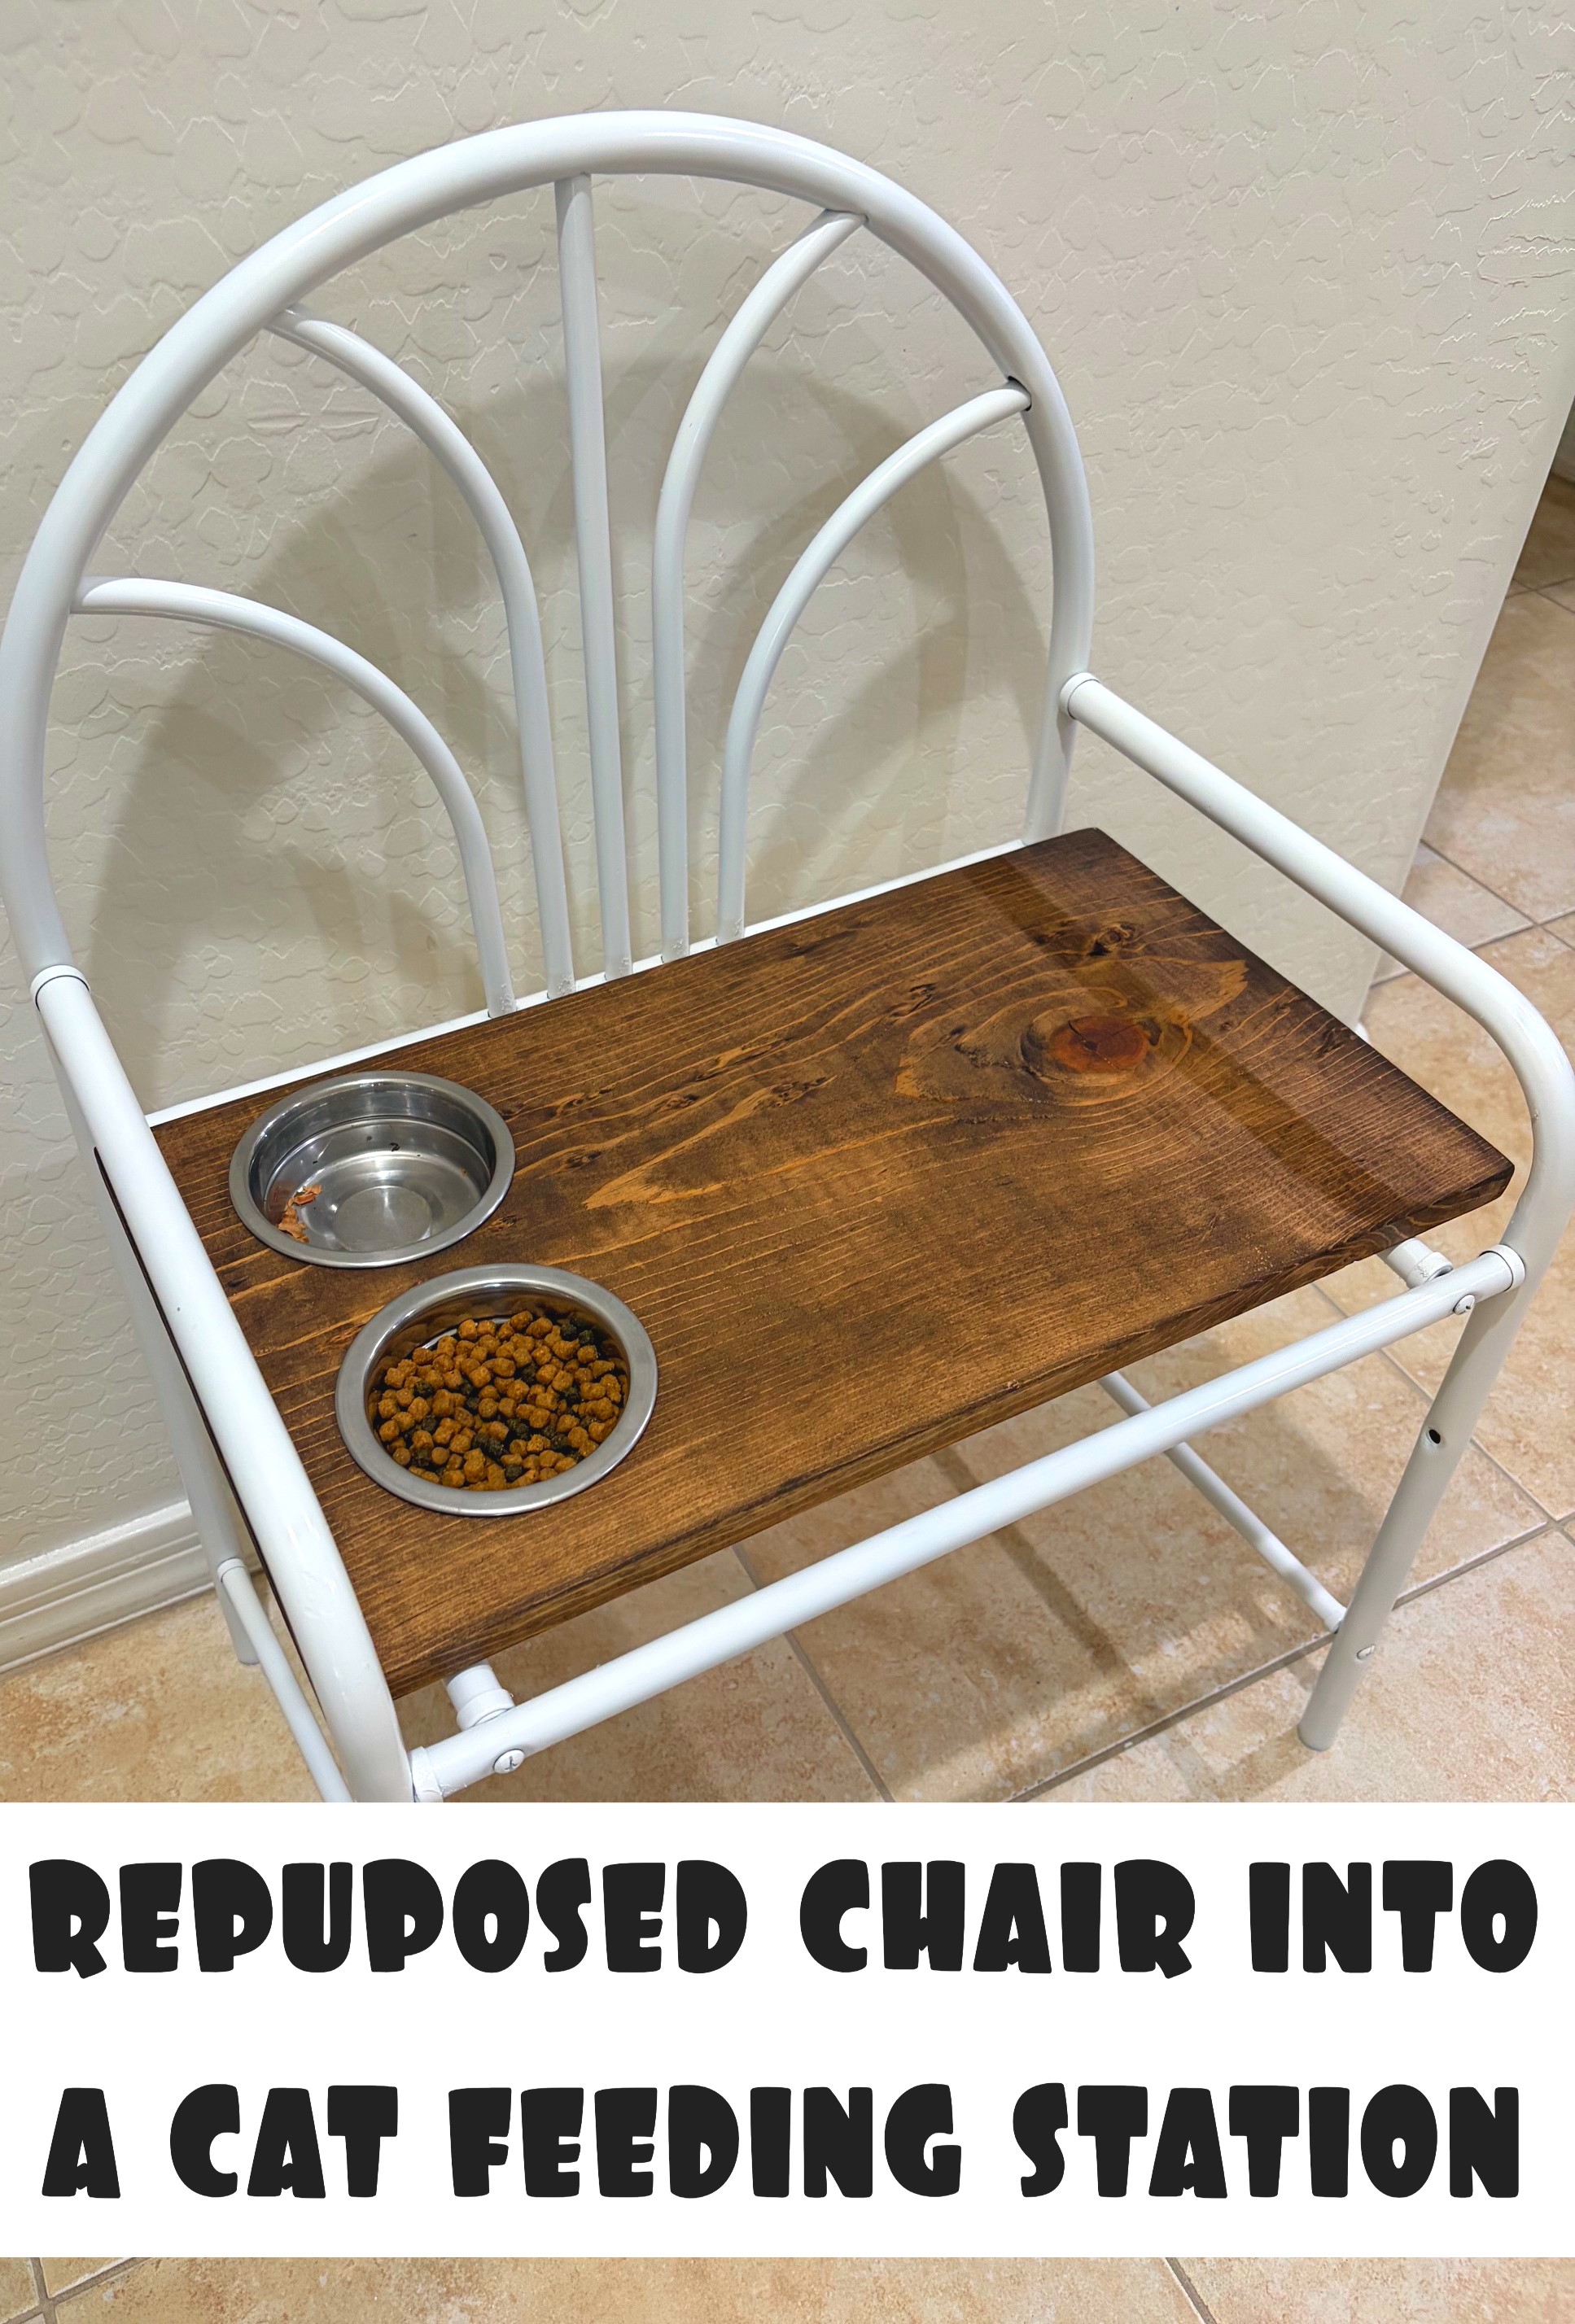
How to repurpose a chair into a cat feeding station
This post may contain affiliate links.
We adopted a cat! Our very first kitty as we were never "cat" people, only dog people and that was mostly due to some bad cat allergies. But once we discovered the Siberian cat breed we had to learn more and we were suddenly hooked. To say she's spoiled is an understatement. We also have a chihuahua/poodle mix that LOVES to eat anything she can get her mouth on, so we had to find a way to feed the kitty so that the dog couldn't get her food.
What you will need:
a chair
some pine wood
a drill and drill bit
a jig saw
sand paper
stain or paint
I had picked up this cute metal chair at a thrift store many years ago. It wasn't for something specific but it was so cute and I could easily redo it to match with a specific room that I had to have it. Over the years this chair has been 4 different colors and had about 7 different fabrics on it. At this point, the chair was just sitting in the garage not being used, but I couldn't get rid of it either.
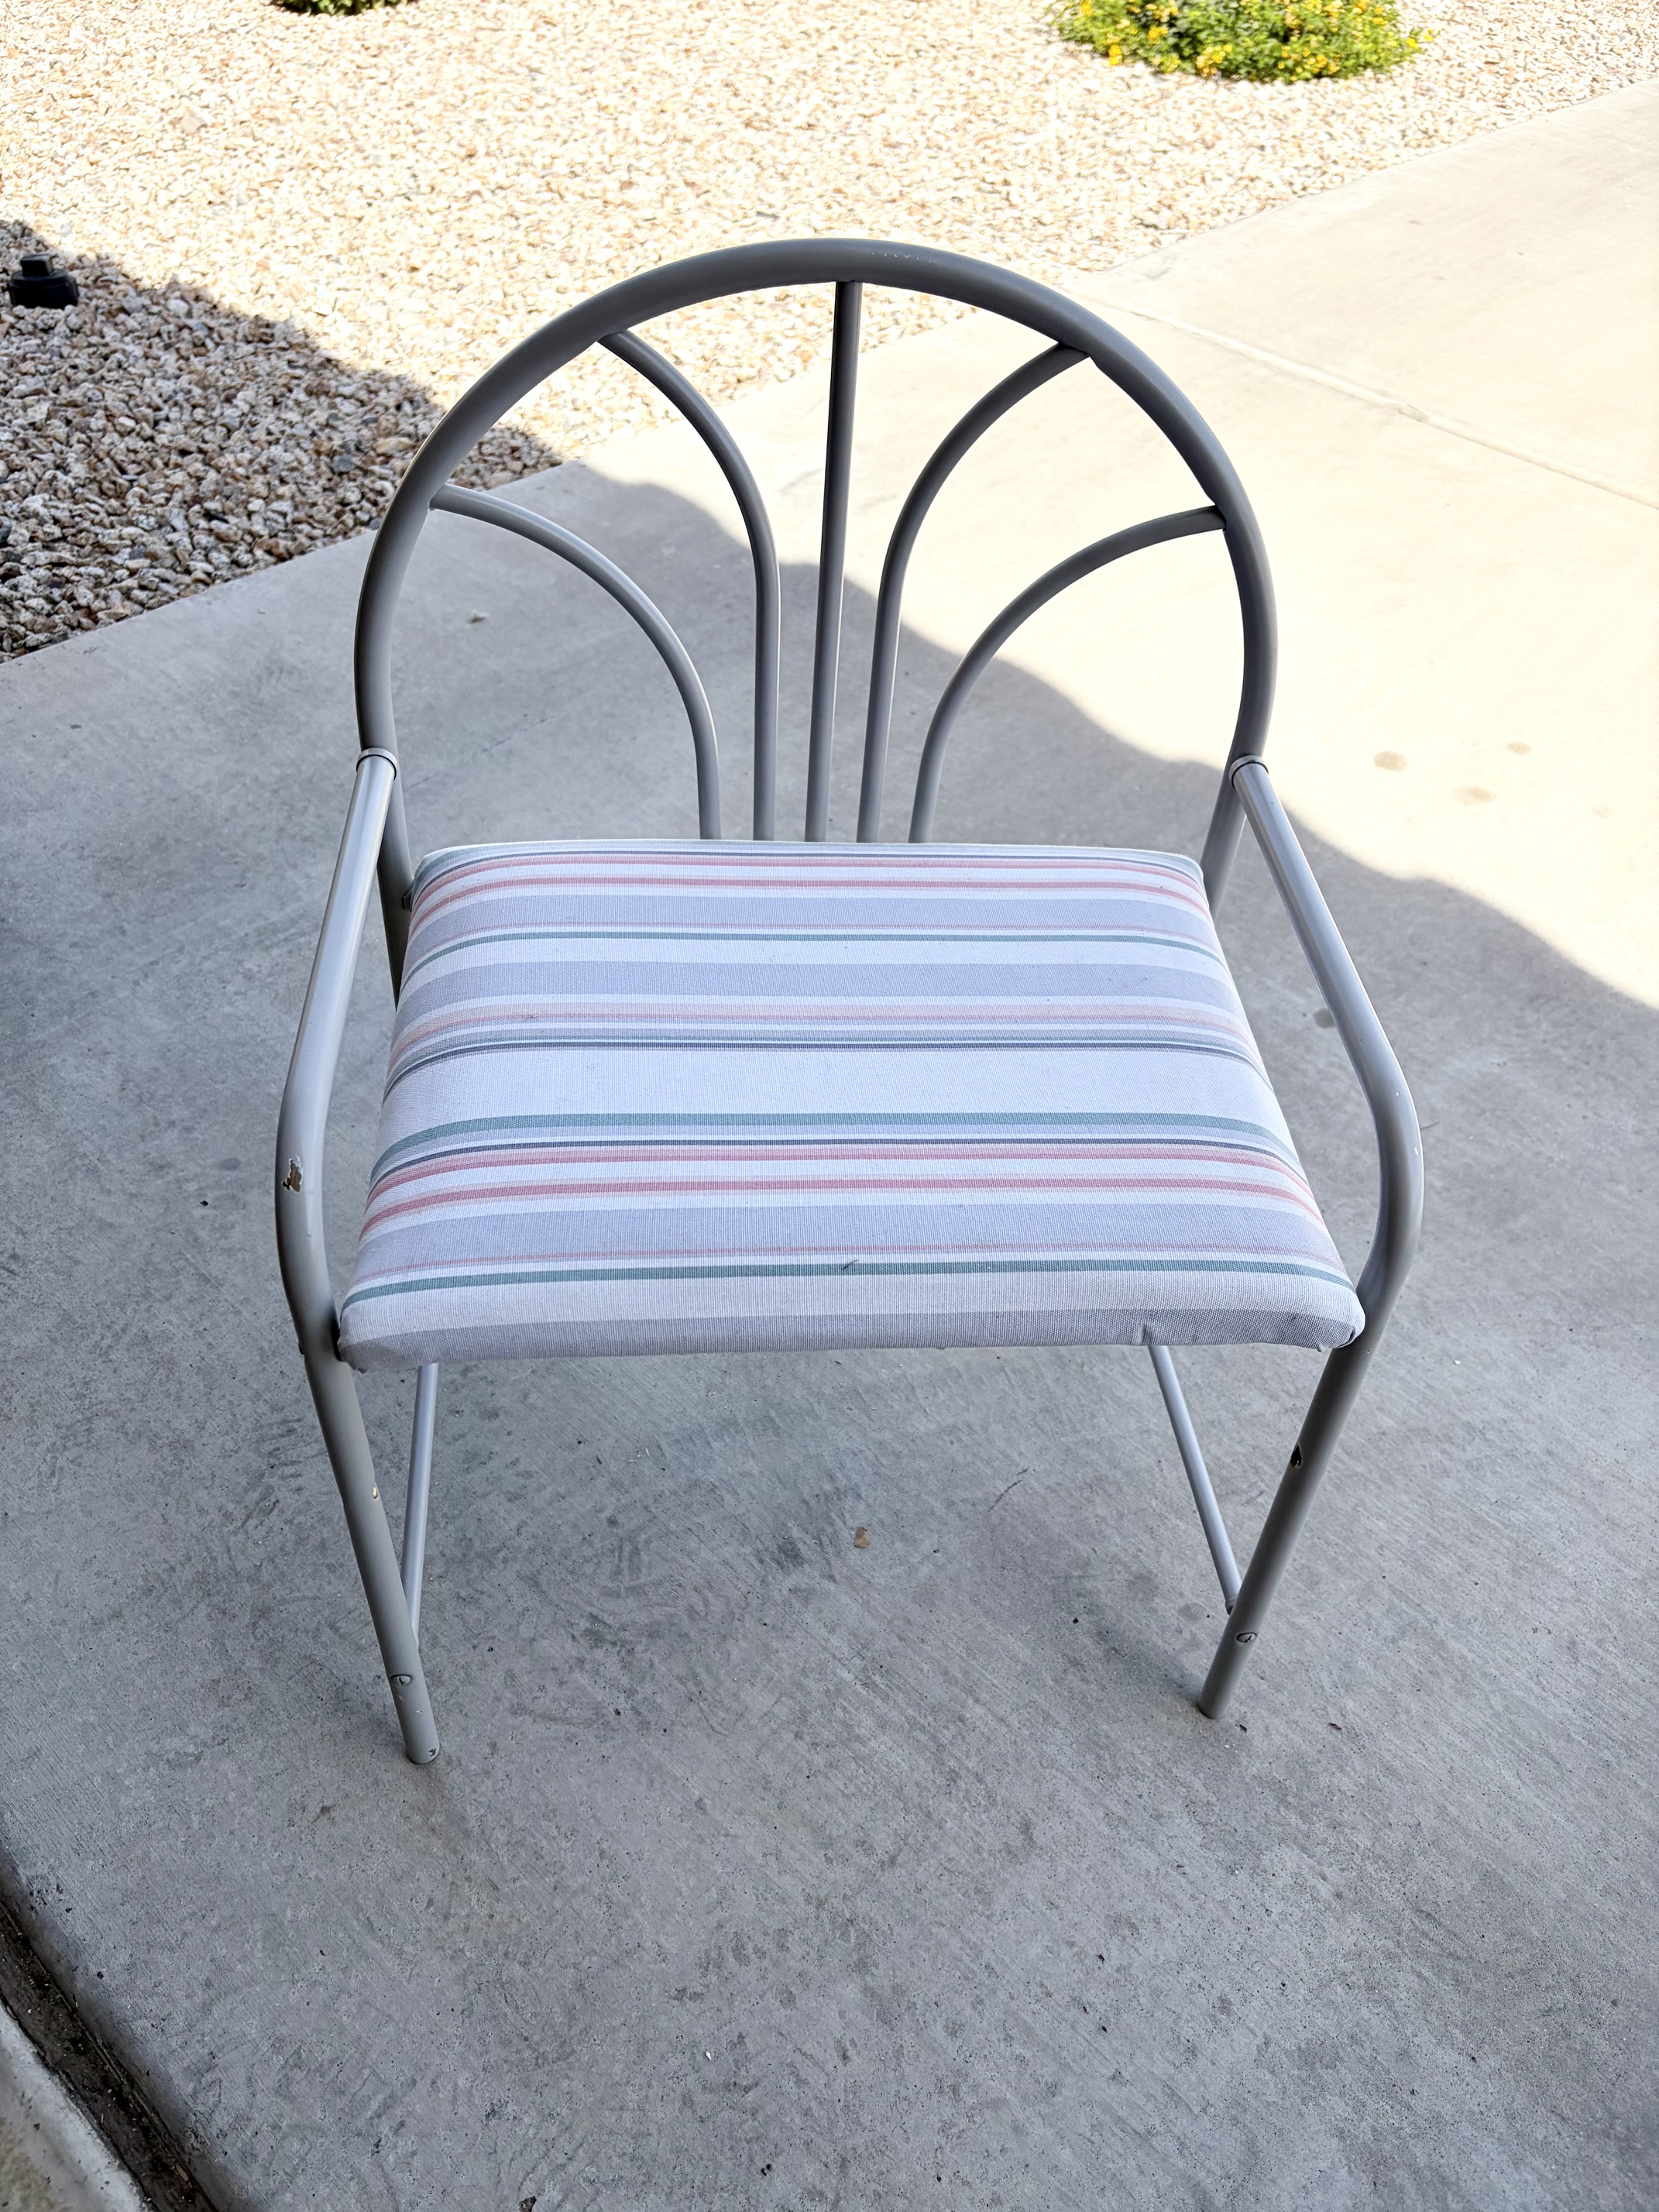
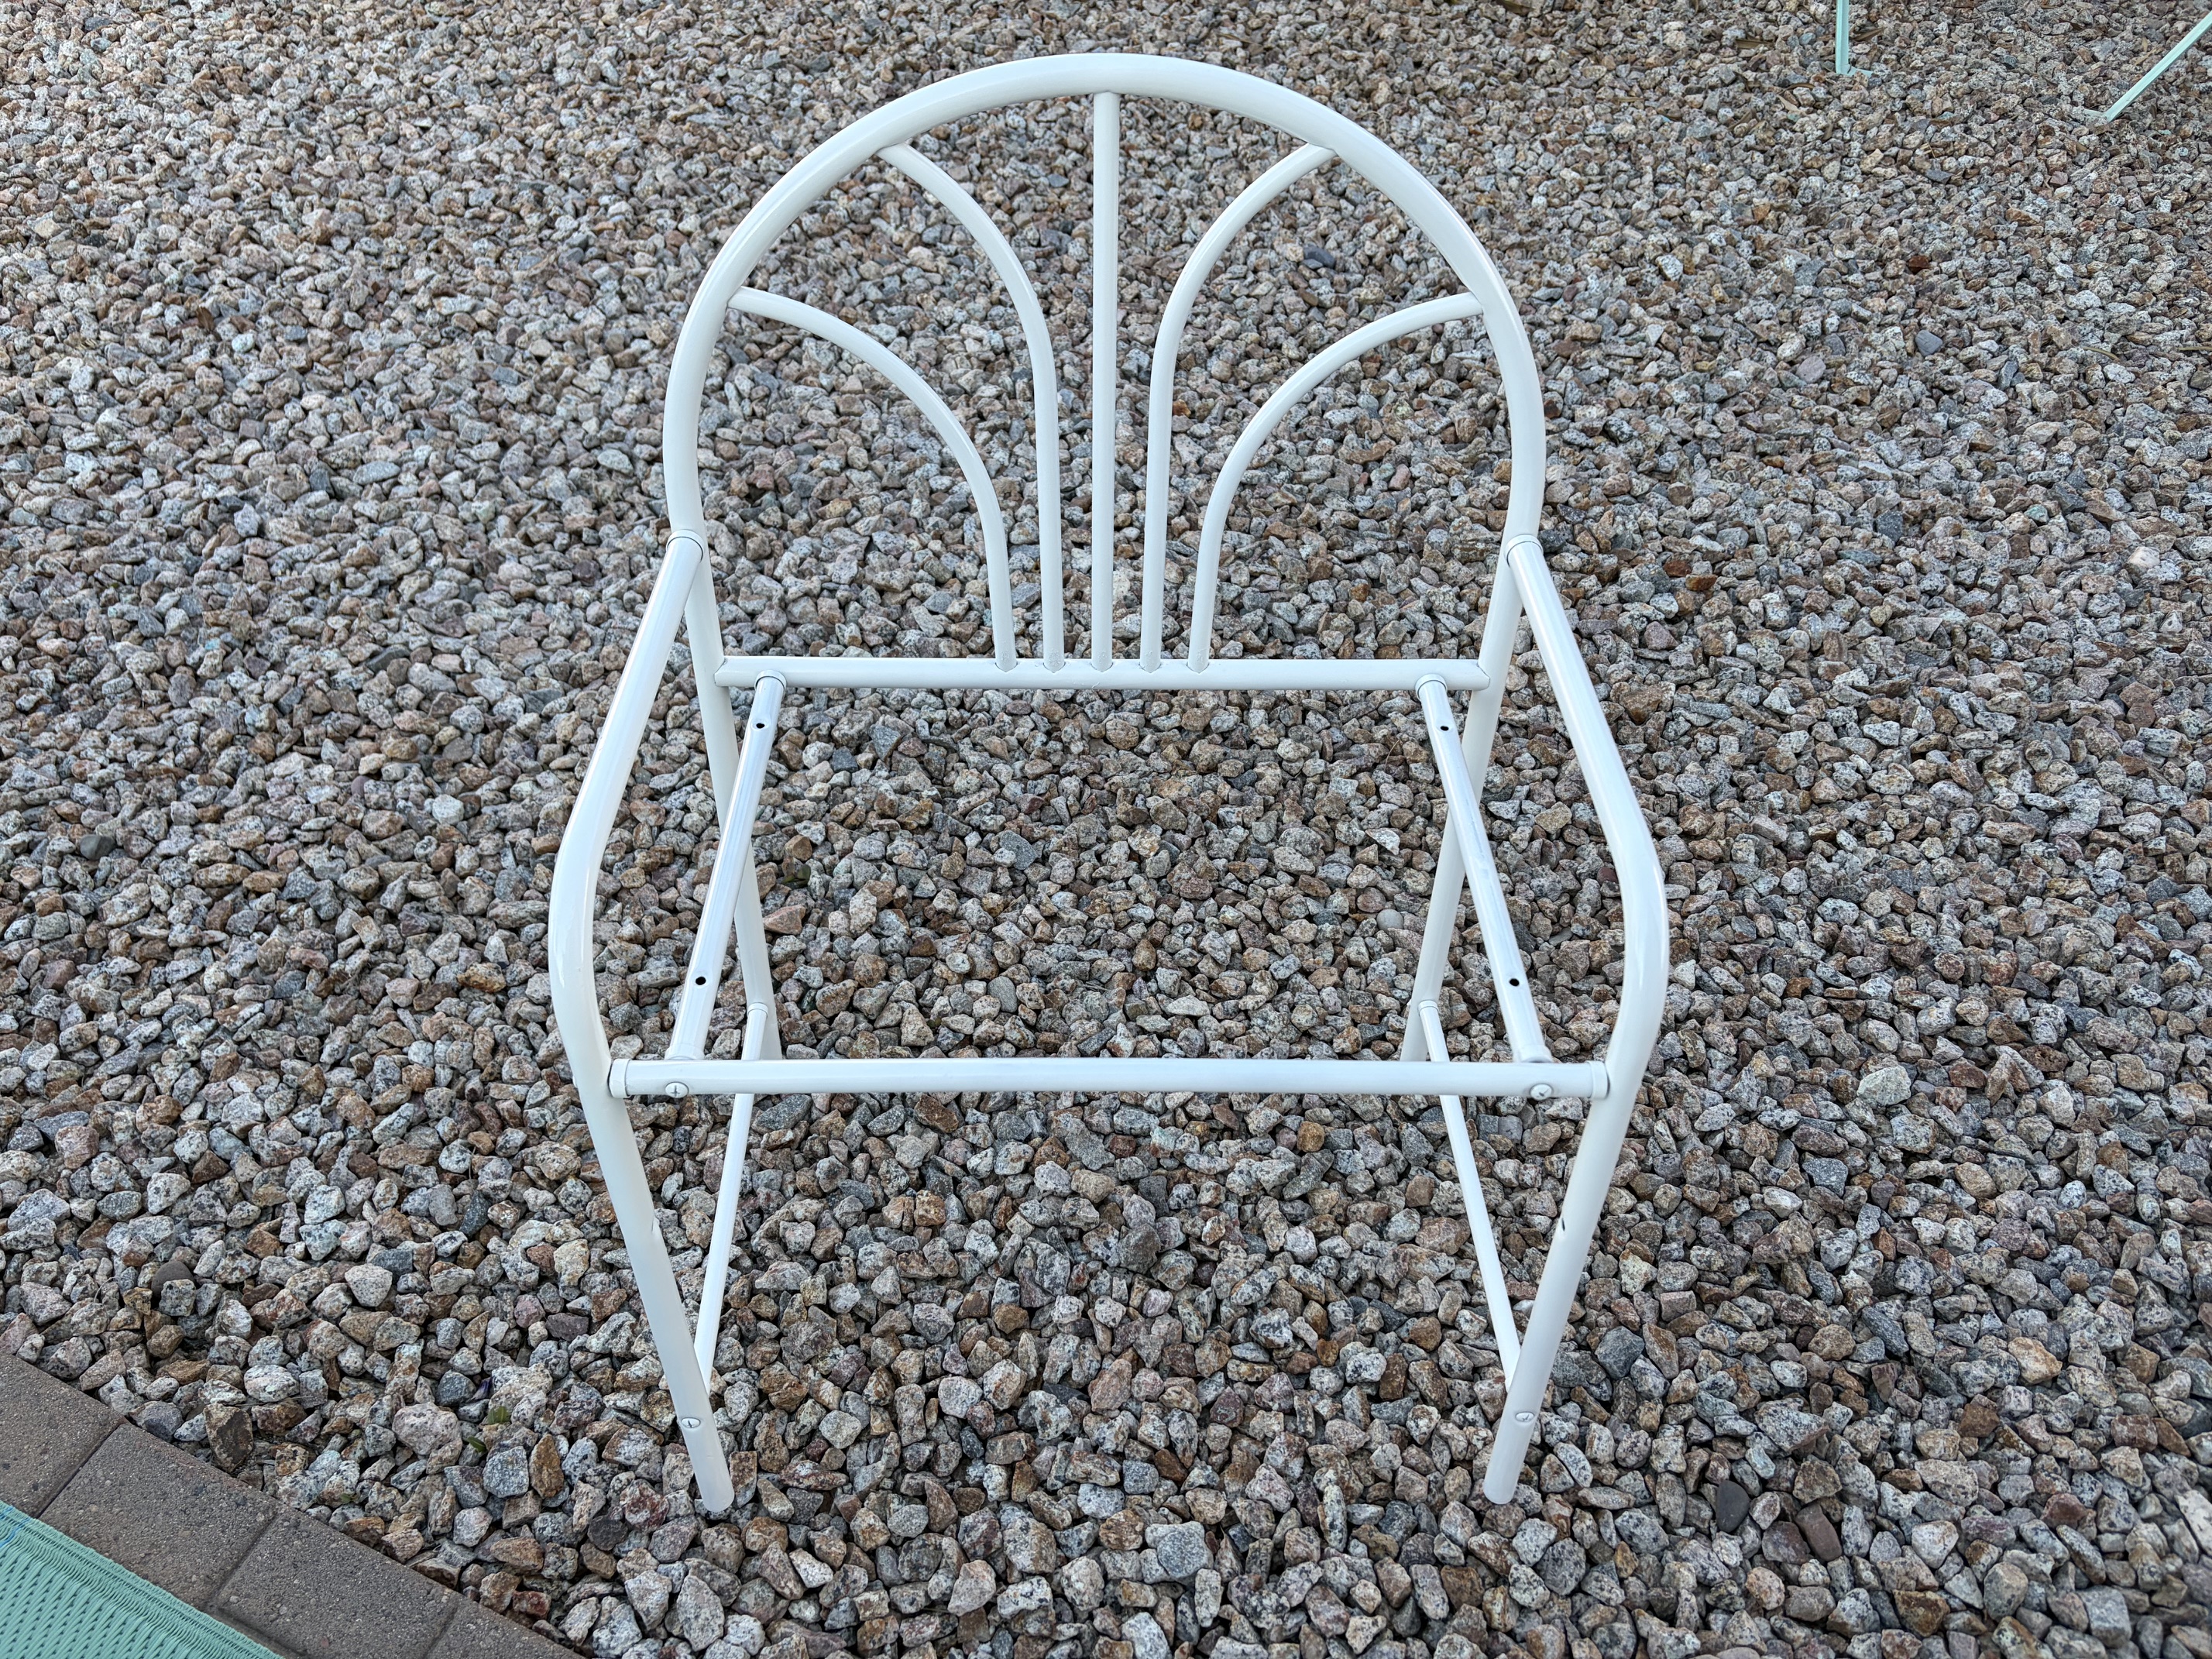
First, remove your chairs seat. Then I took a piece of 1" pine wood board, measured and cut it to just overlap the outer edge of the chair's frame. I chose which food bowls I wanted to use and then set them in place on the wood and traced around them to mark the holes. Make sure you take into account the metals bars underneath so that your bowls will fit down through the holes and not hit the metal bars.
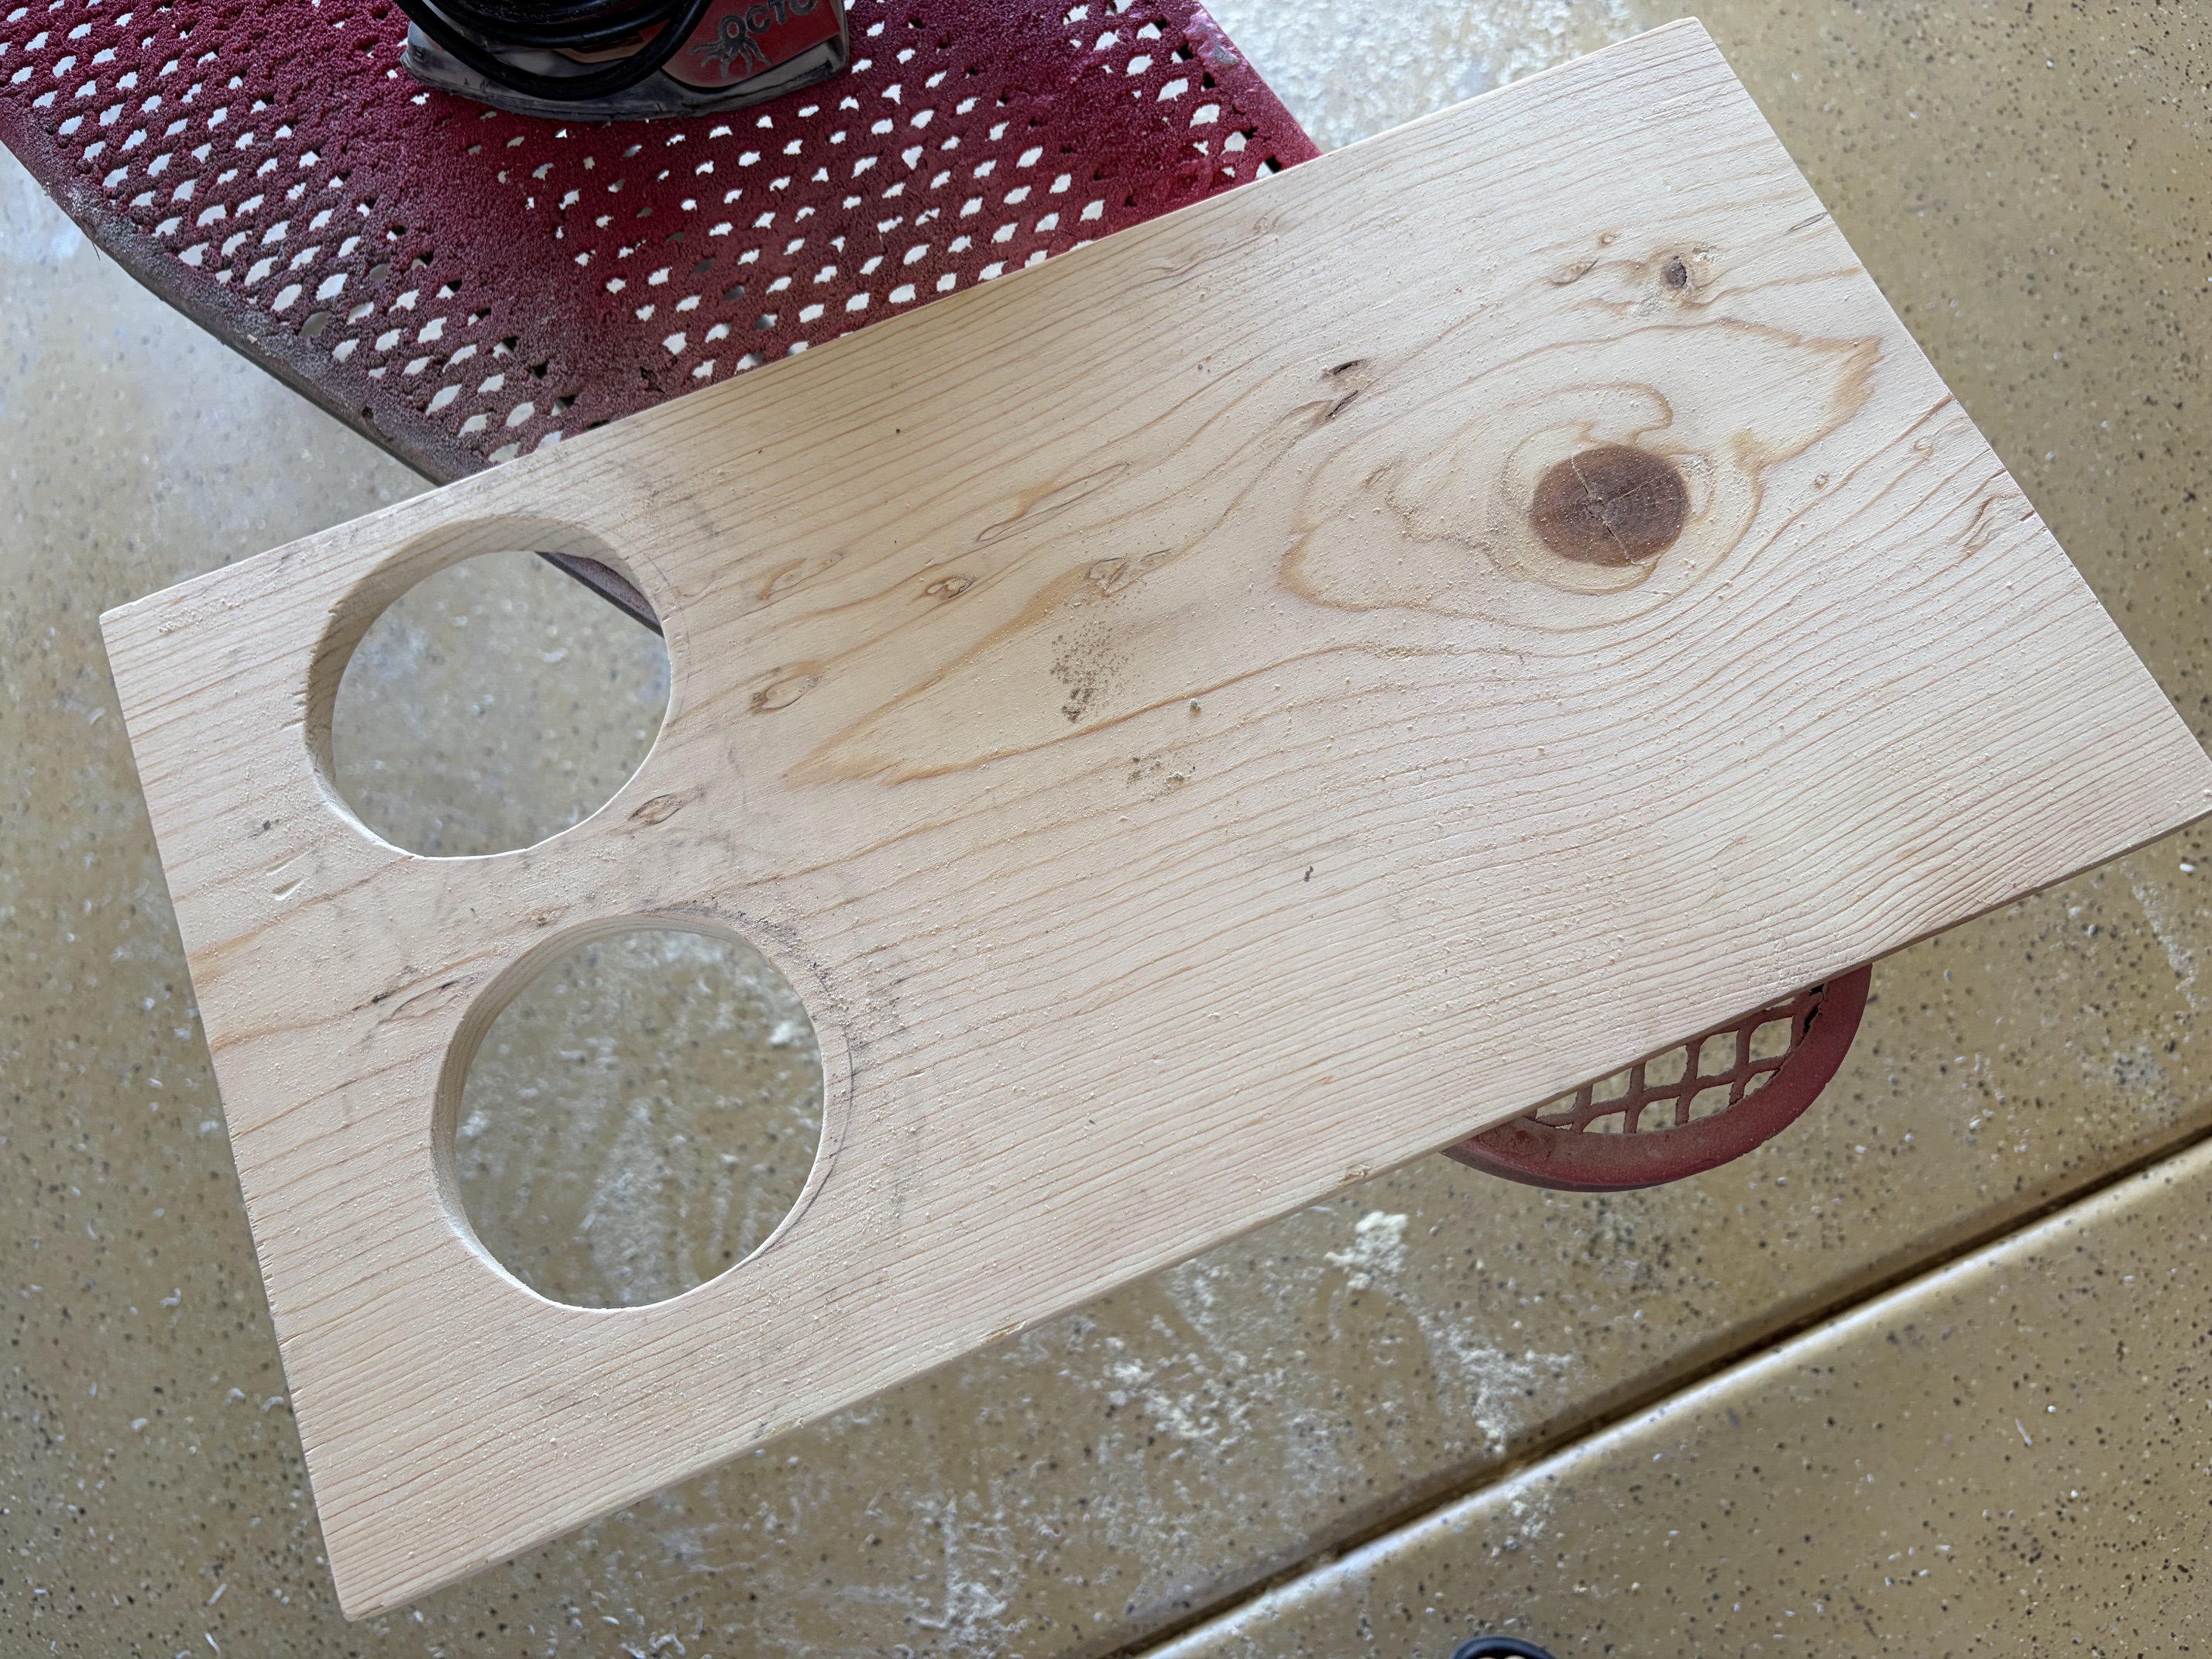
Use a drill and bit to drill a hole into the circles so that you can use your jigsaw to the out the inside of your food bowl circles. Use some sandpaper or a sander to smooth out all of the edges. Then stain or paint your wood. Don't forget to paint your chair if you're looking to change the look of that as well.
Let everything dry completely before attaching your wooden base onto the chair's frame. I used the same screws that were holding the seat in place to hold this wood in place. Make sure that your screws are not too bit so that they don't come all the way through the wood and stick out the top.
diy projects
Want more DIY's?CrazyDIYmom.com Contact Us Privacy Policy Disclaimer About me