
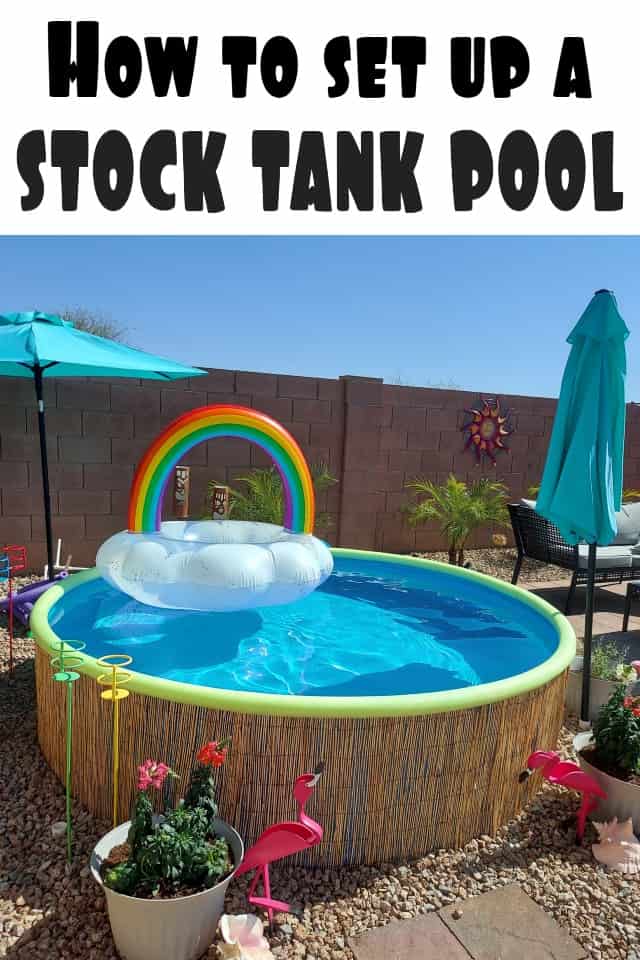
DIY stock tank pool

This post may contain affiliate links.
I got a stock tank pool!! And I am soooooo excited and I can't wait to share the details with you!
I've been thinking about doing a stock tank pool when we started talking about moving back to AZ. The backyards here are relatively small and I did not want an inground pool to take up most of my yard when we love to play lawn games, throw balls with the dogs, etc. But the relentless heat of the summer sun makes me really want some type of pool and these stock tanks were the perfect compromise! I get to take a dip in the summer, but I still get my yard the rest of the year. Yay!
Here is everything you need:
8' stock tank
8' round overlap pool liner
pool filter
chlorine floater and tabs
Optional:
8x8 solar cover (this one is amazing!)
a full cover
reed fencing
pool noodles

I got this stock tank from a couple who used it one summer. Just one summer. They got it new and you can see that the chlorine quickly started to cause it to rust. I had absolutely no problem with this because I planned to put in a liner. (edit to add: pool liners seem to be very hard to find this year. I purchased a swimline 8' round overlap pool liner. You may need to check other outlets for the liner, but BE SURE to only buy from a reputable seller.) The last thing I wanted was my bare arm touching that metal when it's 120* outside! To start, we leveled out the ground and added a bit of sand to make sure it was nice and smooth. I used a 2x4x8 and sat a level on top of it to make sure that the ground was level in all areas. The last thing you want is to fill your pool up completely and realize that it's not level. You are also going to need to drill in your holes for your pool pump. The couple we got it from already had that done so I lucked out. The size of your holes will depend on the pump you get and the size of their fittings, but they are usually around 2.5" around. In the above picture you can see where the holes are cut out. If you can, keep your holes a bit away from each. Mine are about 2' from each other and this works good for the size of the pool.
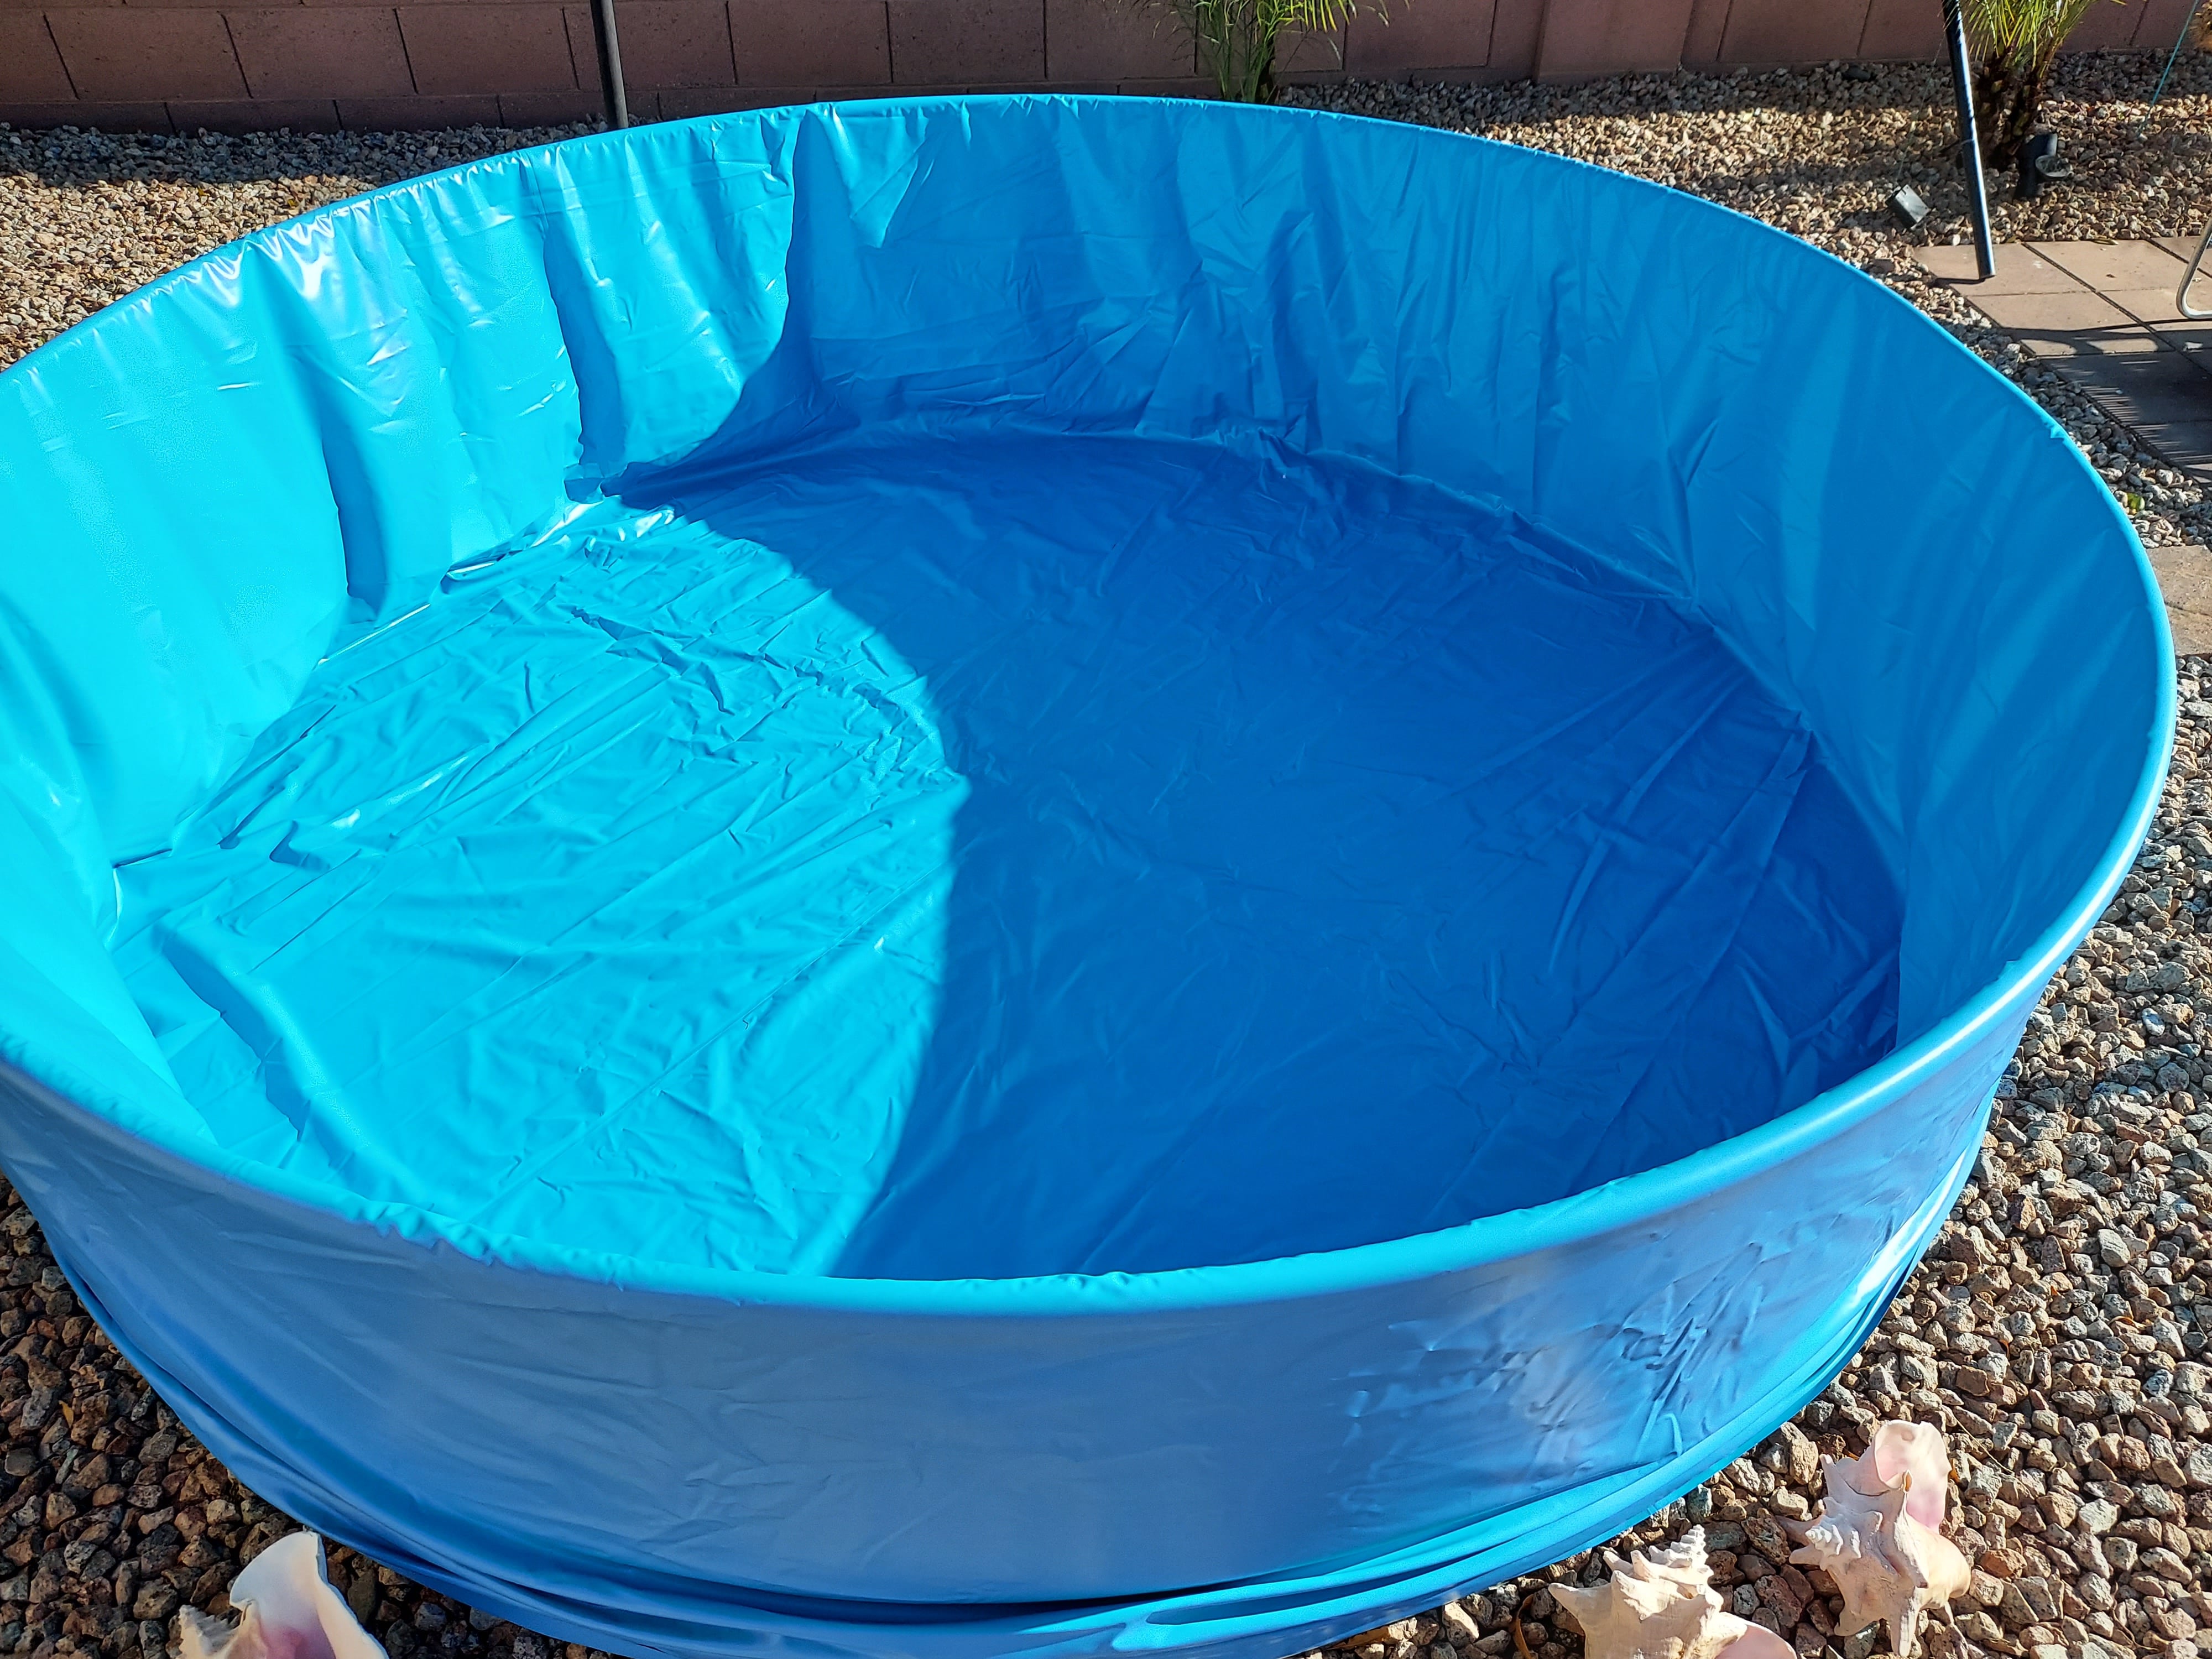
Next up is the liner. If you want to guarantee that your pool will not rust, GET A LINER! If you plan to add chlorine or do a salt water type, know that the chemicals will slowly eat away at the tank so if you want it to look nice for summers to come, get a liner. To install the liner, lay it out in the middle of the tank and start to line it up with the edges. Your liner will look too big and baggy....don't worry! It'll tighten as it gets filled up. As you slowly add your water you can adjust it here and there. The liner comes about 46" high so you will have a nice overlap. I just wrapped it around the tank completely and didn't even bother cutting off the excess. After I had the liner in place, I added my reed fencing. The fencing I got came 4' high so I cut it in half to be the perfect height for my pool. I gave it a coat of poly just to help protect it a bit from the water and the sun. I'm not sure how it will hold up, but it looks dang good! You can see I went from one edge of the filter hose all around to the other side of the filter hose and then used the twine to hold it up tight against the pool. Being in AZ, we use a lot of rock as ground cover and the rock also helps to keep the fencing in place. I also used 6 pool noodles for the top edge of the pool. This was mostly for comfort and to make sure little hands didn't get burned on the edge of the pool, but it also helps to keep the fencing in place. I took a pool noodle and used a utility knife to make a cut down the middle of it and then just wrapped it around the edge of the pool and the top of the fencing. It works perfectly!
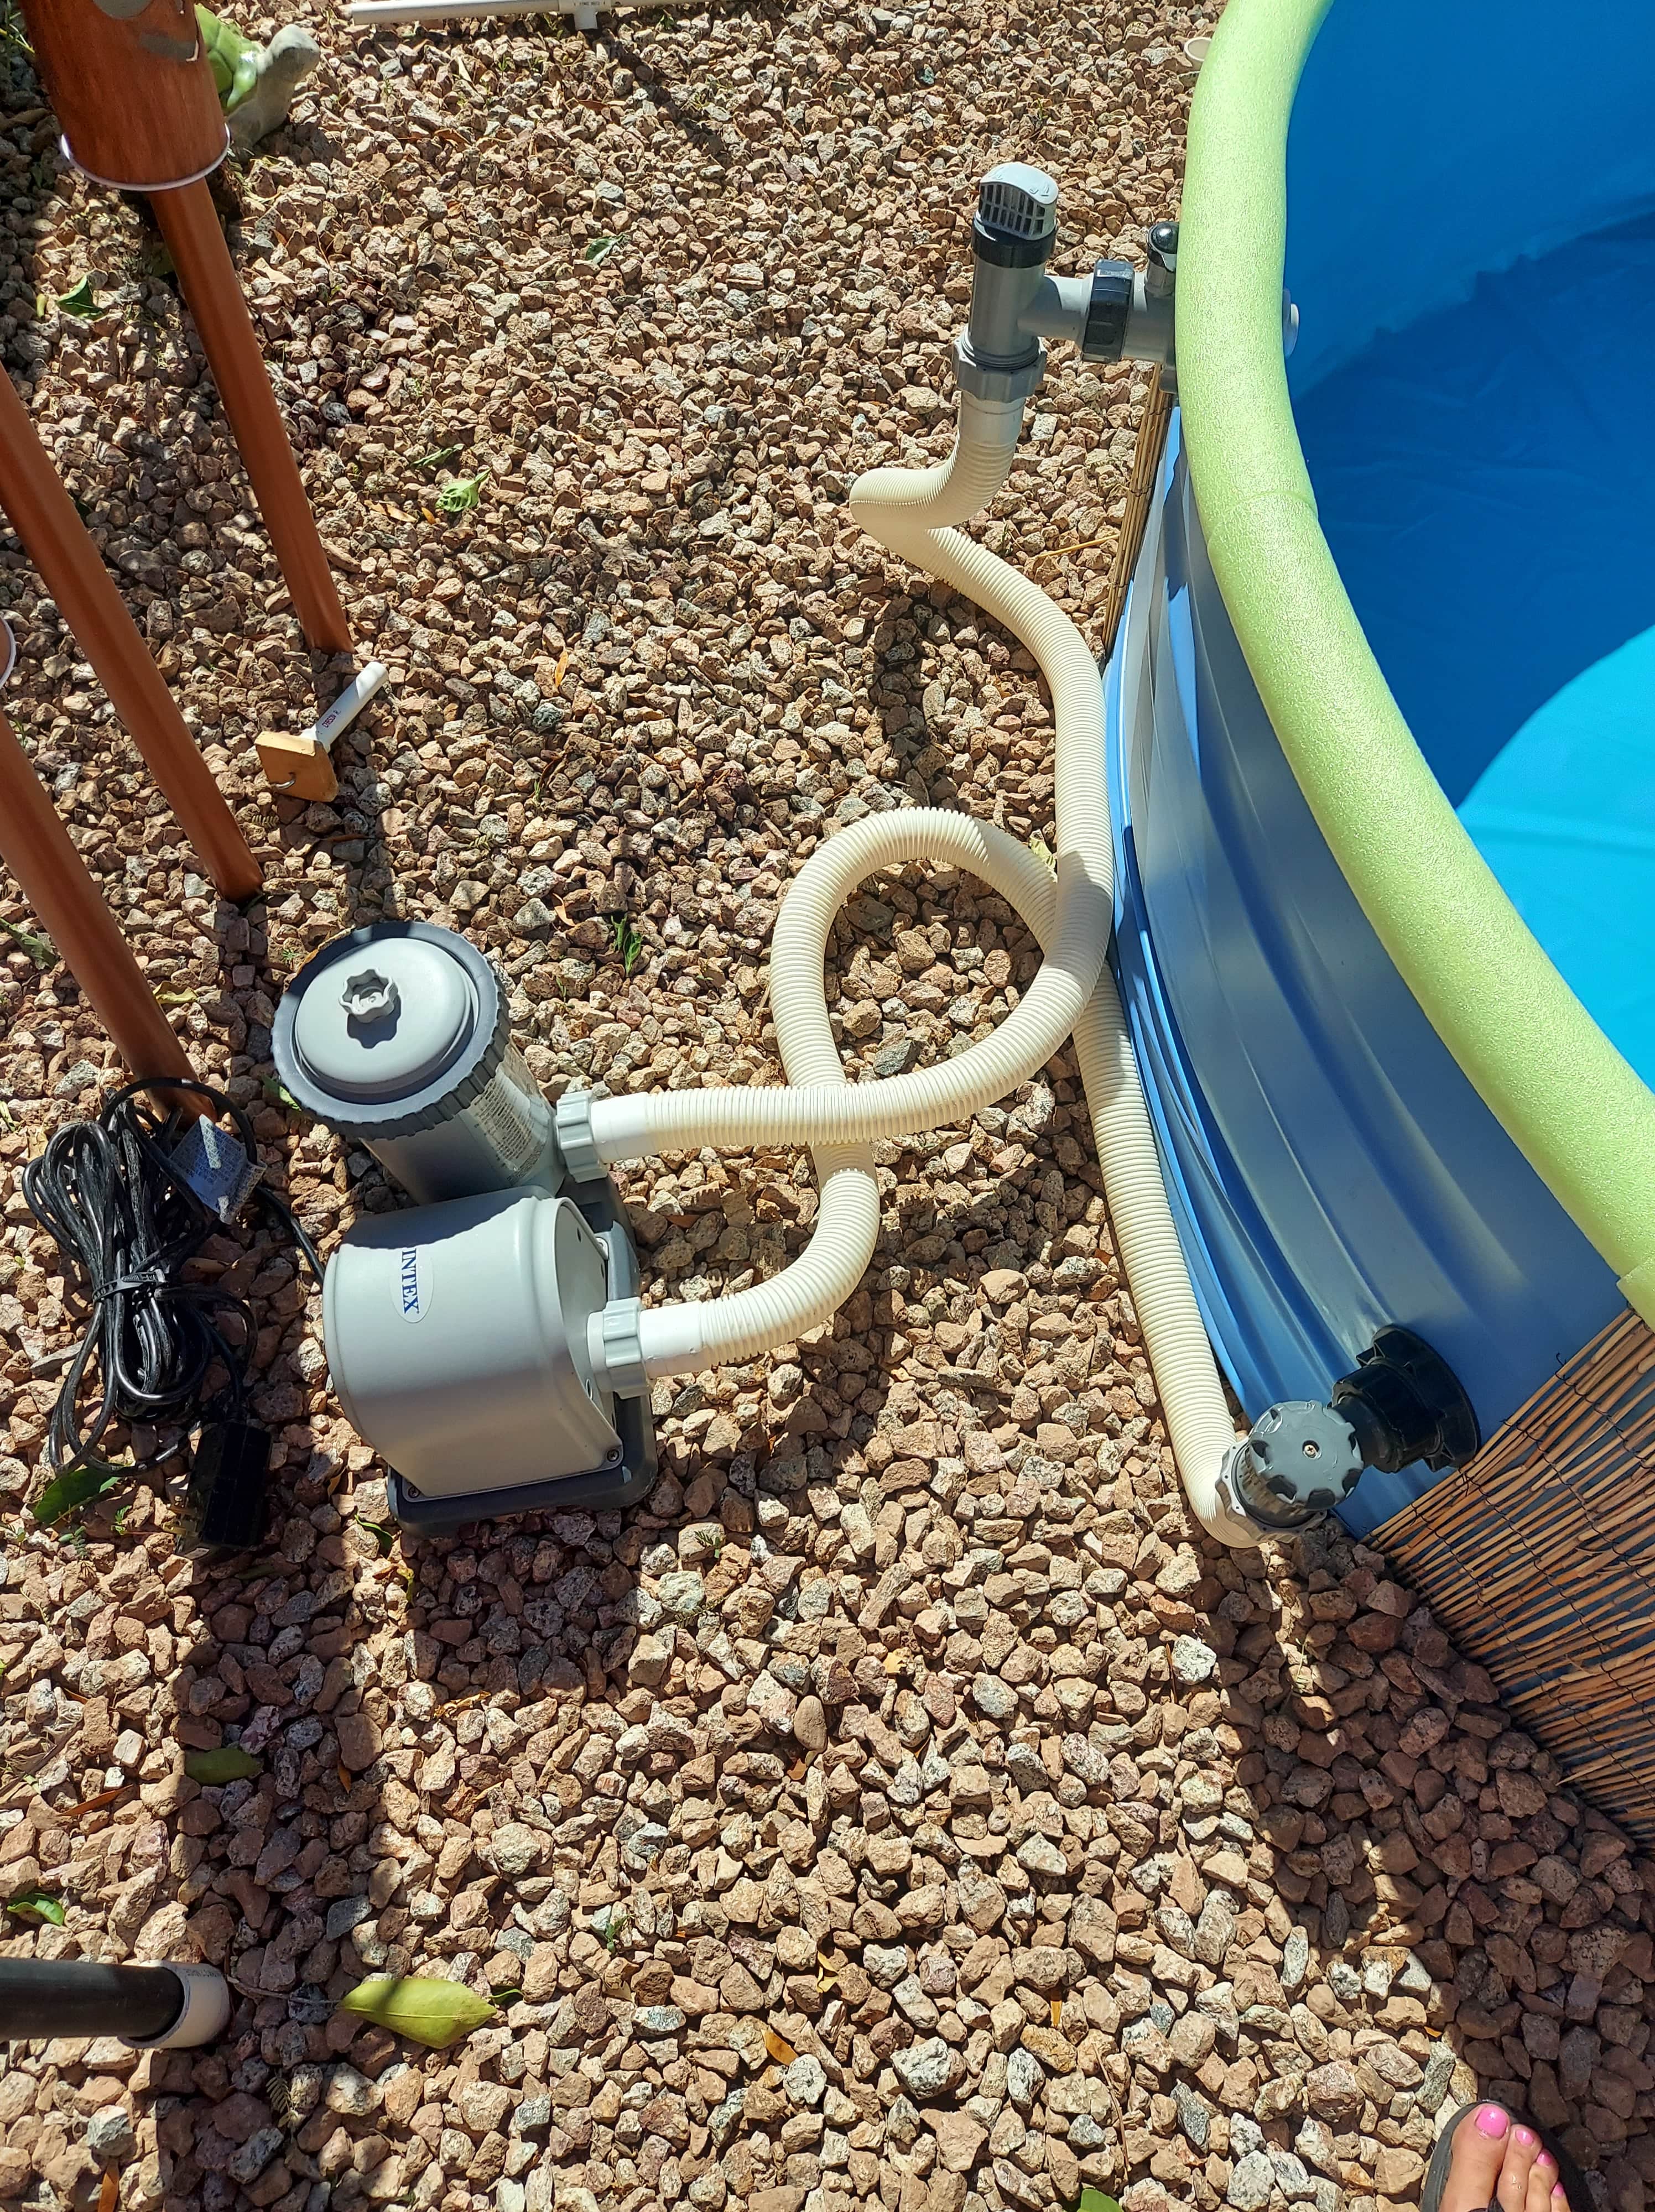
Once you've got your liner in place it's time to attach the filter. I had my husband do this part since he's better at that sort of thing. But I can tell you we bought and used o-rings around our filter attachments and have ZERO problems with leaking. I have seen people caulk around their inlet and outlet fittings with success as well. For this, you can do whichever works best for you. Once your filter is attached you can start filling it up. As the water is slowly rising, keep an eye on your liner to make sure it is staying in place and if you need to, make adjustments to pull it into place.
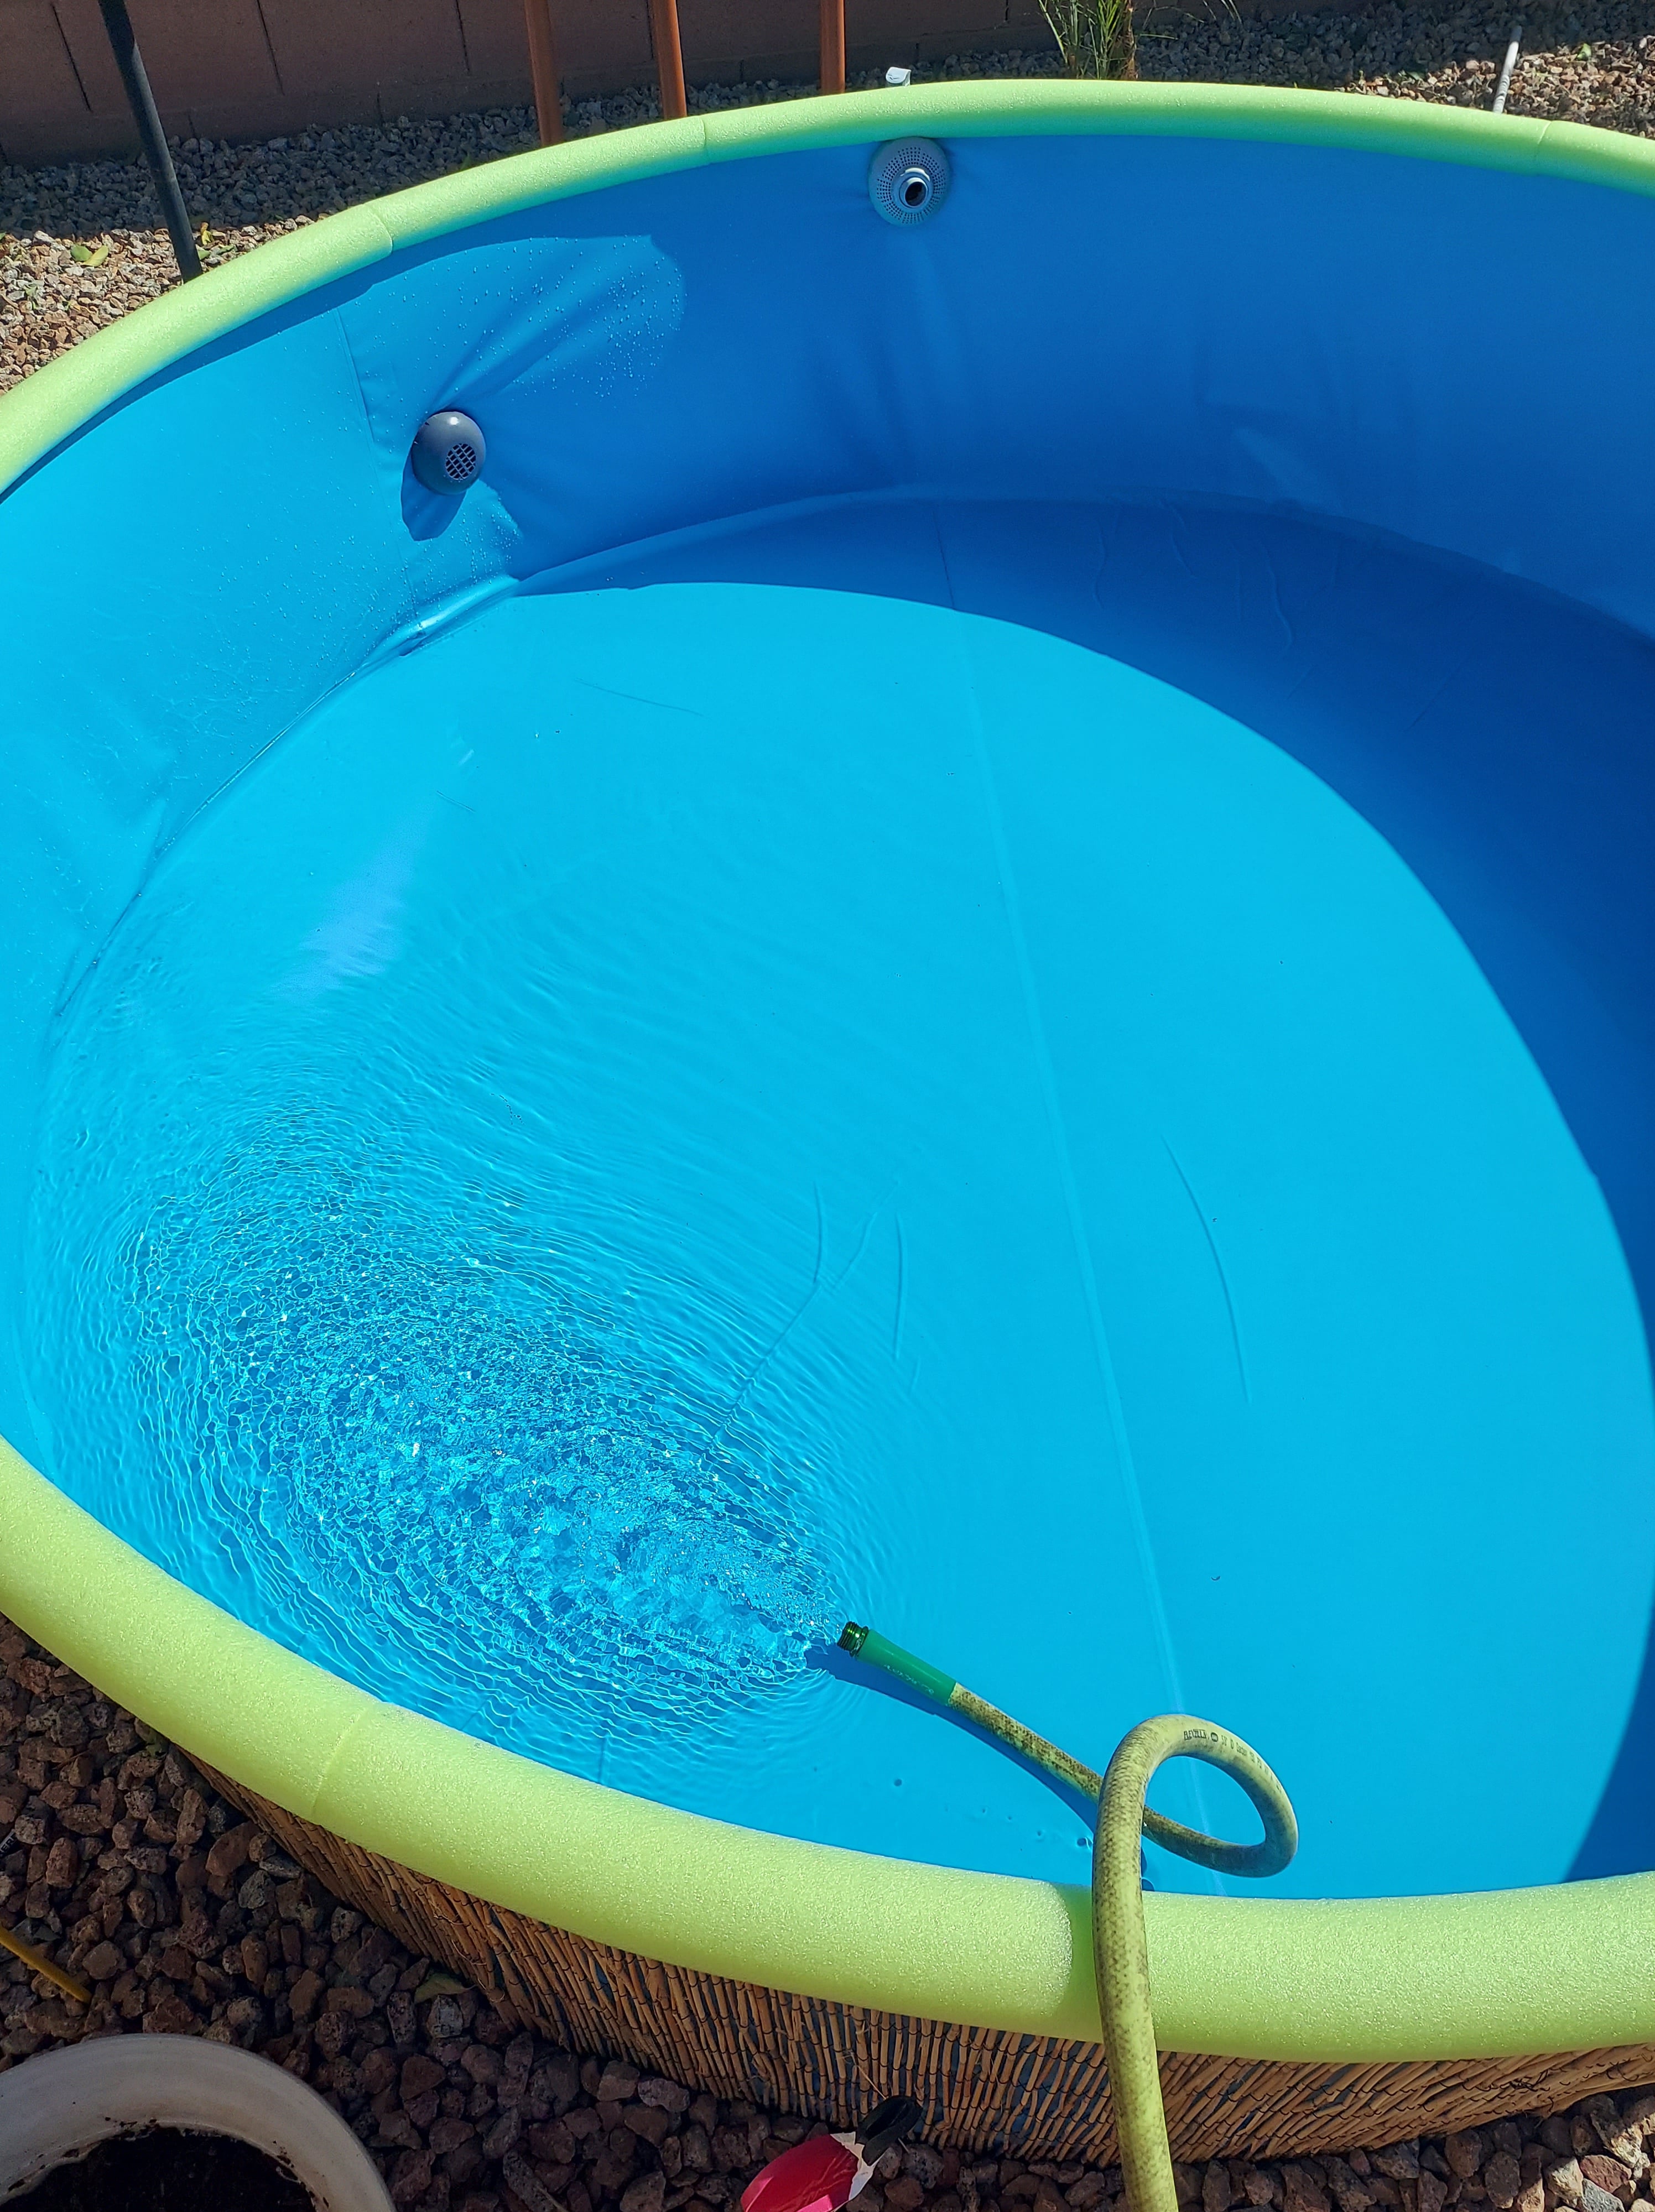
Here you can see the water is slowly filling up and as the water rises the liner will tighten up against the pool wall along with it so don't be nervous that the liner looks too big. You can also see where our inlet and outlet are placed and how the pool noodles fit around the entire pool.
Some extras:
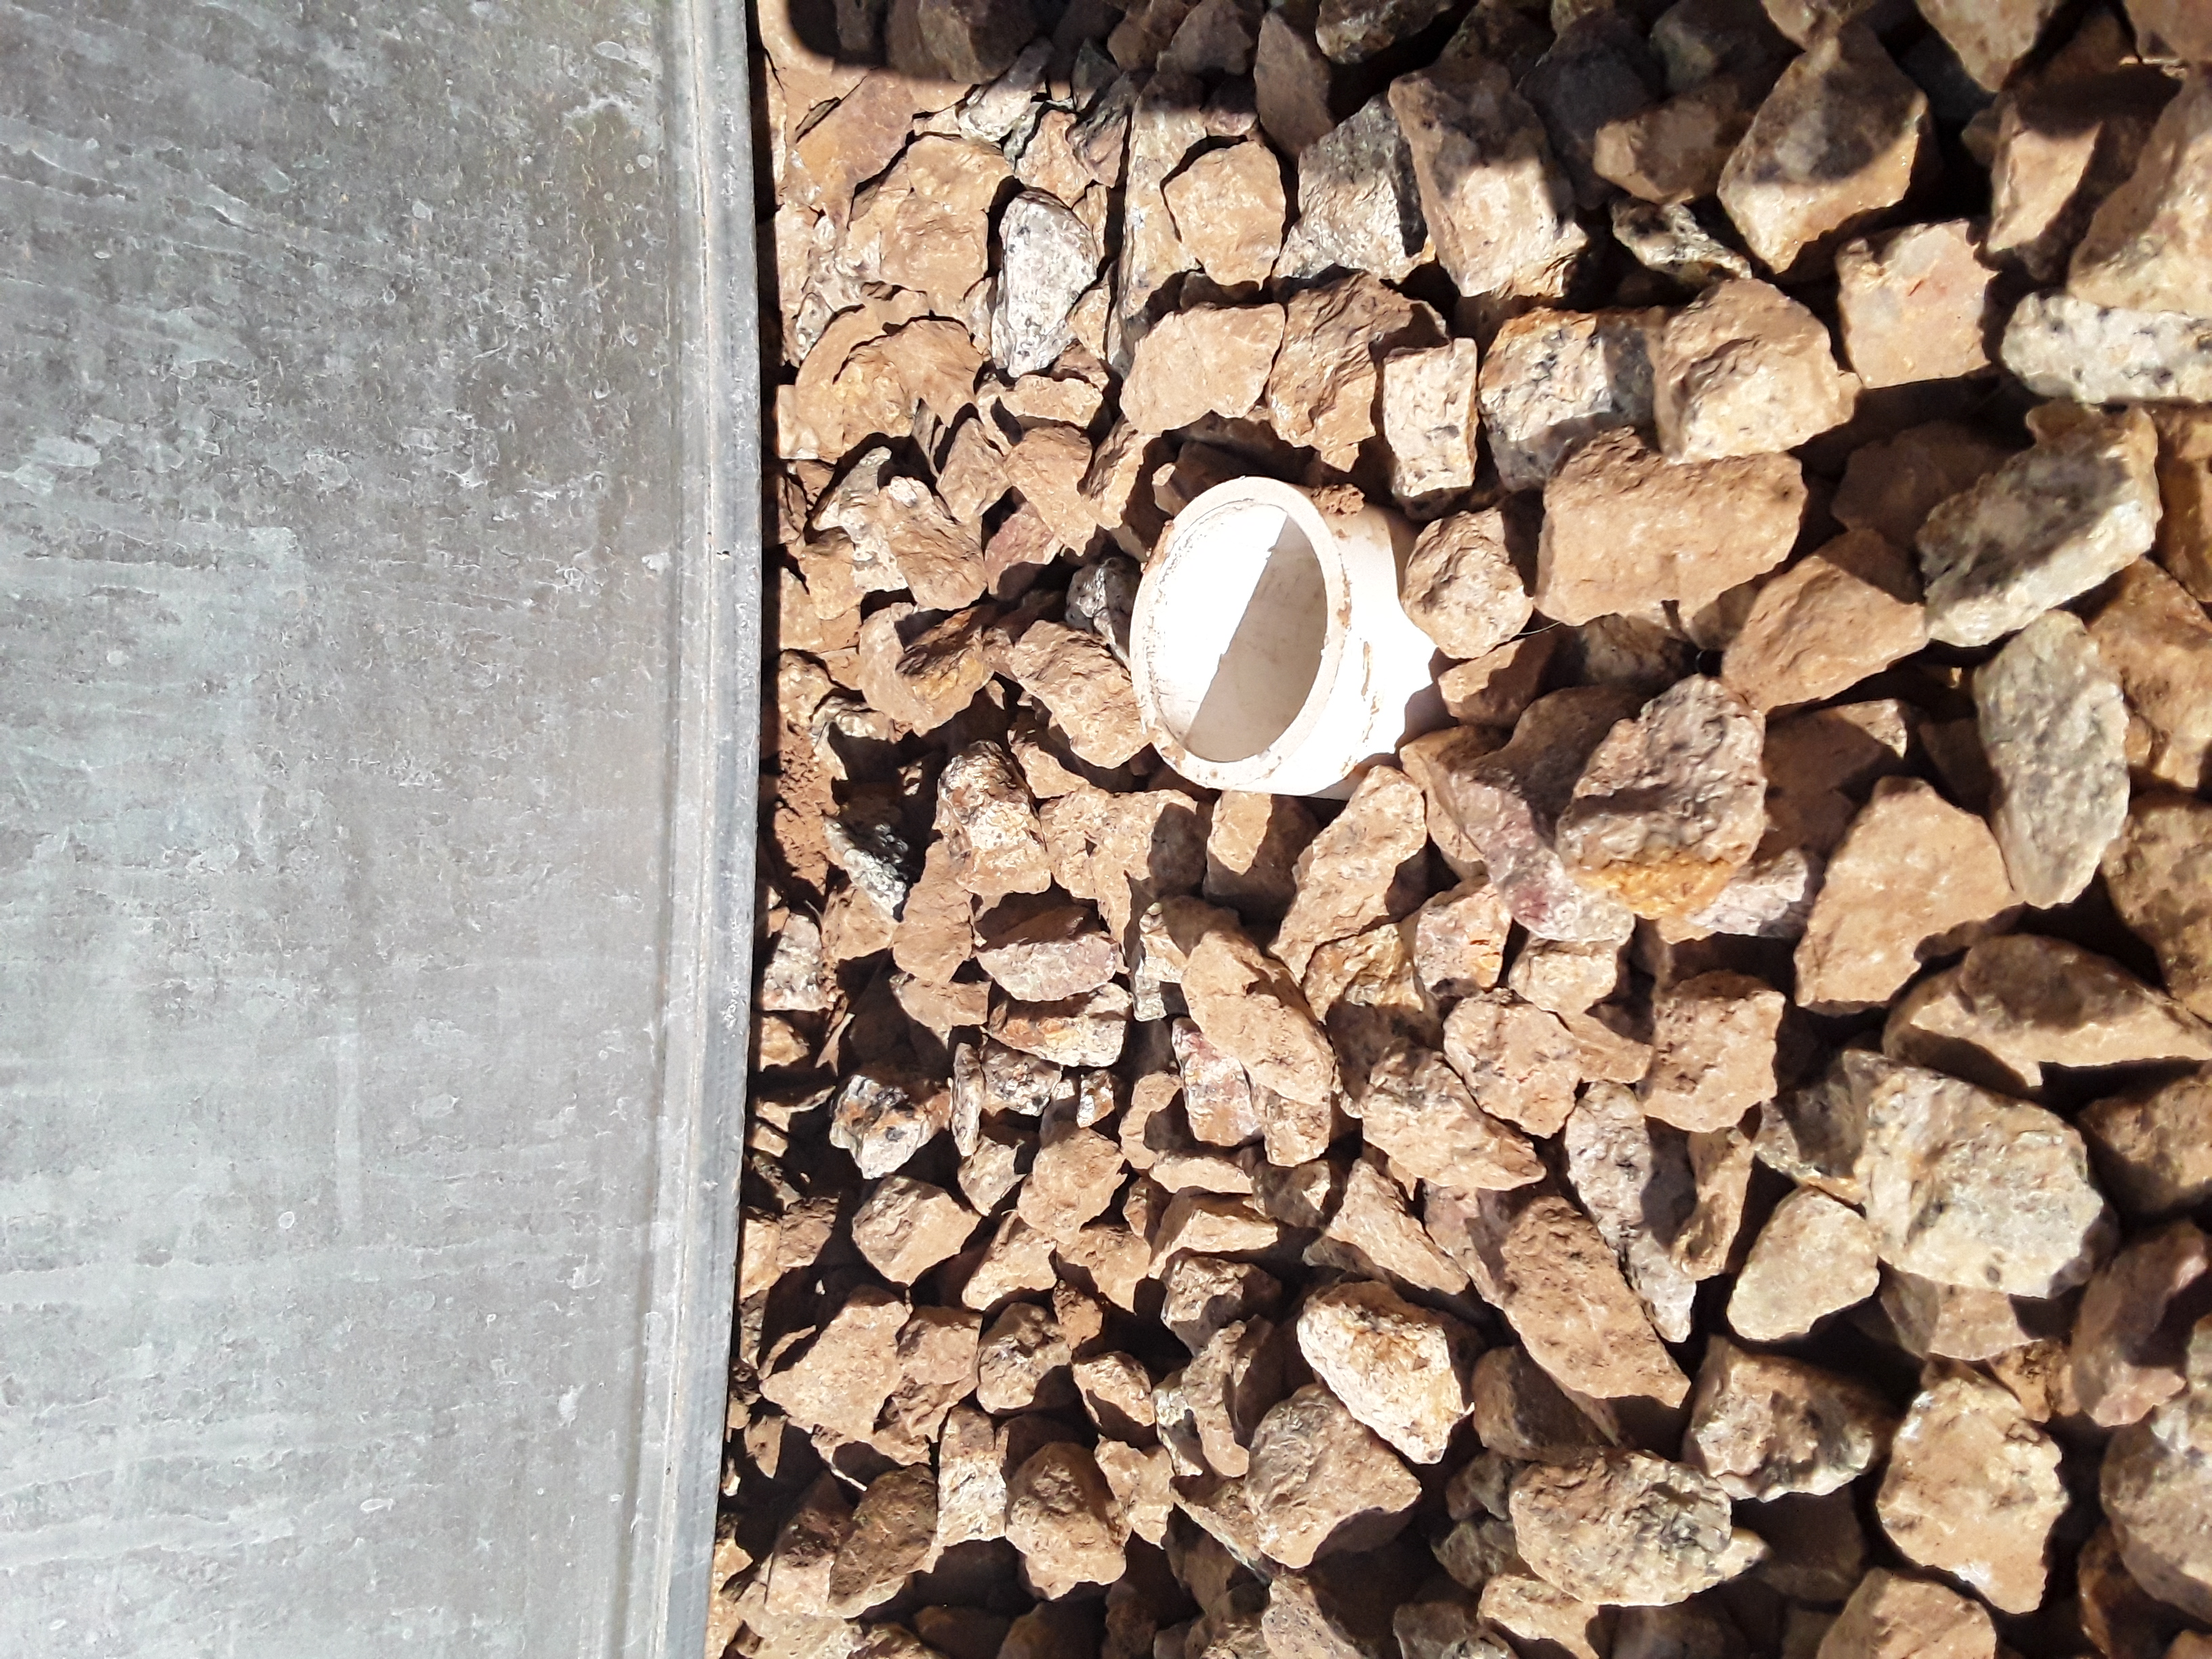
I used 2" wide pvc pipes to make in-ground umbrella stands. I wanted to have the umbrellas super close to the pool and be able to easily move them, so these worked perfectly. I cut them 10" long and put them into the ground leaving about 2" above the ground.
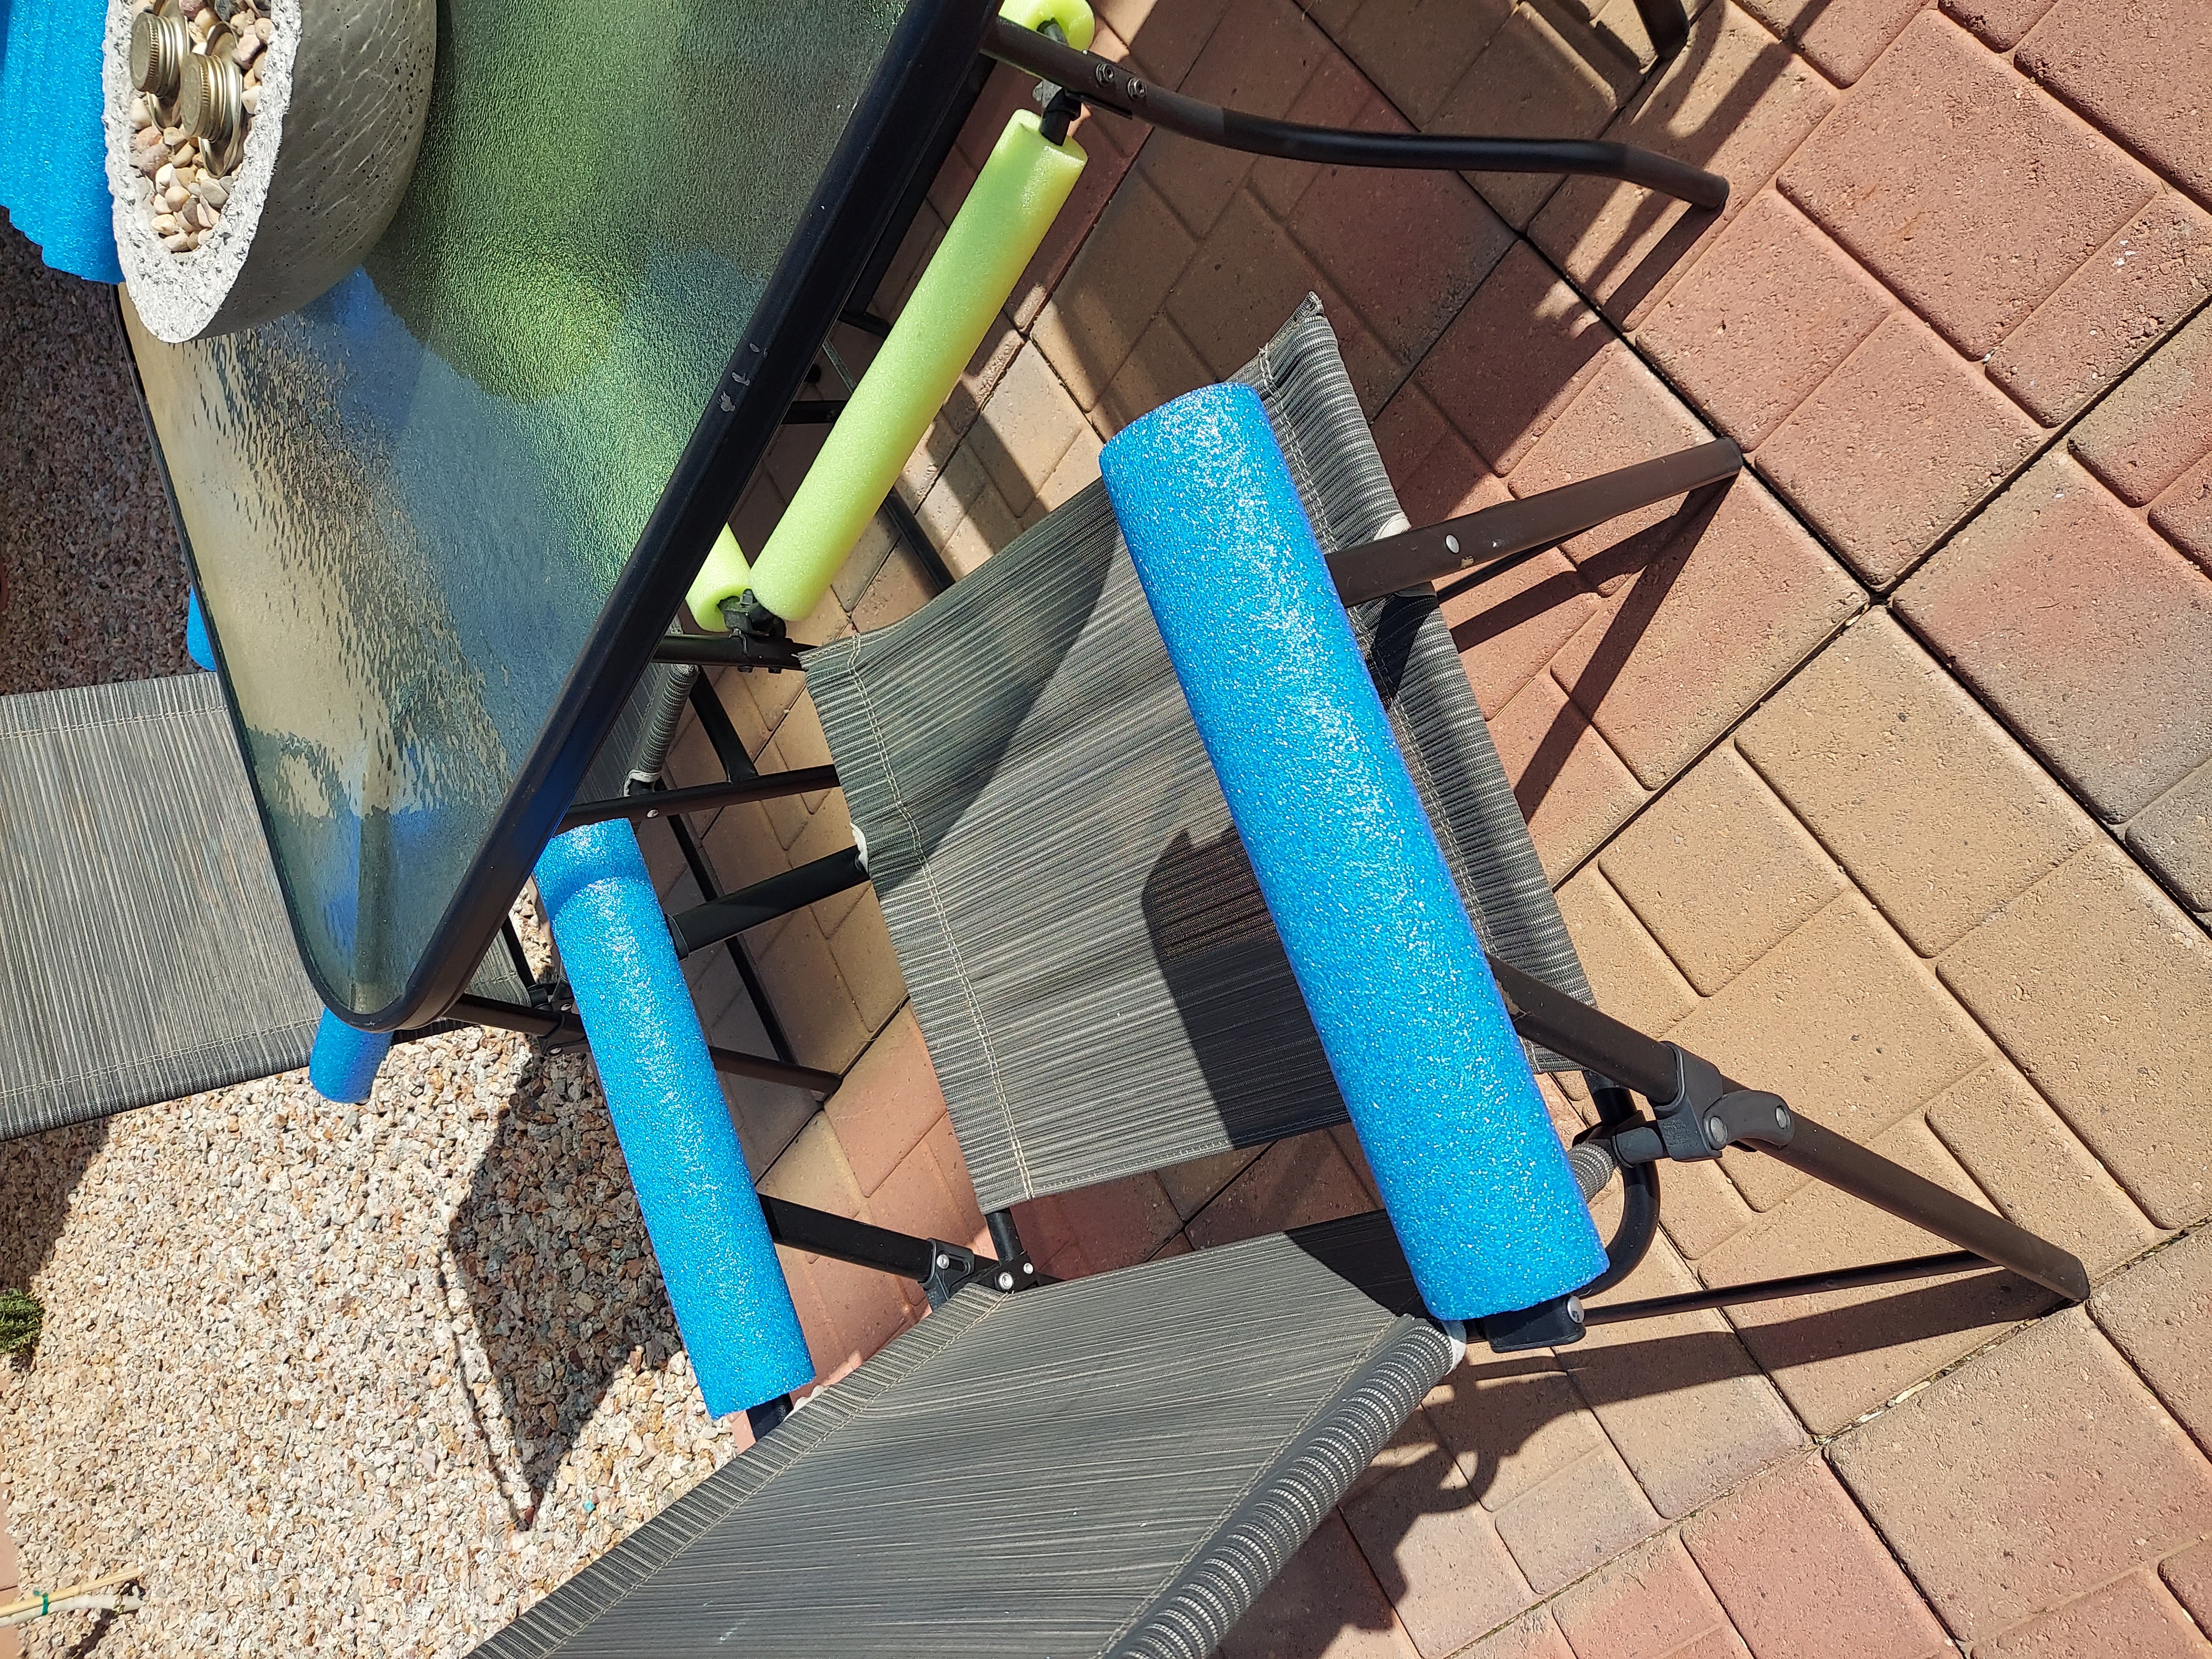
I also grabbed a few extra pool noodles and used them as "cushions" to protect from the hard metal edges and from the heat of the sun. Just cut the noodle to size and cut a slit down one side of the noodle and slip it around the arm rest.
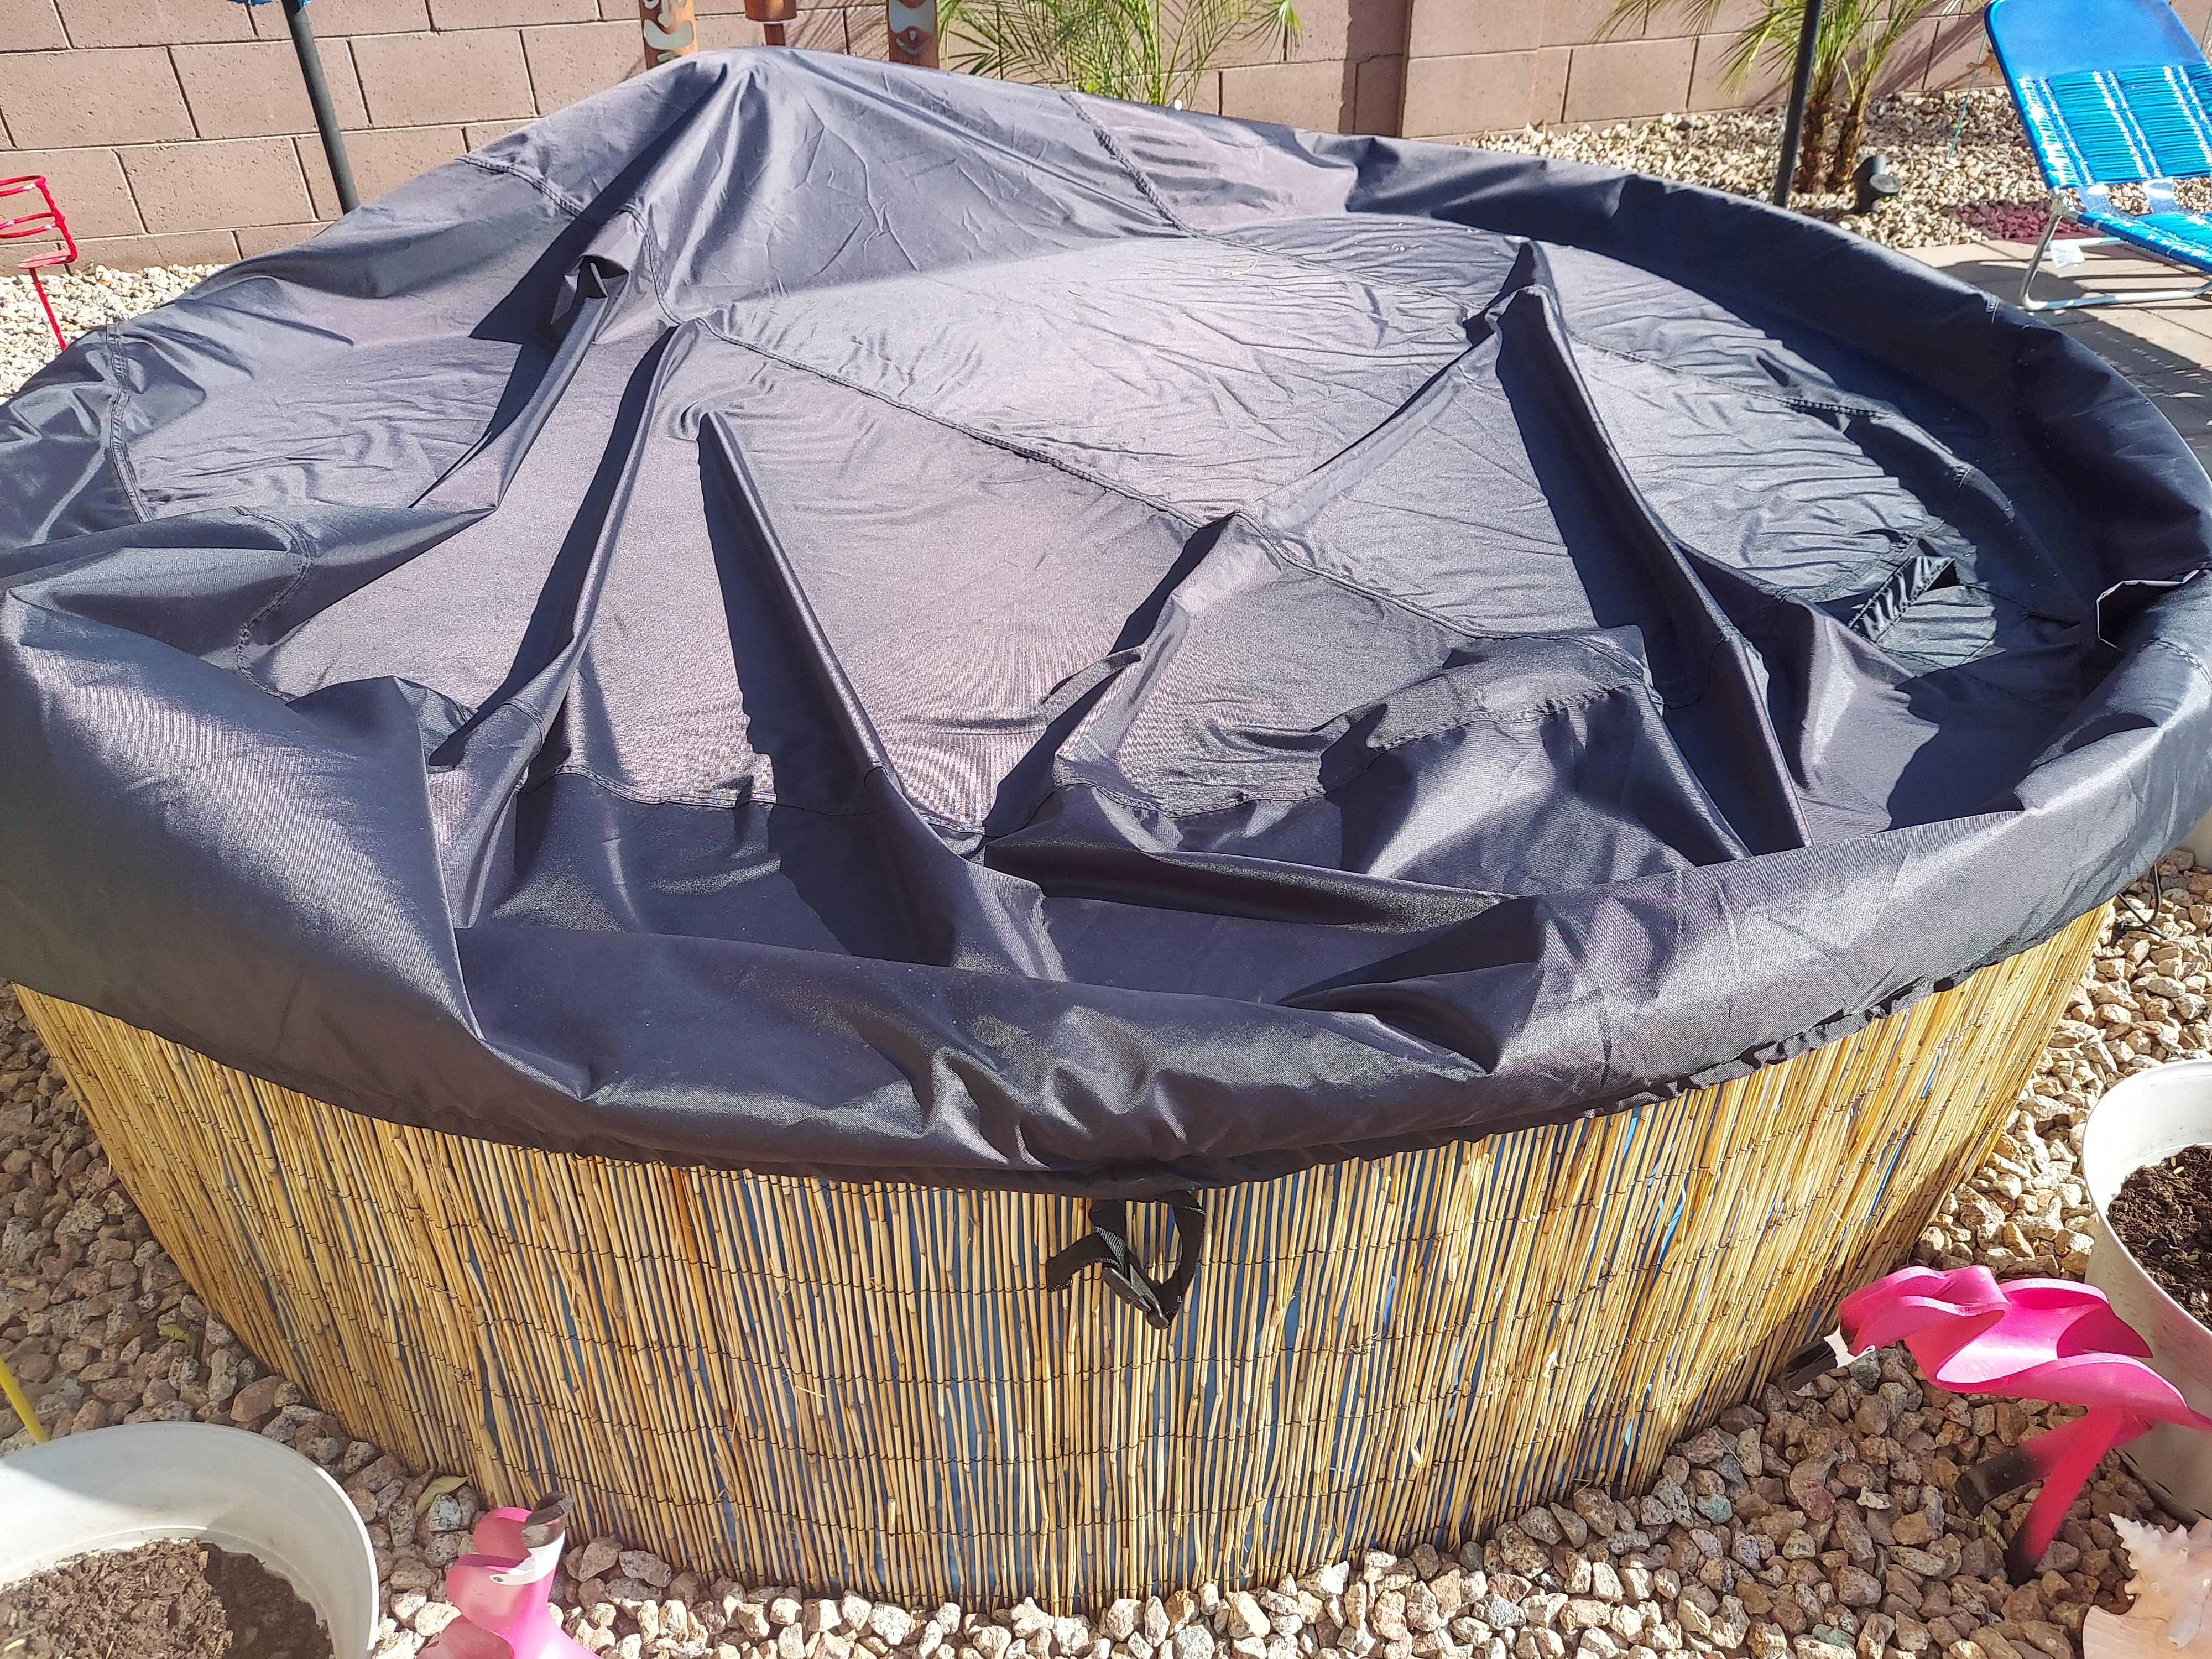
I knew I wanted a way to cover the pool for when we weren't going to be using it for awhile and this cover was perfect. It has gotten "water marks" on it from the chlorine, but it holds up great otherwise. I usually keep at least a beach ball or 2 in the pool which helps to keep it in place a bit and up off the water a bit since it is bigger than the pool and it is not completely waterproof. I definitely wouldn't call something like this a necessity since it doesn't keep water from evaporating and it doesn't keep the heat in, but since I don't plan to move my pool I wanted a way to make sure junk didn't get in during the off season and this was perfect.
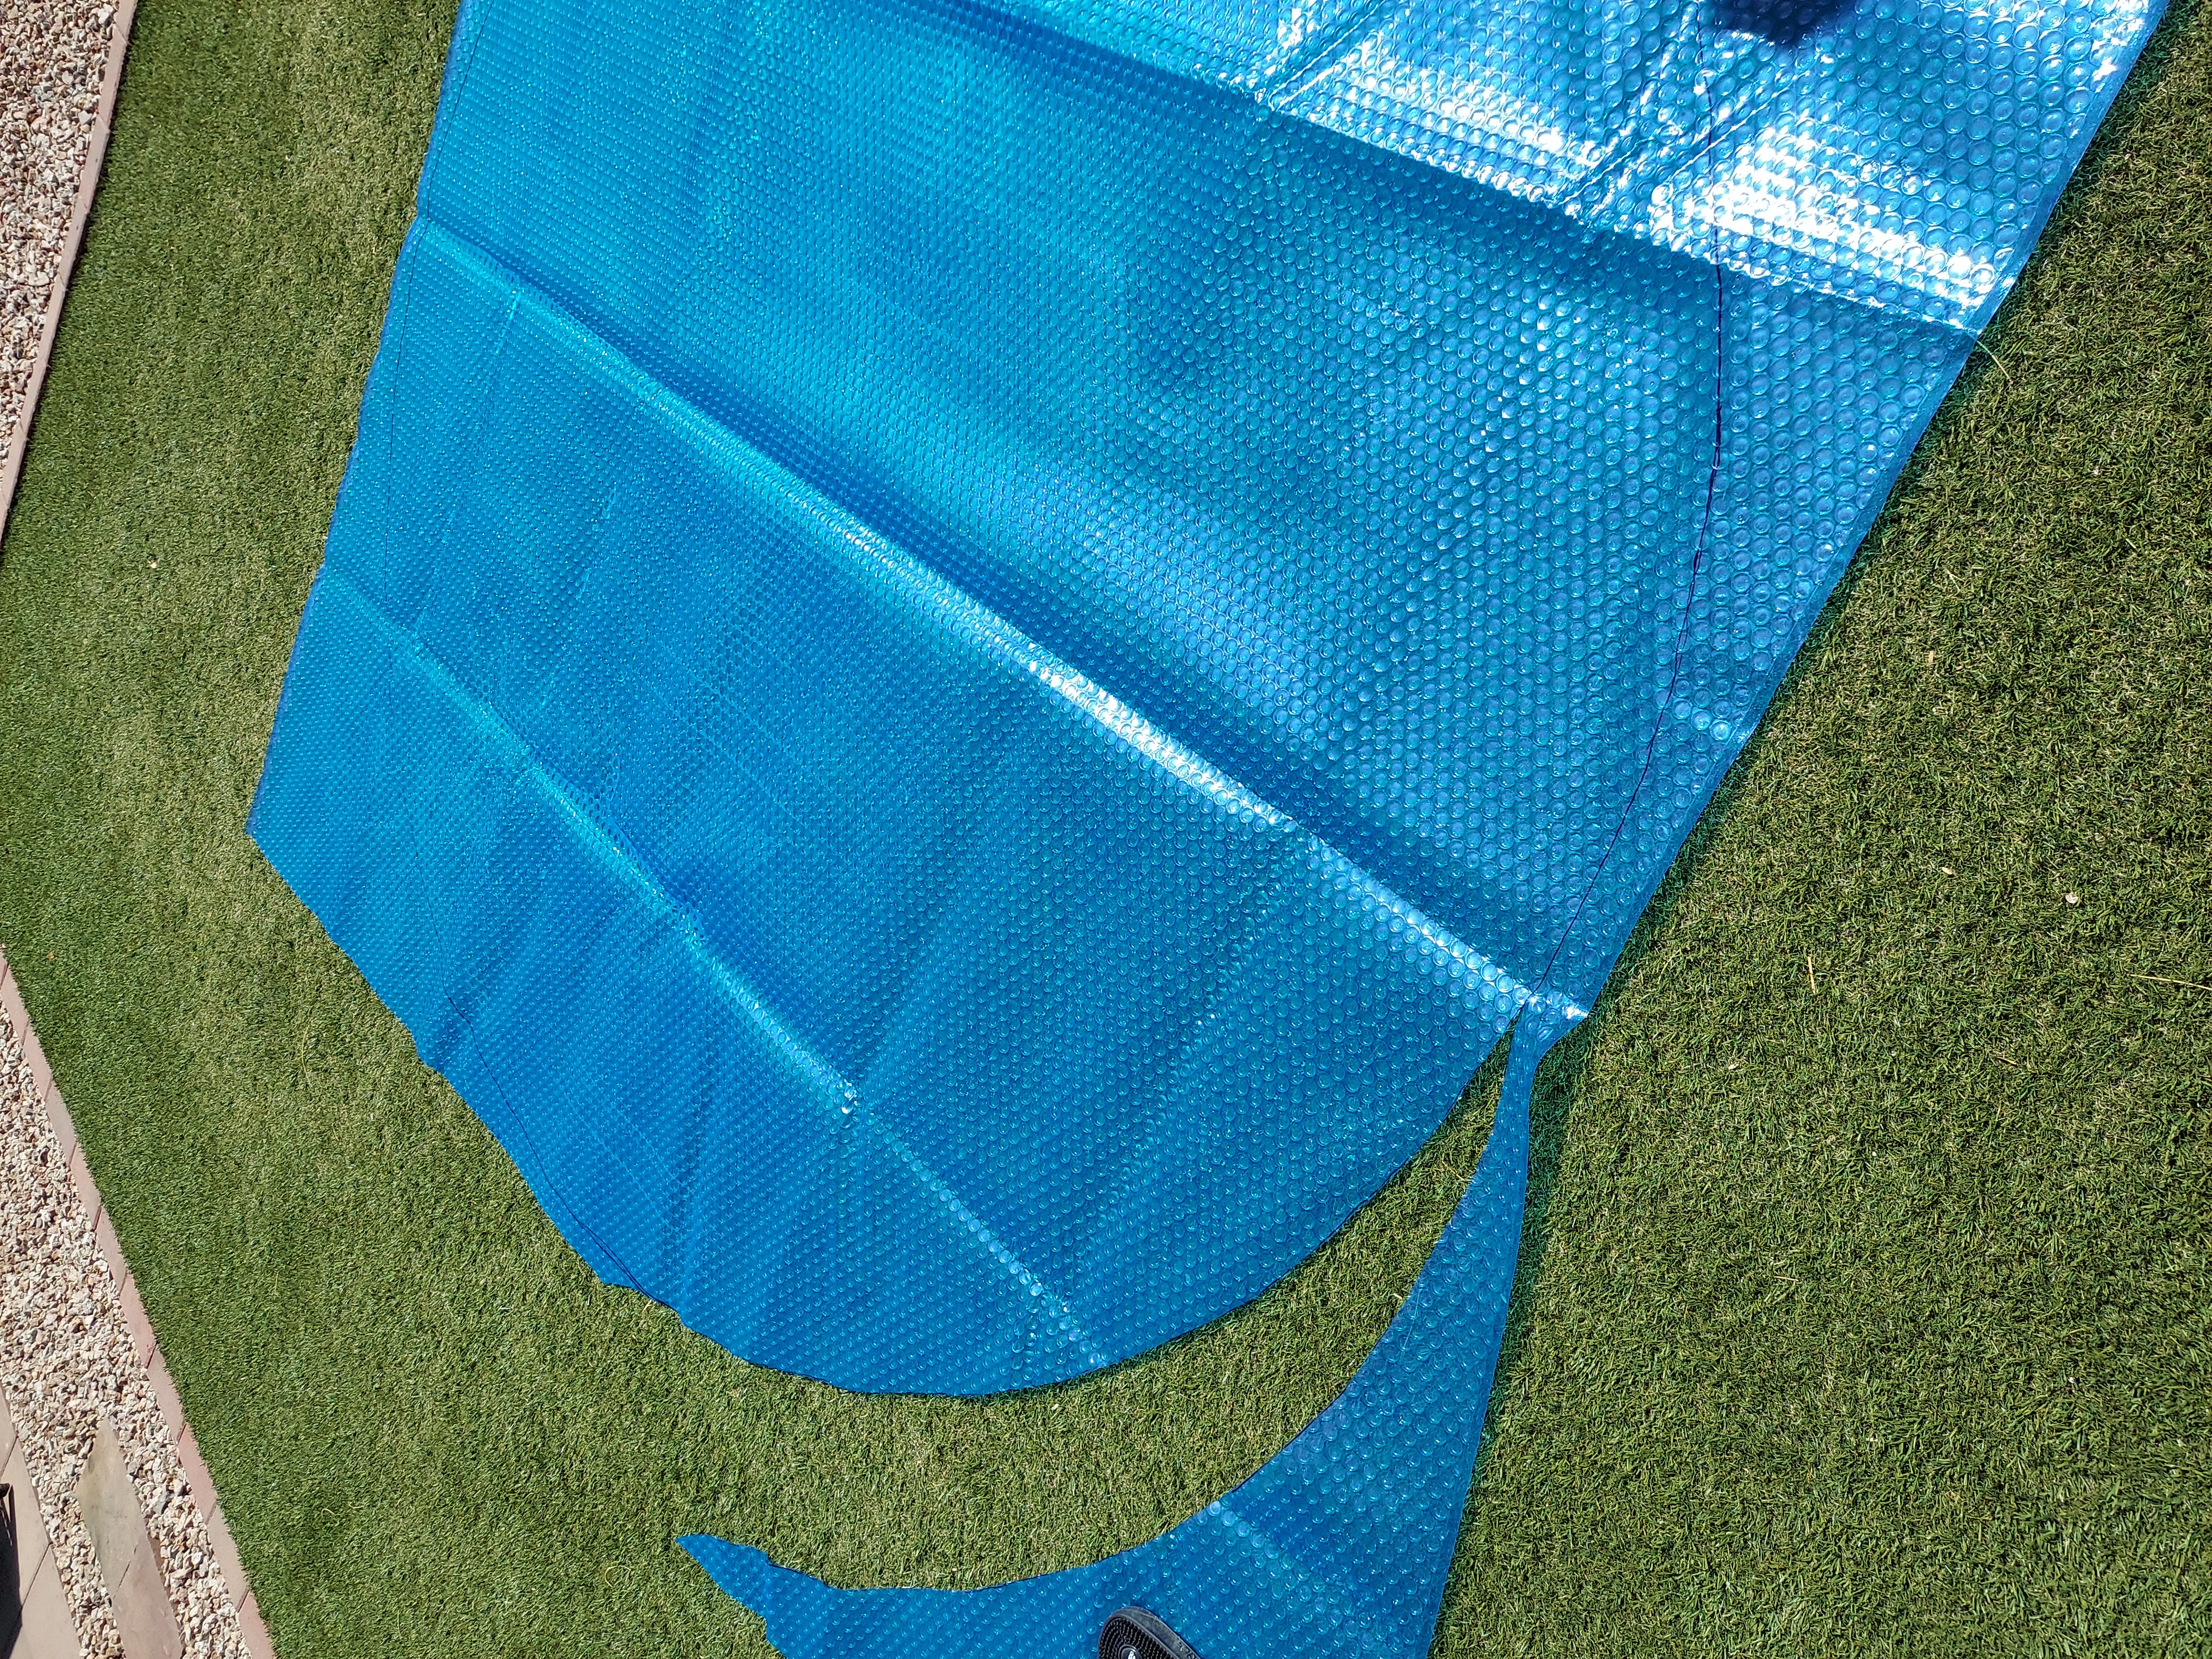
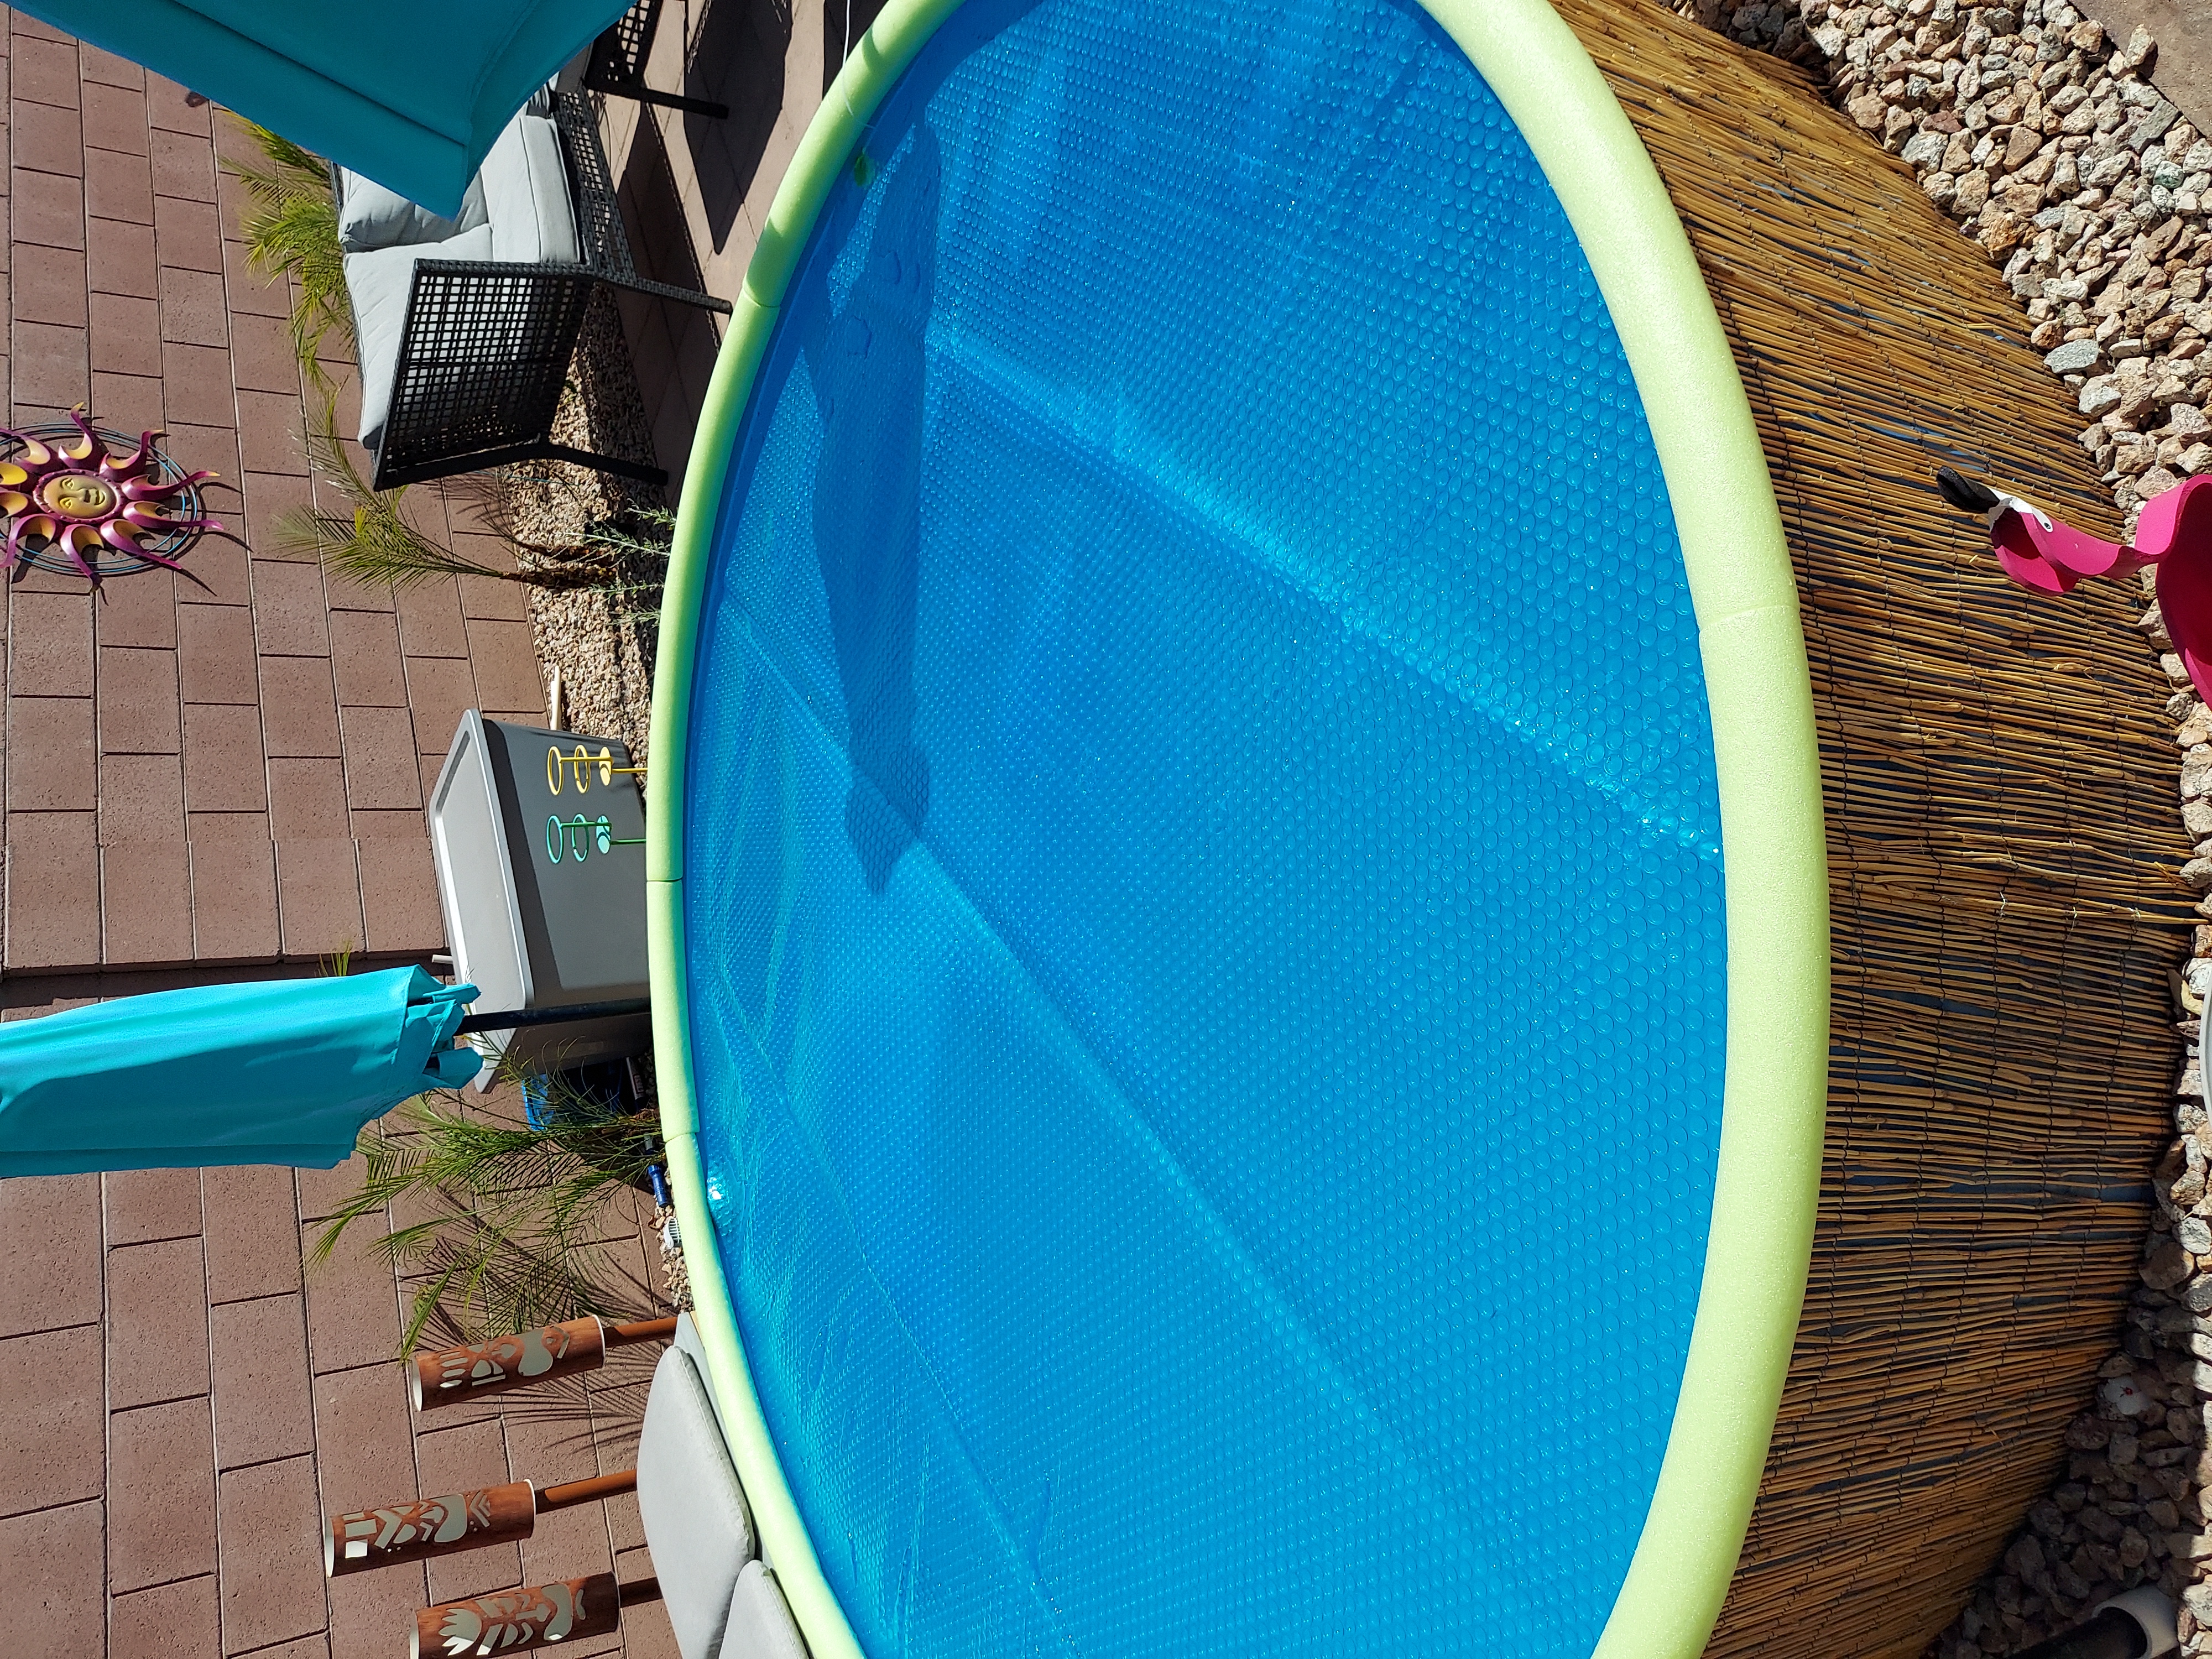
But this 8' x 8' solar cover is by far the best investment. I mostly want it to extend our swimming season. It's been in the low 90's during the day here, but at night we've gone back down to the 50's and 60's which has made the pool temp drop as well and it takes a long time for it to come back up. Before using the cover we could not seem to get the pool over 78* which seems warm, but it's really not. After 24 hours of having this pool cover on we got it up to 85* on a day with a high of 87* and it only dropped maybe 5* that night. That was awesome and it will definitely lengthen our pool season. It's 16mil plastic which is much thicker than a typical pool cover and will last much longer in the AZ sun than other covers and it is not hard to get on and off at all. I love it! It comes 8' X 8' square so you will just need to cut it down to the round shape. We just laid it on the pool and traced the top edge of the tank, cut it out and then made adjustments from there. It worked perfectly and cut very easily with a basic kitchen scissors.
And if you need some fun pool decor, check out how to make these awesome PVC Pipe flamingos and tiki mask lights.

I am absolutely IN LOVE with my stock tank pool. It is absolutely perfect for our space and it turned out so much better than I expected. If you have been contemplating setting up a stock tank pool - go for it and then share how you designed it!
stock tank pool
Want more DIY's?CrazyDIYmom.com Contact Us Privacy Policy Disclaimer About me