
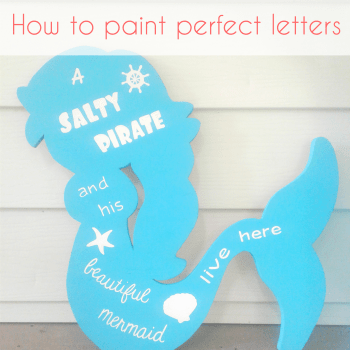
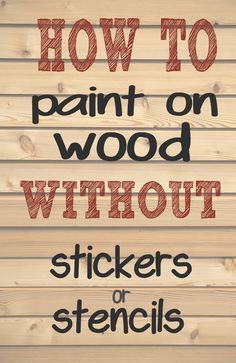
DIY wood signs
DIY wood painted signs
* This post may contain affiliate links.
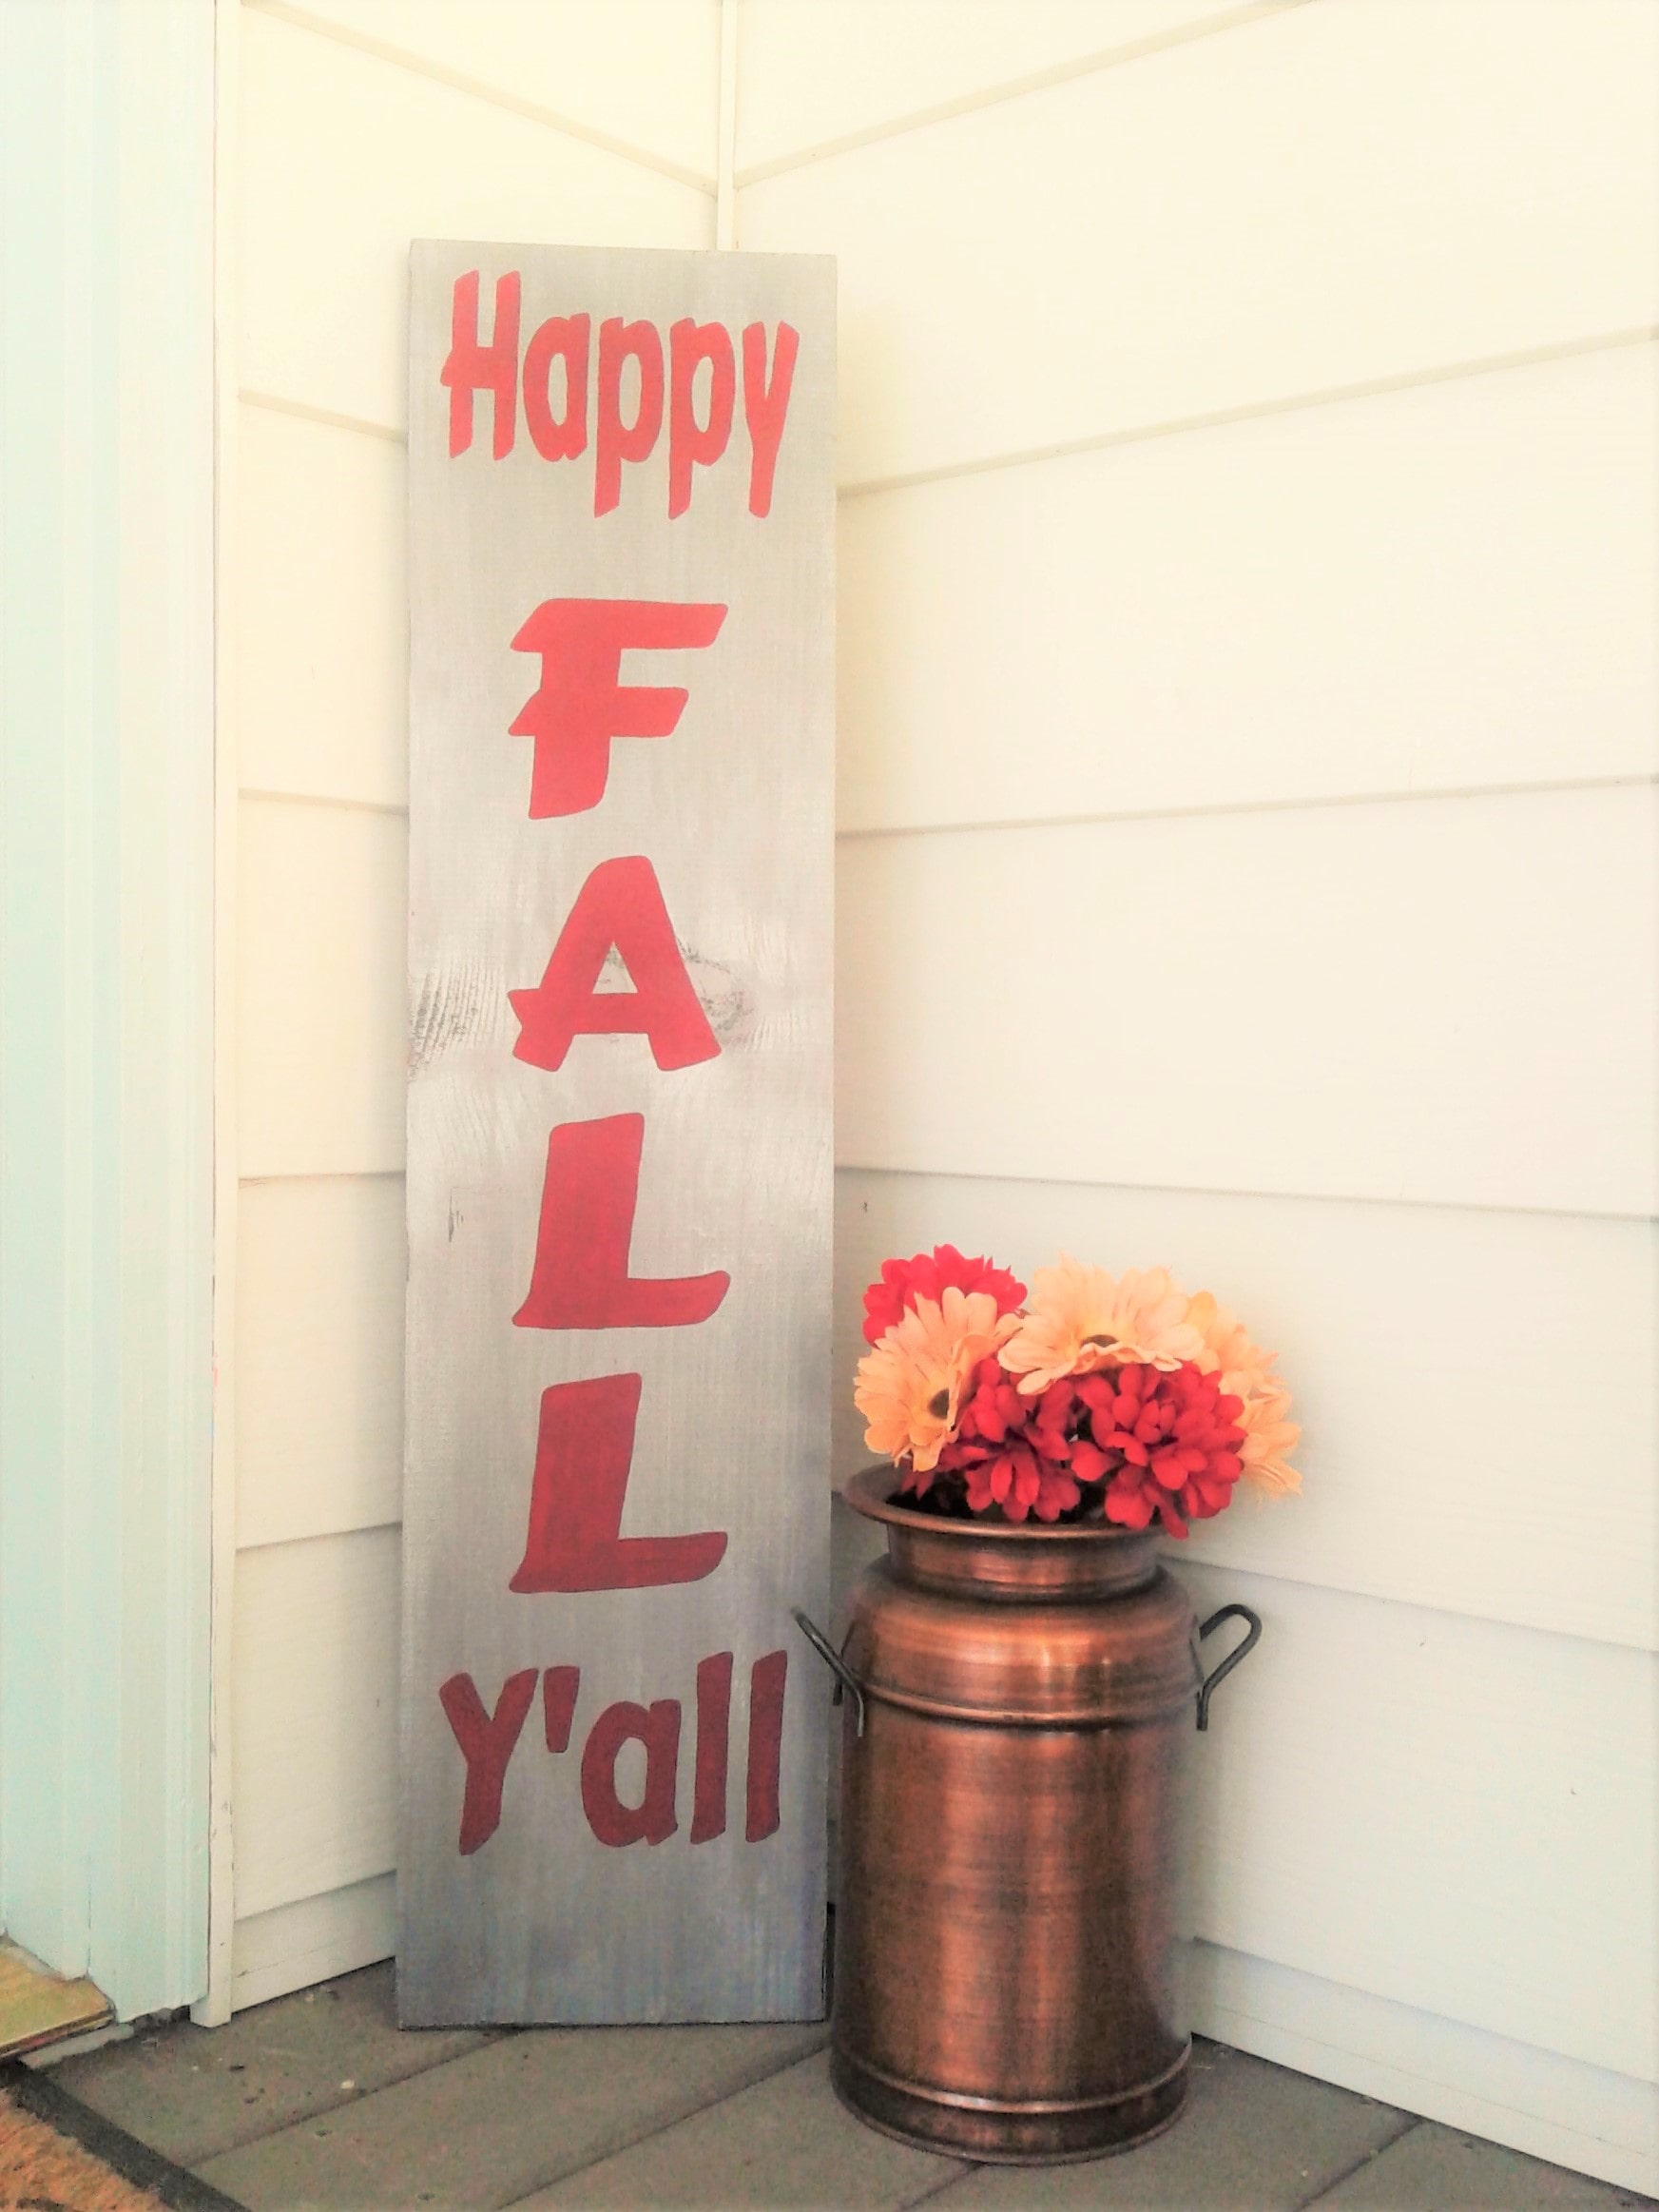
I love making these types of wooden signs. I can pick the saying, pick the font and pick the colors exactly how I want. And I promise these wood painted signs are so much easier to make than you think!
You will need:
Your choice of wood boards
Chop saw
sandpaper or sander
Printer and paper
chalk
ball point pen
clear acrylic spray sealer
acrylic paints
First, choose your piece of wood board
Decide on what you want your image or your saying to look like. You can use an online image editor or any editing software you have to design your saying. Make sure you take into account the size of your wood. When creating your design, make sure the image or saying you create will fit nicely and be proportioned to the size of your wood. This can be the trickiest part of this DIY if you aren't good with designing images.
You can also here over here to get all 24 of our printables sayings.
Now, where does the easy part come in? Right here!
Print off your image or saying and make sure it will fit nicely on your piece of wood. If you need to, trim all of the excess paper off around your saying.
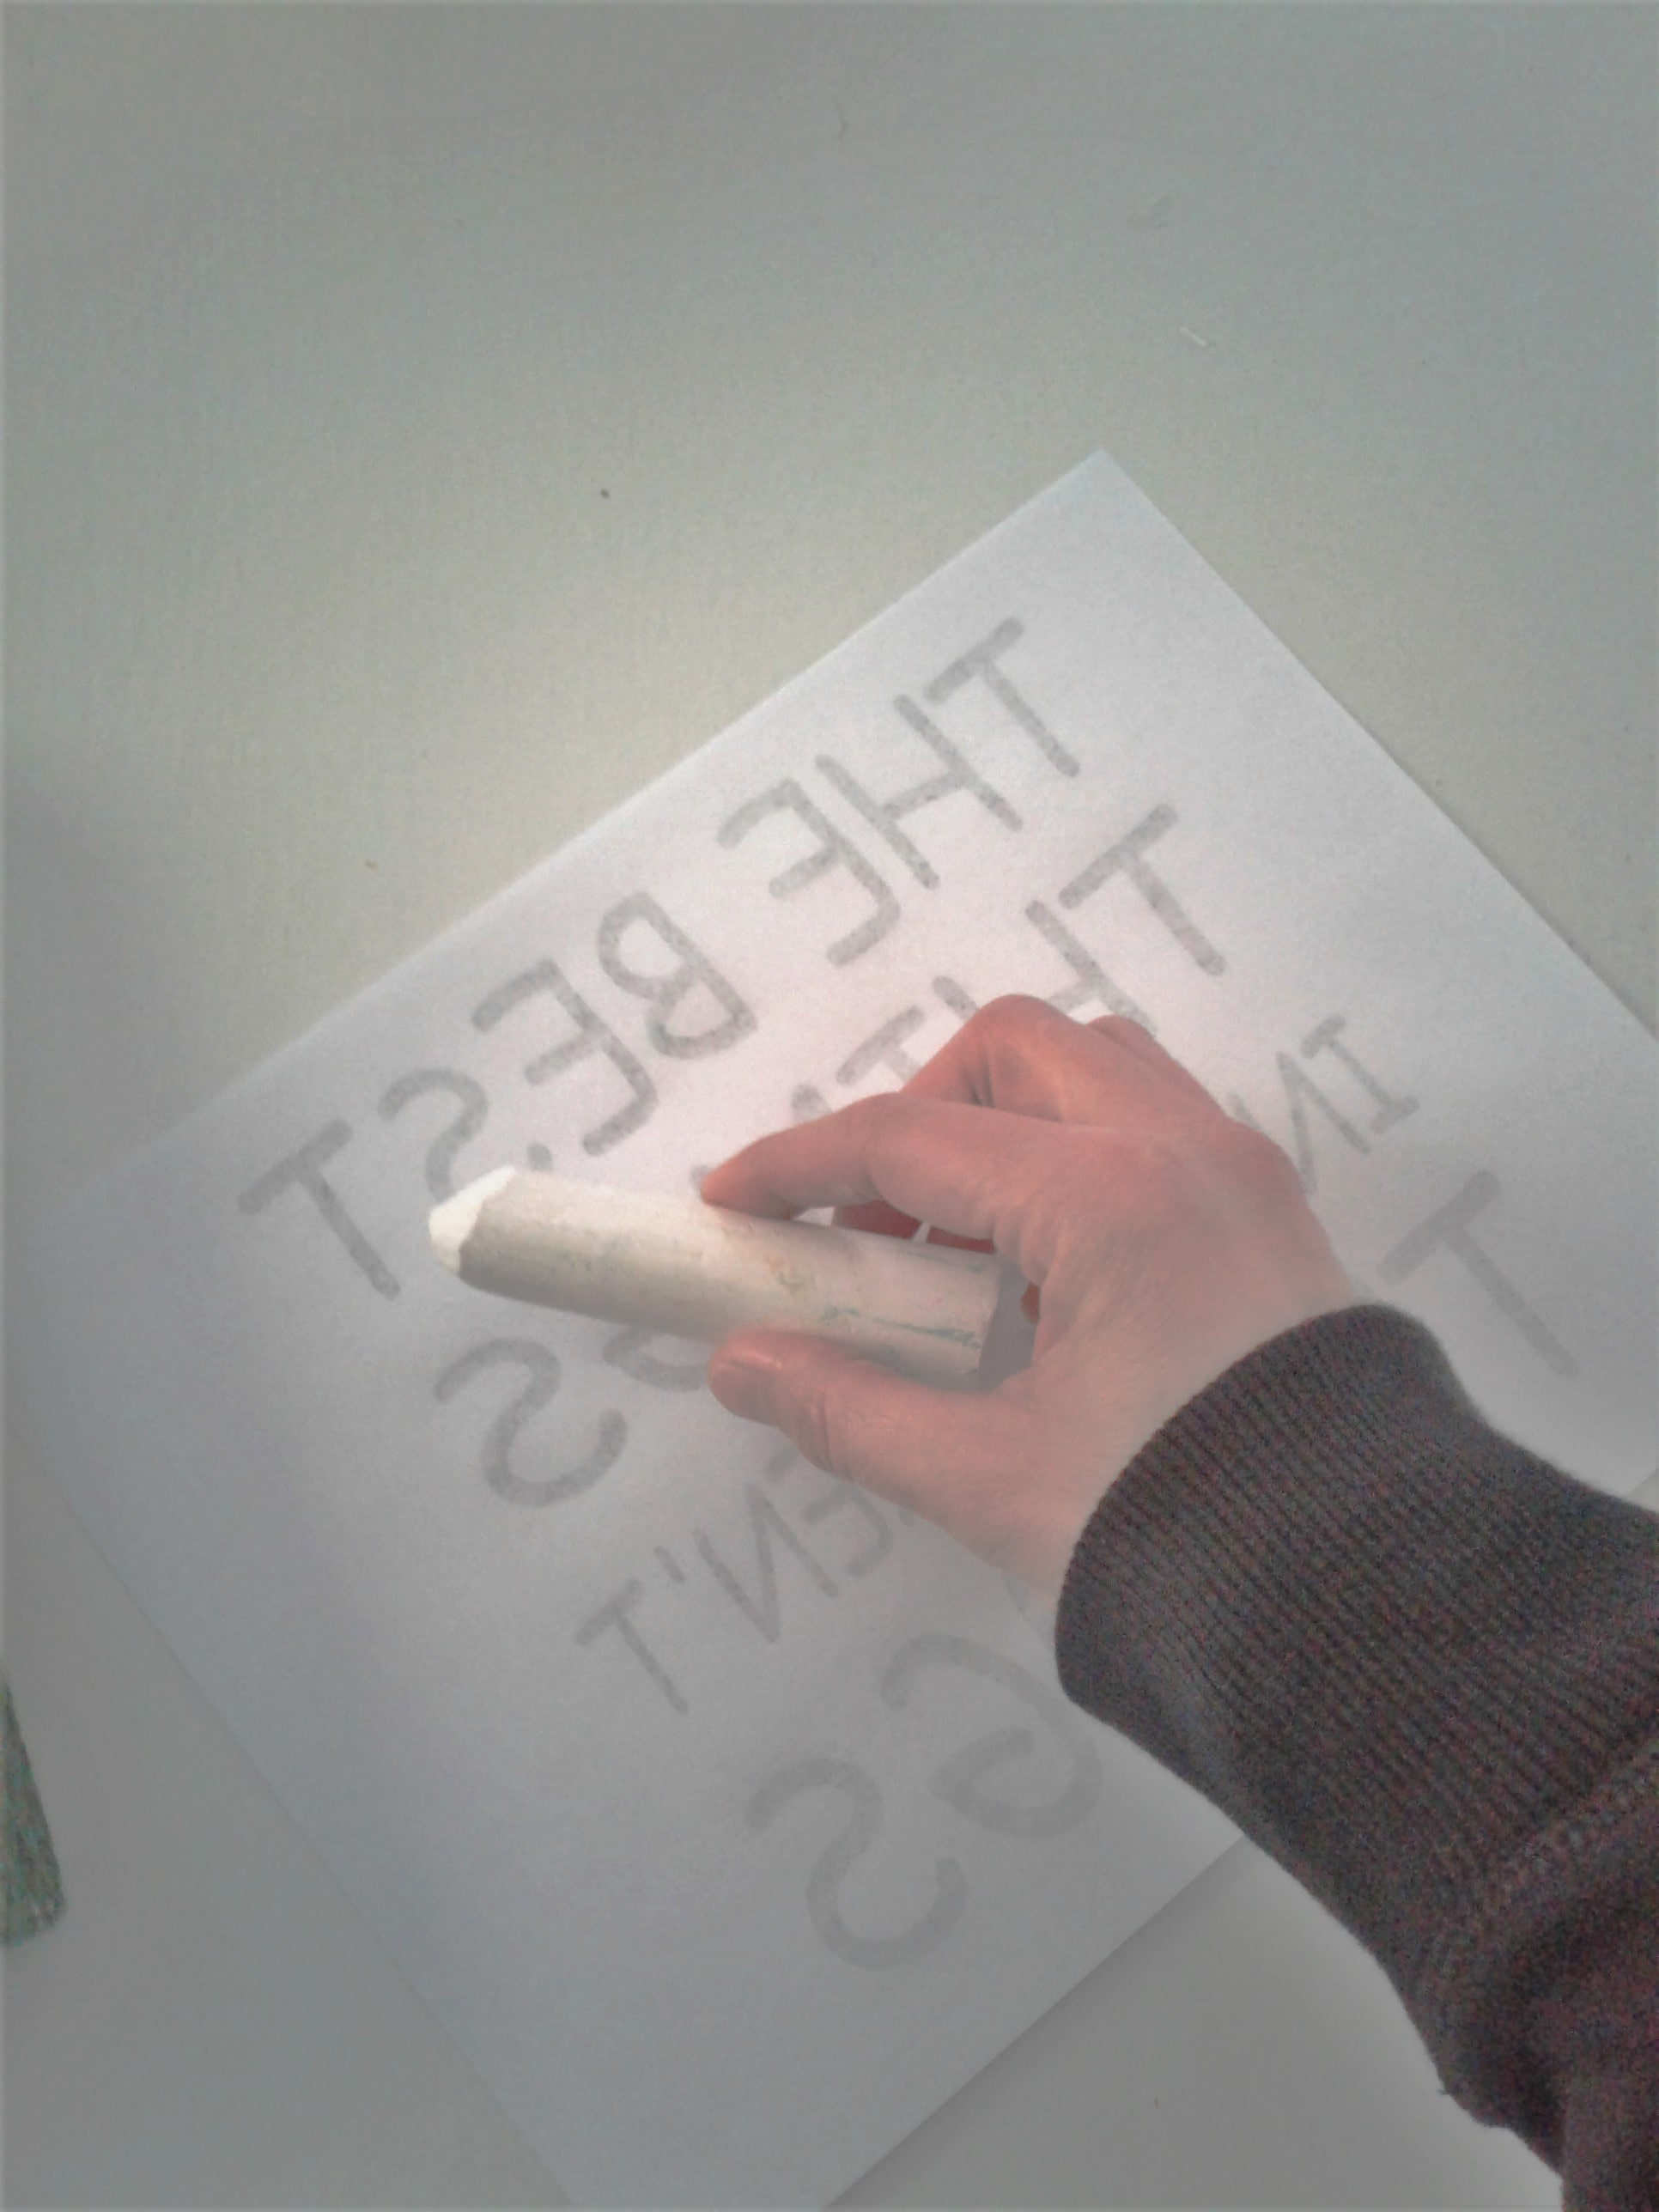
Take a piece of chalk and lightly rub it all over on the BACK of your printed image making sure it is specifically on the back of all of your letters. Rubbing the chalk on the back of the printed paper gives it a nice coating of the chalk so that when you trace your image onto your wood the chalk will help your lines to appear better. I'll explain more...
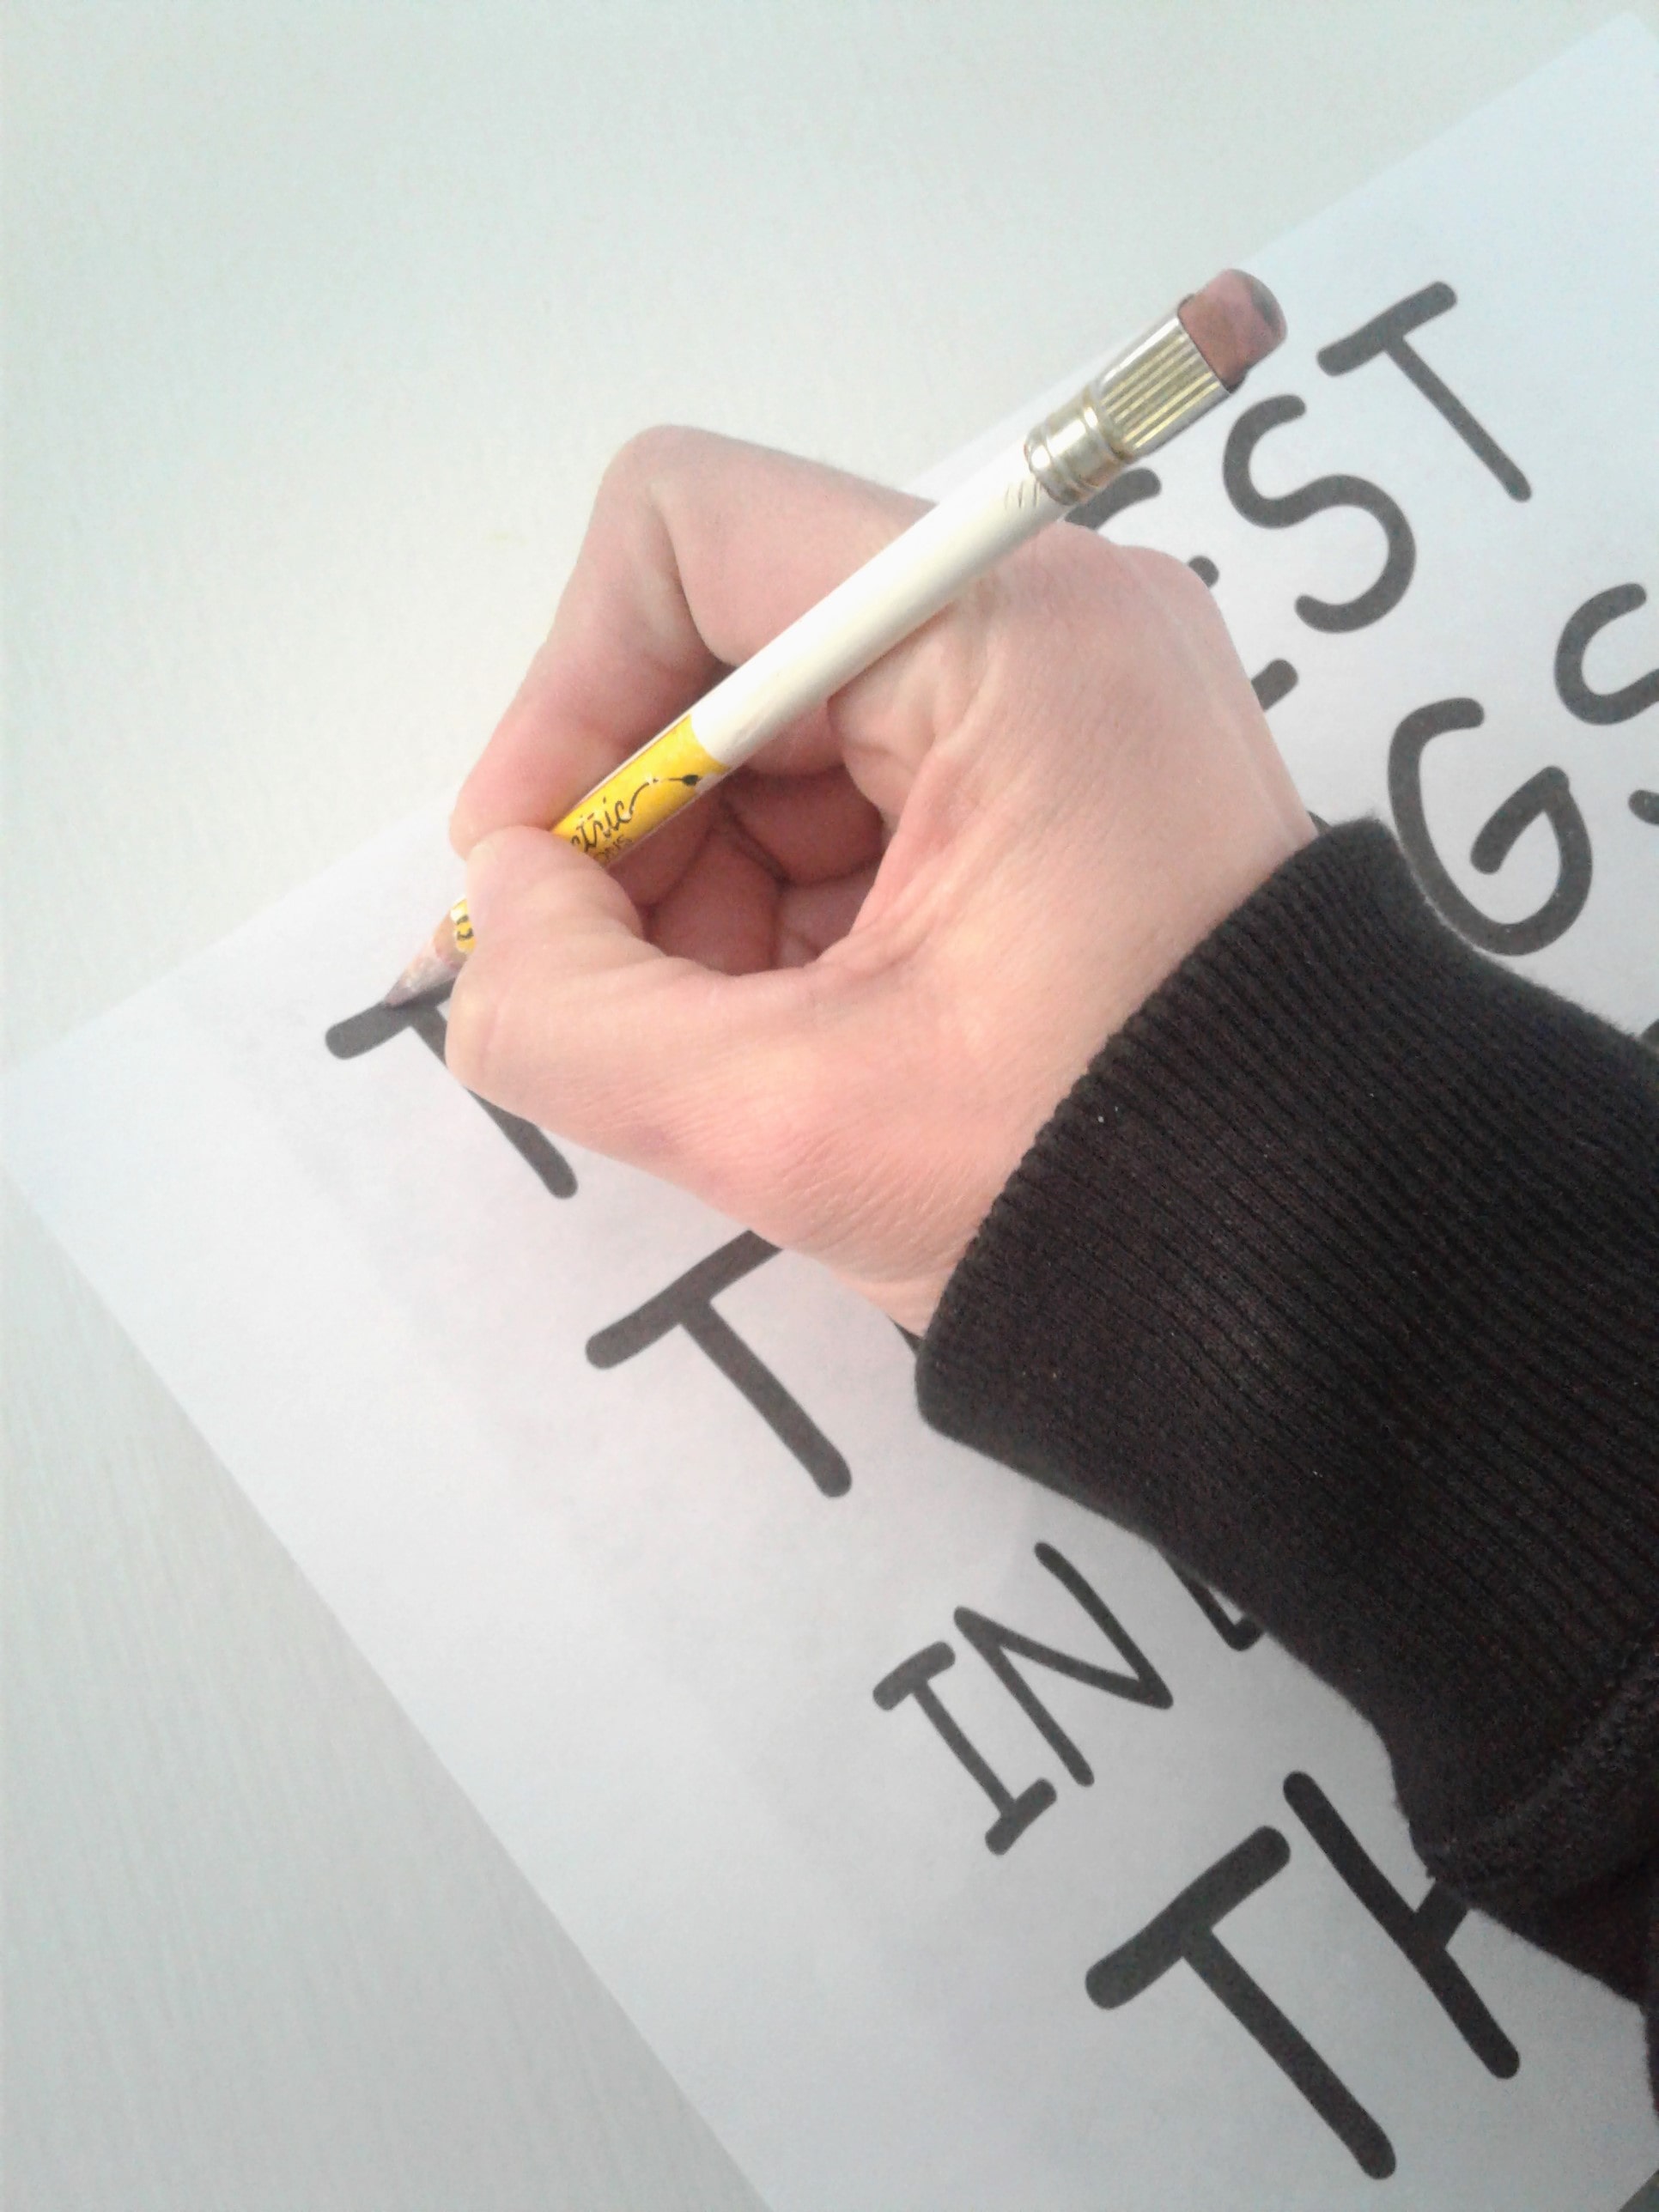
Next, place your paper on top of your wood where you want your saying or image to go and tape it into place so that it doesn't move while you are tracing. Then take a strong ball point pen and trace around the outline of the image or the words using a good amount of pressure. You are trying to make a slight indent into the wood with your tracing, but also relying on the chalk to help your lines to show up better.
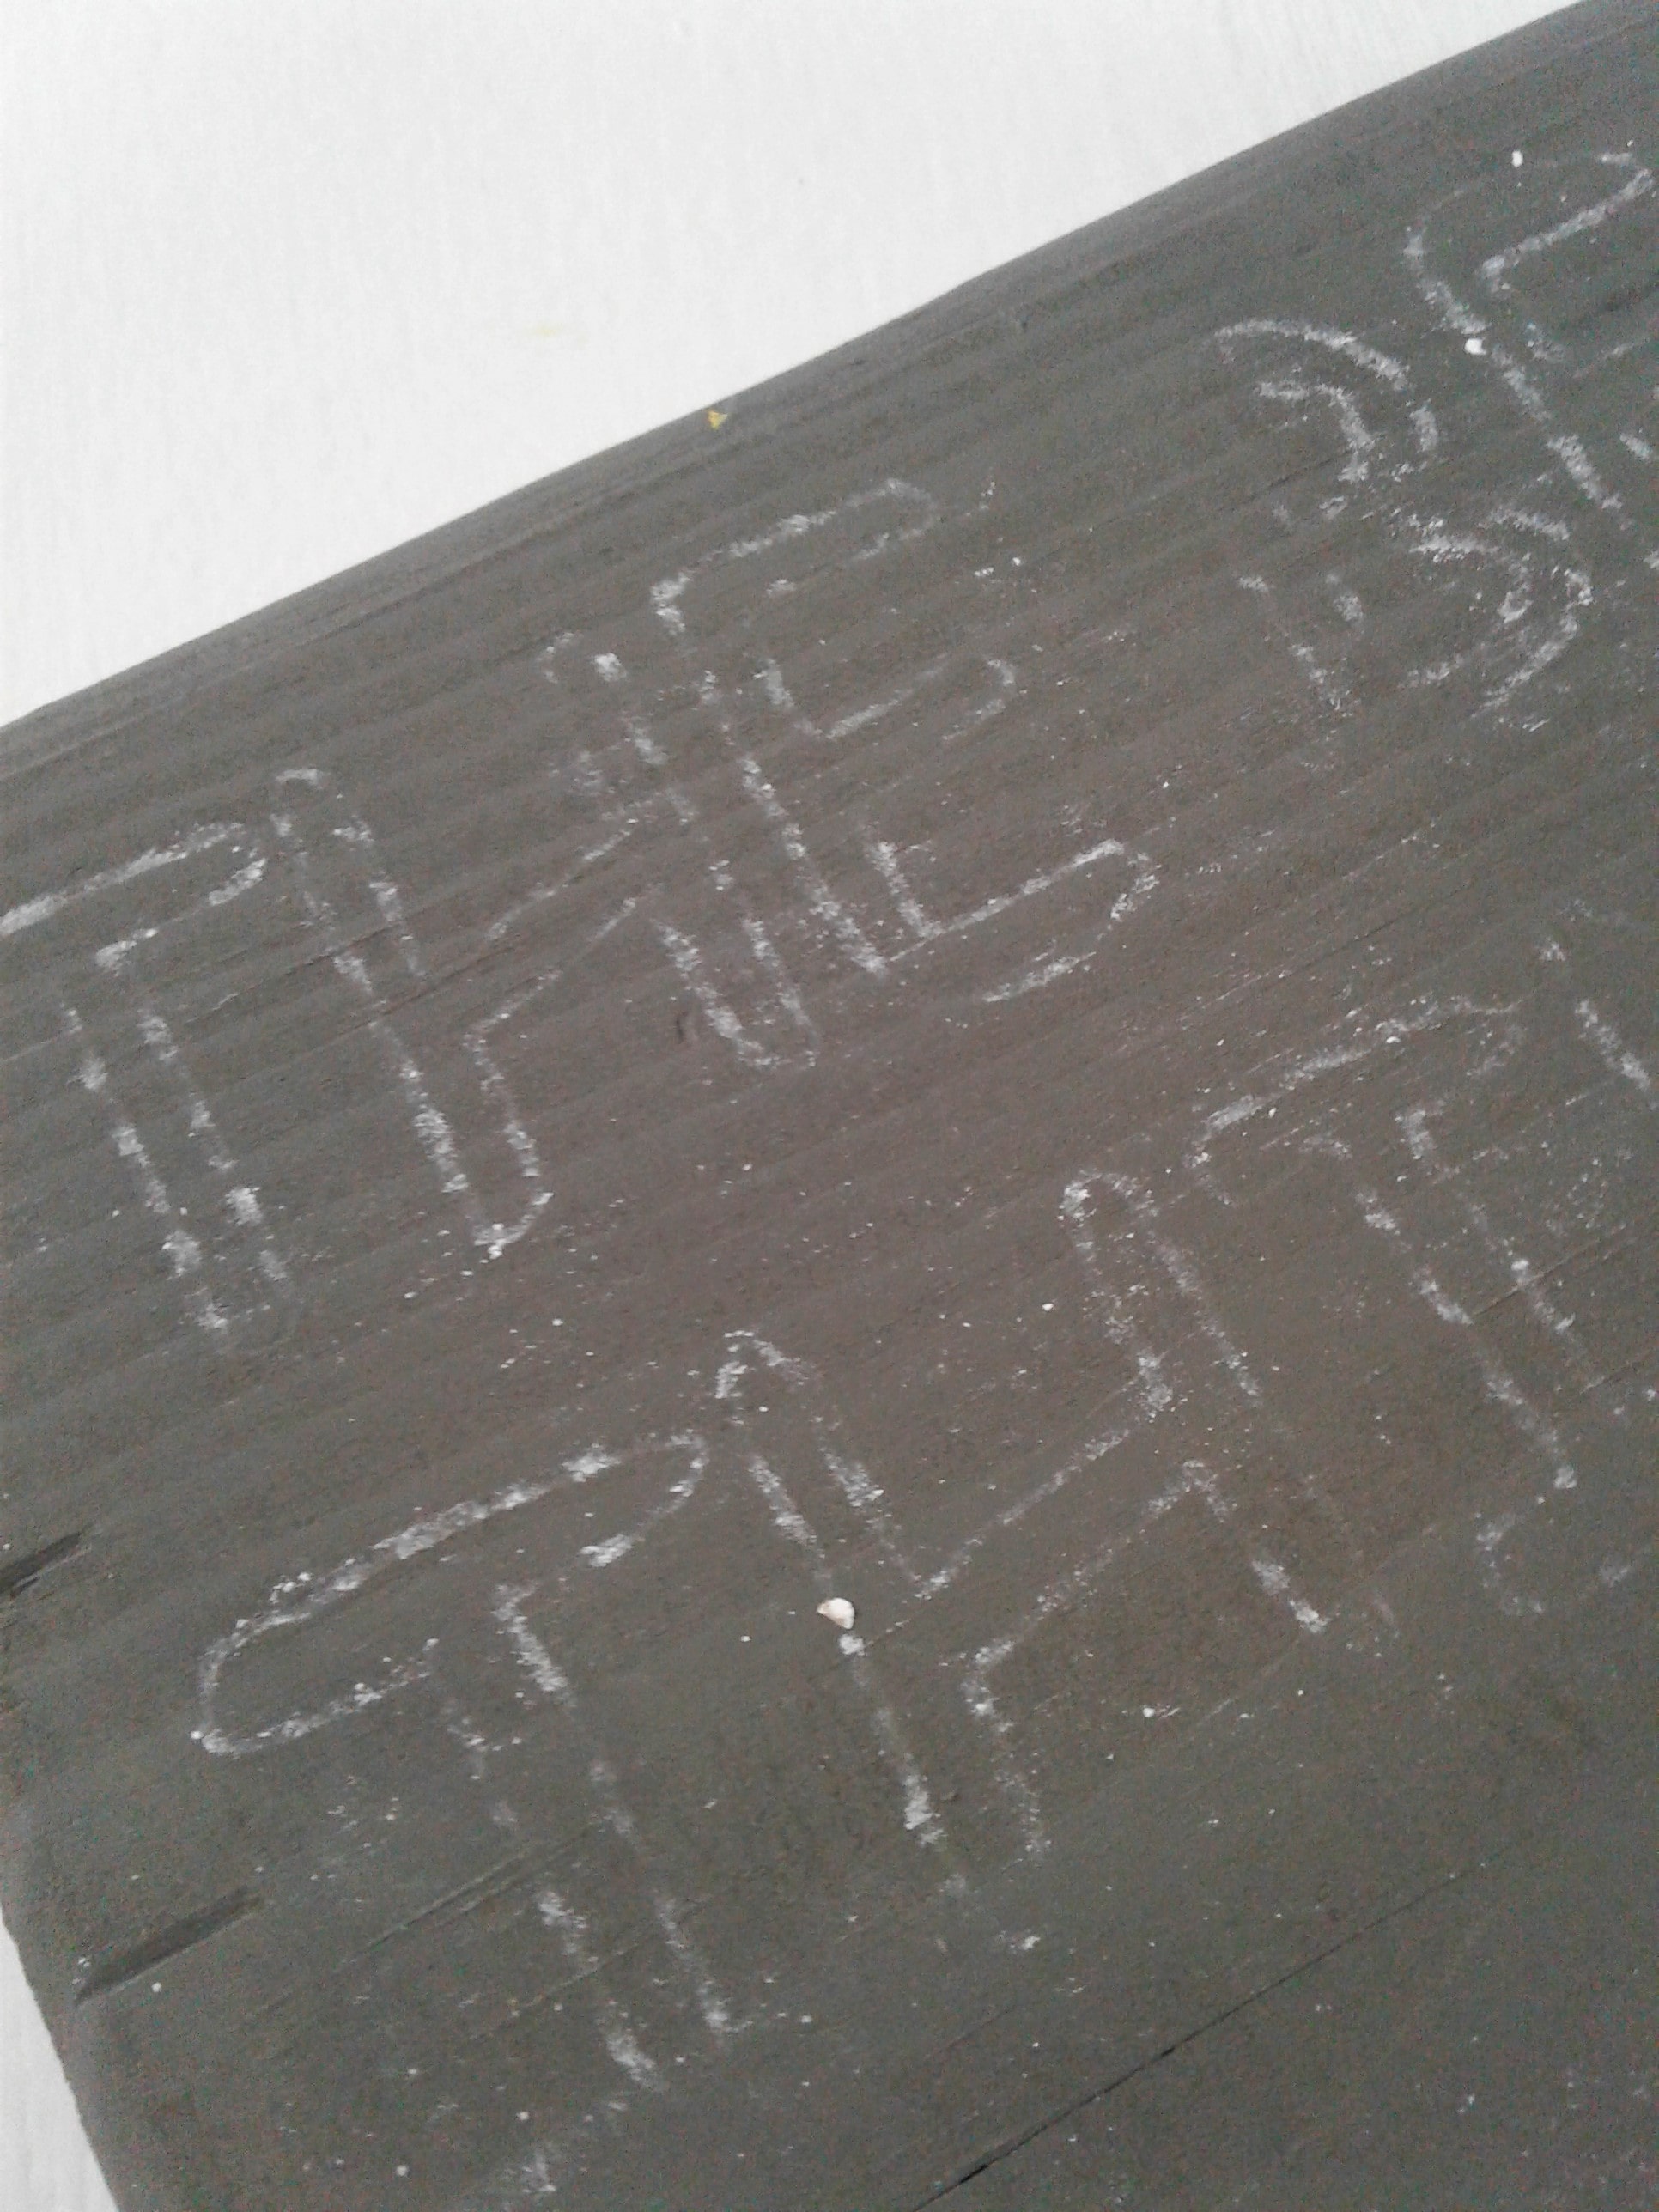
Then once you are all done tracing, remove the paper and it's just like coloring - use your acrylic paint and color in the lines! The chalk lines should help your tracing dents to appear a little bit better.
Once you have all of your image painted in and it has dried, clean up with a damp paper towel any excess chalk that is left on your sign. Then when it is completely dried, spray it with a coat of a clear acrylic spray sealer
Then you can add some picture hangers
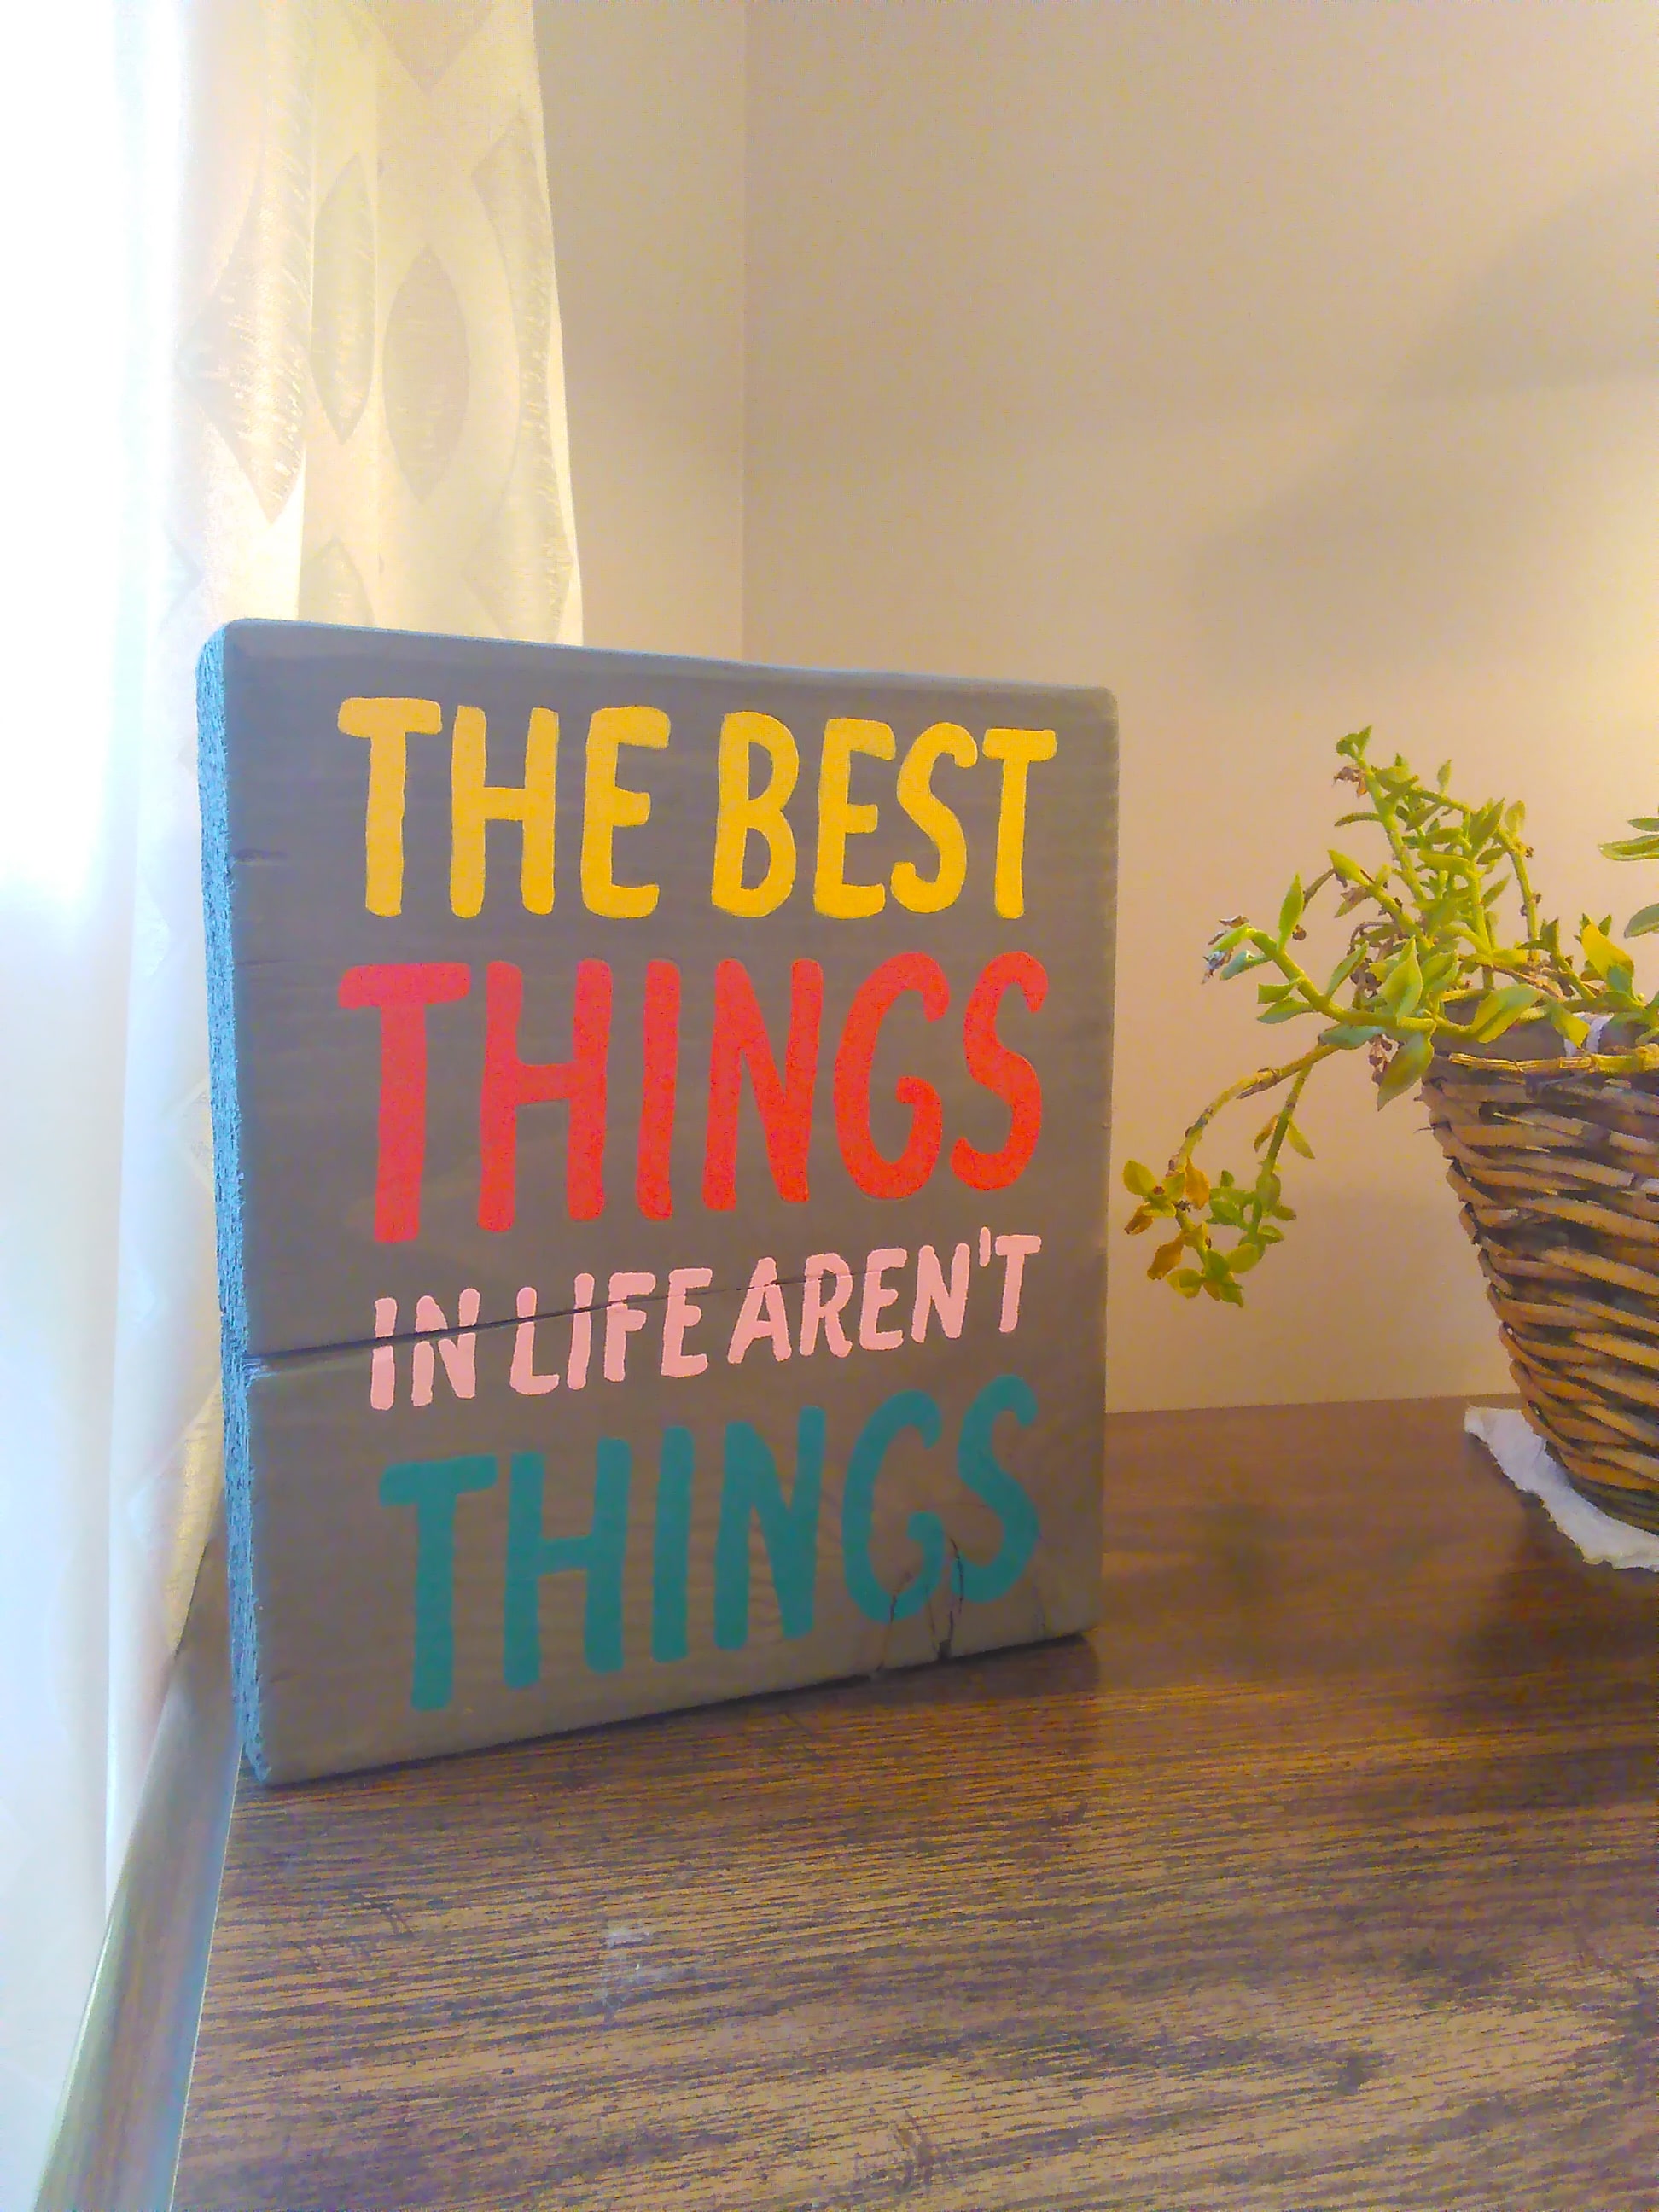
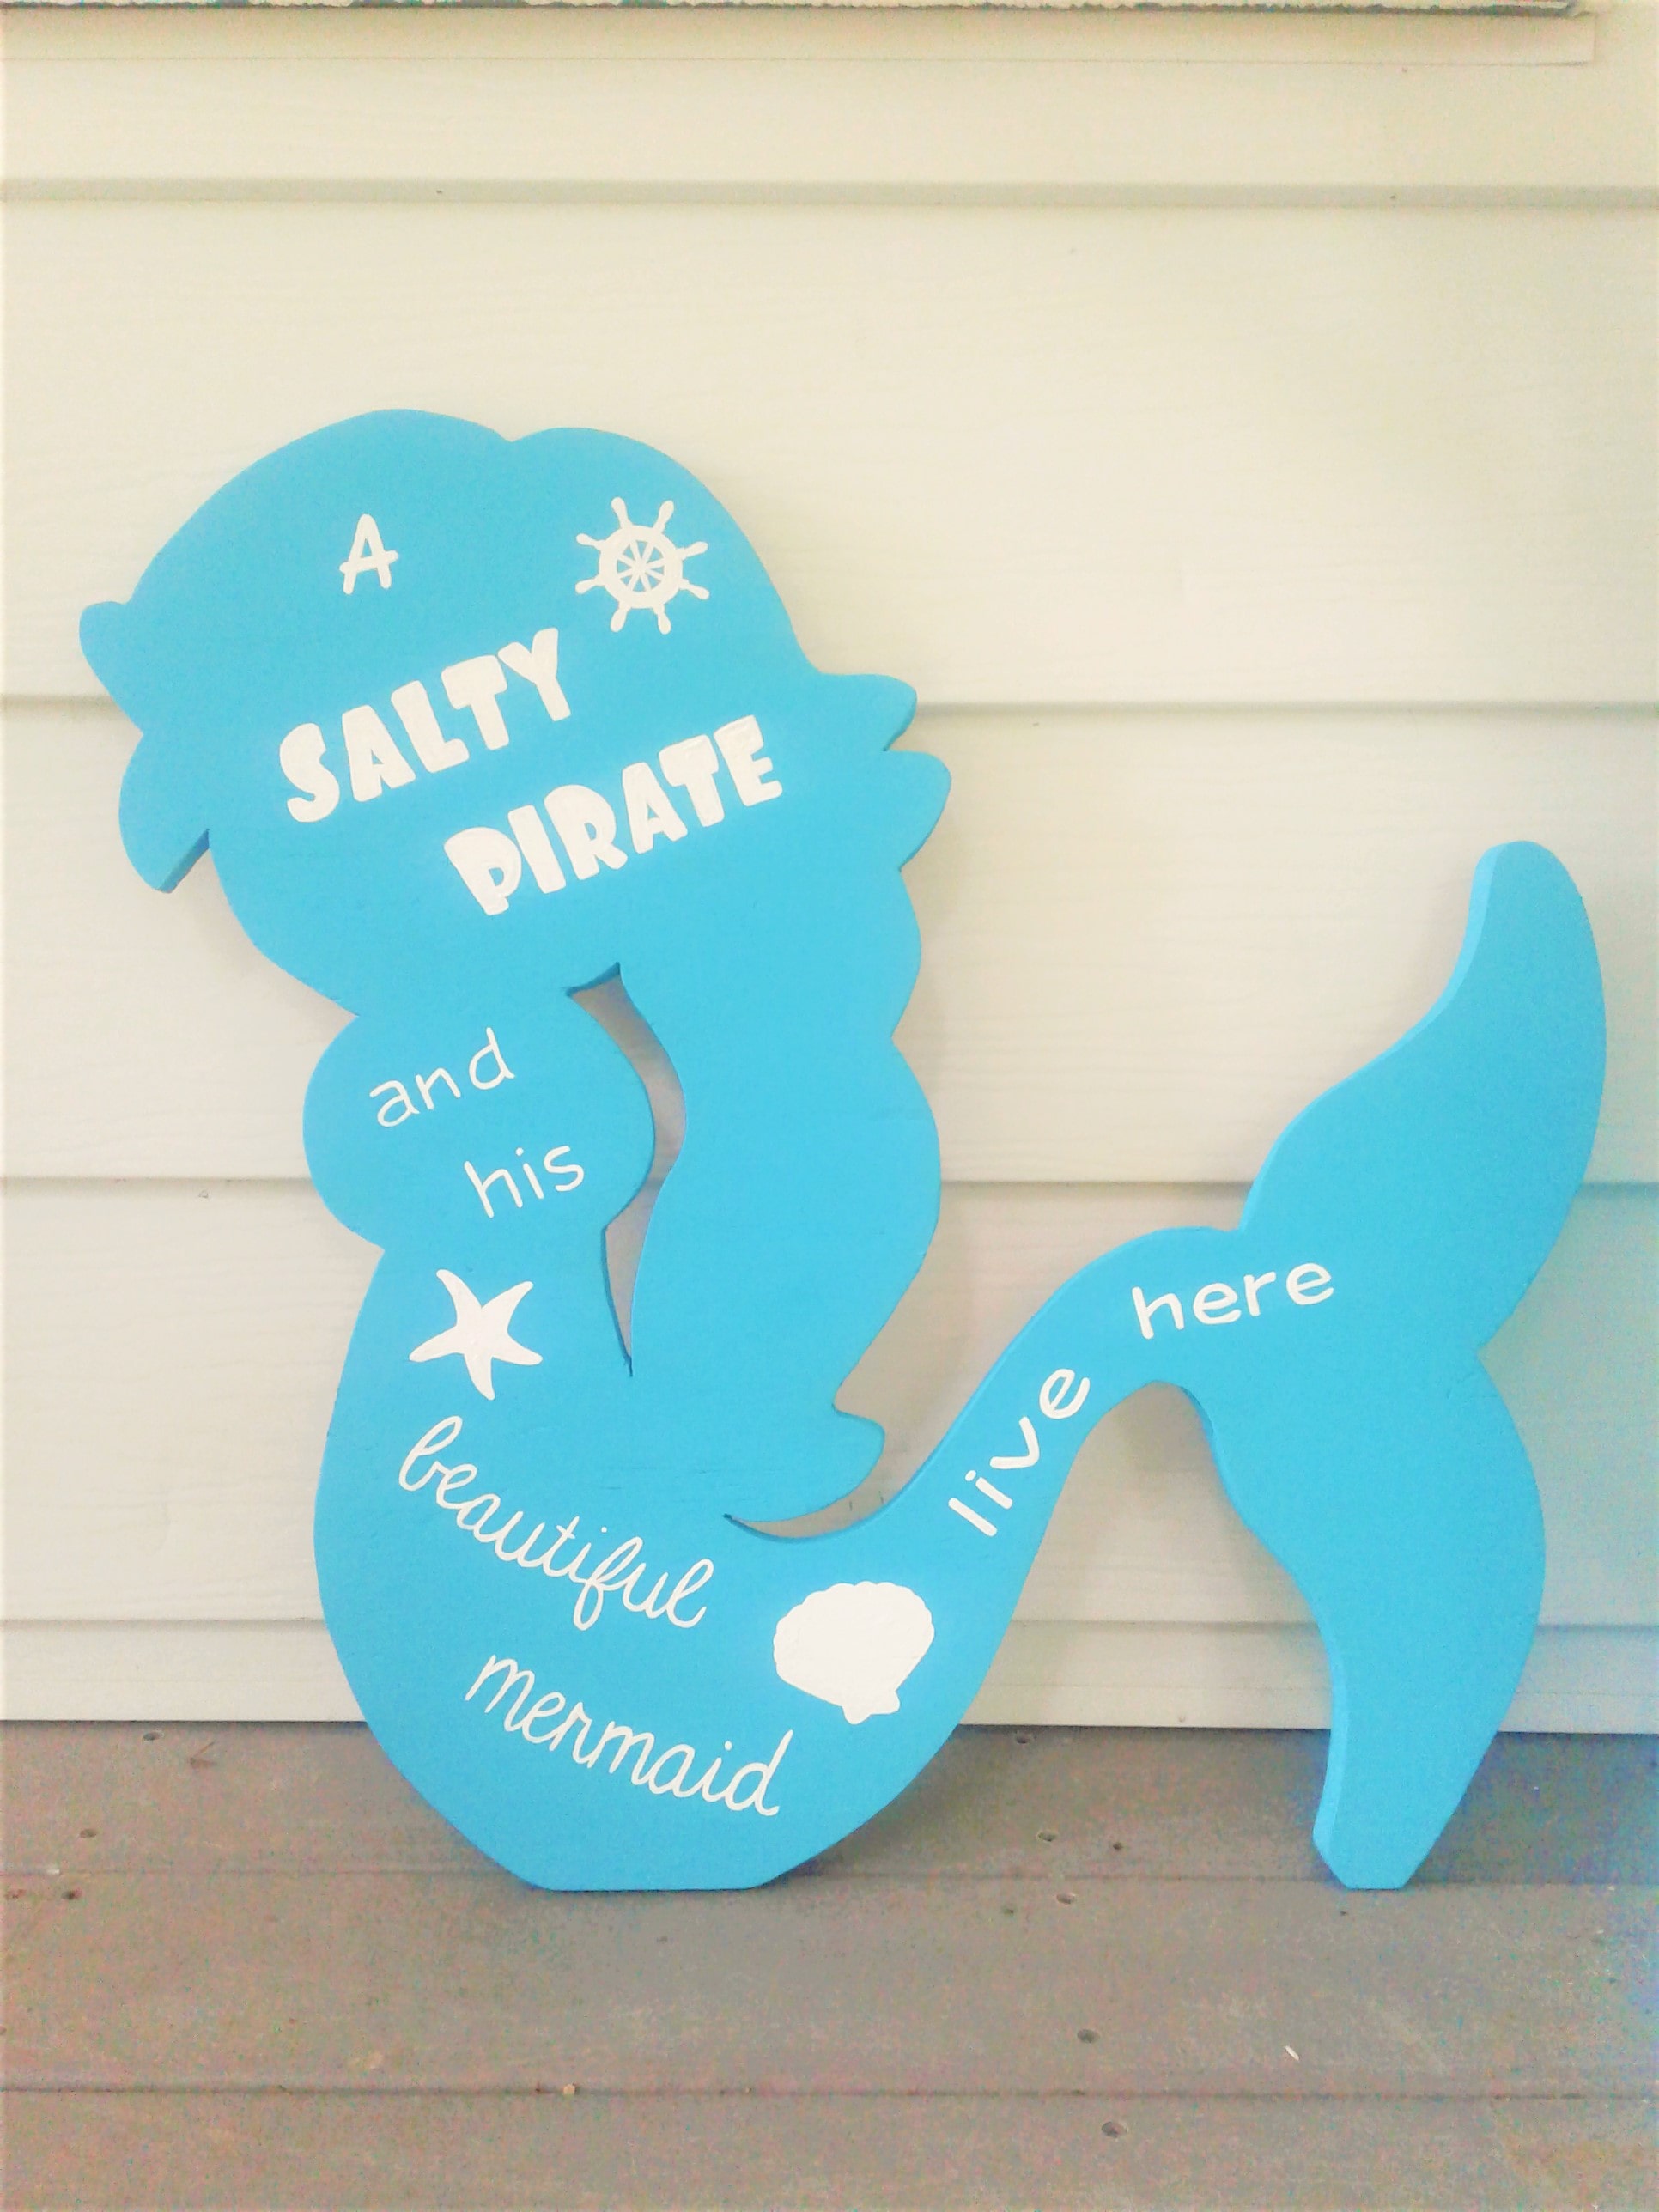
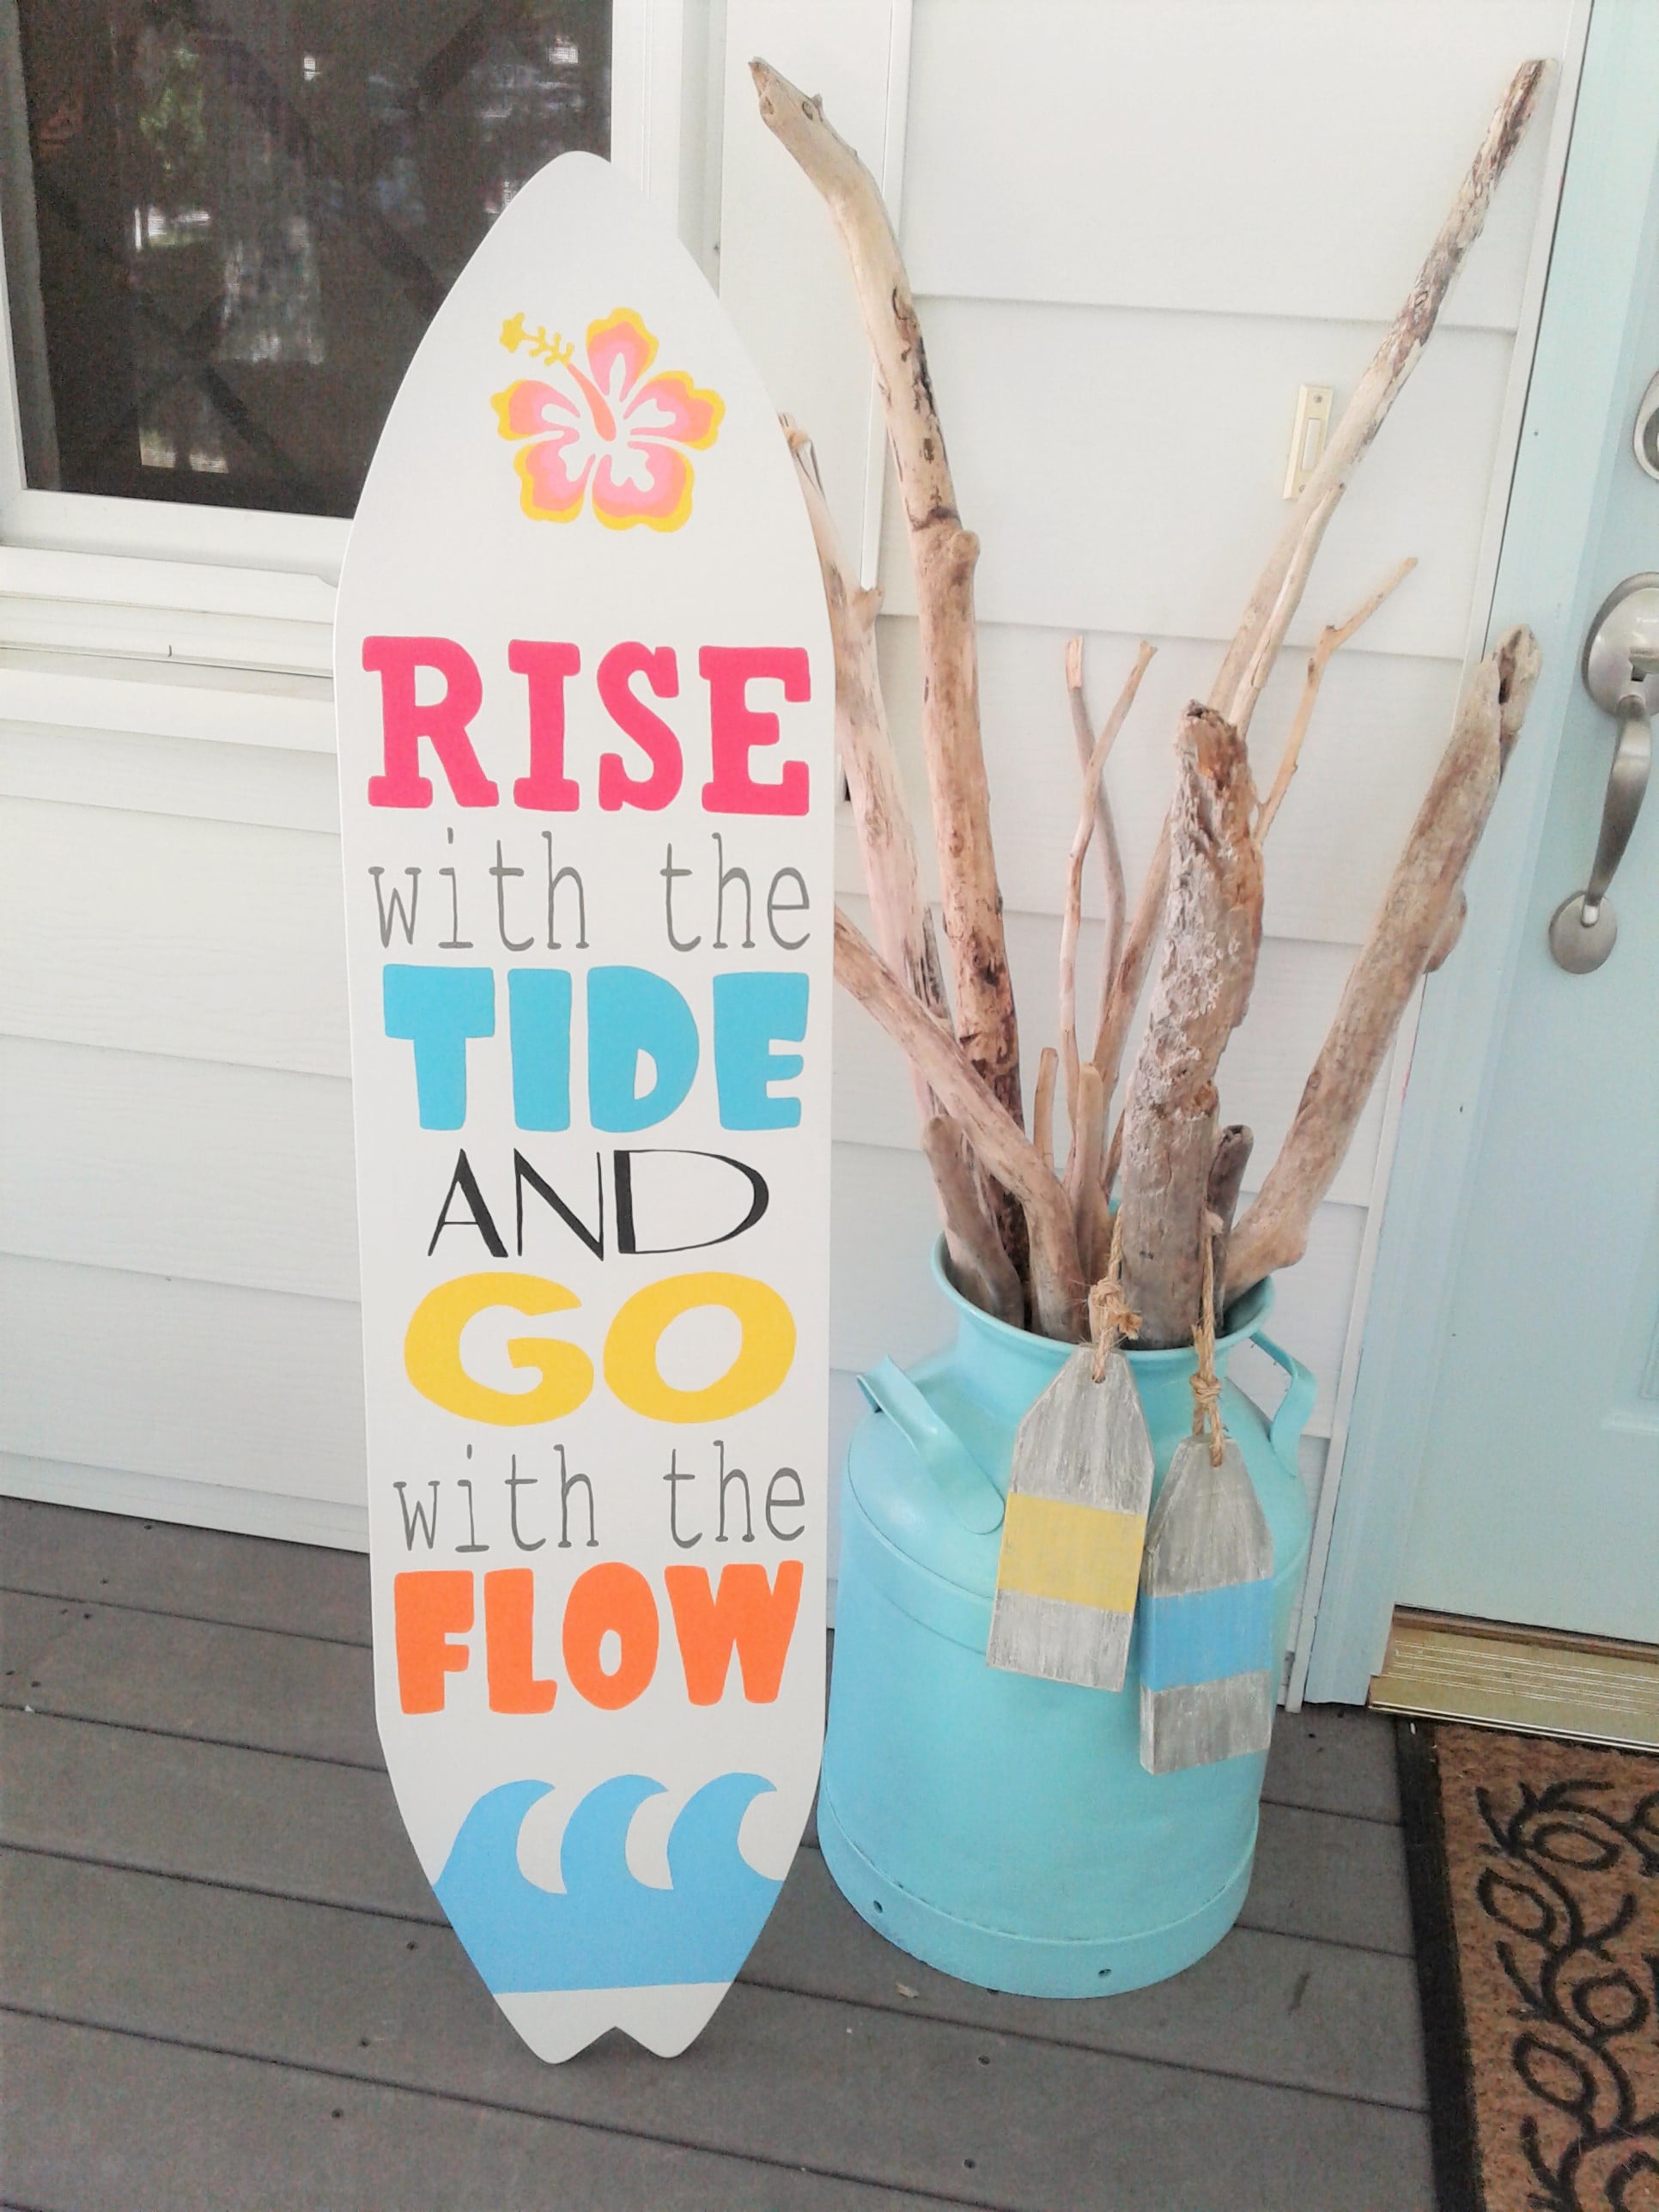
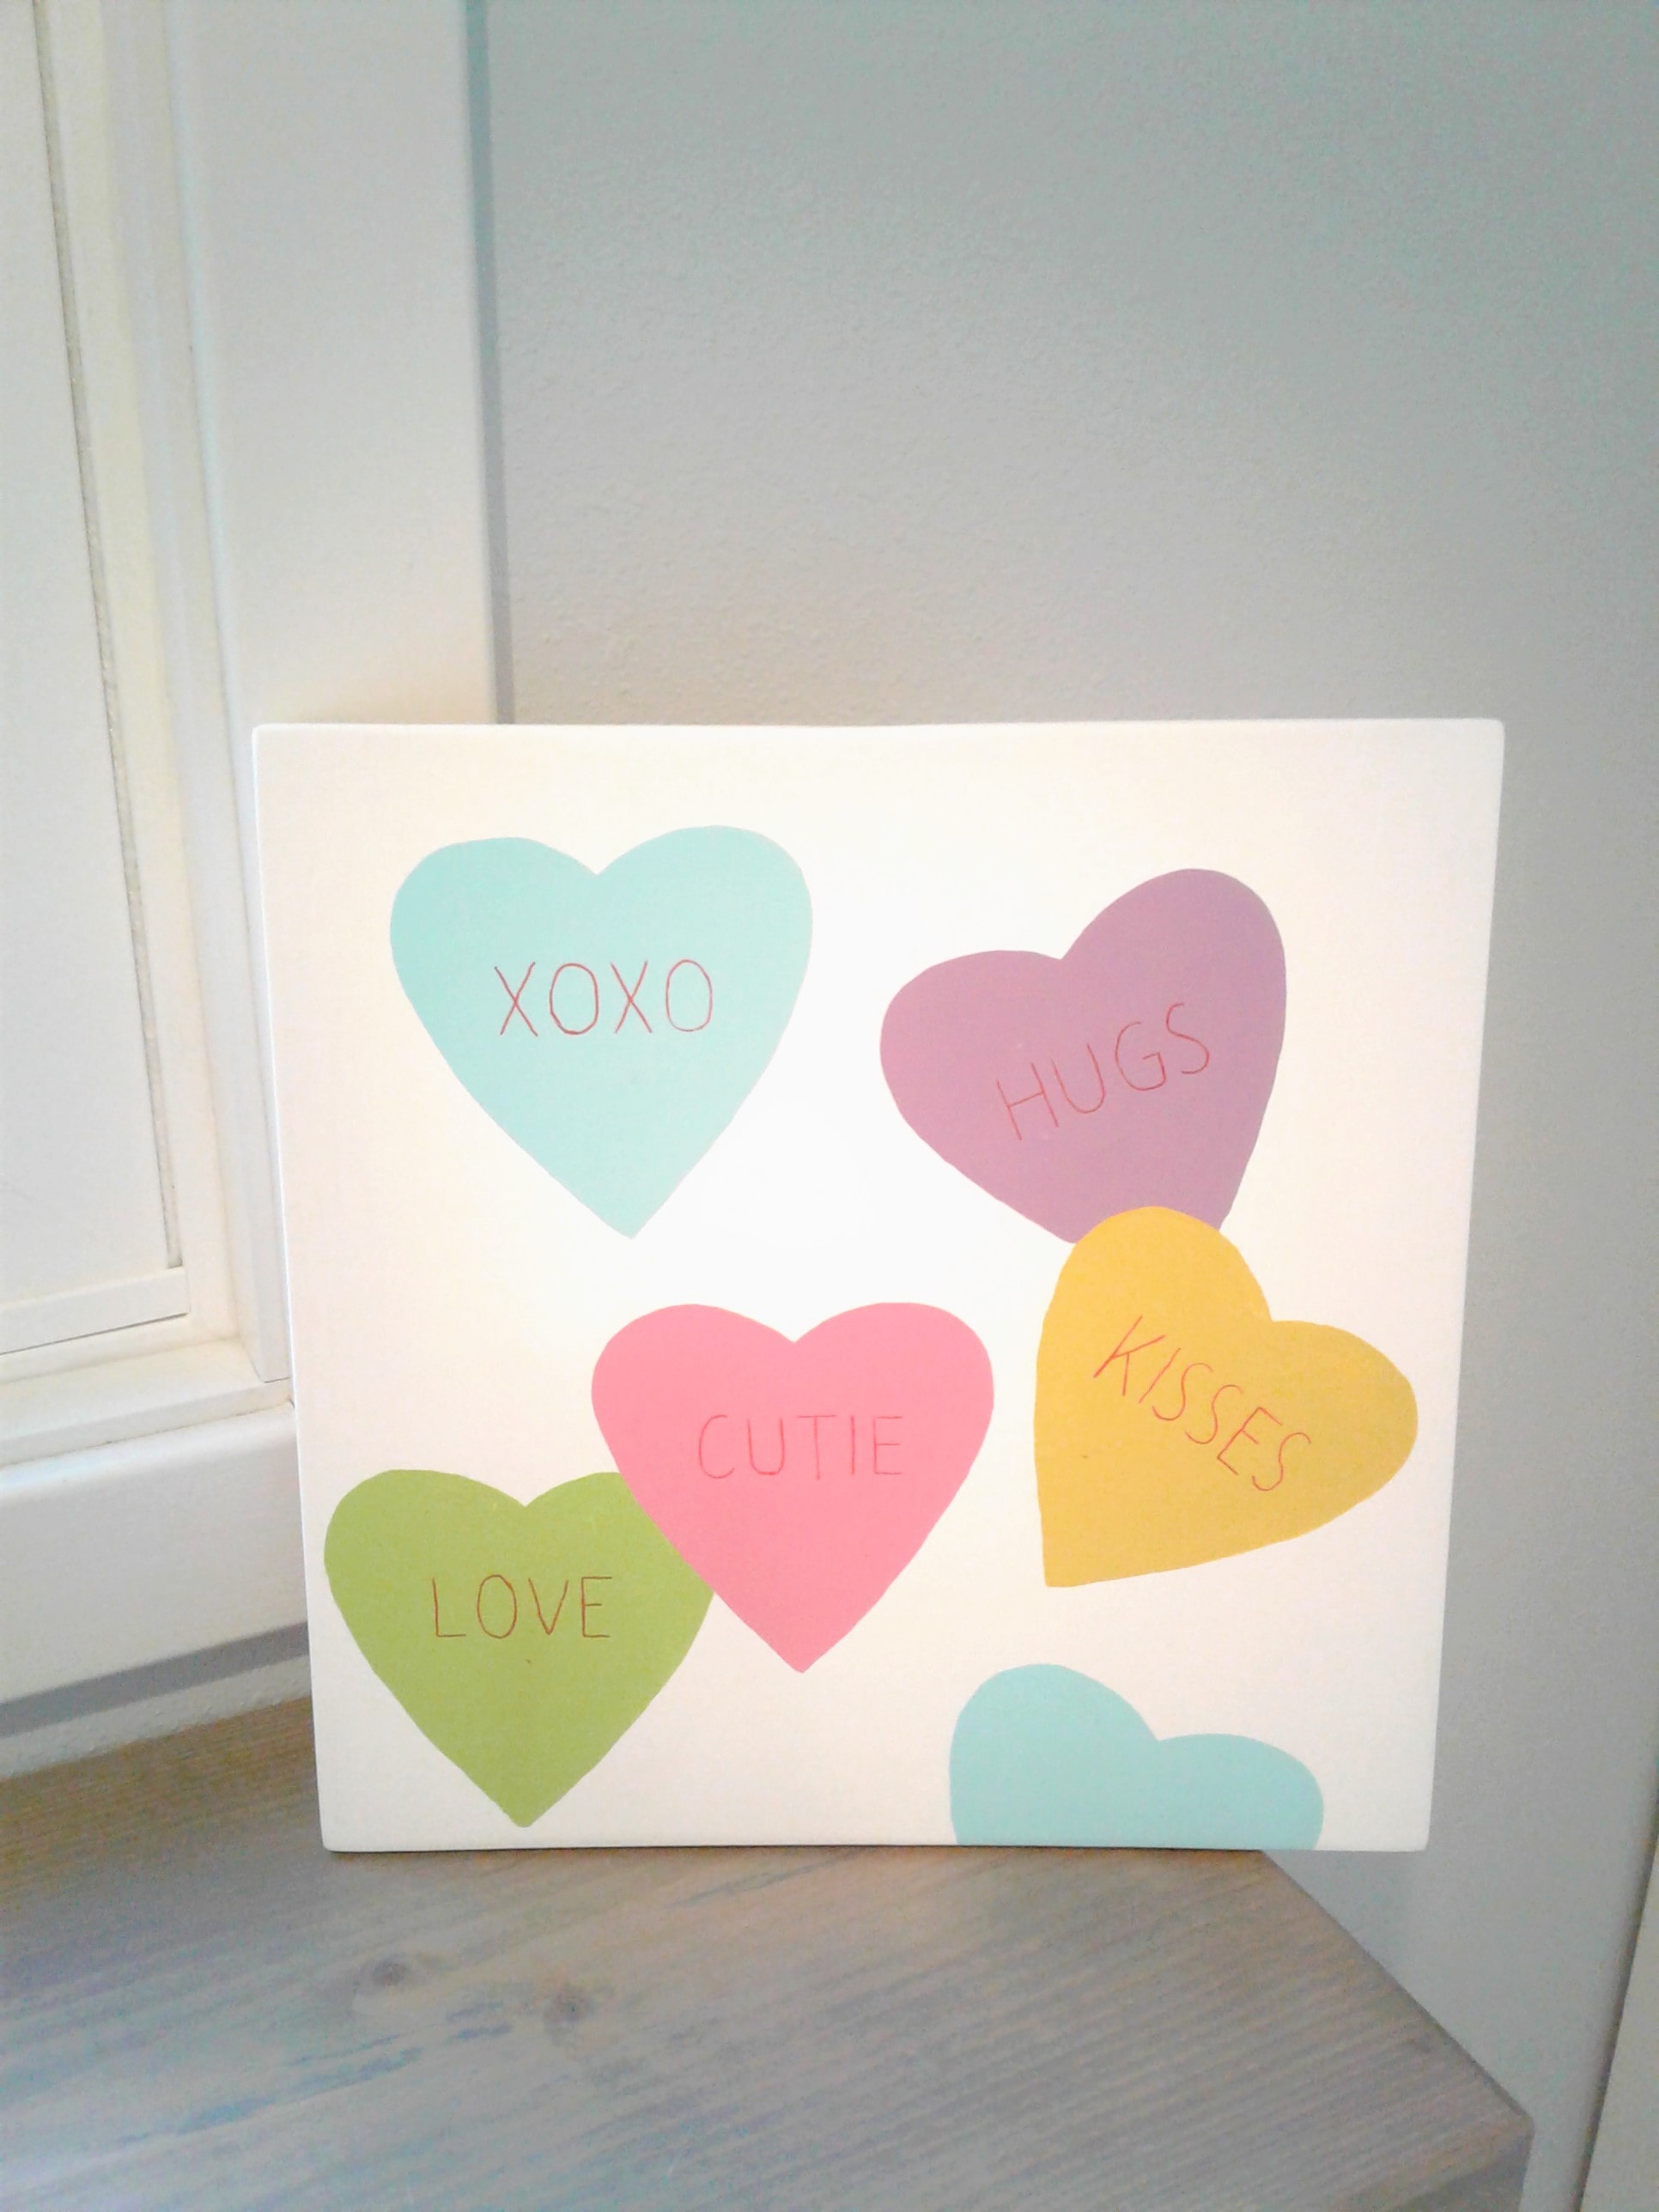
Here are a few more pieces we did this exact same way:
Get all 24 of our printable sayings here.
CrazyDIYmom.com Contact Us Privacy Policy Disclaimer About me