
DIY fall wreath
DIY mini fall wreath
This post may contain affiliate links.
I found these cute little mini wreaths at our local dollar store. I have never seen them there before and they come in a 3 pack! So you can bet I grabbed a few of them....you know....just in case I need them for something else. And I found everything else for the wreath at the dollar store, except the felt which I already had.
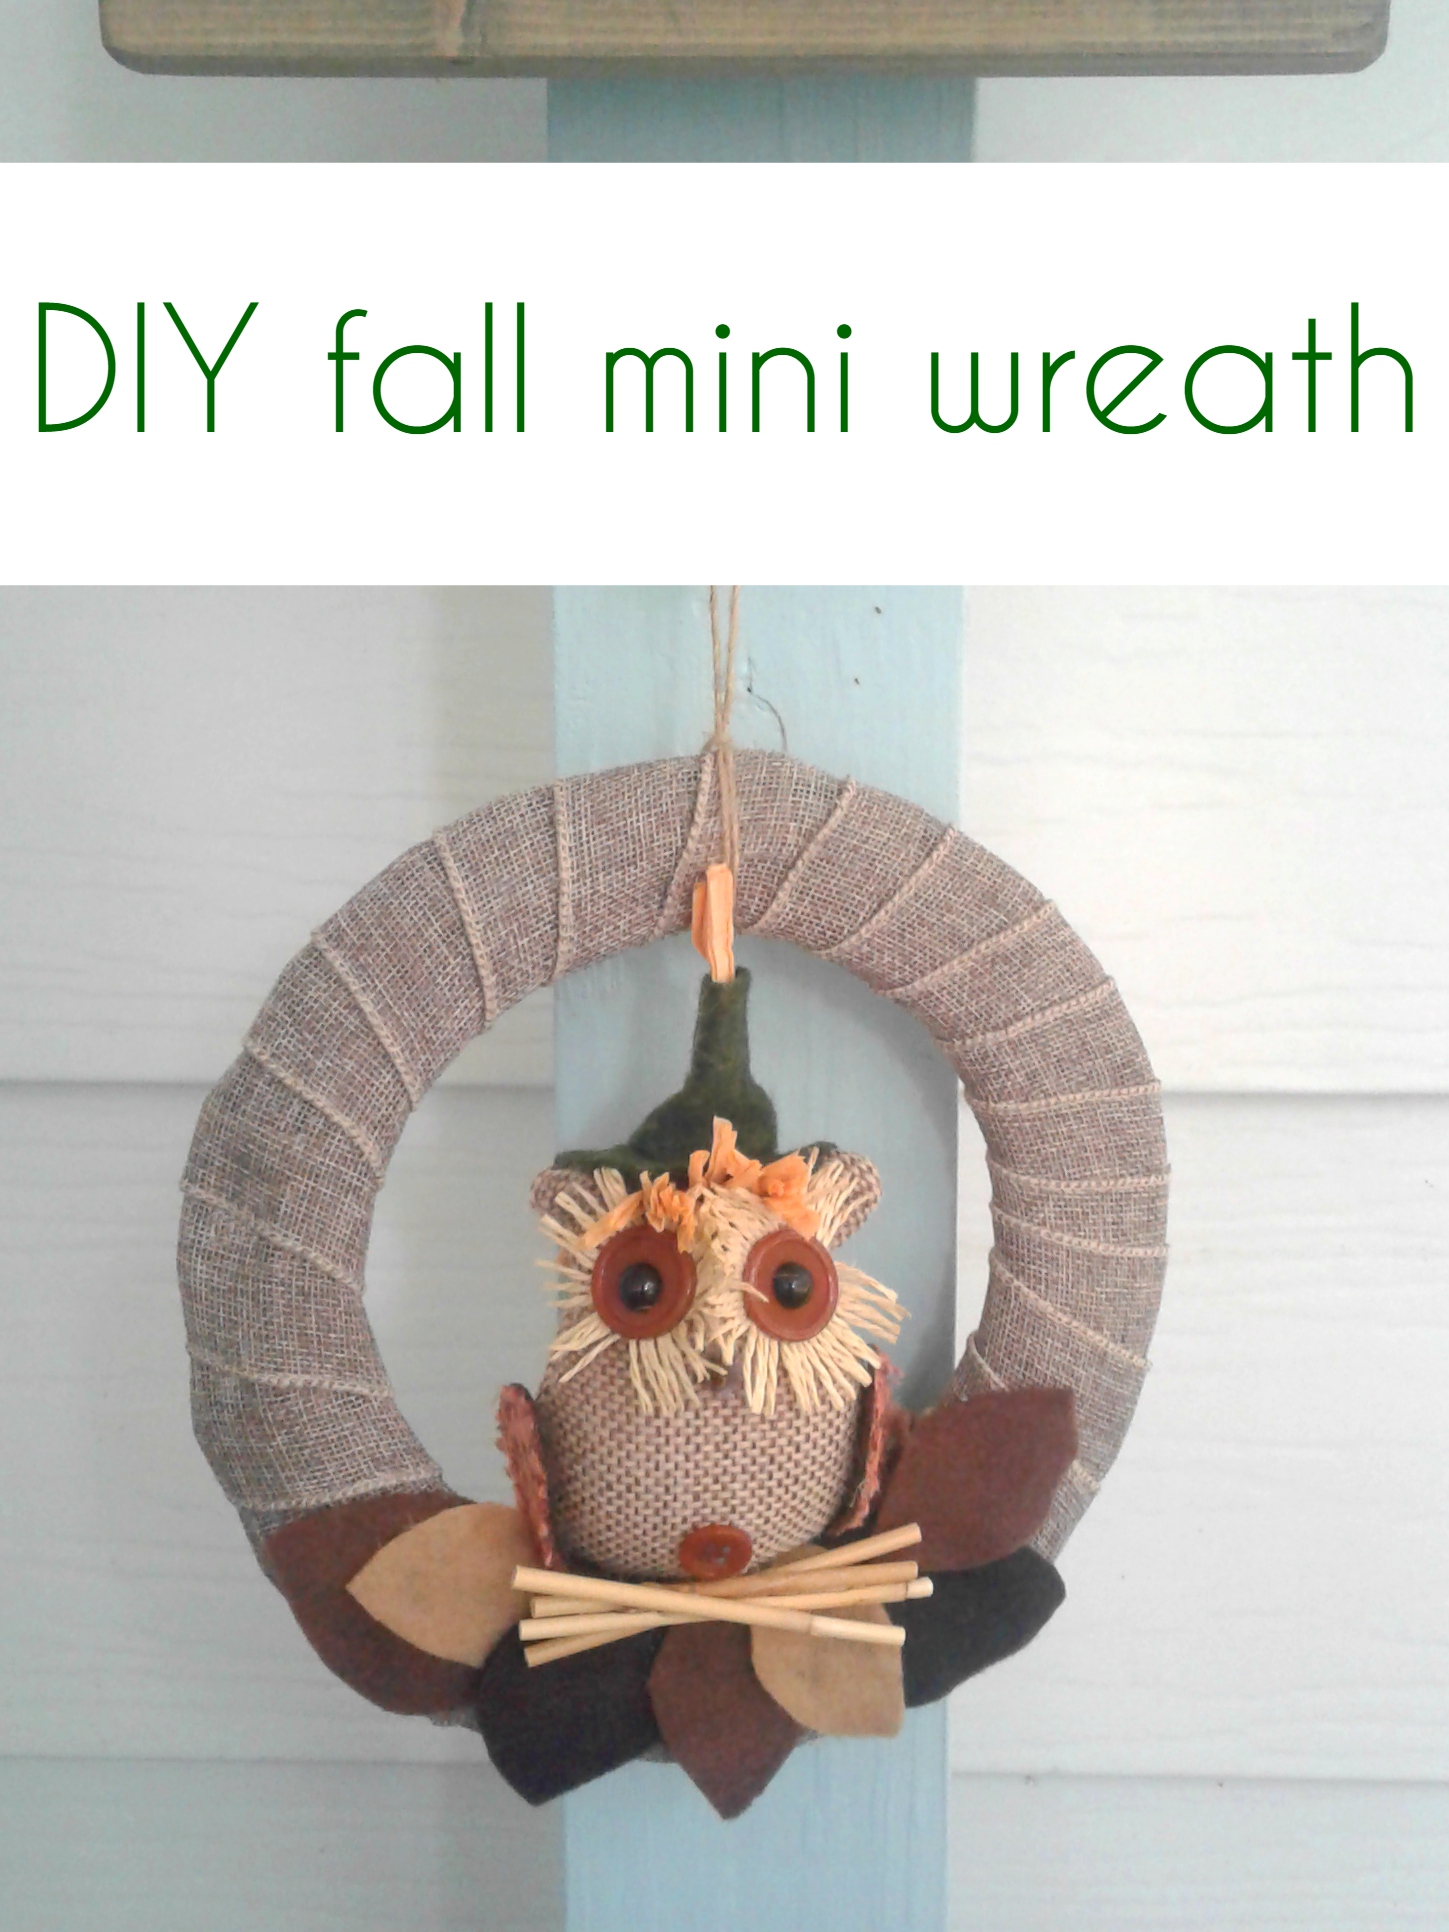
We have this cute little porch post on our front porch and I knew a mini wreath was the perfect thing to hang on the hook for the fall season and he looks perfect there.
What you'll need:
mini wreath forms
burlap ribbon
felt in assorted colors
a cute little owl
fake straw (optional)
hot glue gun and glue
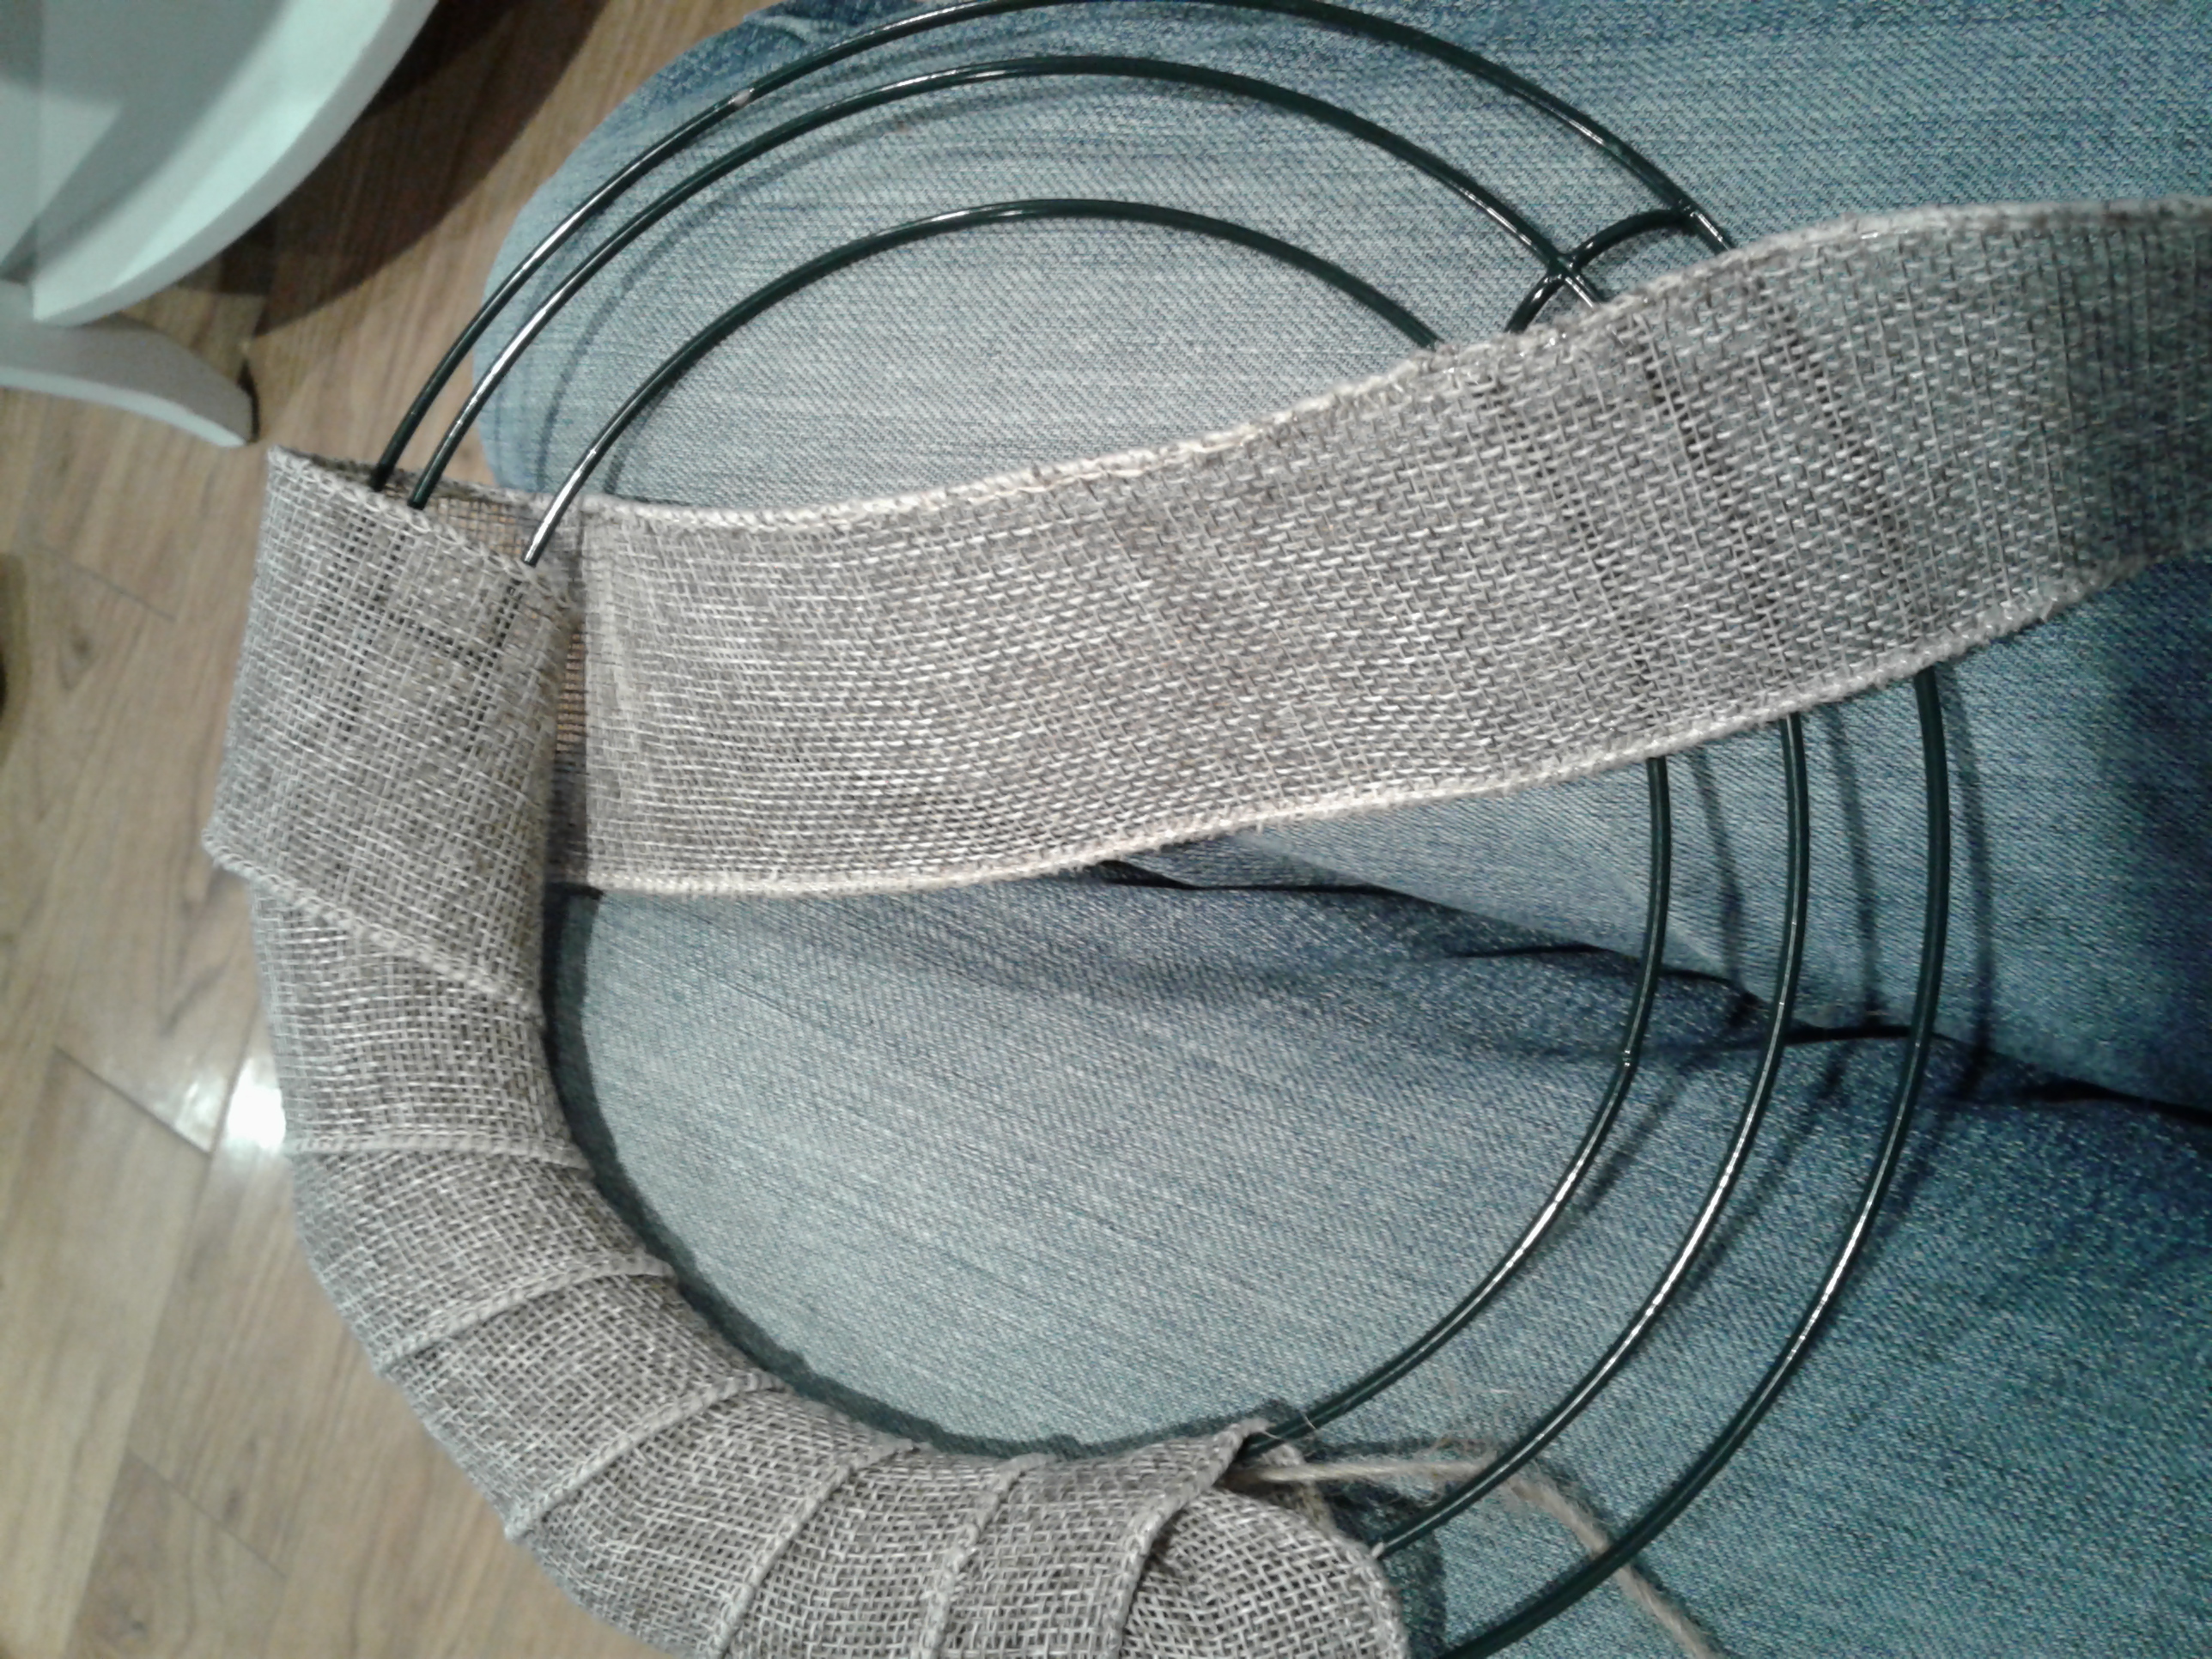
Start by attaching your ribbon around your wreath frame and hot gluing it in place. Then begin wrapping it around the entire wreath frame. I used one spool of ribbon and still had some left over by the time I was done. Once you get to the end, glue the end of the ribbon in the back of the wreath in place.
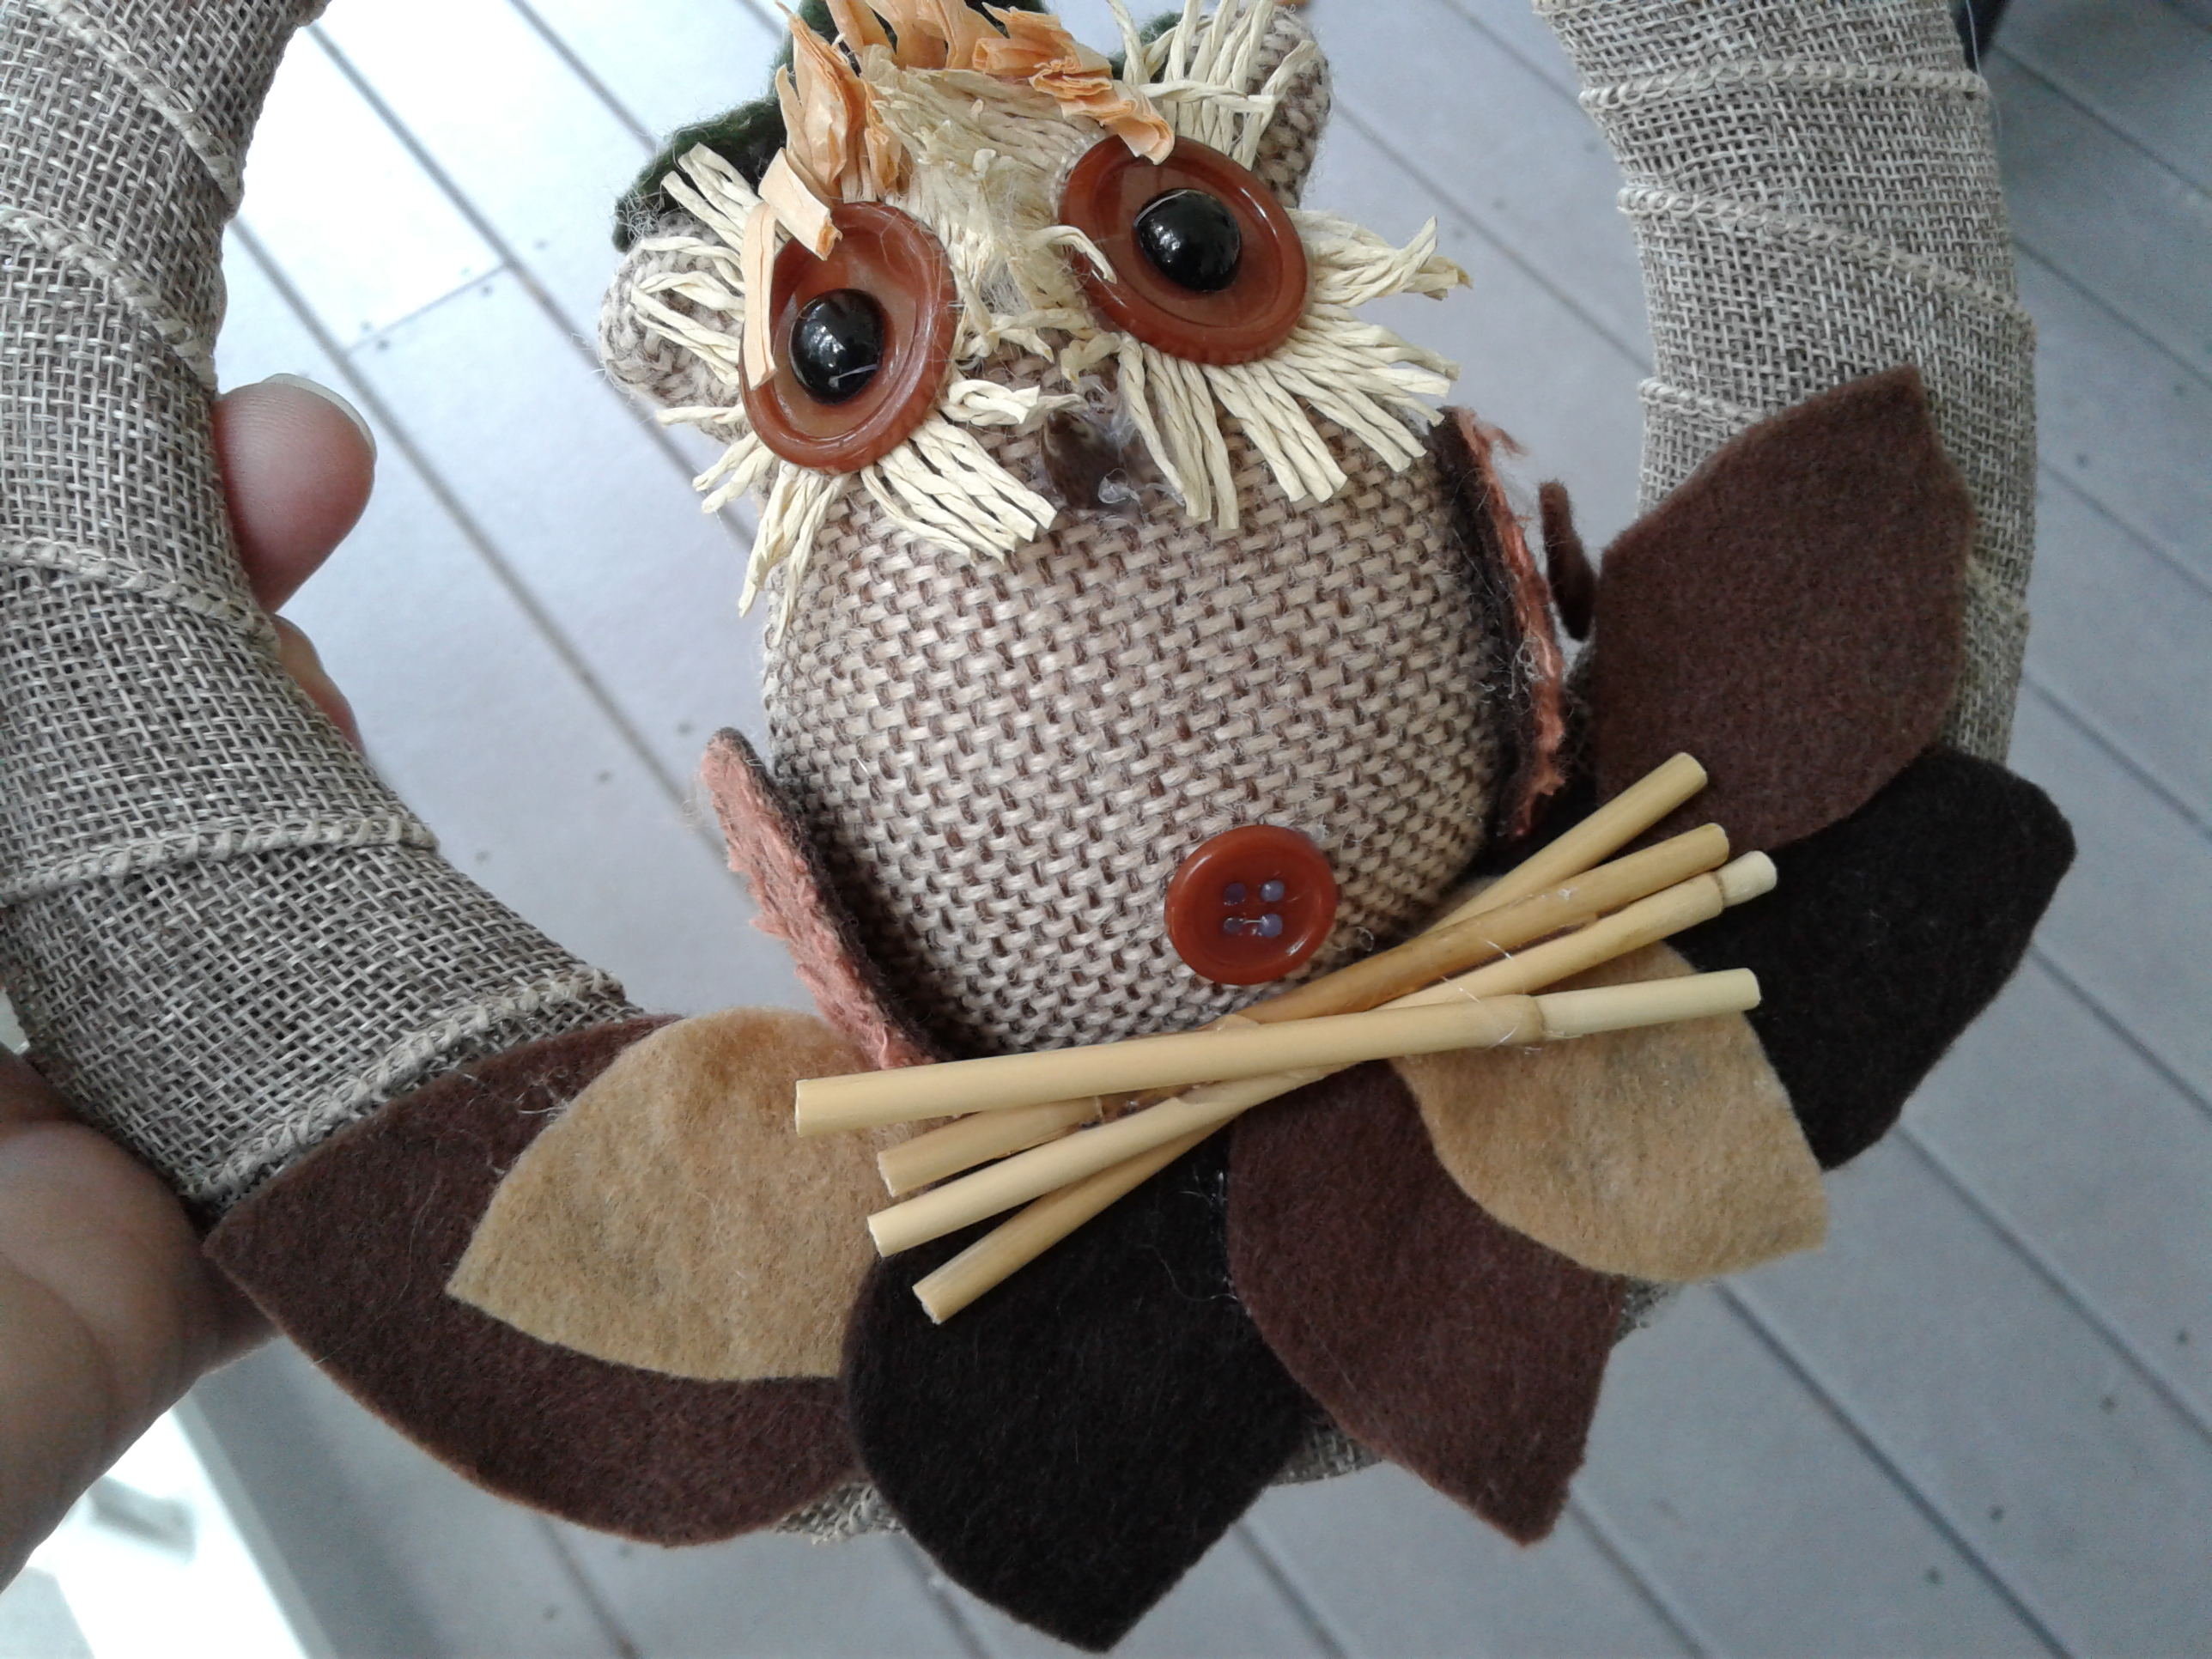
After your ribbon is glued in place, glue your little figure in place on your wreath. I just used some hot glue and glued him in place on the top of the wreath frame. Then add your final touches by cutting leaf shapes out of your felt and gluing them into place too. I had some small sticks that I found and added them also, to make it look like a nest.
Then your wreath is ready to be hung. I used some twine and tied it around the top of the frame and hung it on my porch post. I just love how he looks there hanging below my welcome sign.
Can't find these items at your local dollar store? Get them online at DollarTree.com
do it yourself
Want more DIY's?CrazyDIYmom.com Contact Us Privacy Policy Disclaimer About me