DIY projects
This post may contain affiliate links.
I'm one of those that doesn't much care for sitting around a fire pit. The smoke is always in your face, your clothes smell and having thick curly hair means I have to wash my hair again. And if I don't do it before I get it bed that means extra laundry in the morning.
However, I still like the ambiance of fire at night, so this table top fire pit was perfect. And if you use the food safe canisters you can even roast marshmallows too!
What you'll need:
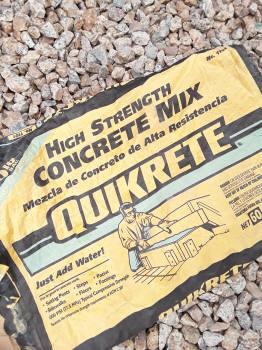
quikrete
plastic wrap
2 bowls that nest inside each other
cooking spray
decorative pebbles
food safe fuel cans
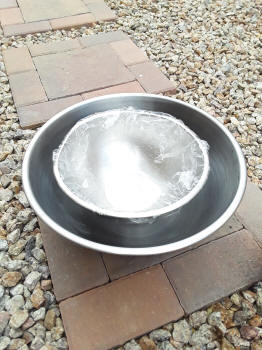
Start by covering the outside of the smaller bowl and the inside of the larger bowl with your plastic wrap. Then thoroughly spray the inside and outside of the plastic wrap that will be touching the concrete with cooking spray. Make sure it is good and coated with the oil. You can also use vegetable oil to coat it as well.


Mix up enough concrete according to manufactureres directions to fill up the bowl just over halfway. Pour the mixed concrete into the larger bowl and then take the smaller bowl and press it down into the concrete to make the concrete rise up and leave a "hole" in the larger bowl. This is where you will place your fuel cans. Use some rocks or something heavy to weight down the inside bowl so that it stays in place while the concrete sets and dries. Check with the manufacturers directions for drying times.
Once it's dry, remove the plastic wrap and use your small pebbles to make a flat area for the cans to sit on. Then place the cans and arrange more pebbles around them. Neve leave the burning cans unattended and remember, the bottom of the concrete bowl can still get hot so be mindful of what you place it on top of.
diy projects
Want more DIY's?CrazyDIYmom.com Contact Us Privacy Policy Disclaimer About me