
DIY home projects
This post may contain affiliate links.
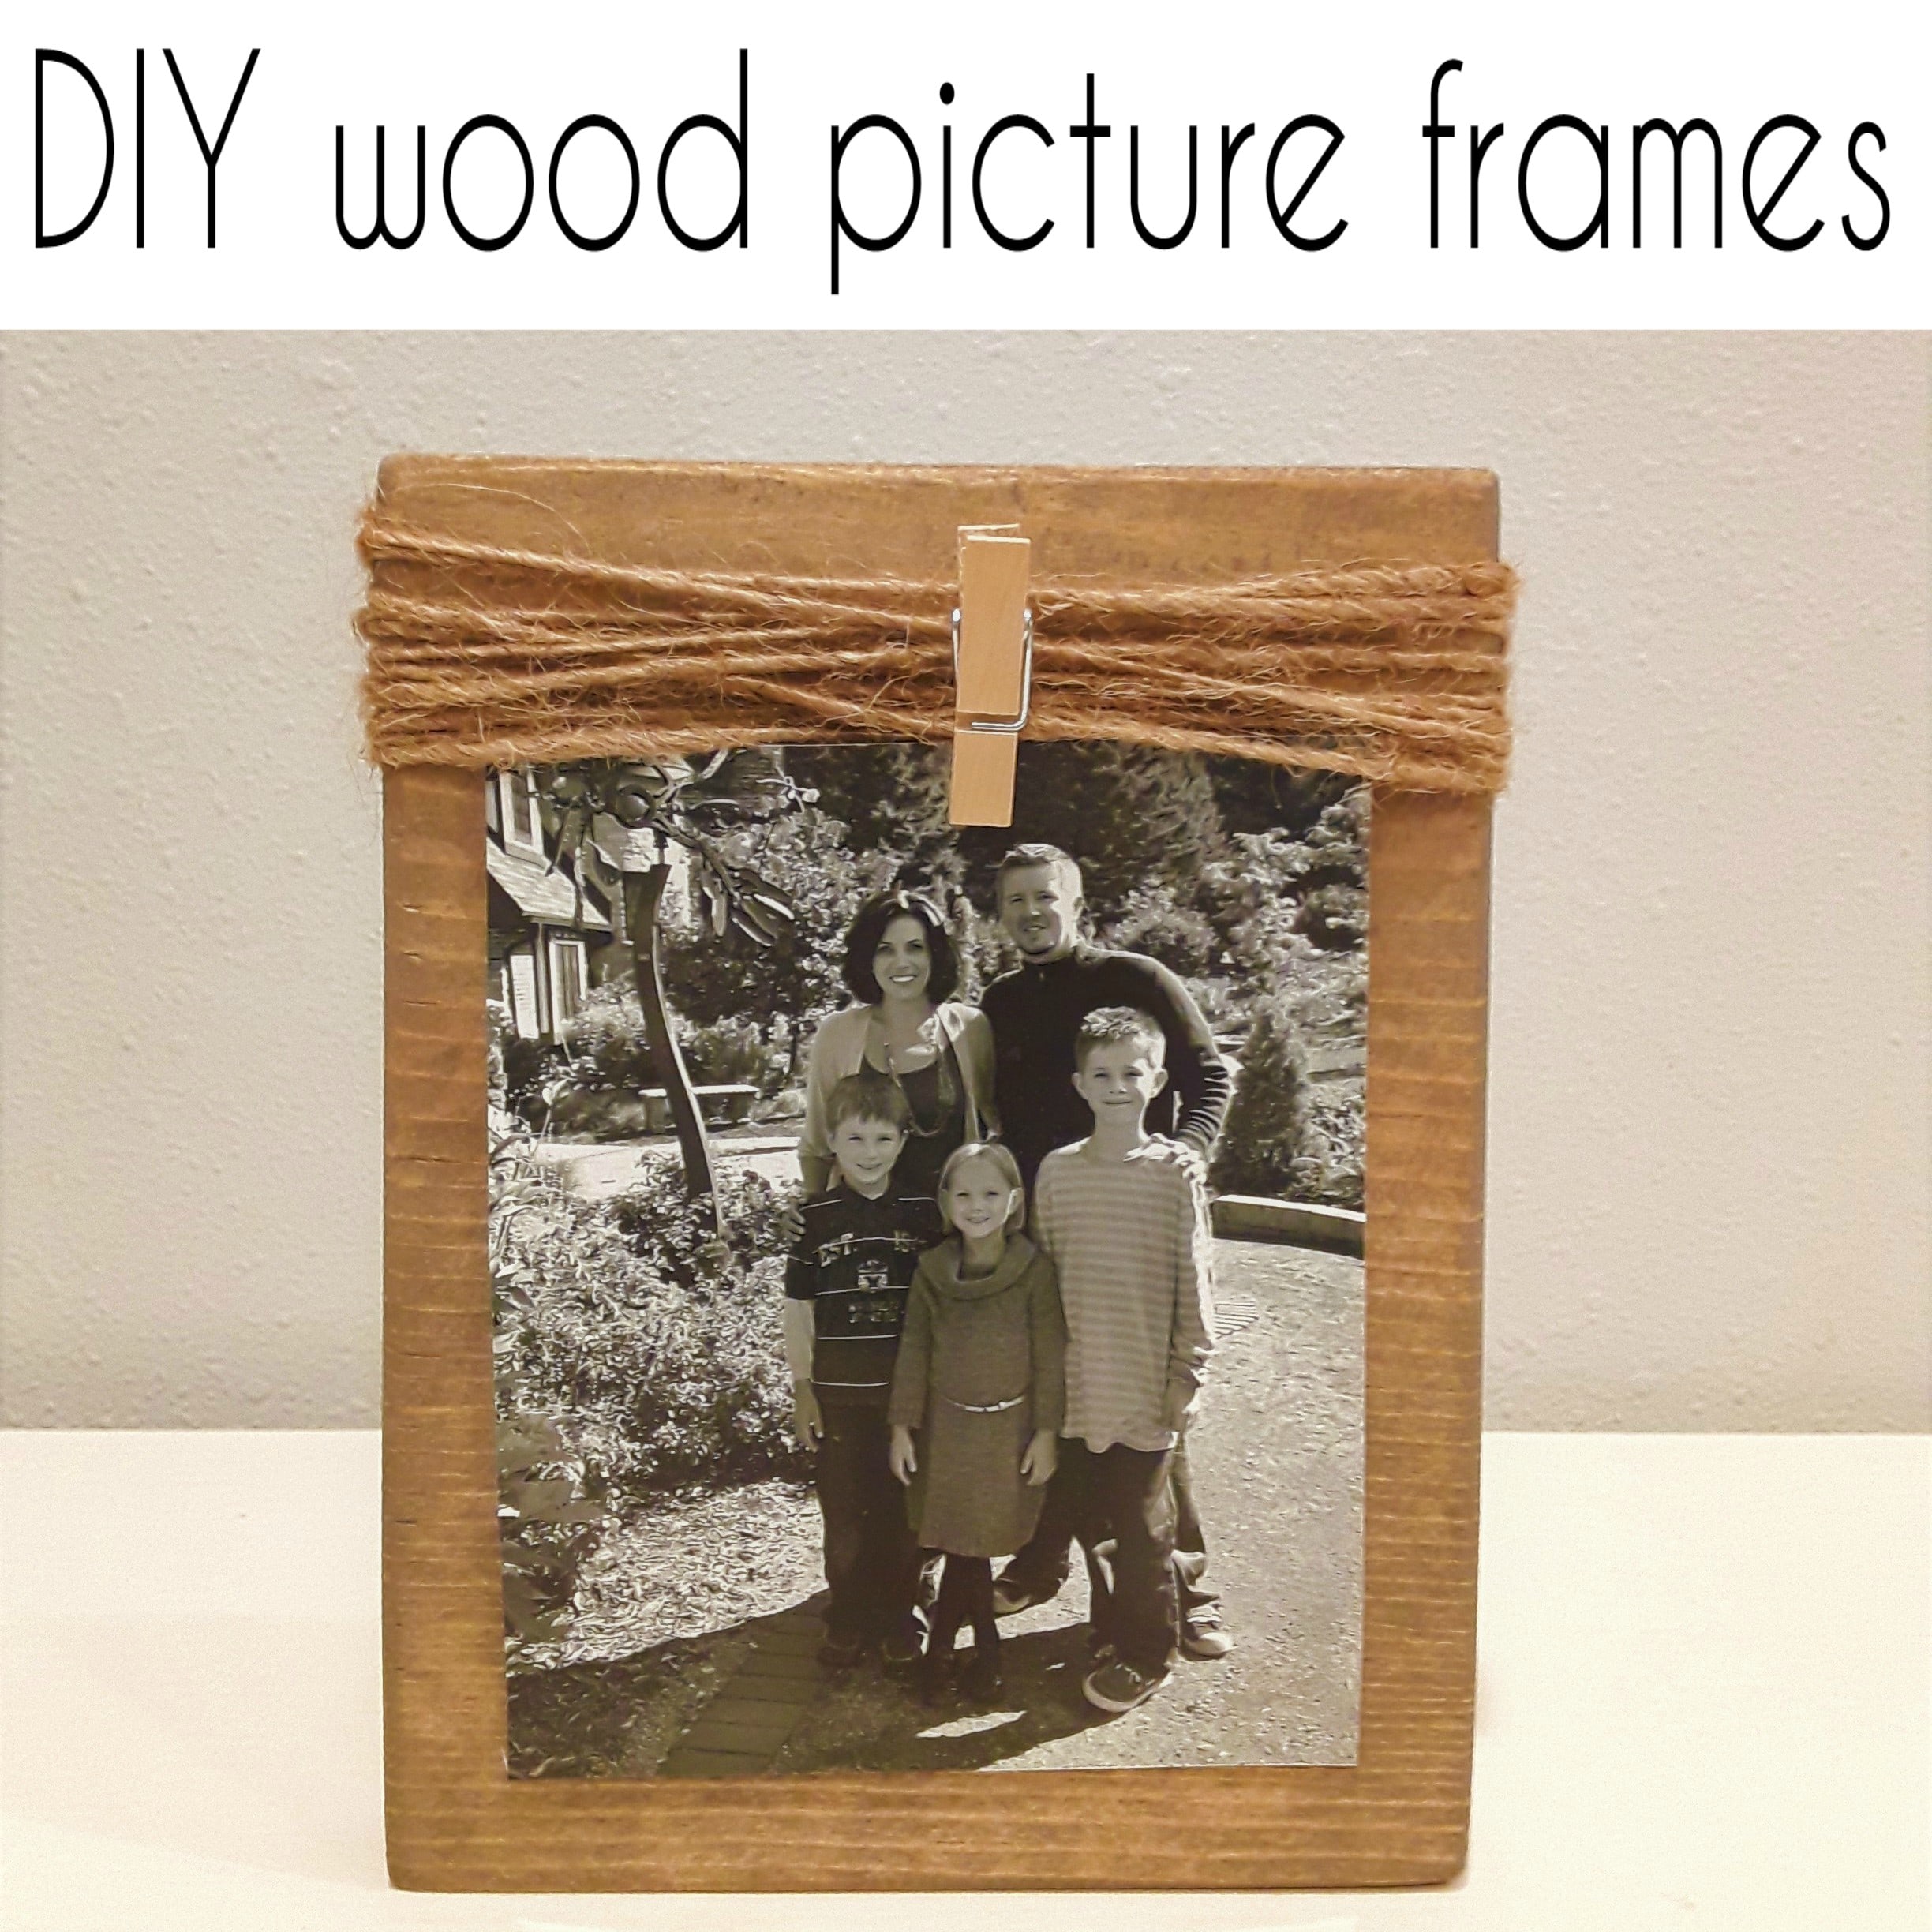
I love to display pictures around our house, but it drives me crazy when the frames don't all match or when I have a printed picture and a frame, but in different sizes.
These easy DIY wooden picture frames are perfect because they can work for any size!
What you will need:
wood (I used a 1x8 standard pine board)
chop saw
wood stain
jute twine
mini clothespins
Start by cutting your wood down to size. Since the most common sized prints I have are between 3-7" at their largest, I cut my wood to similiar sizes with an extra inch or so added so the frame would be larger. Once you have your wood pieces cut to size, sand the edges and stain the wood your color preference.

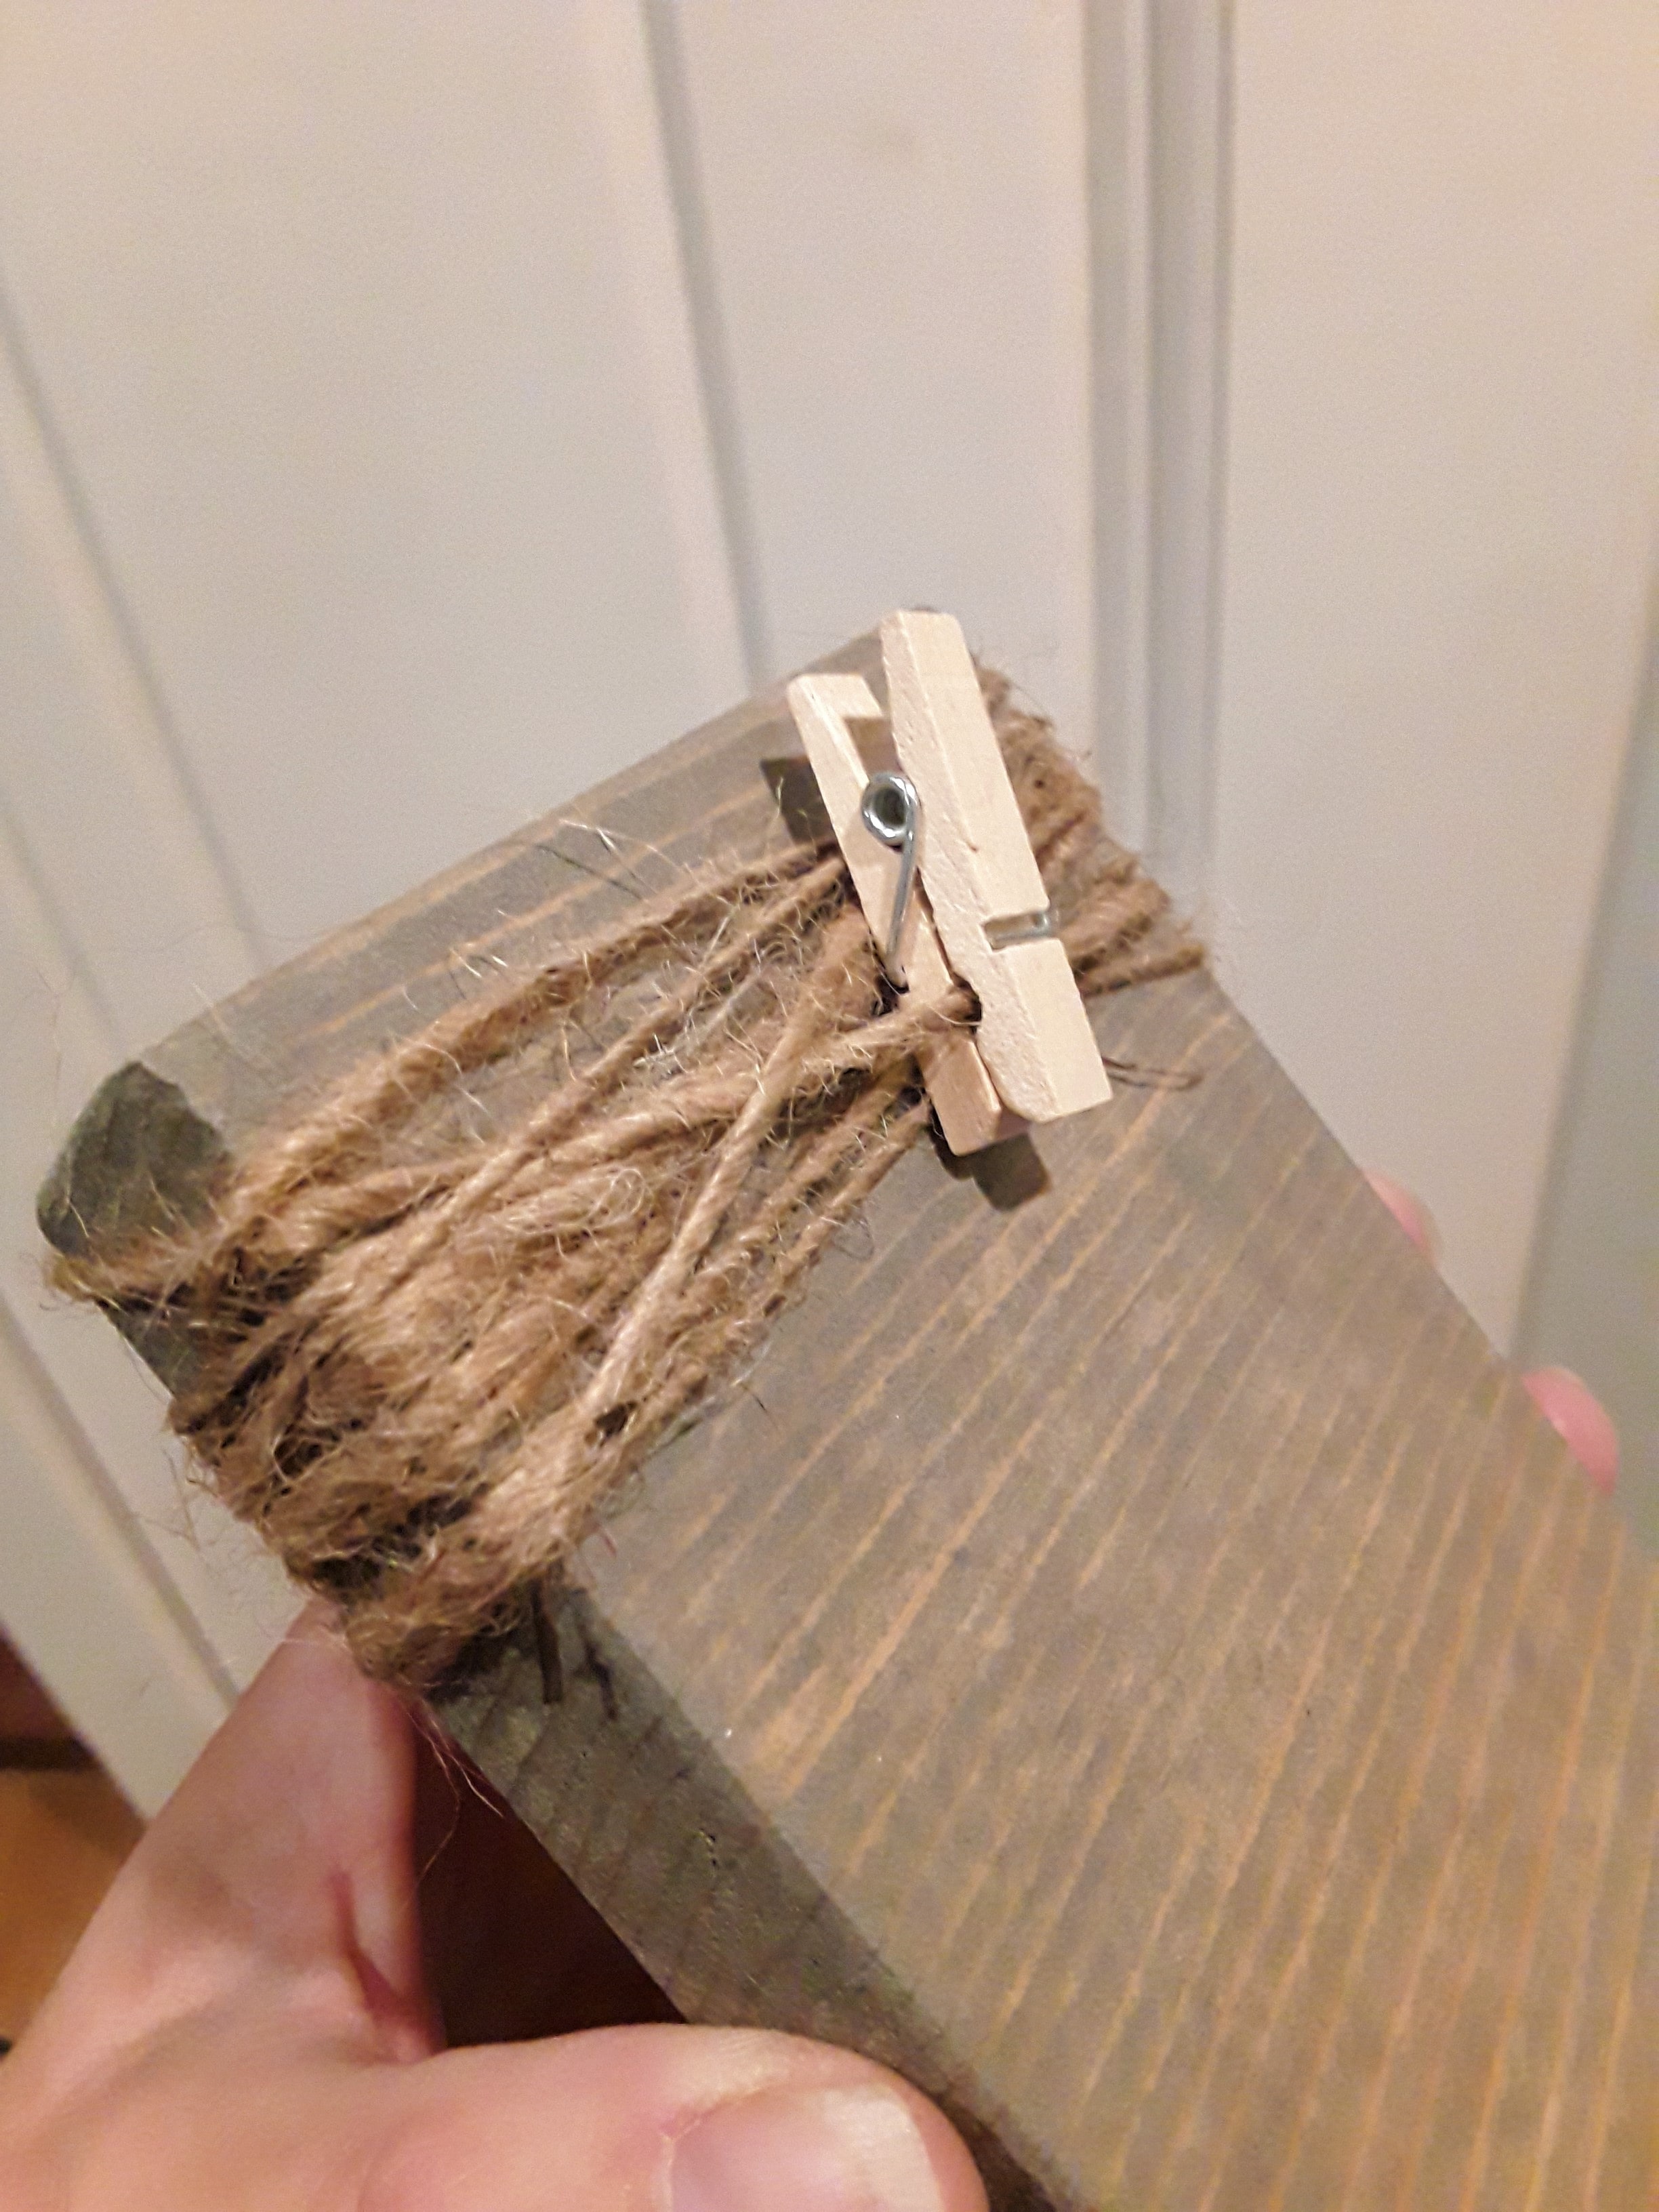
Once your stain has dried, take your twine and wrap it around your wood block a few times and tie it in a knot in the back. Attach your twine so that some photos can be displayed portrait and some landscape. Then take a mini clothespin and clip it onto a piece of twine and onto your picture.
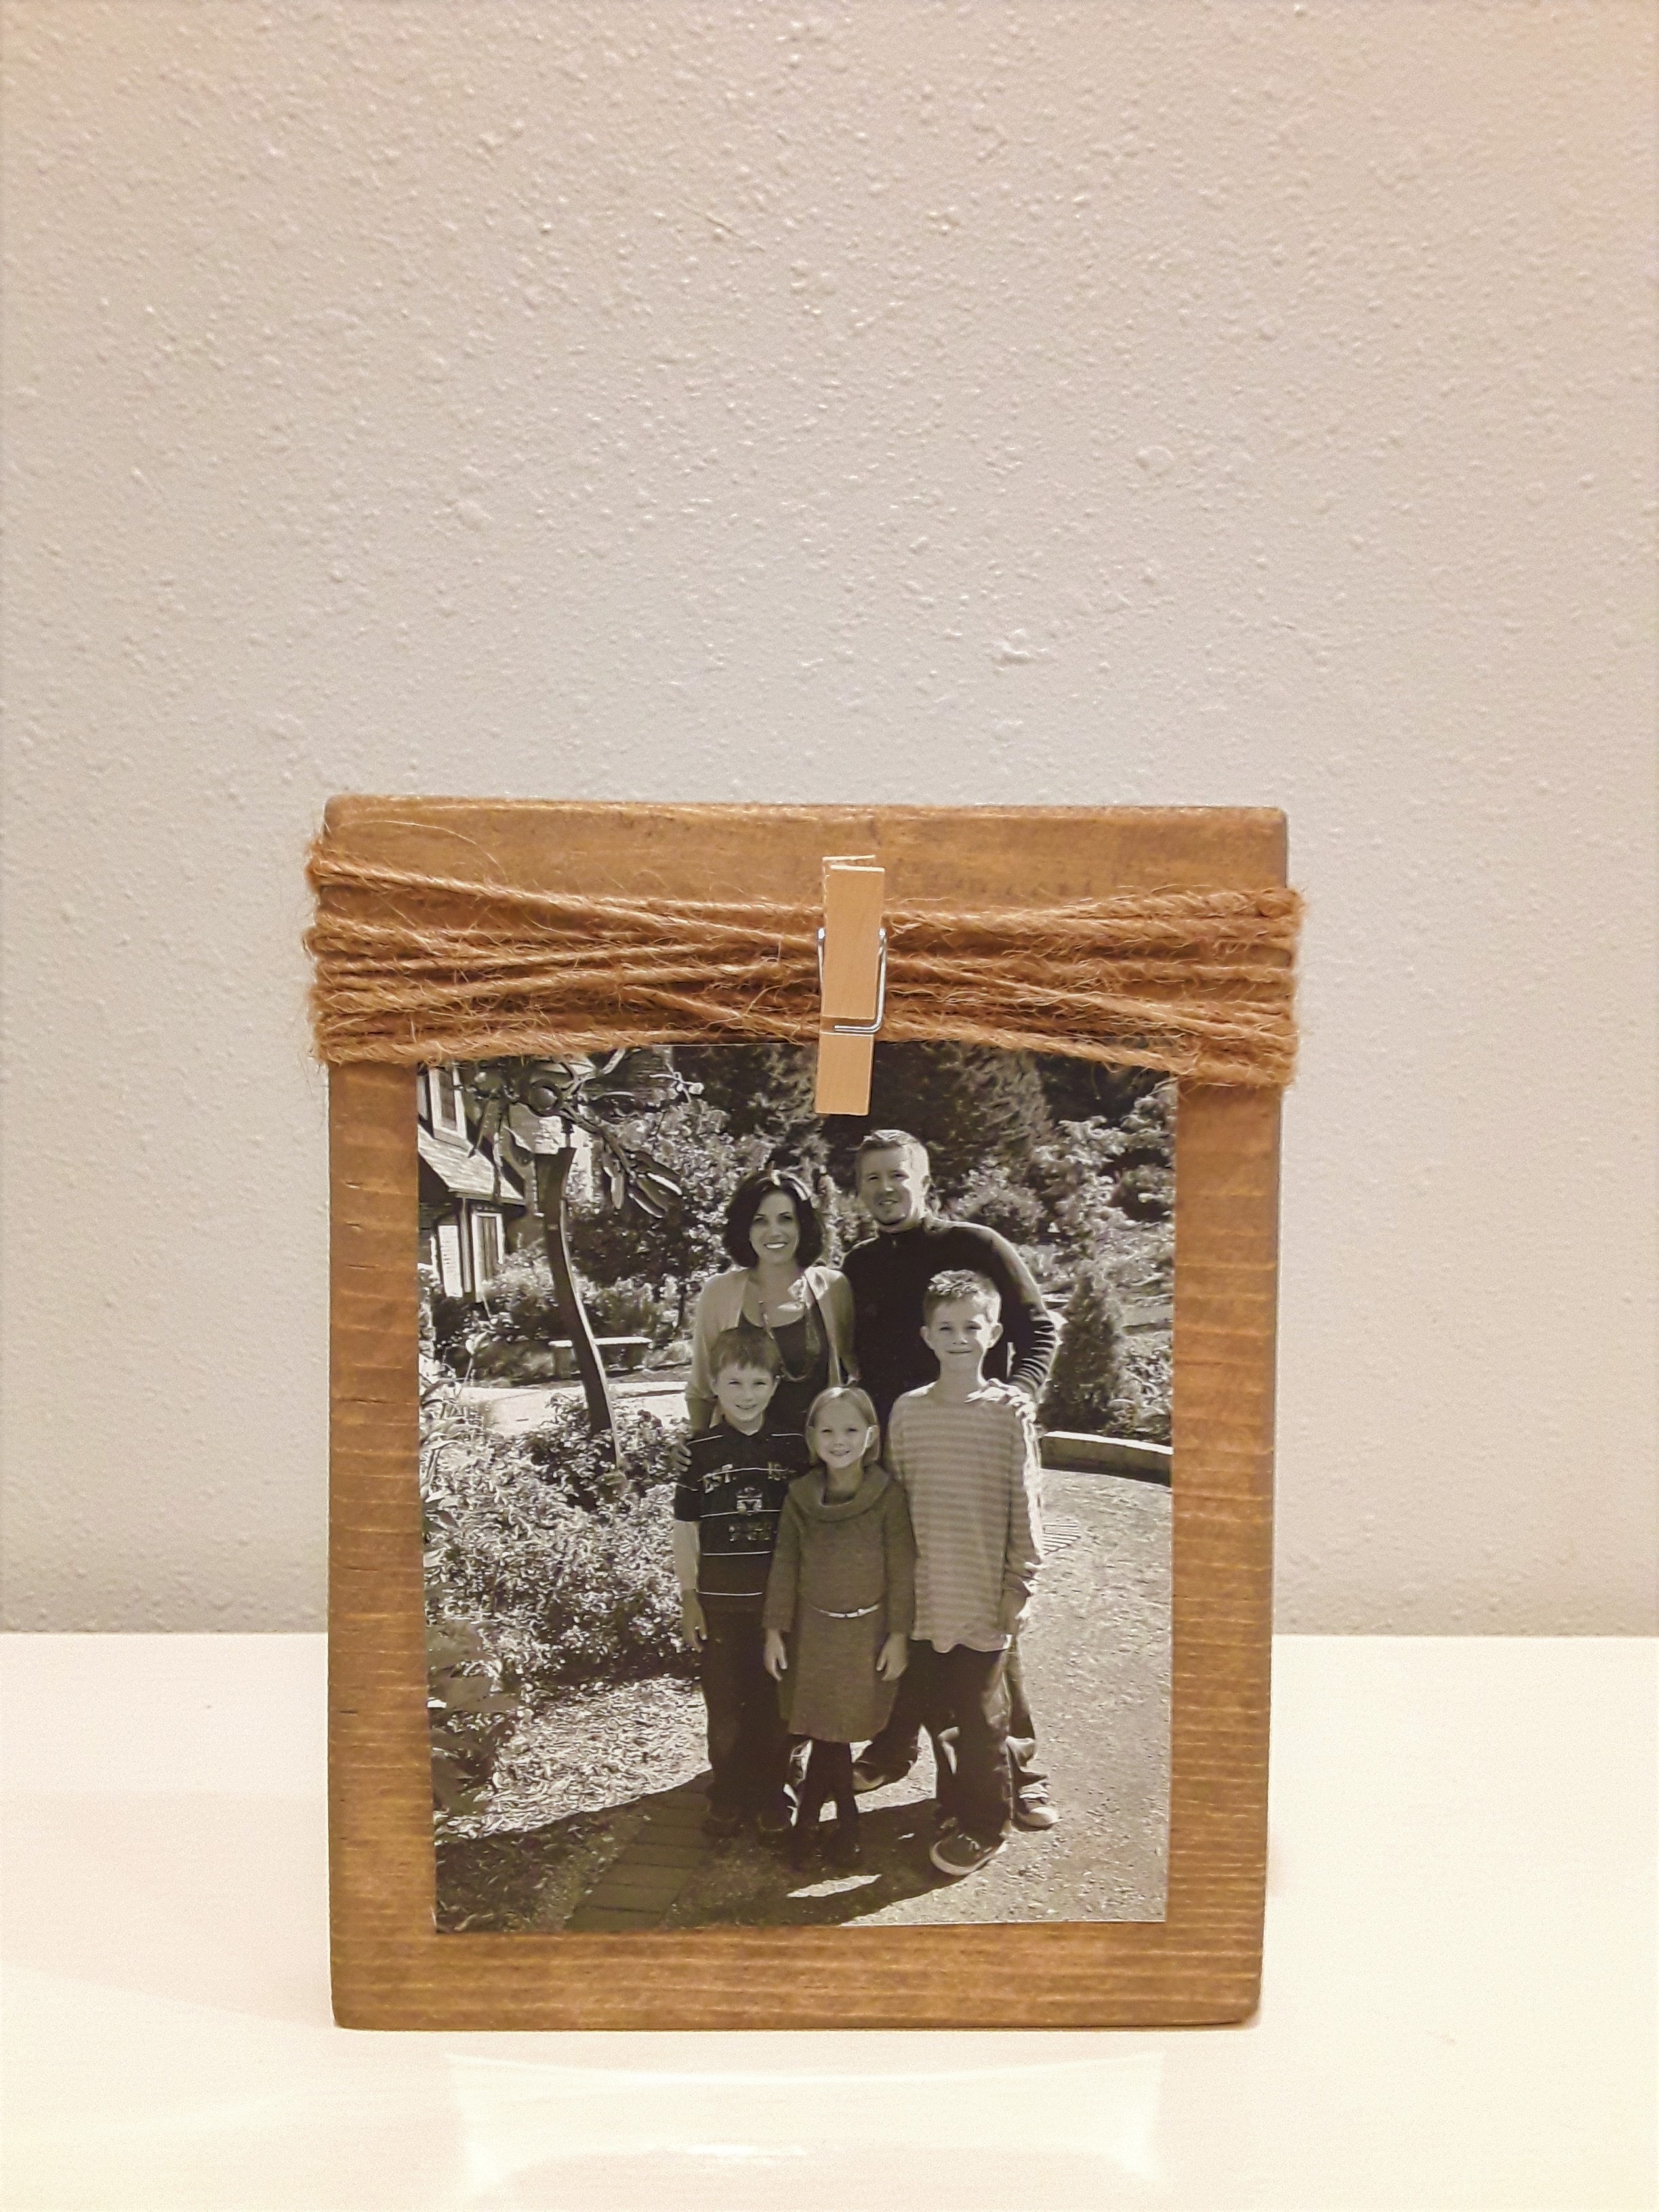
Now you can display your DIY wood picture frames anywhere. Or, make up a set of them and give them as gifts!
do it your
CrazyDIYmom.com Contact Us Privacy Policy Disclaimer About me