
DIY window cling
This post may contain affiliate links.
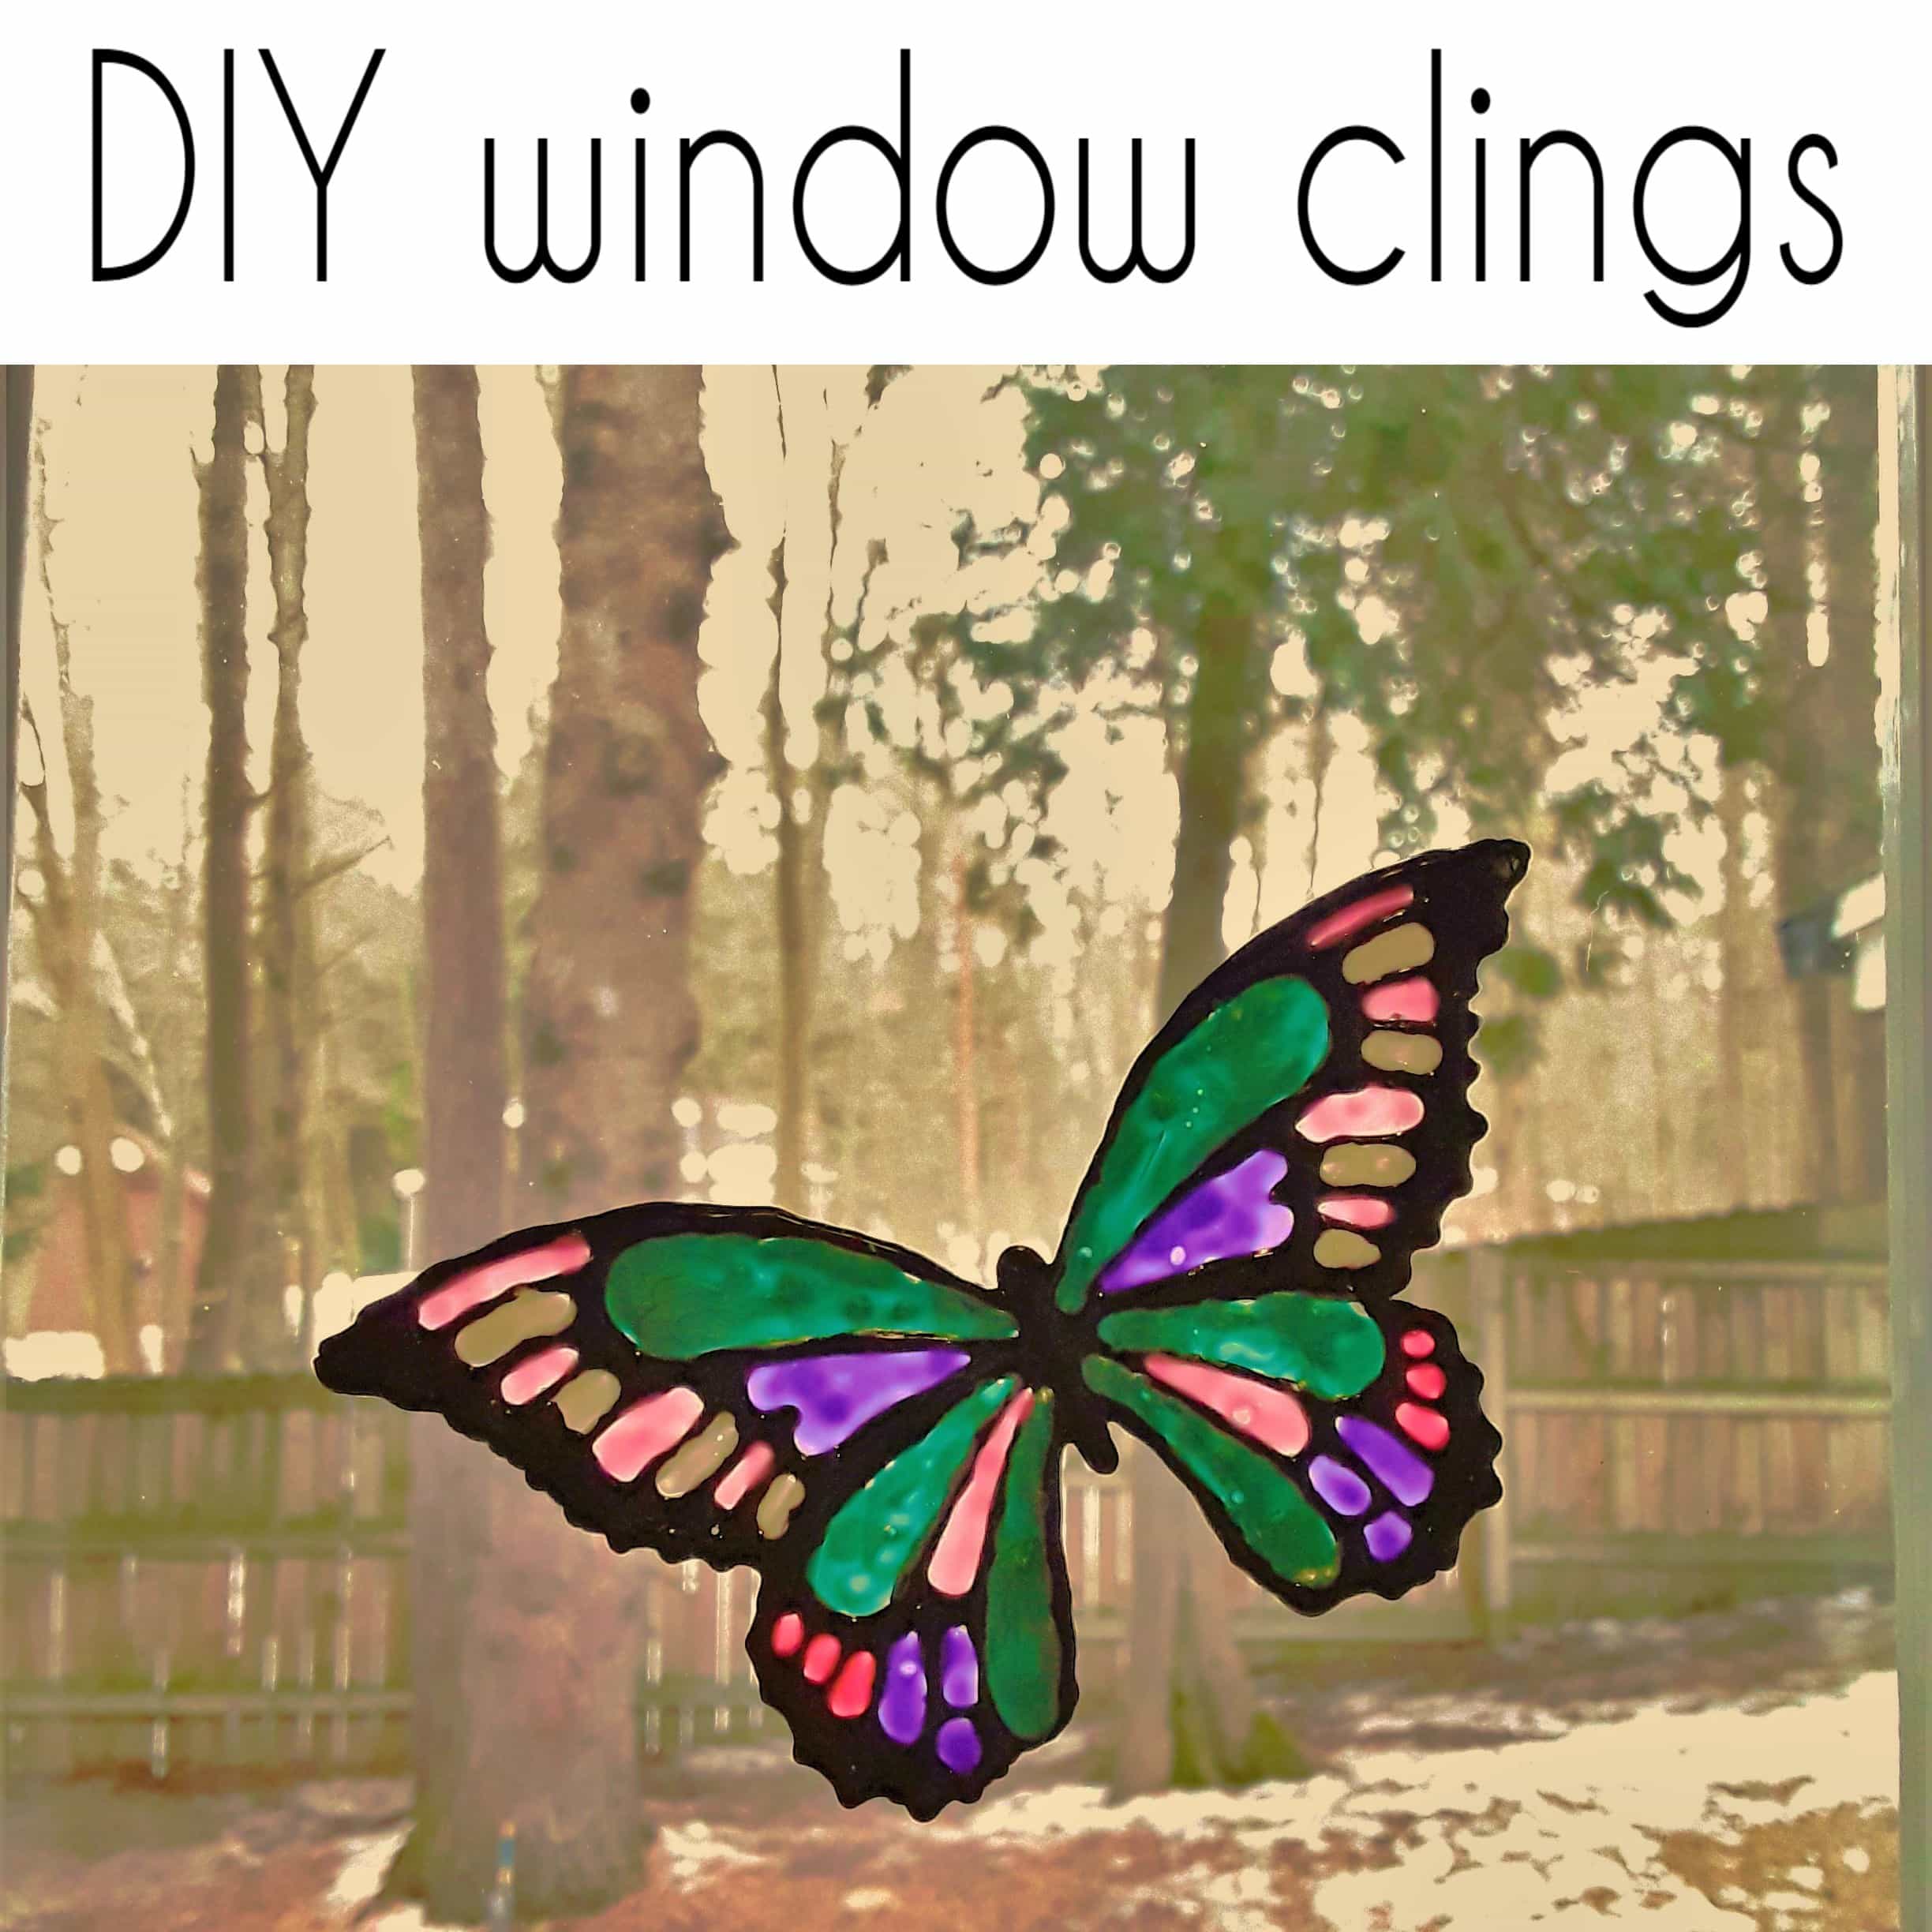
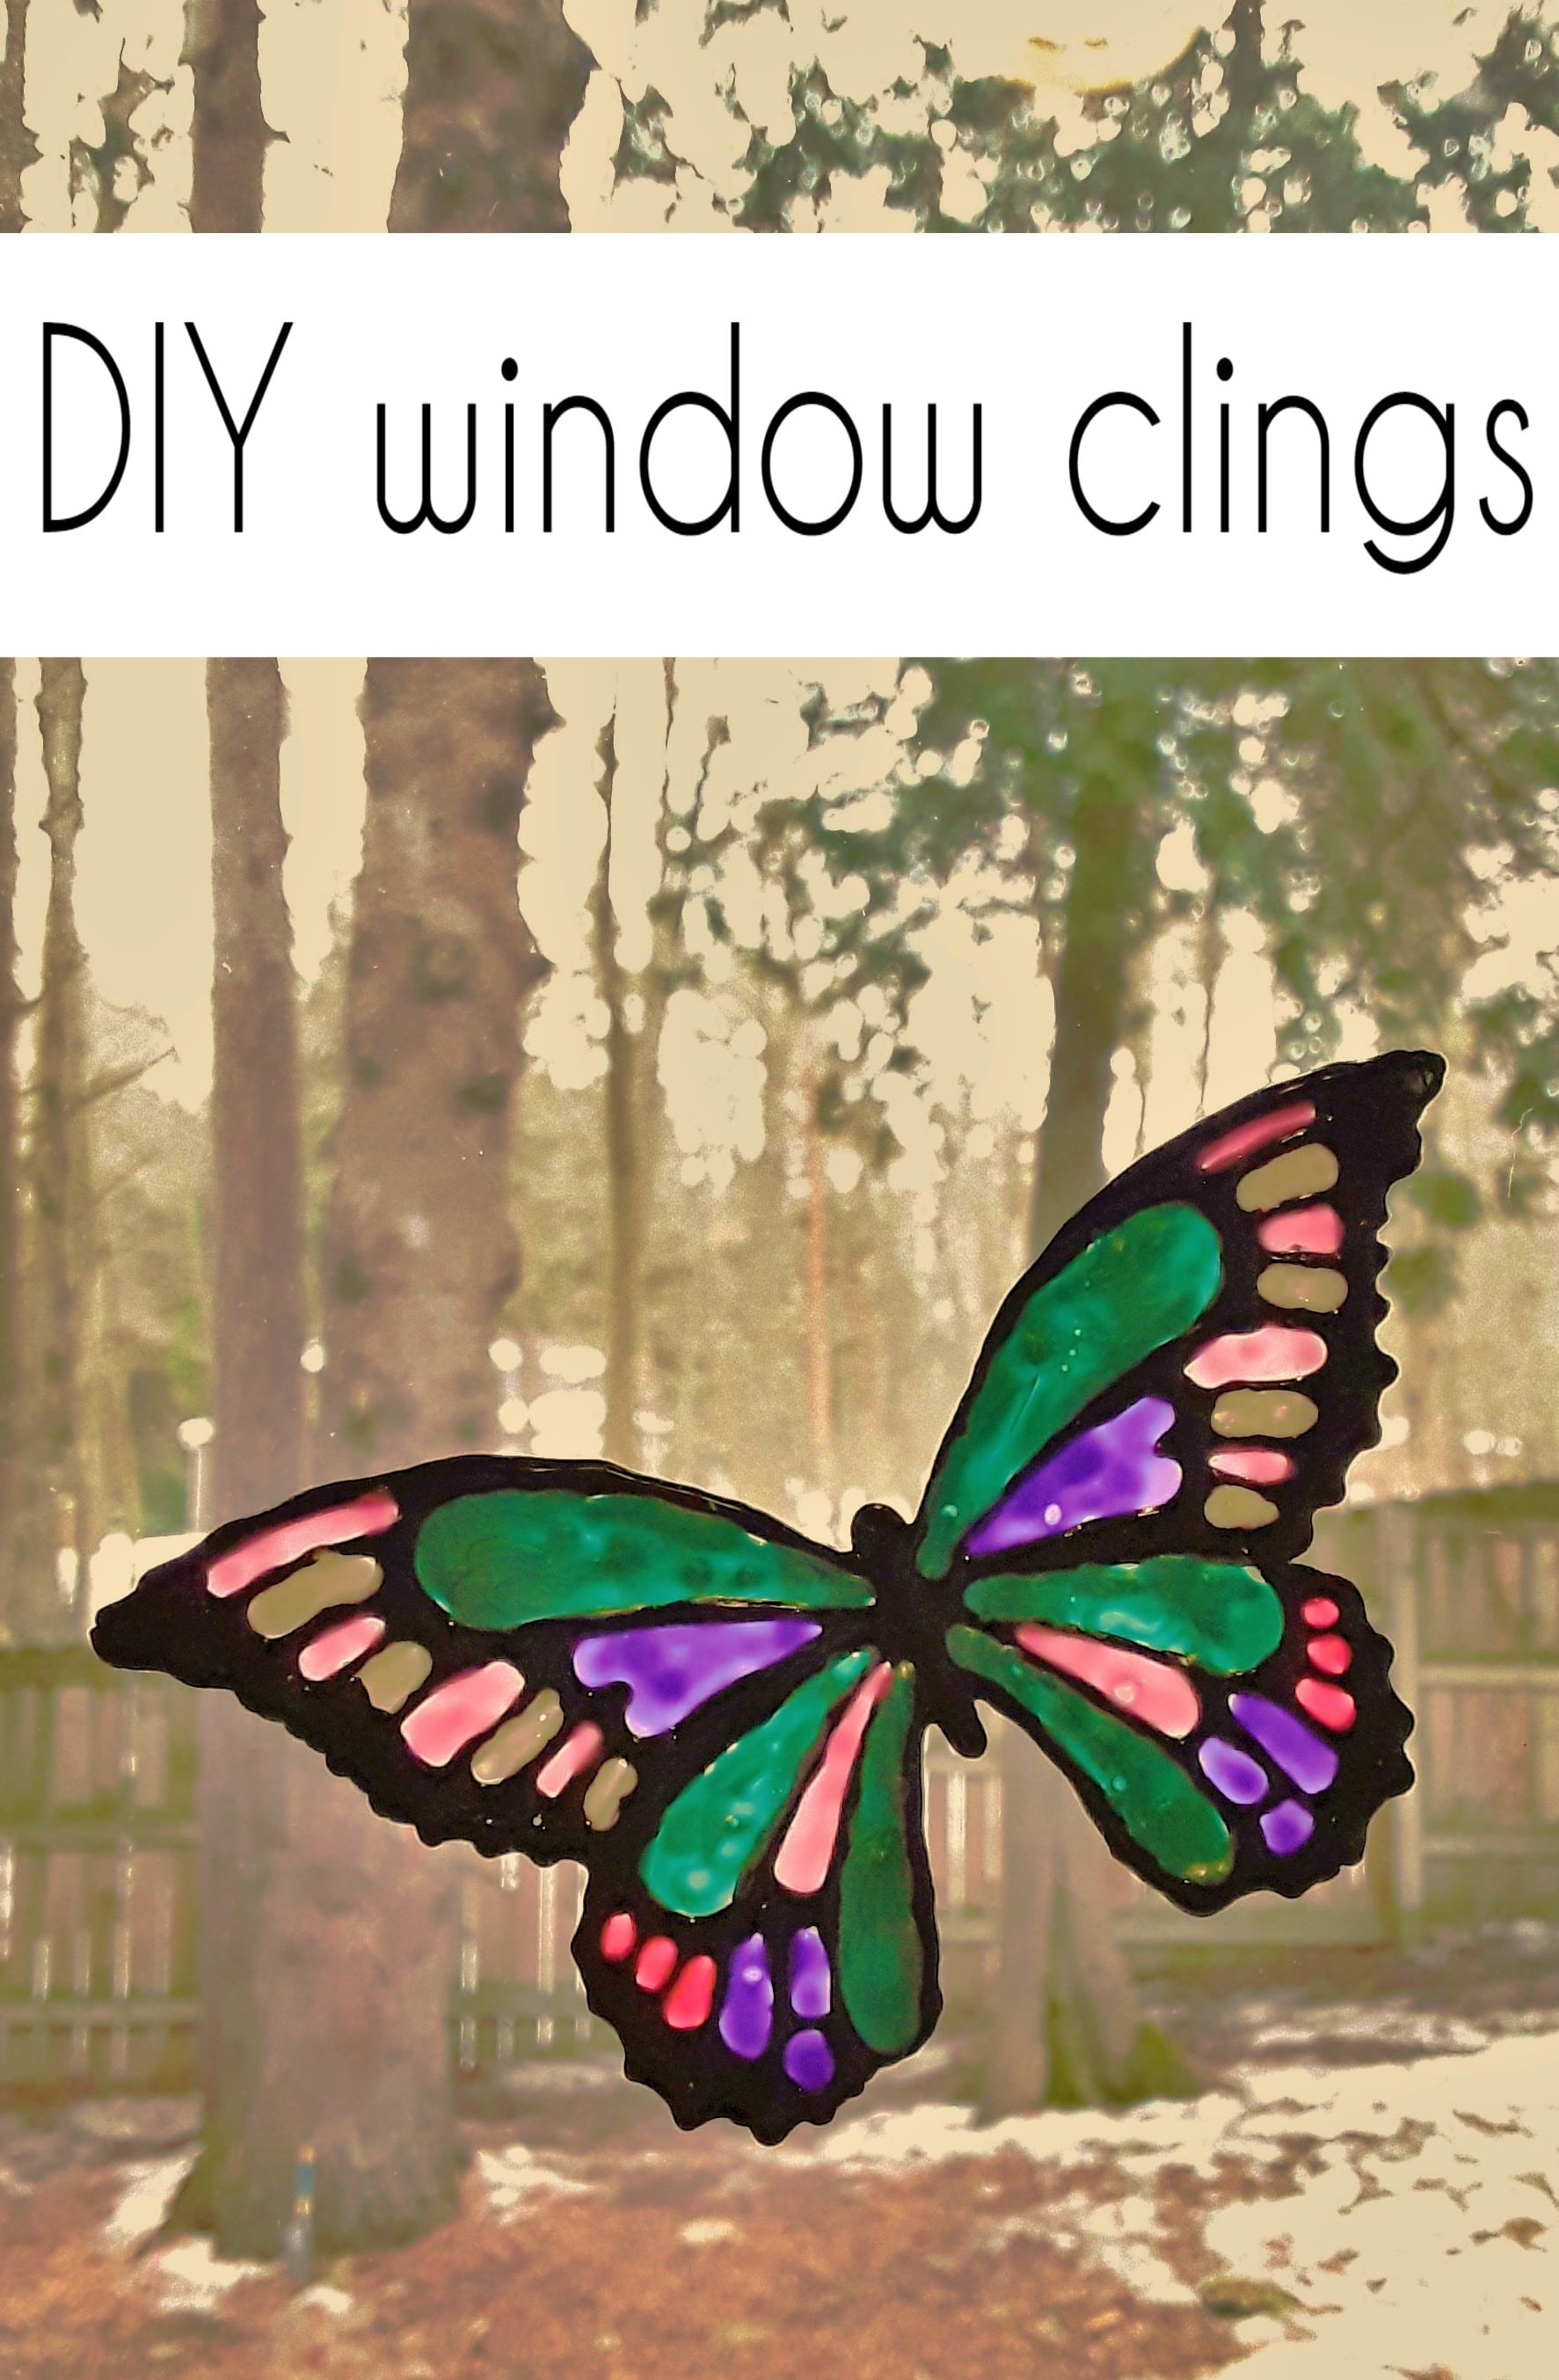
These DIY window clings are perfect for adding some bright and cheerful color to your windows any time of the year. Plus they're an easy craft to make and gift to anyone on your list.
What you'll need:
fabric paints
sheet protector
print or drawn out image
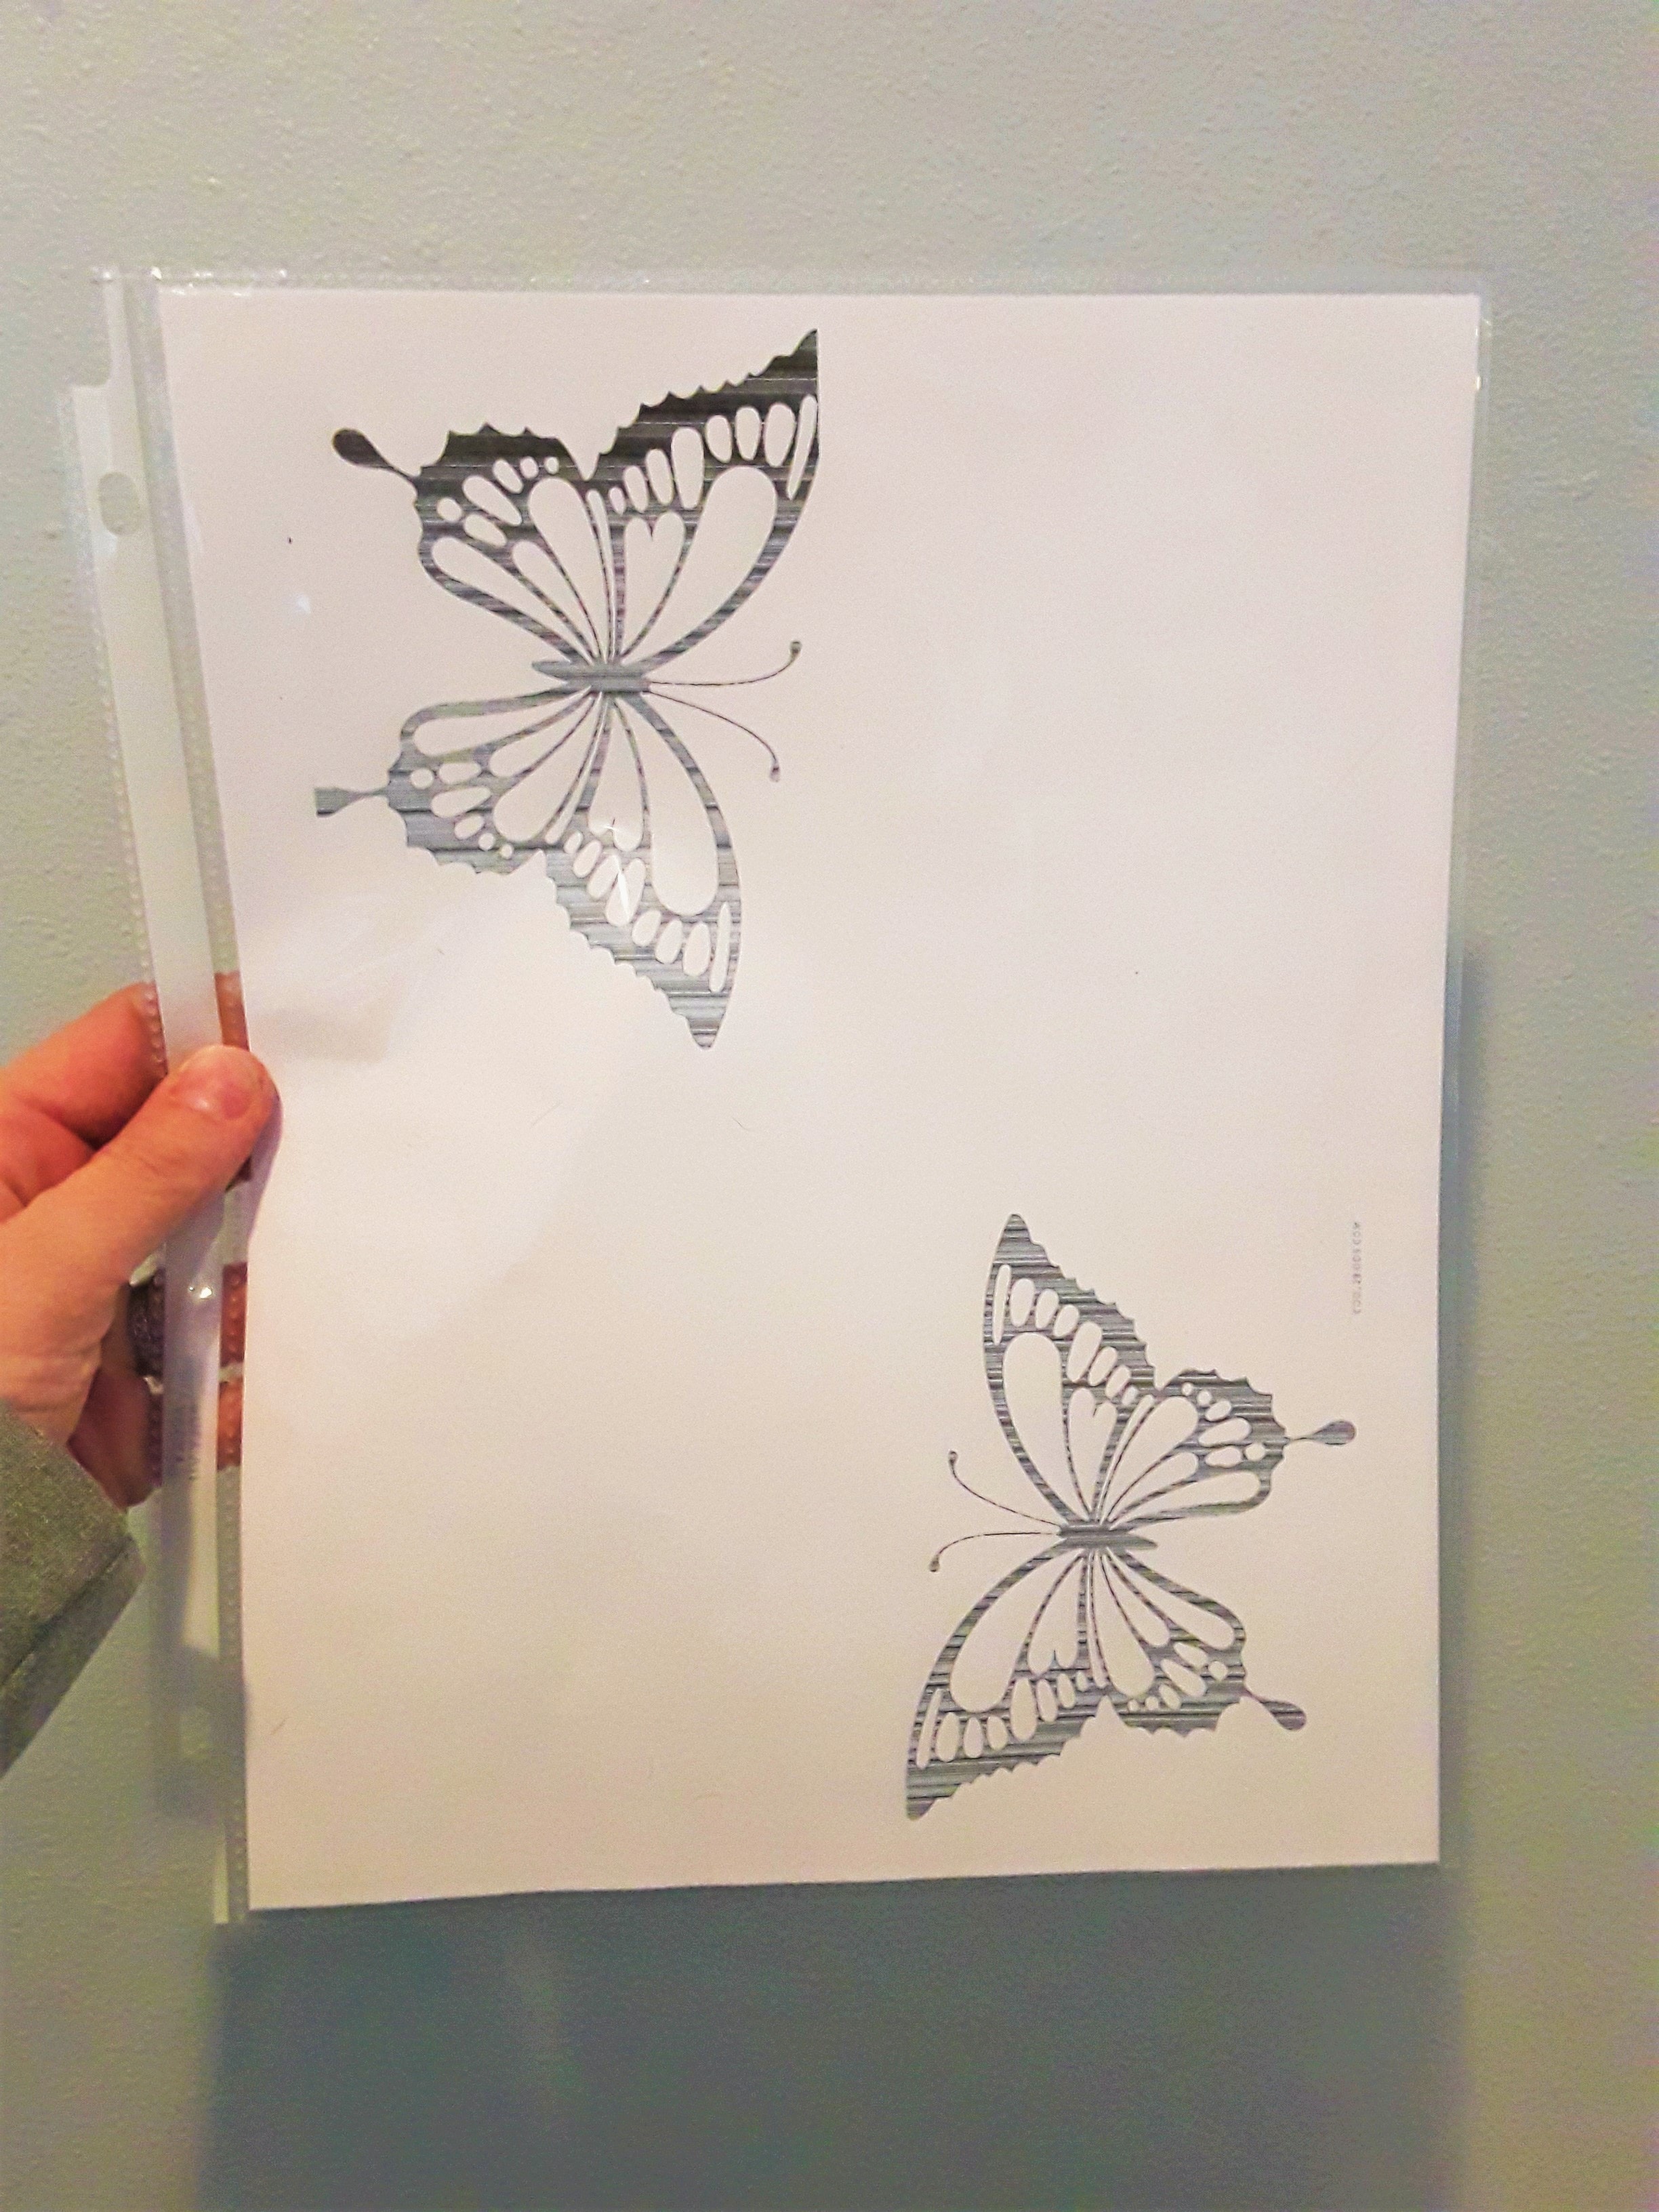
Start by printing out or drawing an image of your choice. Try to chose an image that doesn't have any thin parts on the edges and that is more of a one solid piece to keep it more sturdy.
I found this butterfly image that I liked so I printed it off and then will sort of adjust it to be more solid. Once you have your image printed or drawn, place it inside of your sheet protector and you're ready to begin!
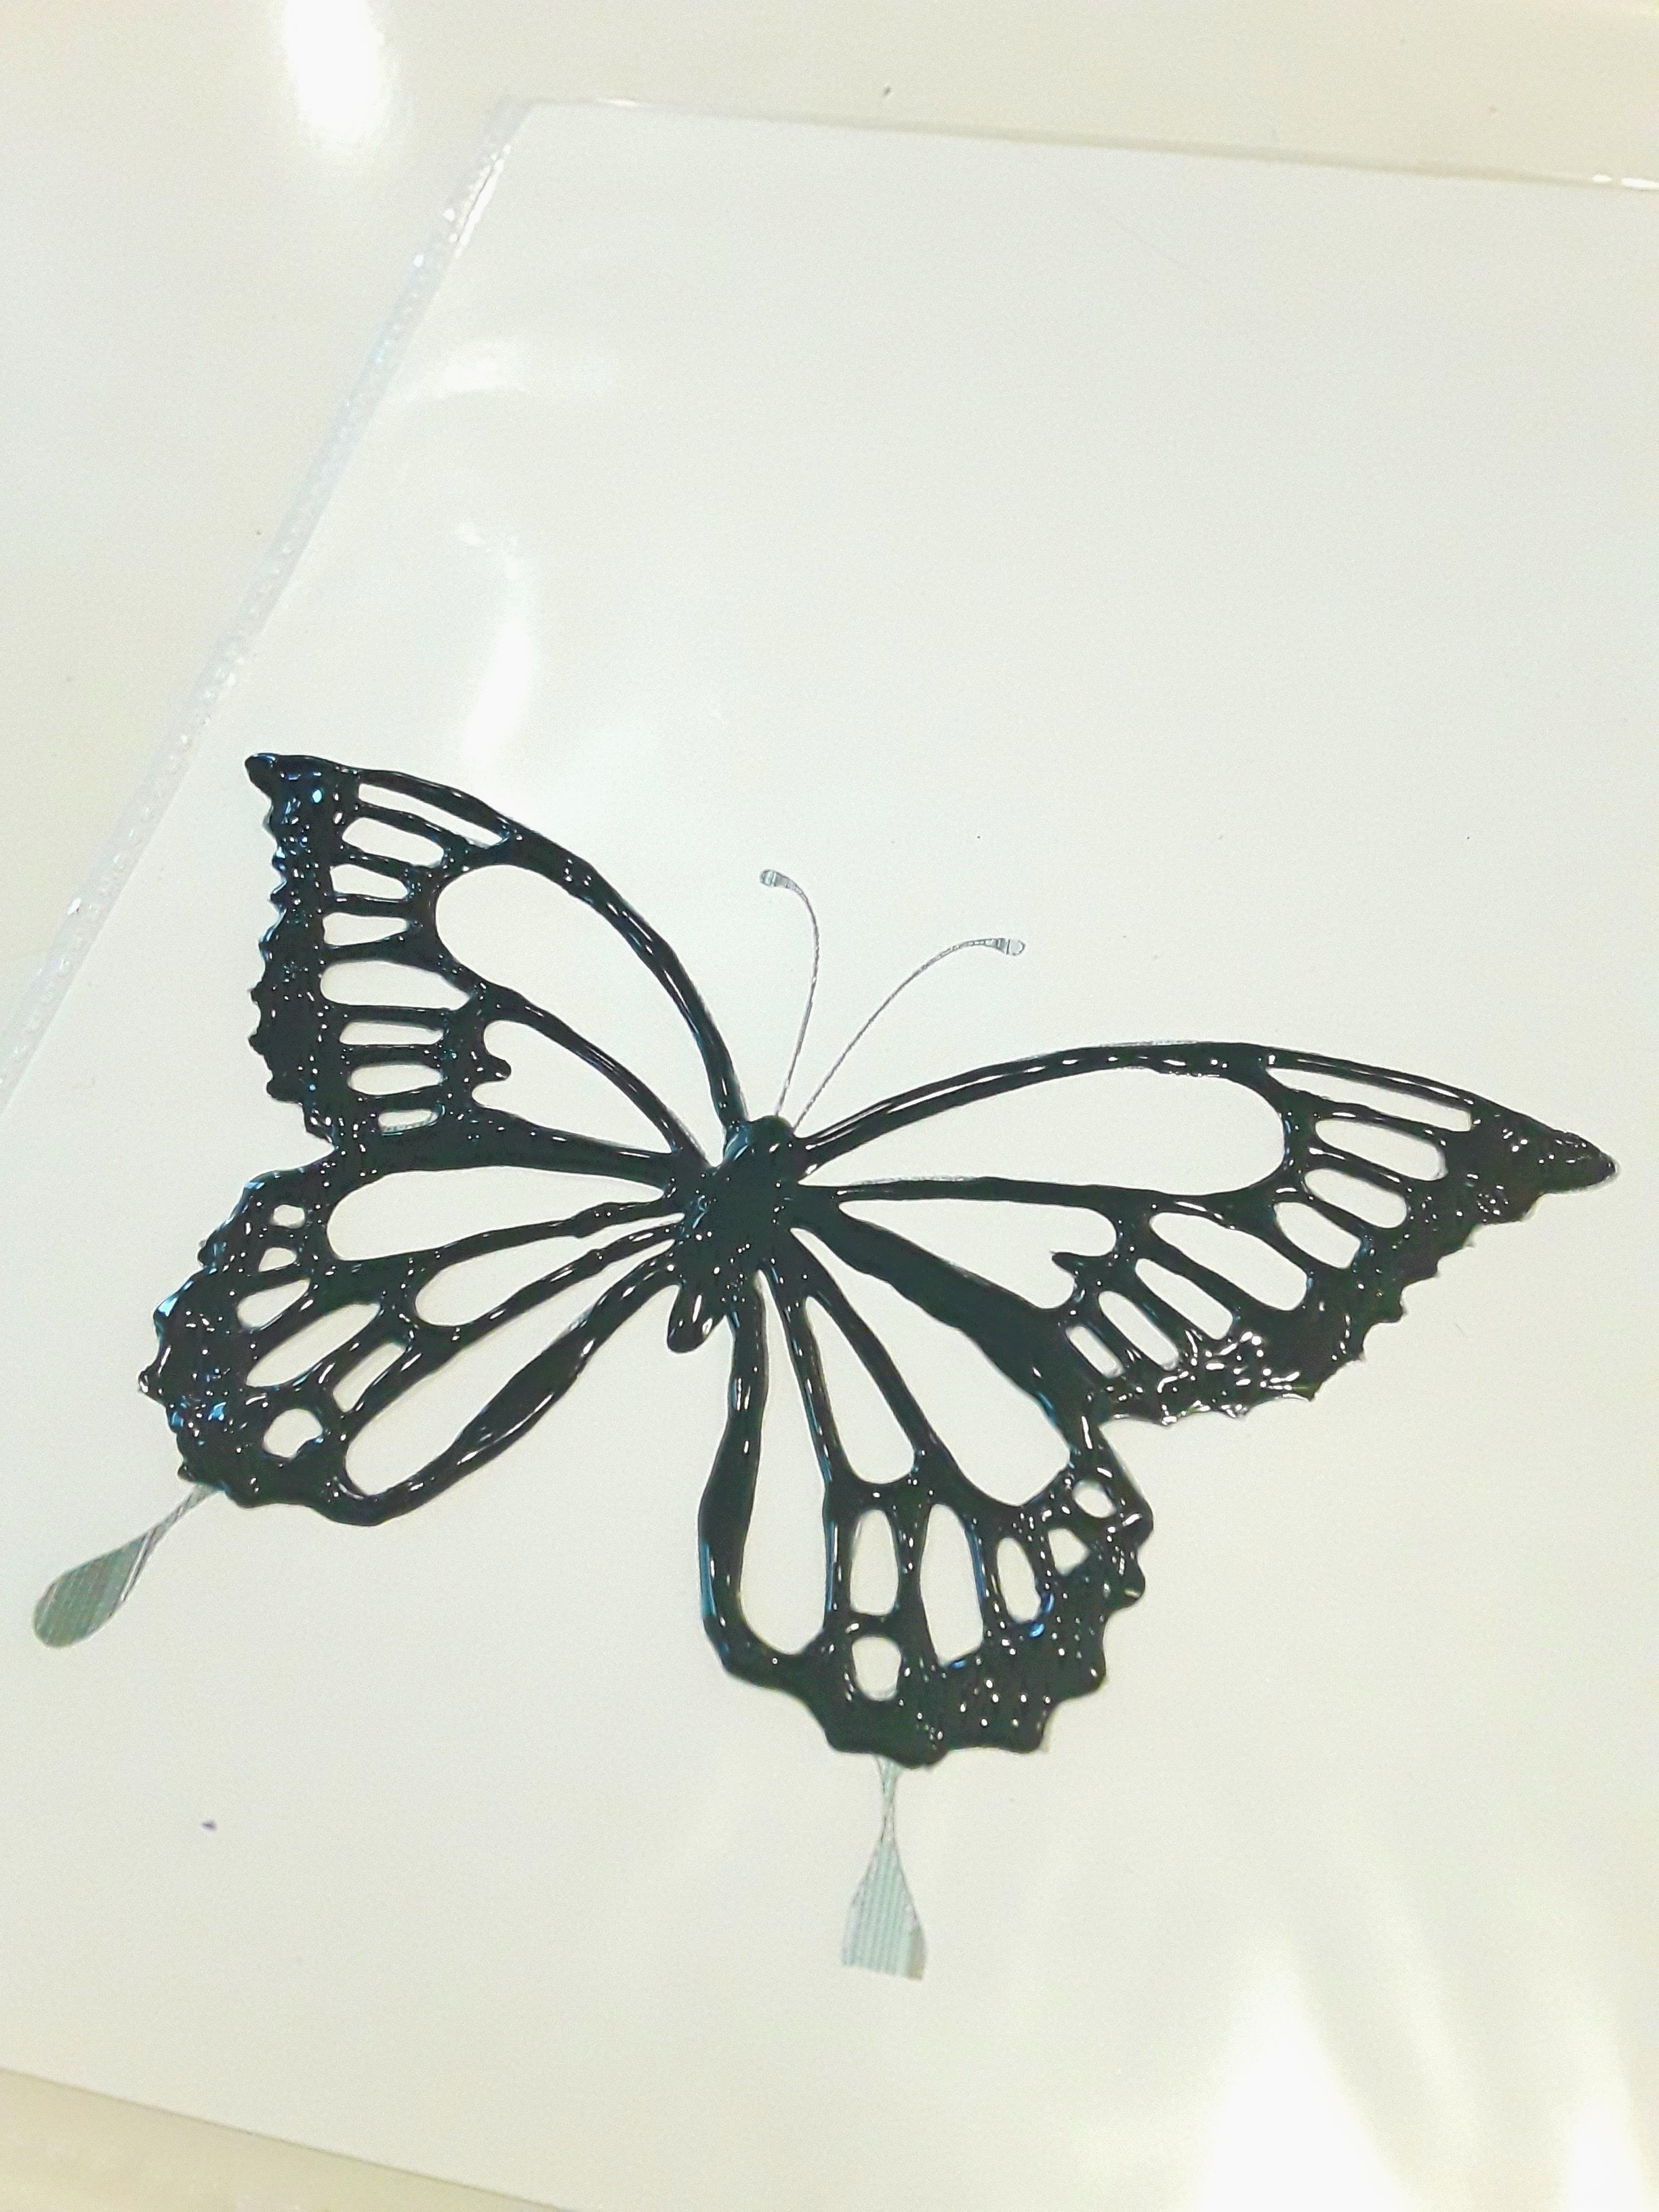
Start by taking the black fabric paint and applying the paint to the sheet protector to sort of trace over the image. Use the black paint (or whatever color you choose) and use it to outline your image first. Here you can see that I didn't apply the paint to the antennae or the skinny bottom parts of the wings and I tried to keep the image more solid.
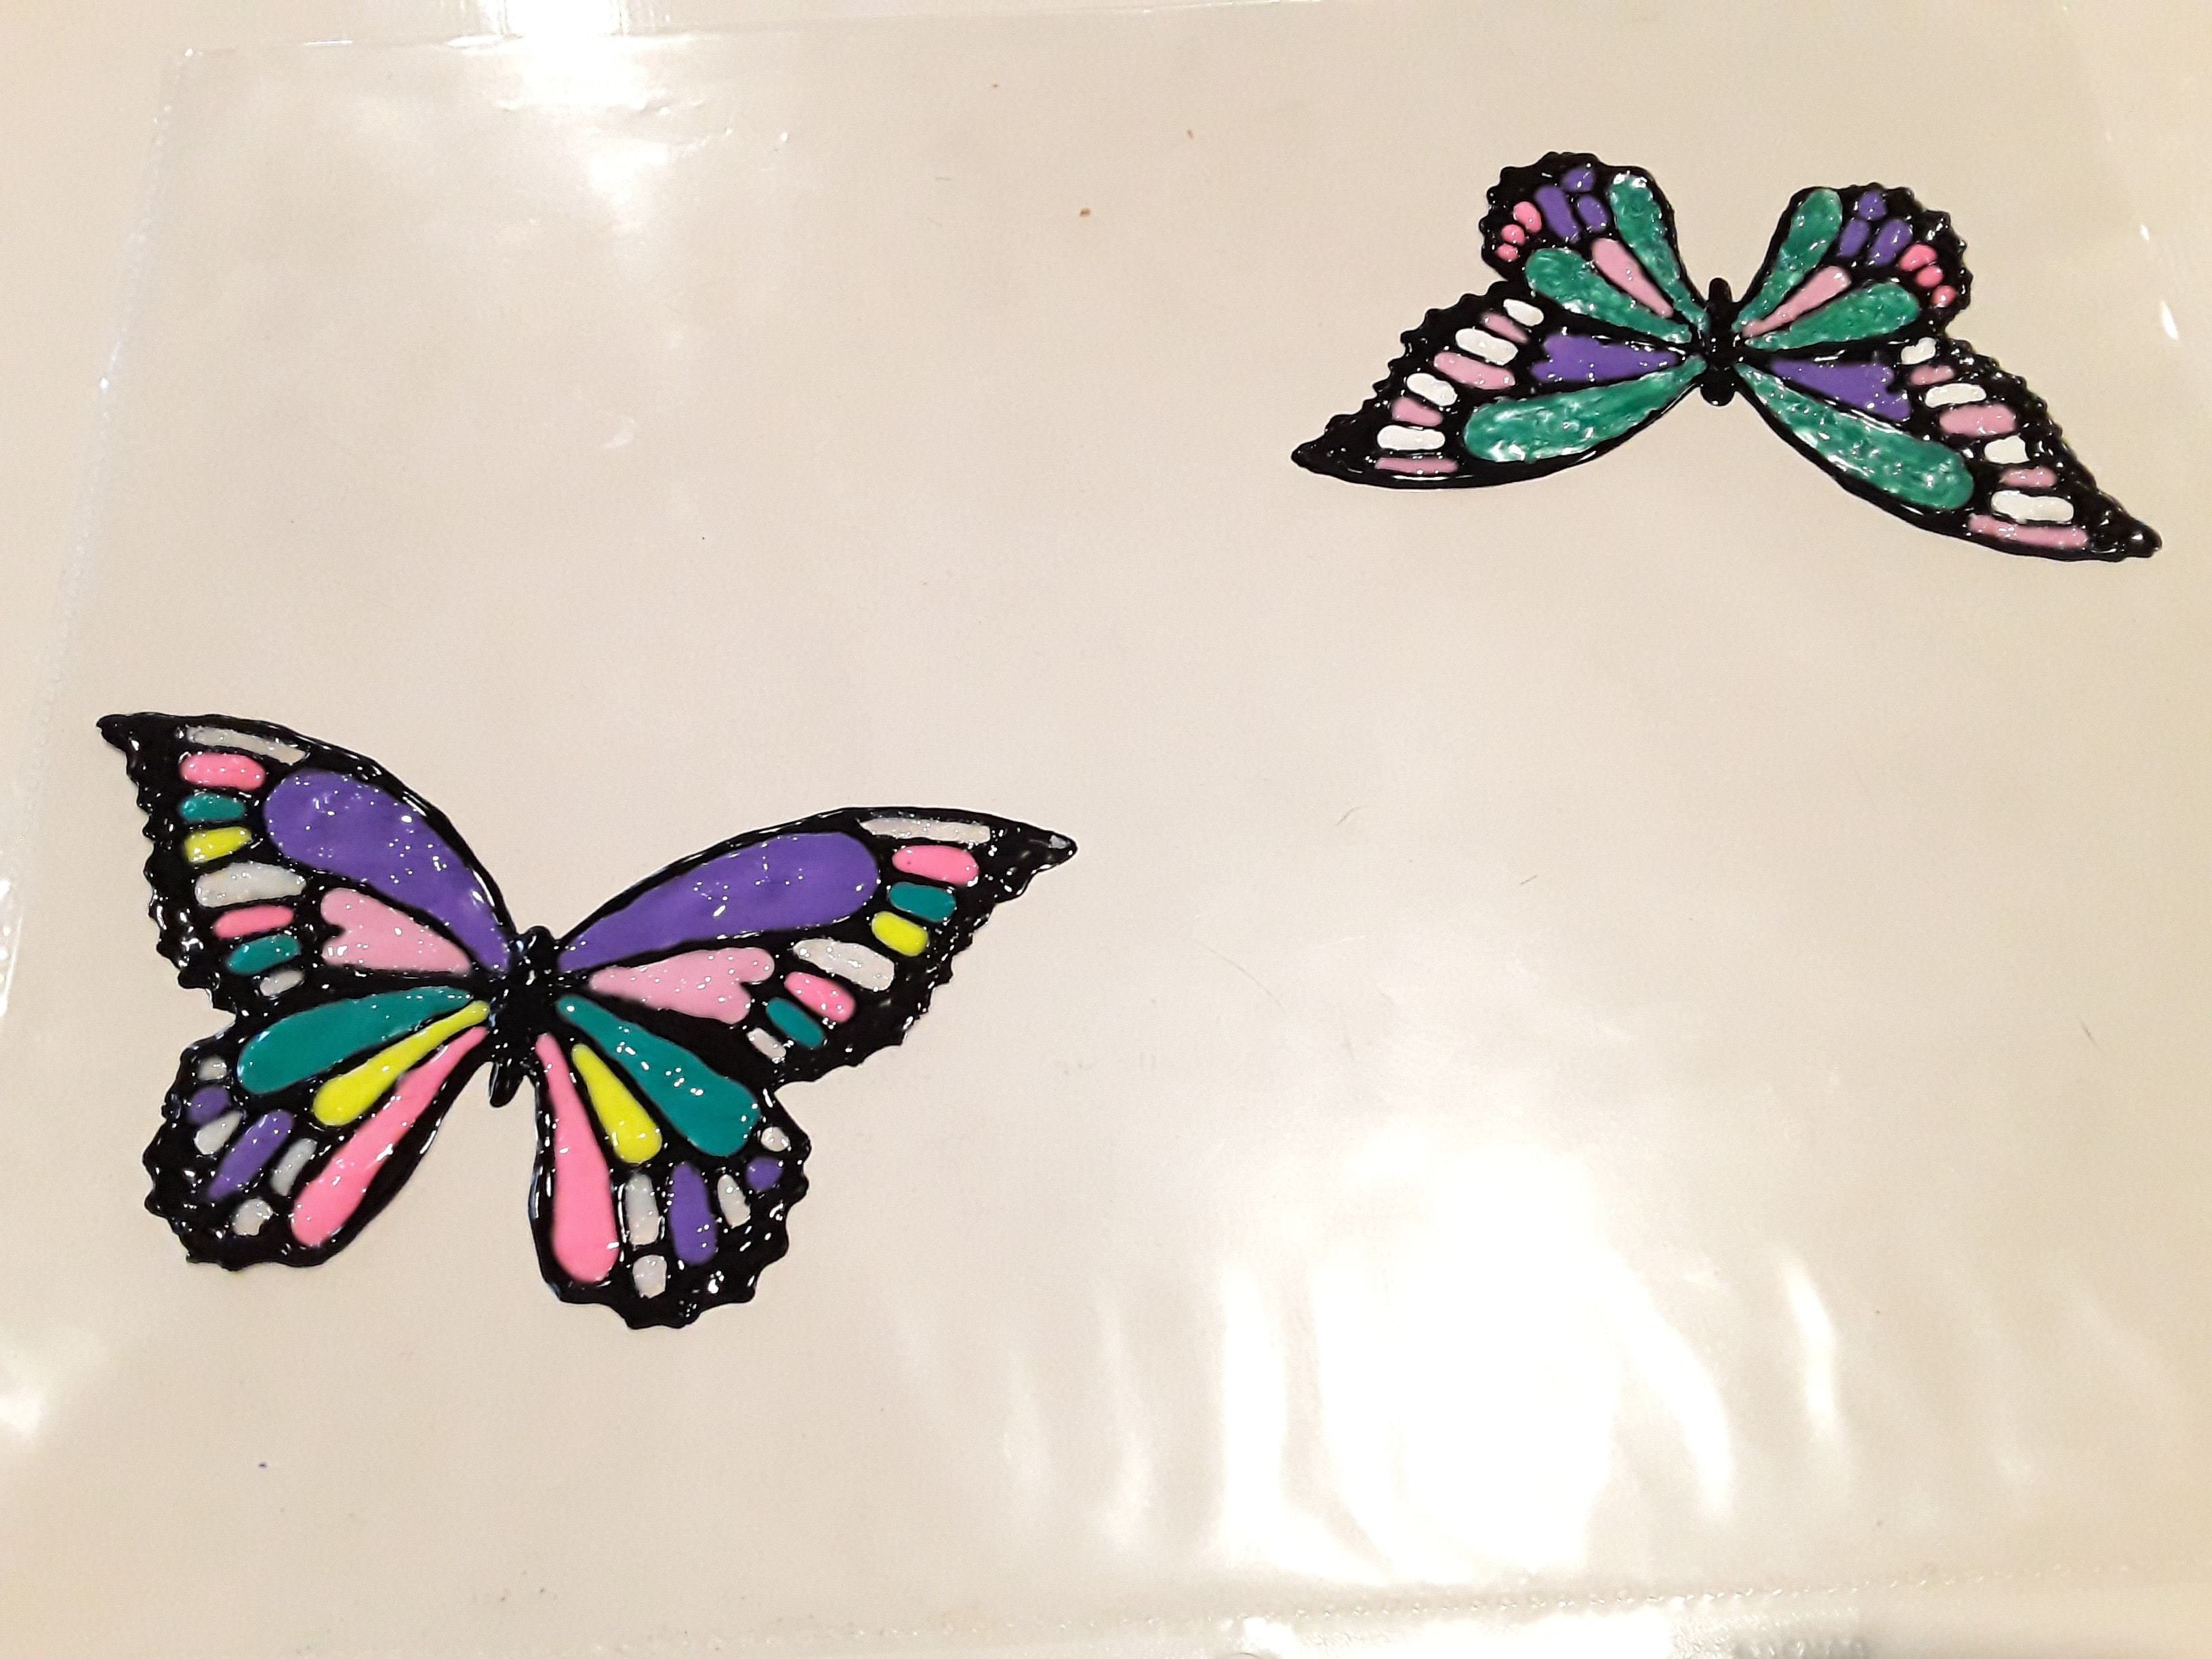
Once you have your outline done, it's time to color inside the lines! Make sure when you fill in with the other colors that your paints do touch each other, but try not to hit the end of the bottle into the other colors and accidentally "blend" the colors. Just go nice and slow and try to keep a continuous steady flow of the paint. Also, don't be too skimpy with the paint. The thicker it is, the sturdier it will be!
Once you have all of it painted, let it dry for at least 24 hours or more depending on how thick you have the paint. You want to make sure the paint is completely dry before trying to lift it off of the sheet protector. When it has dried completely, carefully start at one corner and pull it off of the sheet protector. It is going to feel like it is stuck completely. Don't worry, it's not. This is why you want thick paint and not skinny little edges.
Carefully peel up one of the edges of your window cling from the sheet protector. It will stick and it will stretch...that's fine...just try not to rip it. Peel it away as close to the sheet protector as you can so that you aren't stretching it as much.
Once you have it off it's ready to stick to the window! Just stick it on. If you want it in a new spot, just peel it off and restick it!
do it you
CrazyDIYmom.com Contact Us Privacy Policy Disclaimer About me