
DIY windchime
This post may contain affiliate links.
I love hearing windchimes when I'm walking around the yard, but I also like when they're kind of cute to look at too. The dollar store always has these cheap little windchimes and I wanted to use them for the chimes, but give them a bit of a fun, new look.
What you will need:
scrap wood
jig saw
drill and small drill bit
sander
monofilament line
twine
cheap windchime
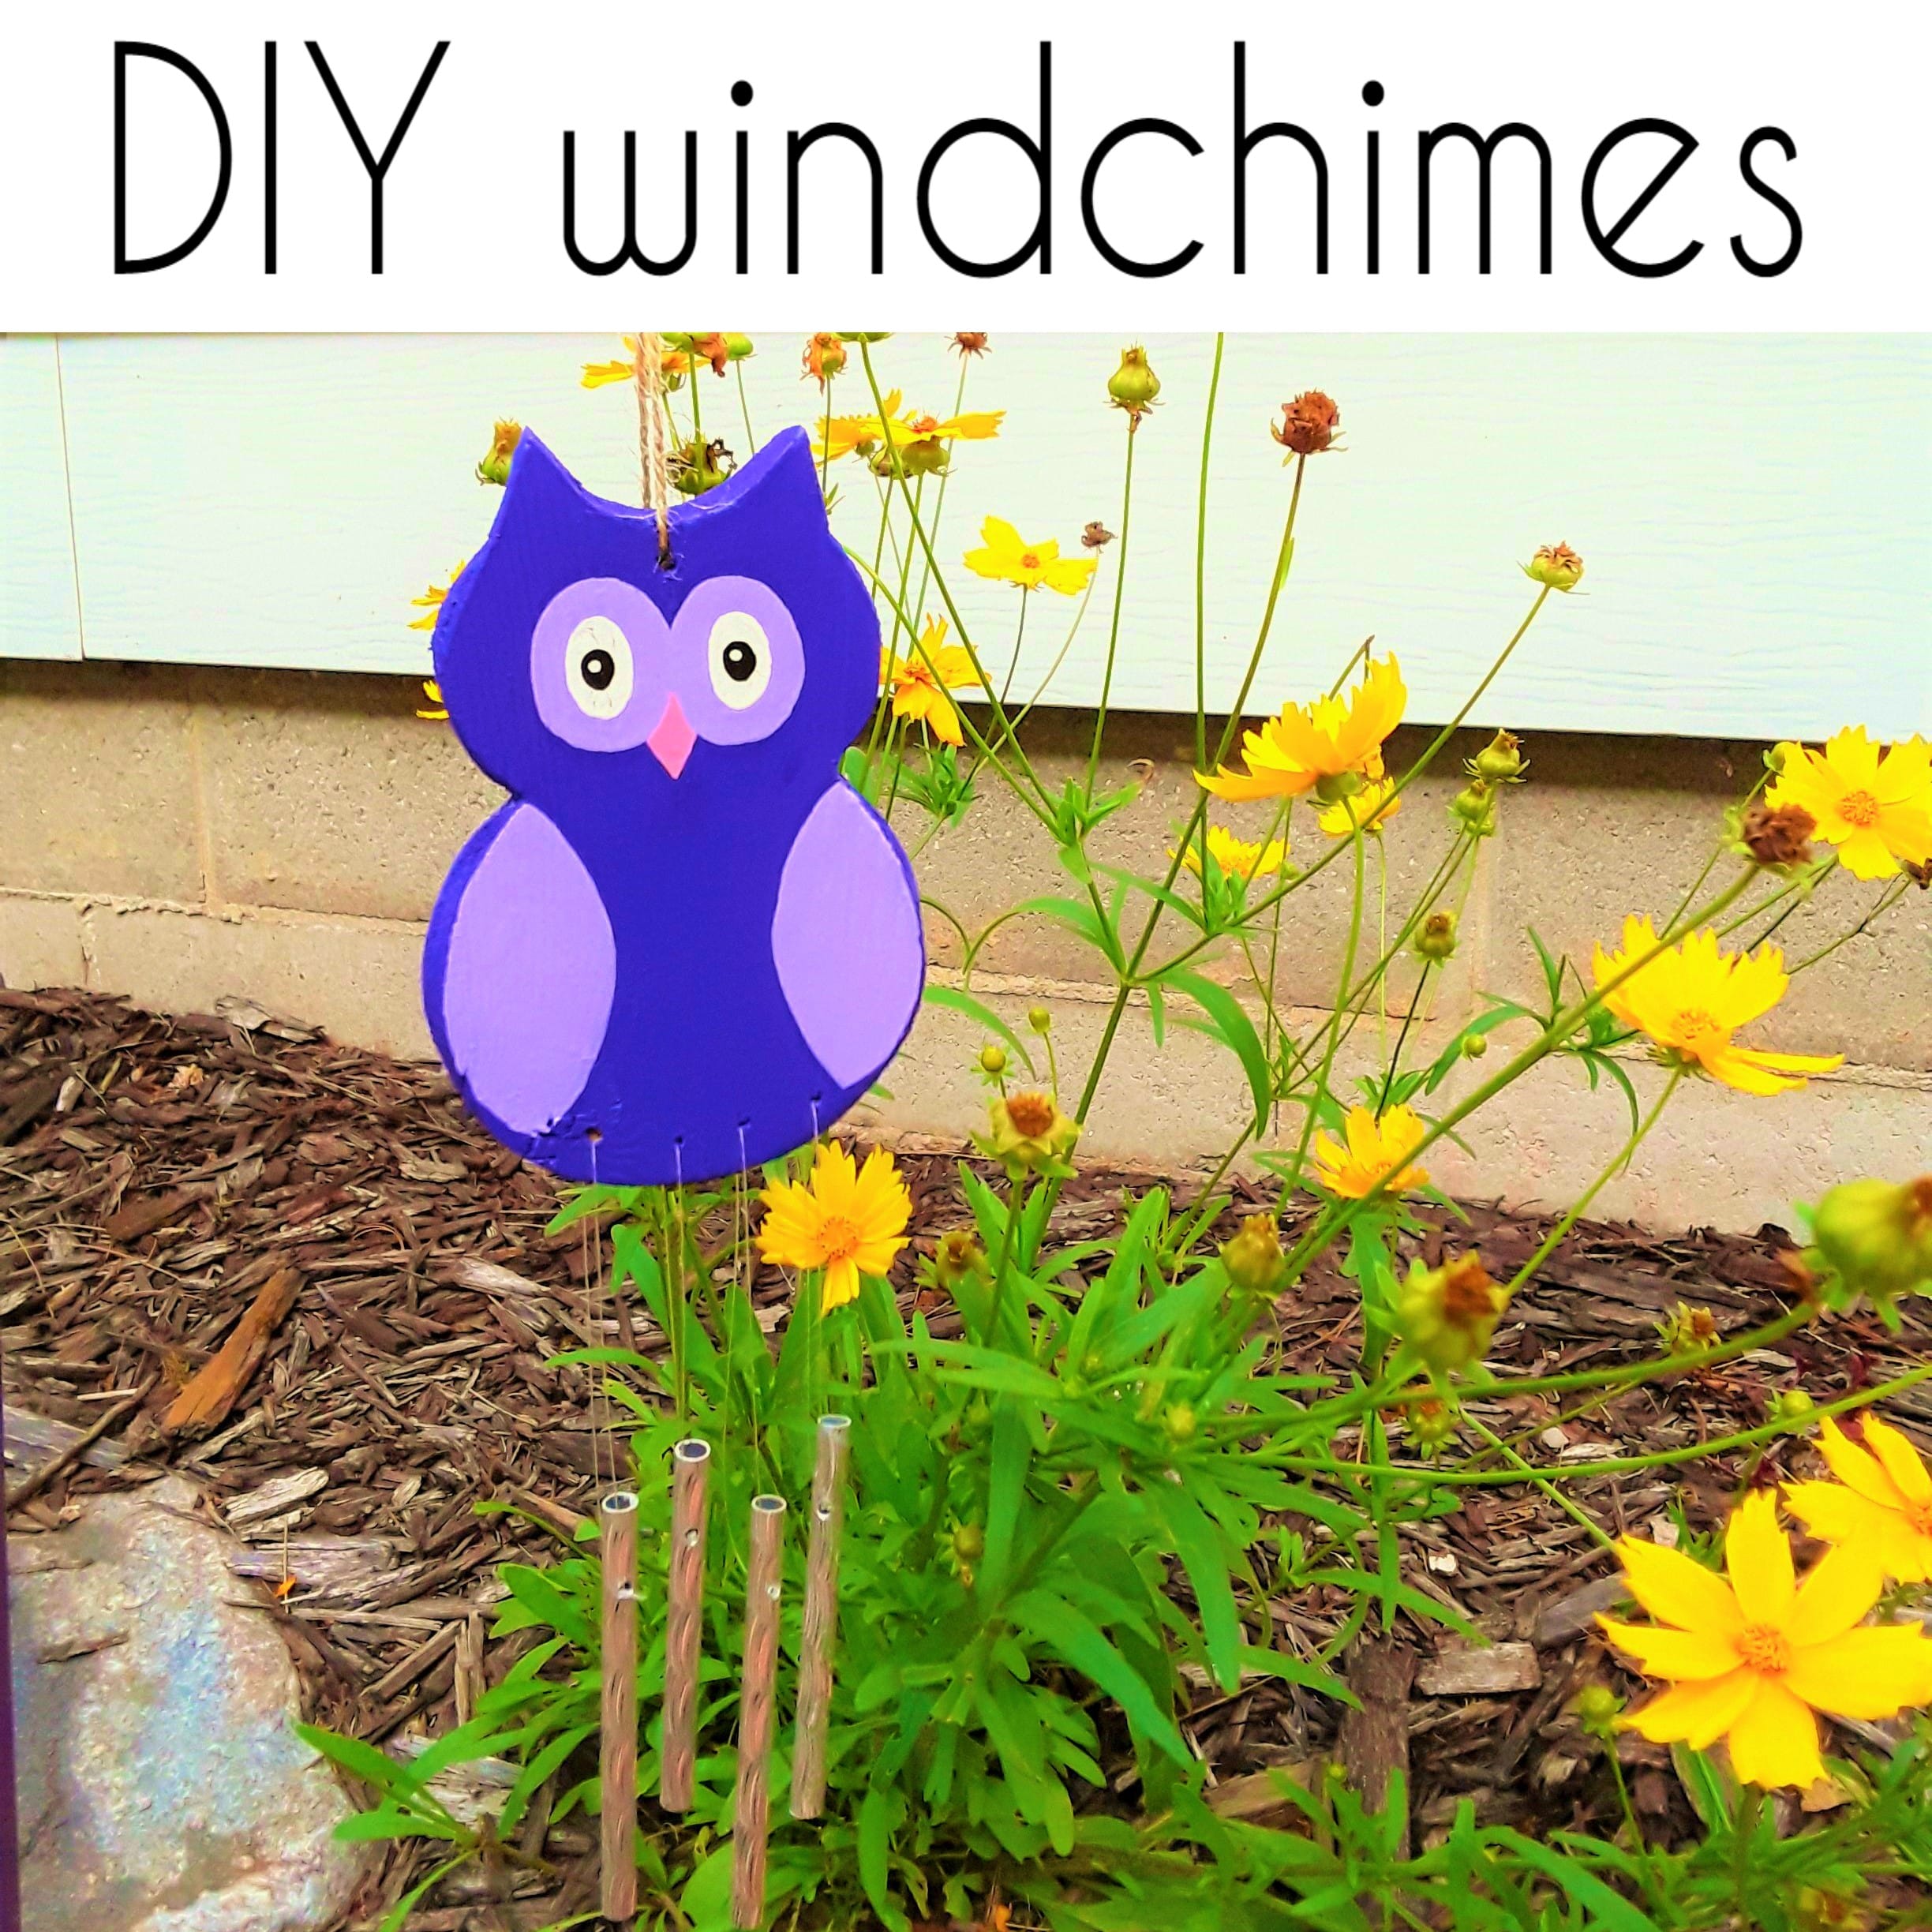
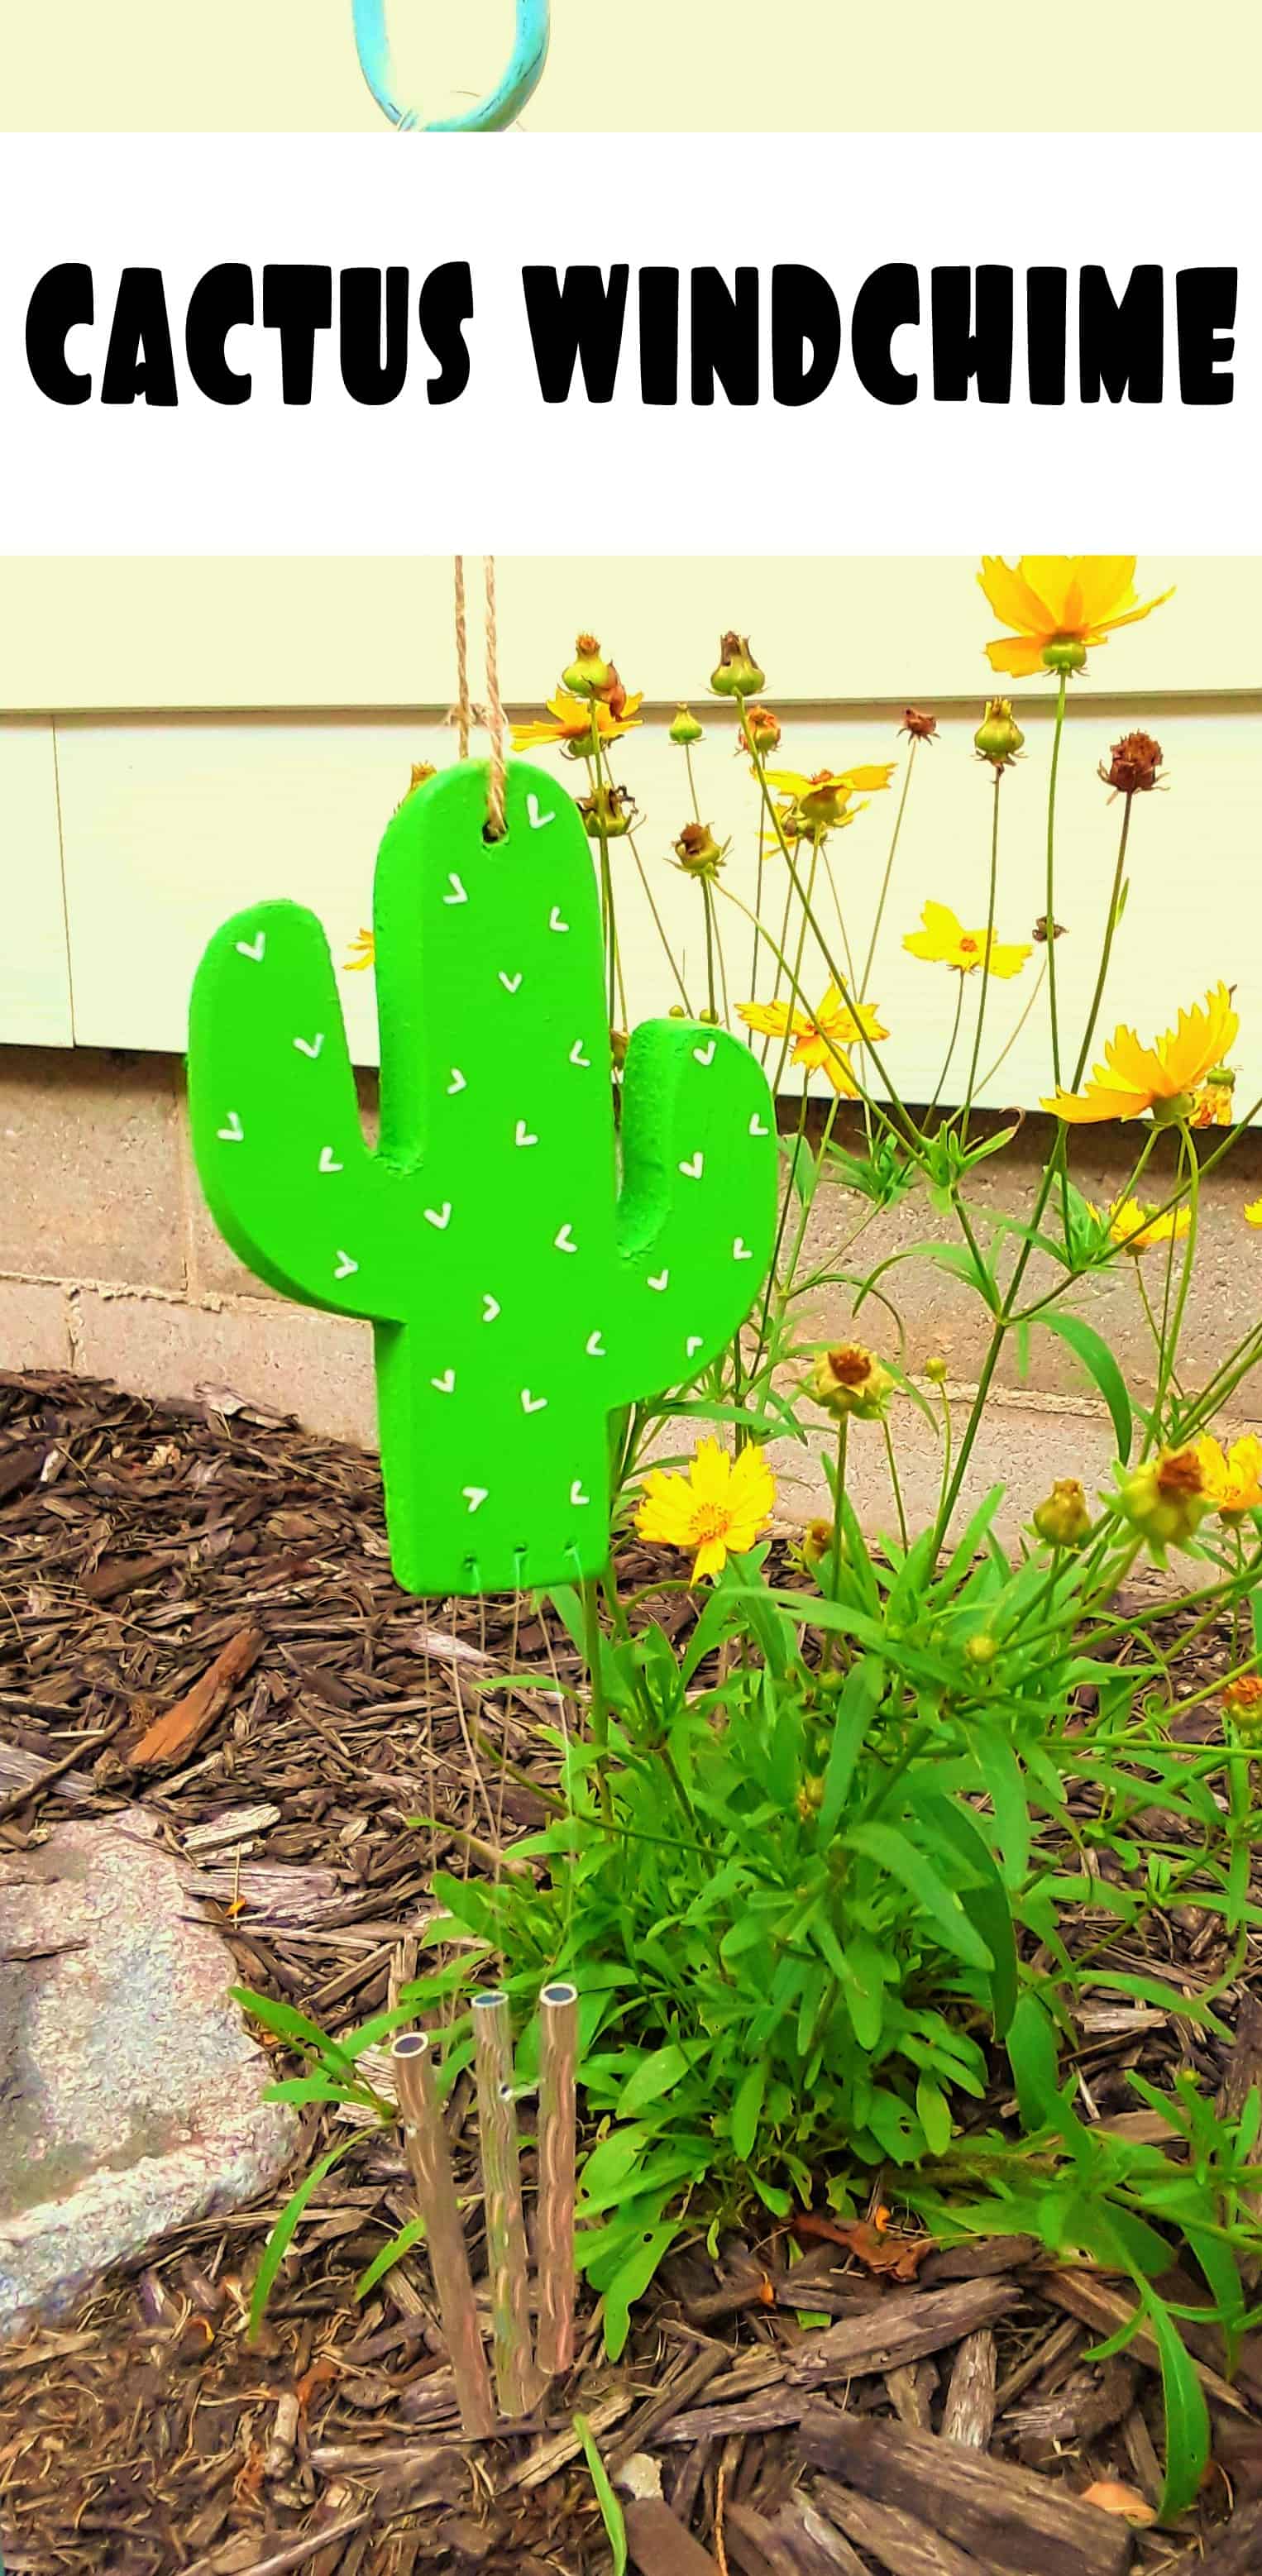
Start by decided on a shape for your windchime and drawing it out ona piece of paper or printing it off your computer. My owl is about 4" tall by 3" wide for reference. Trace your image onto your scrap piece of wood and cut it out with your jig saw.
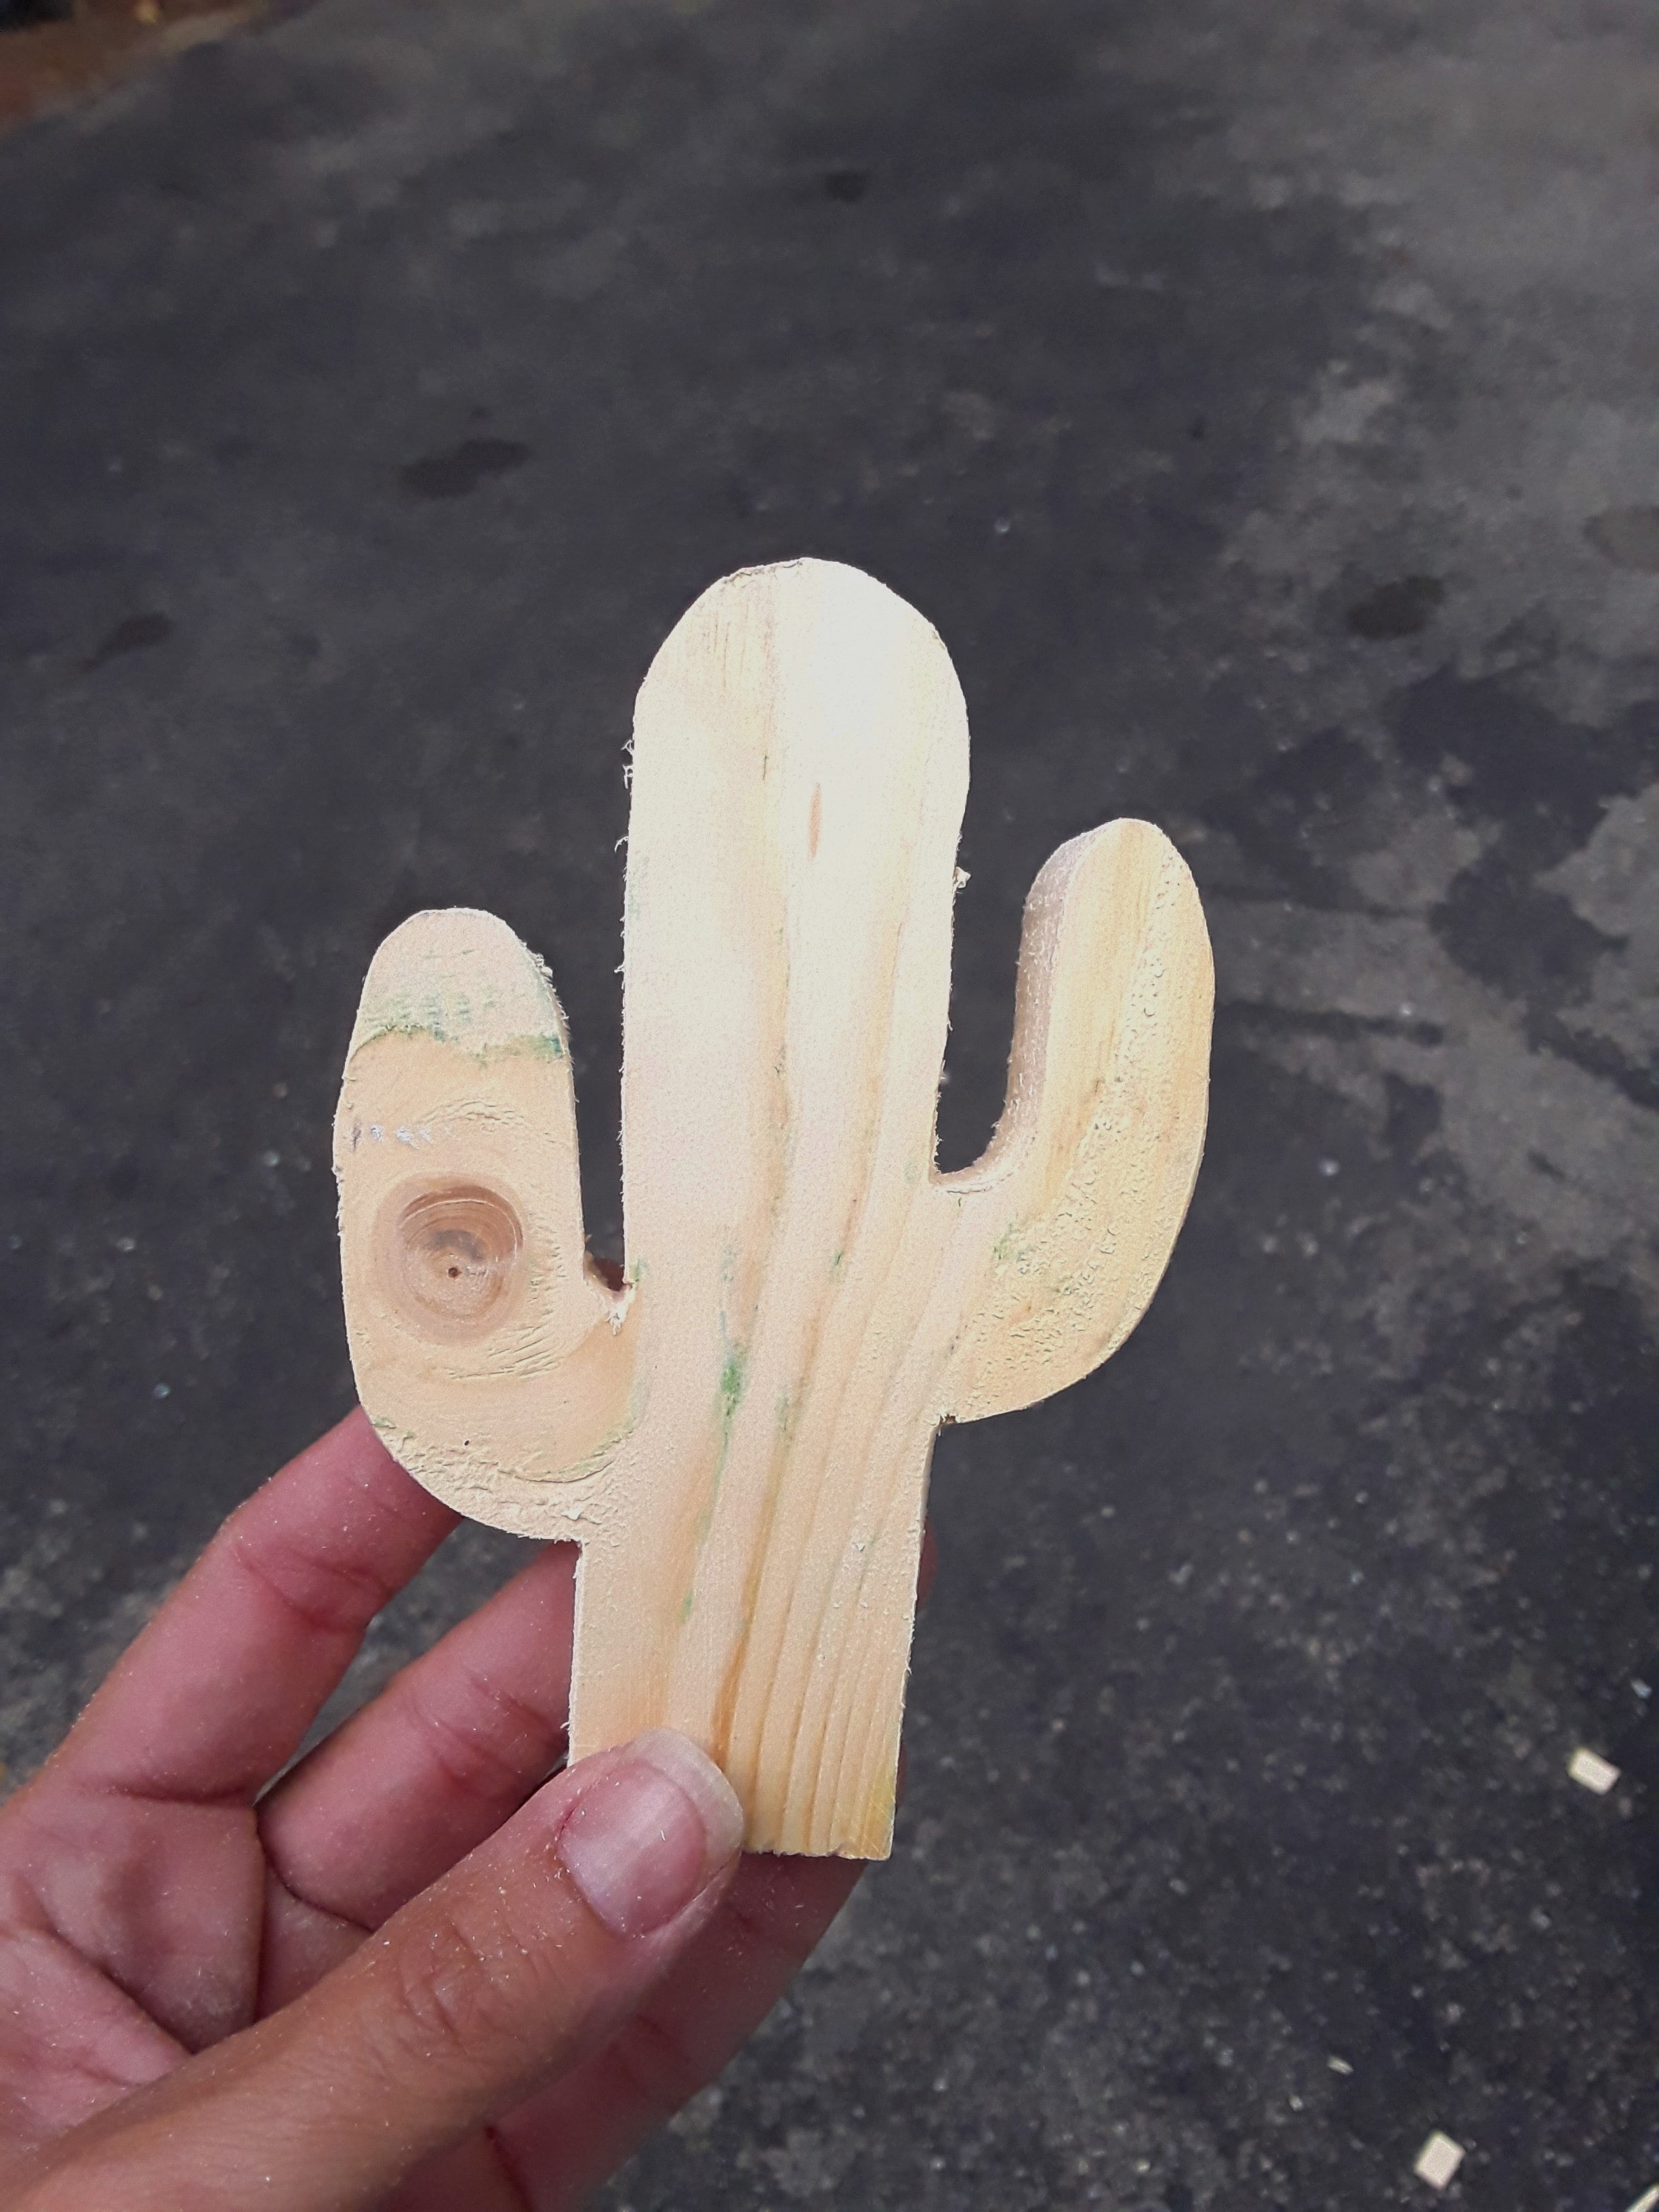
When you have your image cut out, give it a good sanding to remove all the rough edges. Then you will need to take your drill and drill bit and make 3-5 small holes through the bottom of your image. The amount of holes will depend on how much room you have and how many chimes your windchime has as these holes will be where you will attach your chimes. Also, drill a hole at the top of your shape so that you have a way to hang your windchime.
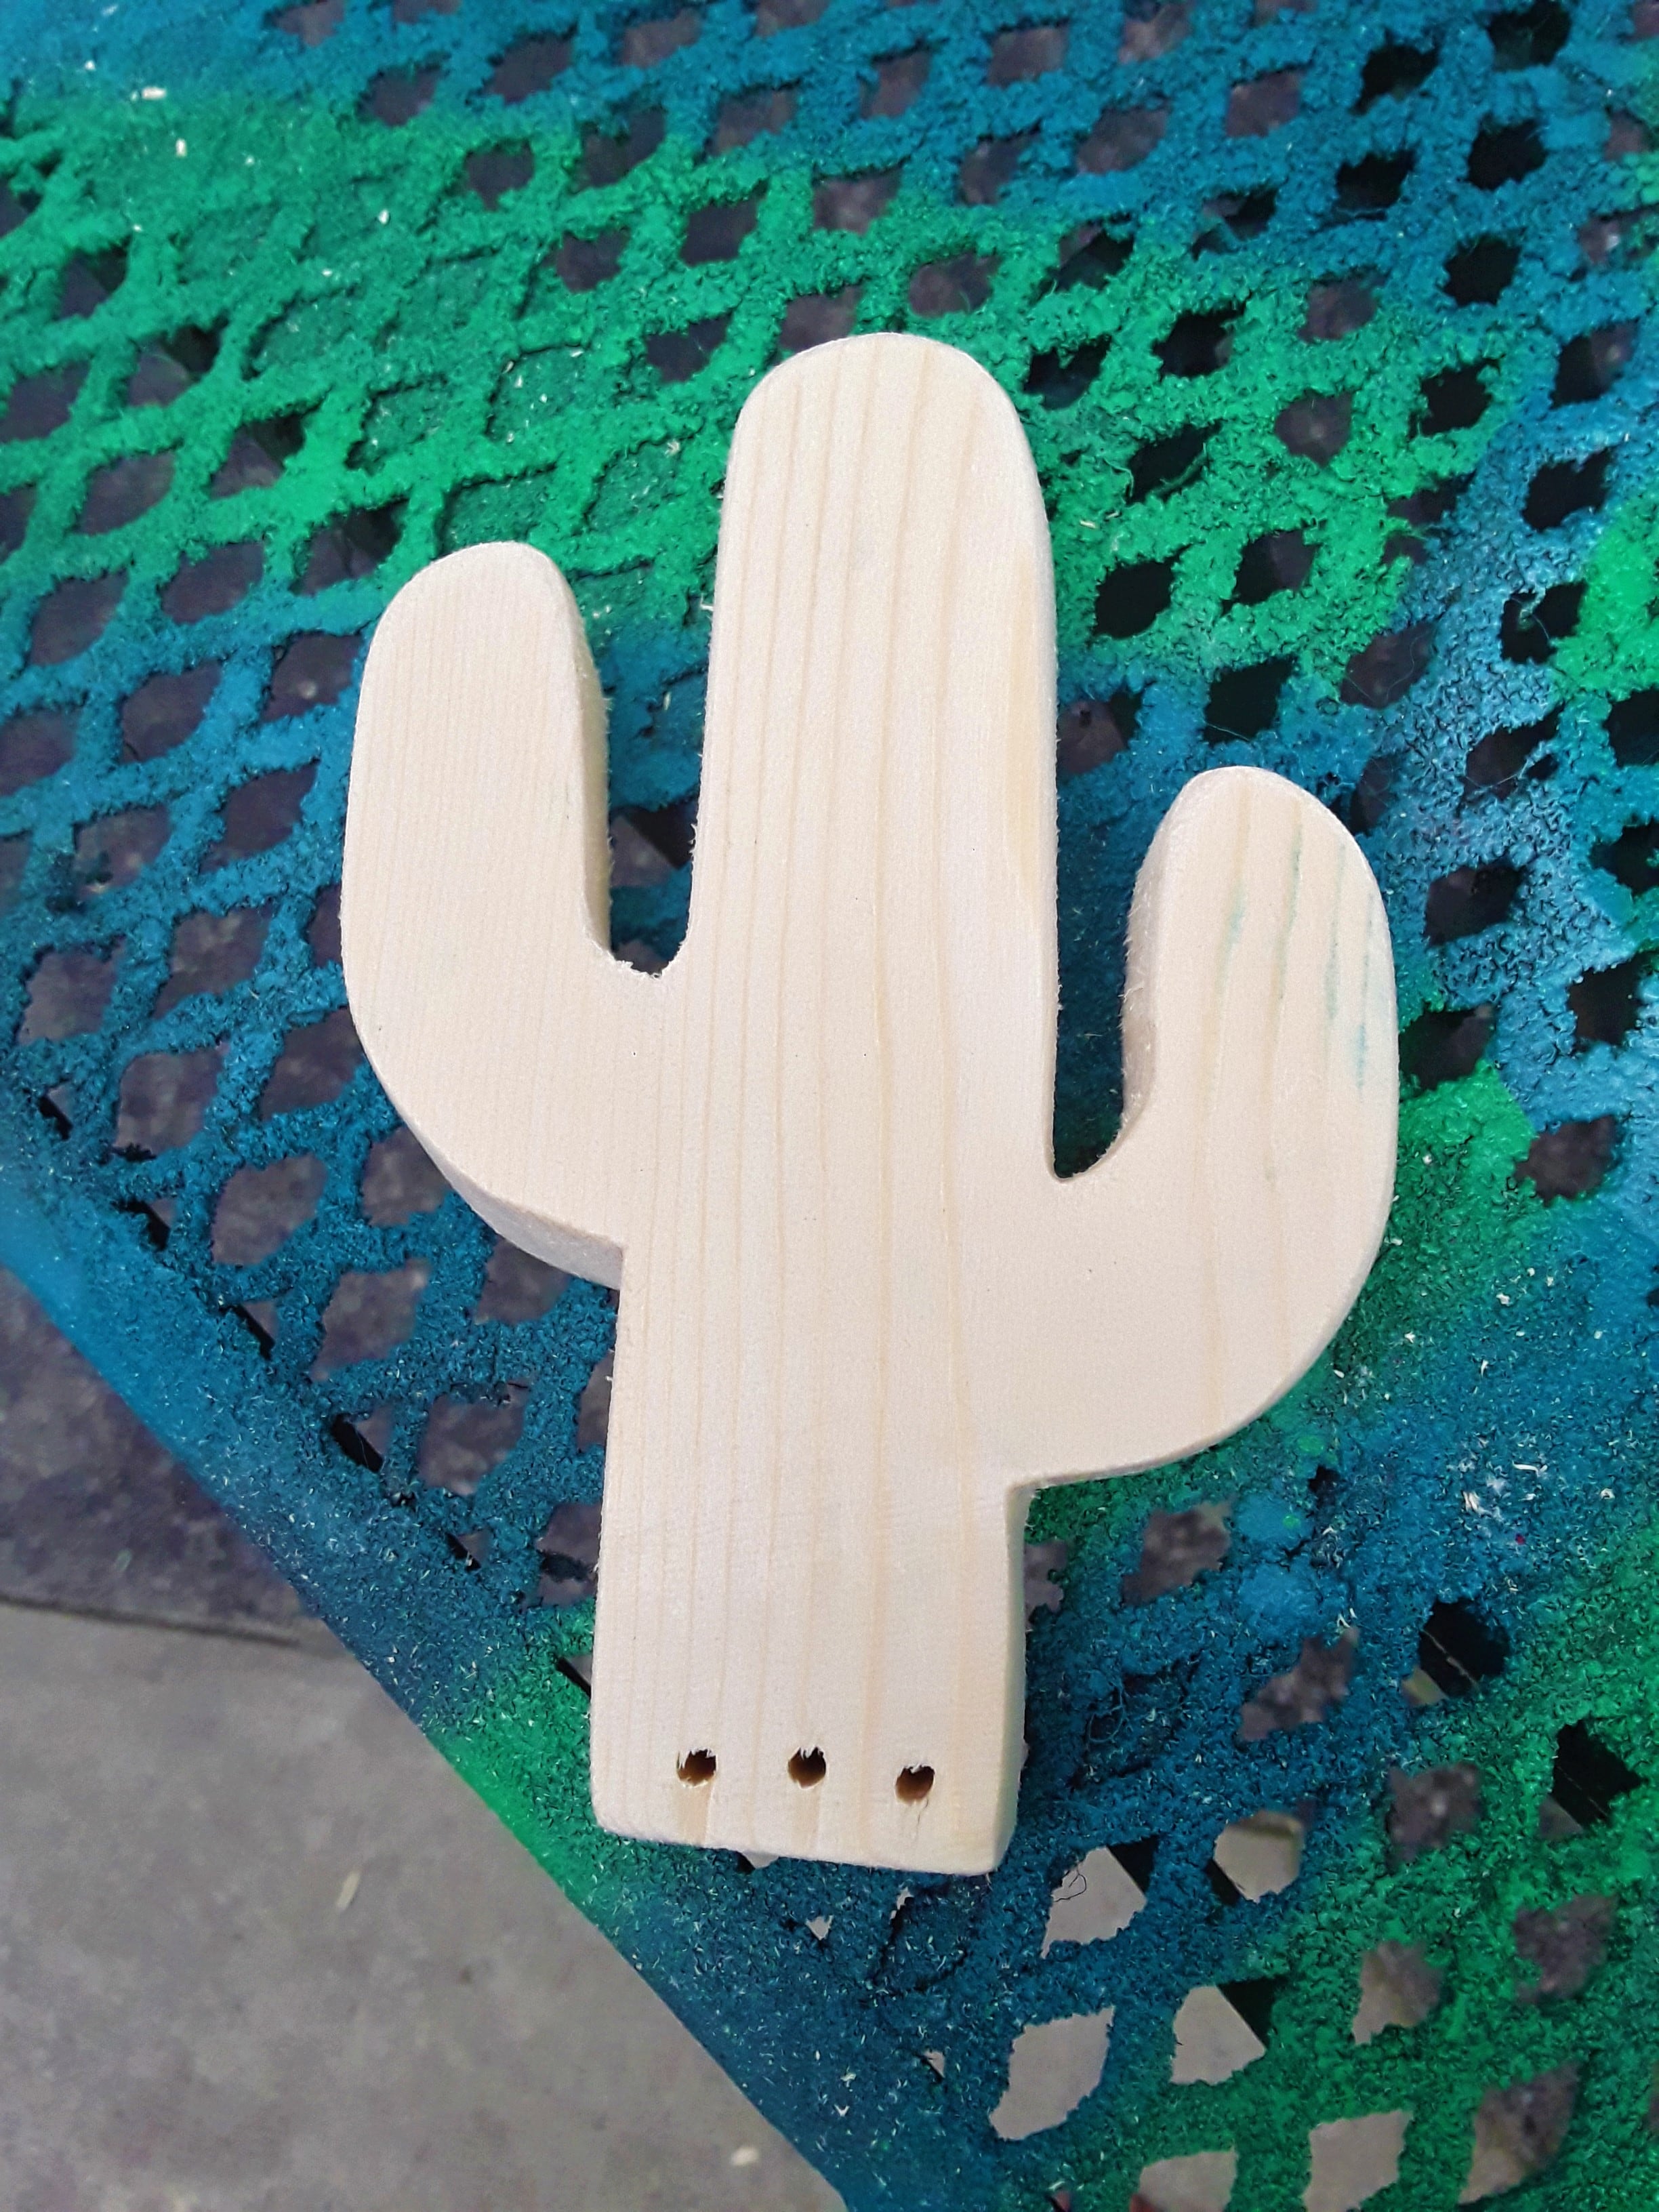
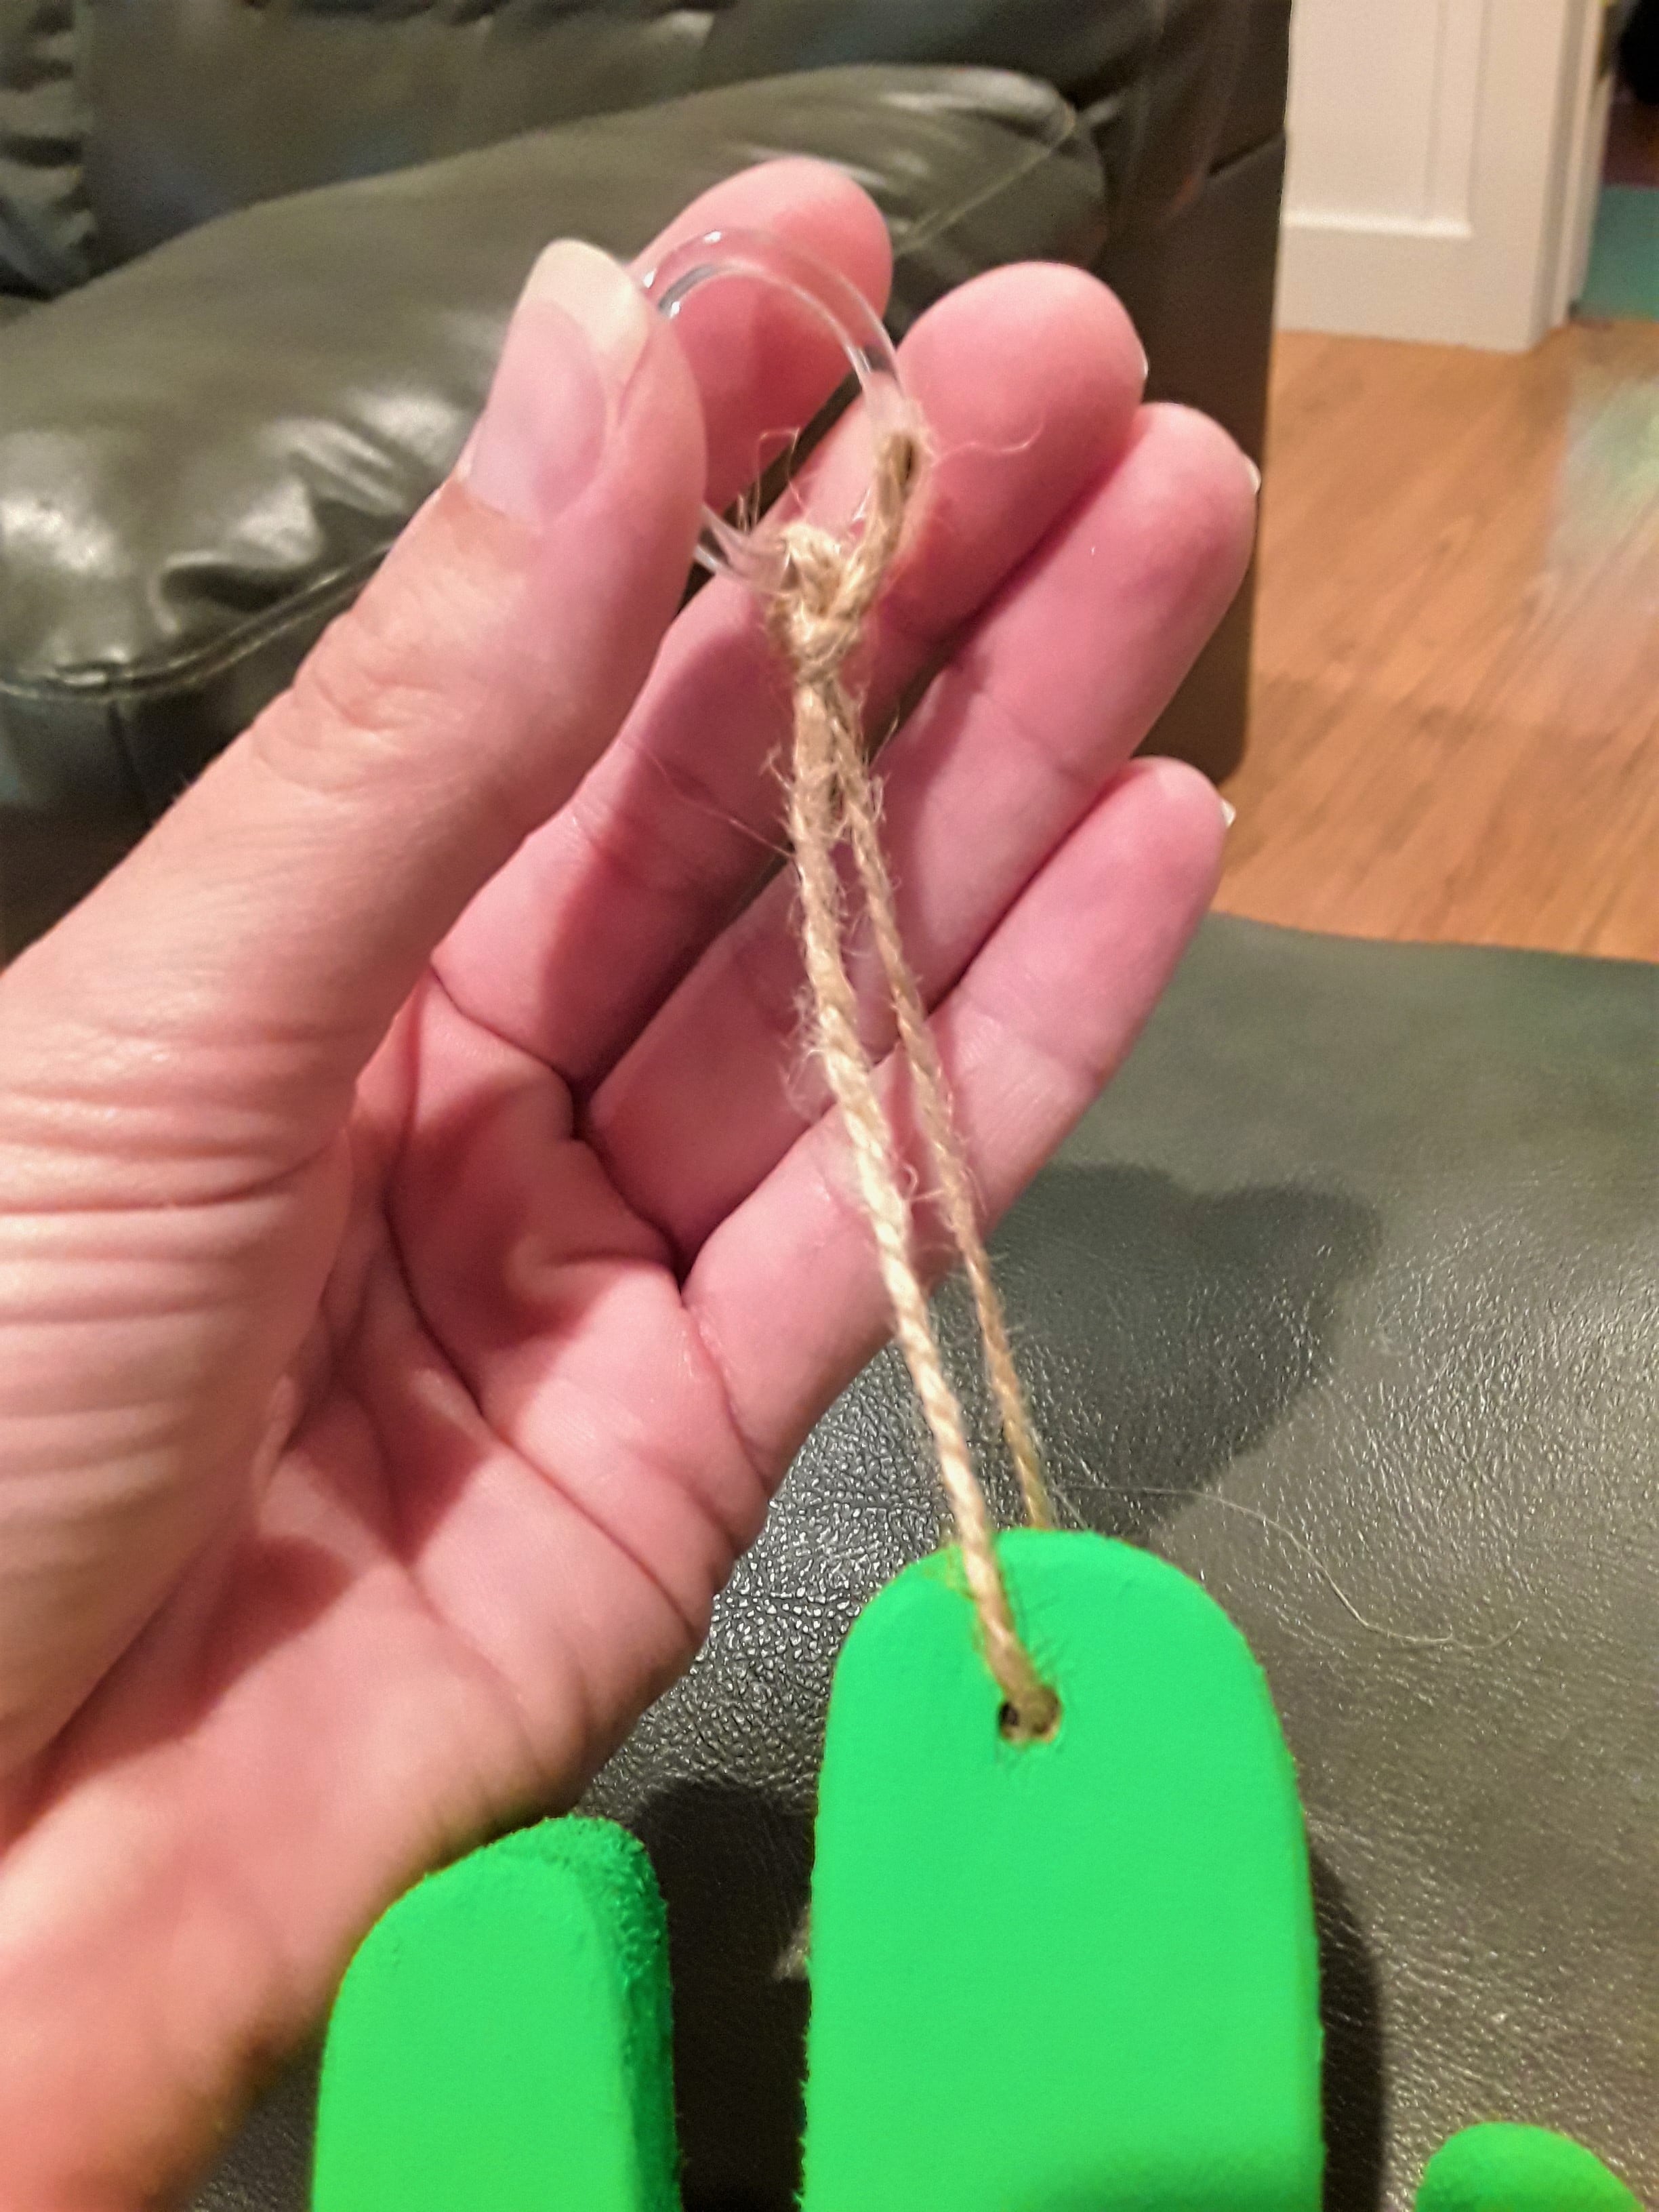
Next, lightly sand any rough areas from where you just drilled and then paint your piece. When your piece has dried, take your old windchime, remove the chimes and use your fishing line to attach the chimes from the old chime to this new one. Once you have your chimes attached, use a piece of twine and the round piece from the old chime to make a hanging spot for your new chime.

My new little chimes look absolutely adorable hanging in my garden amongst the flowers and they give off such a sweet sound in the summer breeze!
CrazyDIYmom.com Contact Us Privacy Policy Disclaimer About me