
year round wreath

This post may contain affiliate links.
I love switching up the wreath on my front door, but I needed one that was perfect for in between seasons and could go with any decor.
This simple and round wood wreath is perfect! I can use it year round and it will go with any decor from winter to summer.
What you will need:
1" thick wood (I like using pine, but you can use whatever you have)
jig saw
sander
paint or stain
artificial greens
burlap ribbon
staple gun and staples
"welcome" sign (I got it from the dollar store!)
E6000 glue
clear acrylic spray sealer
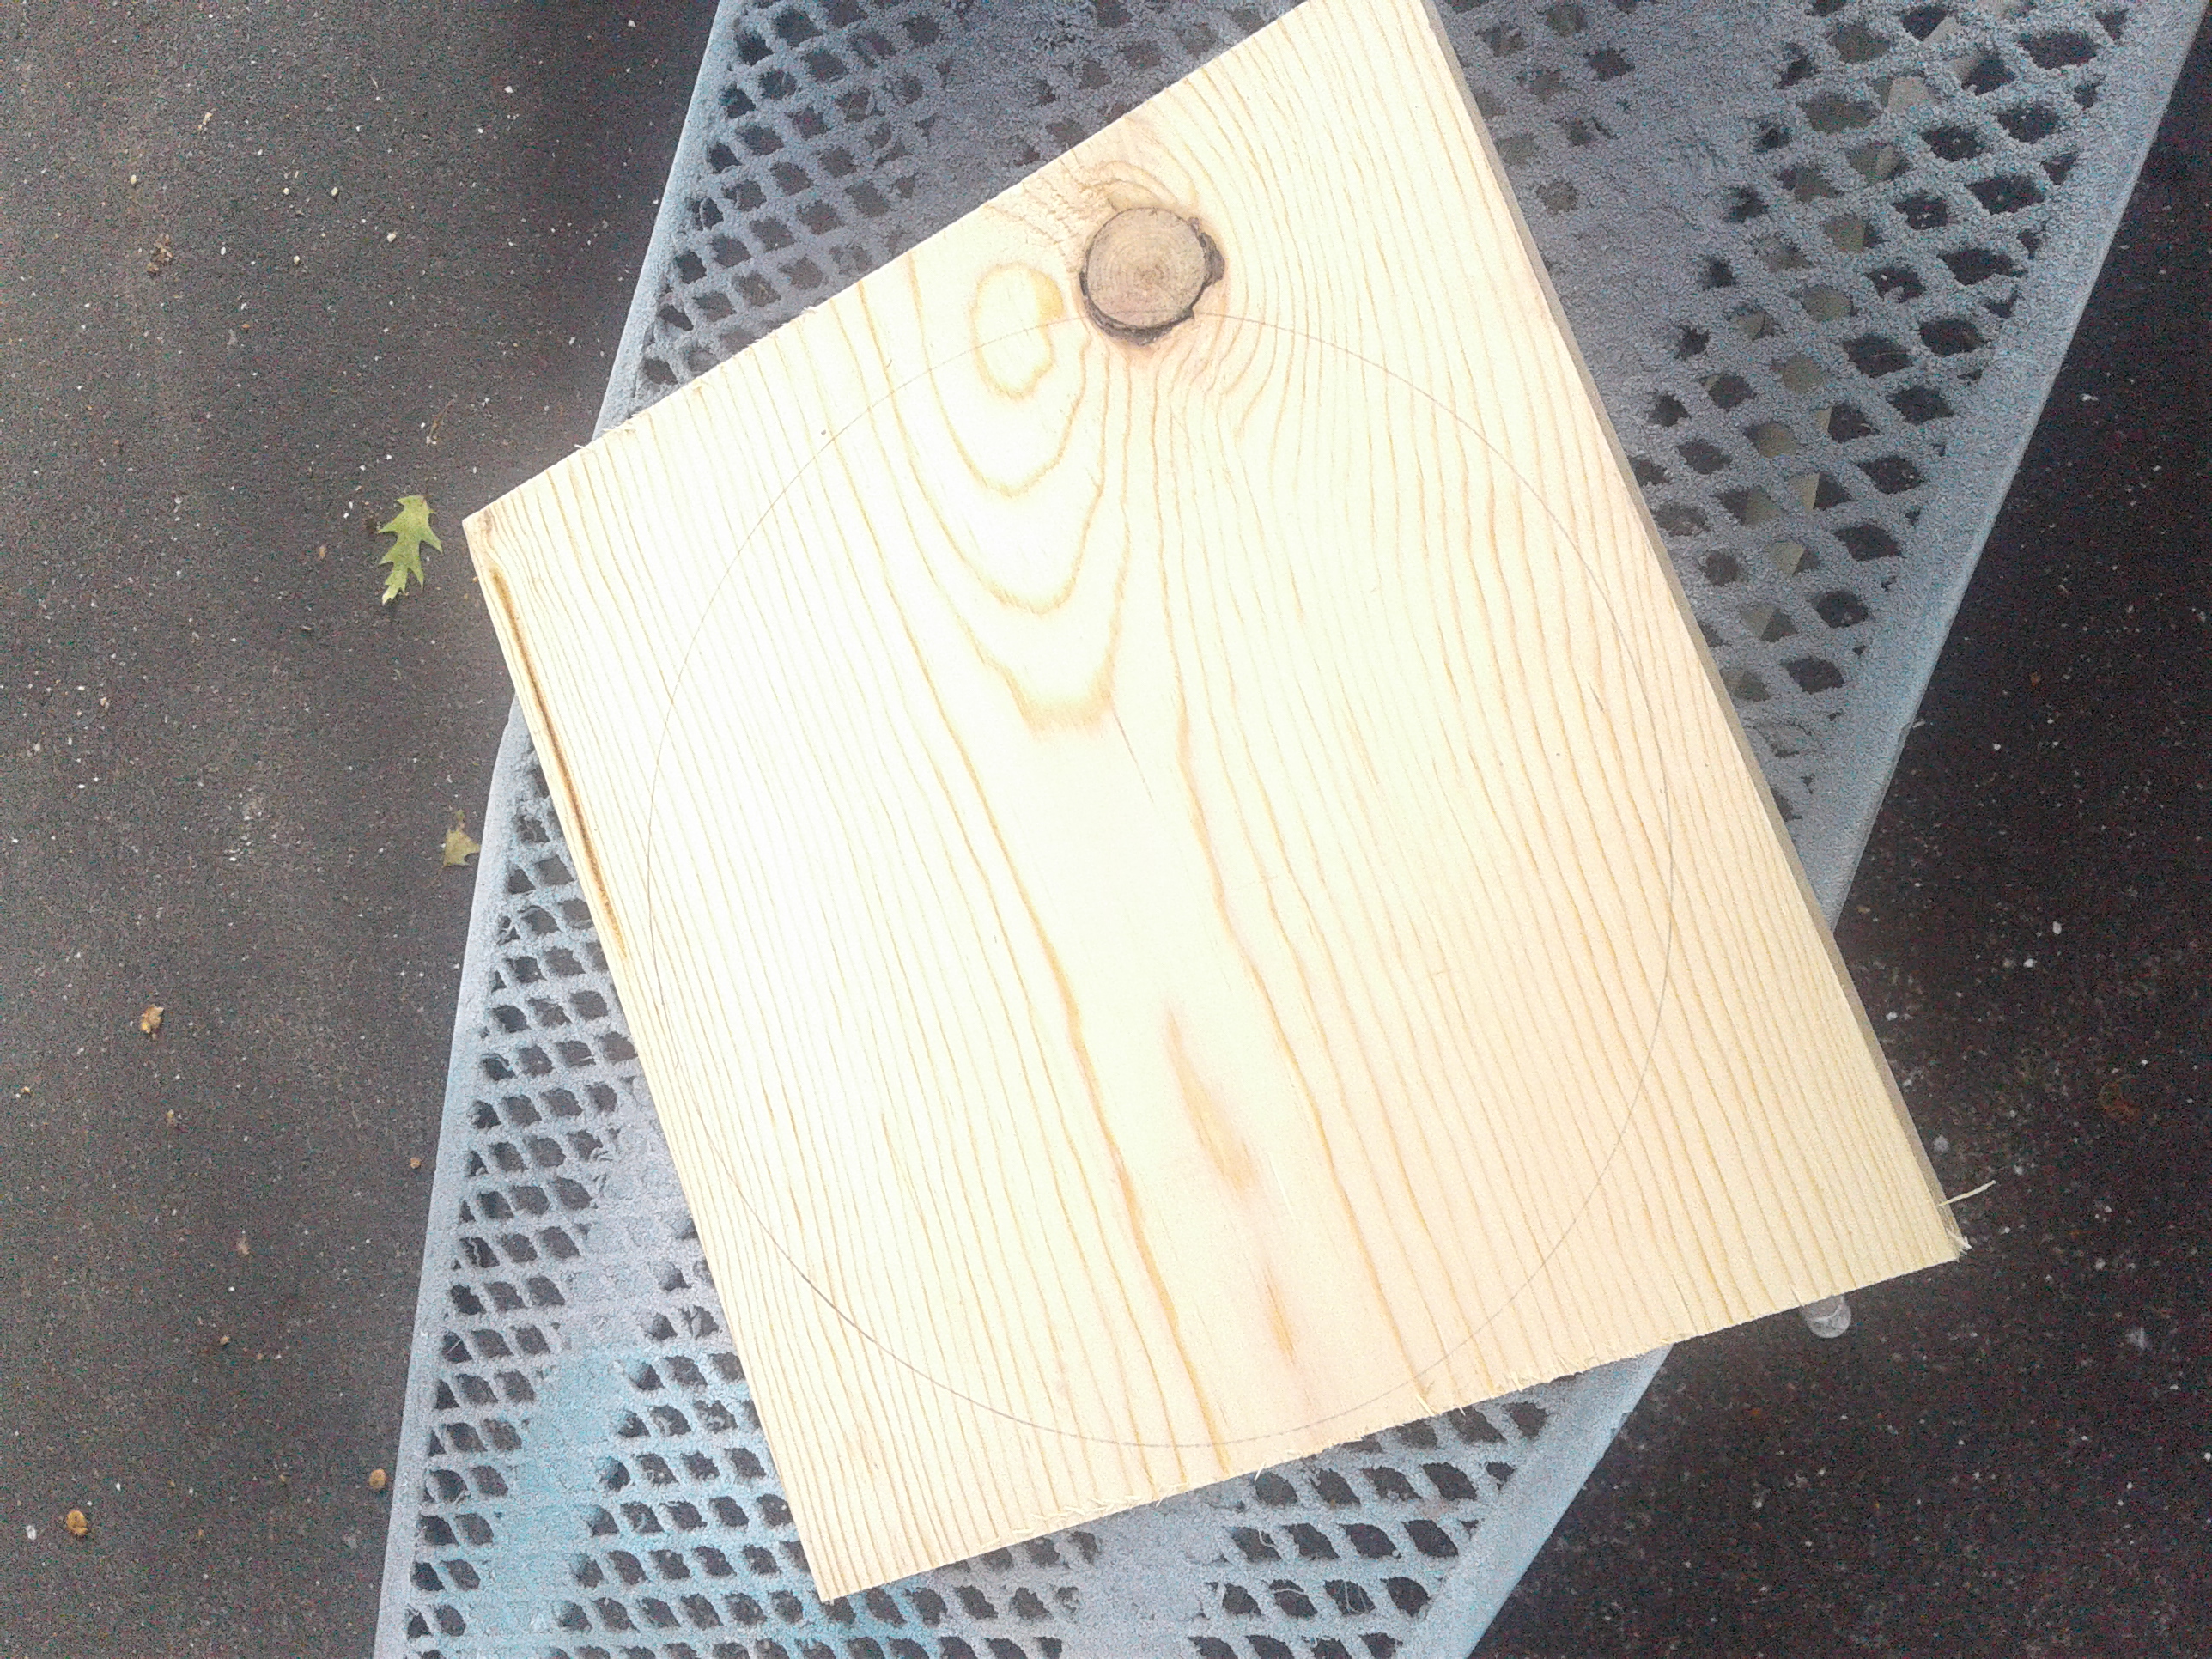
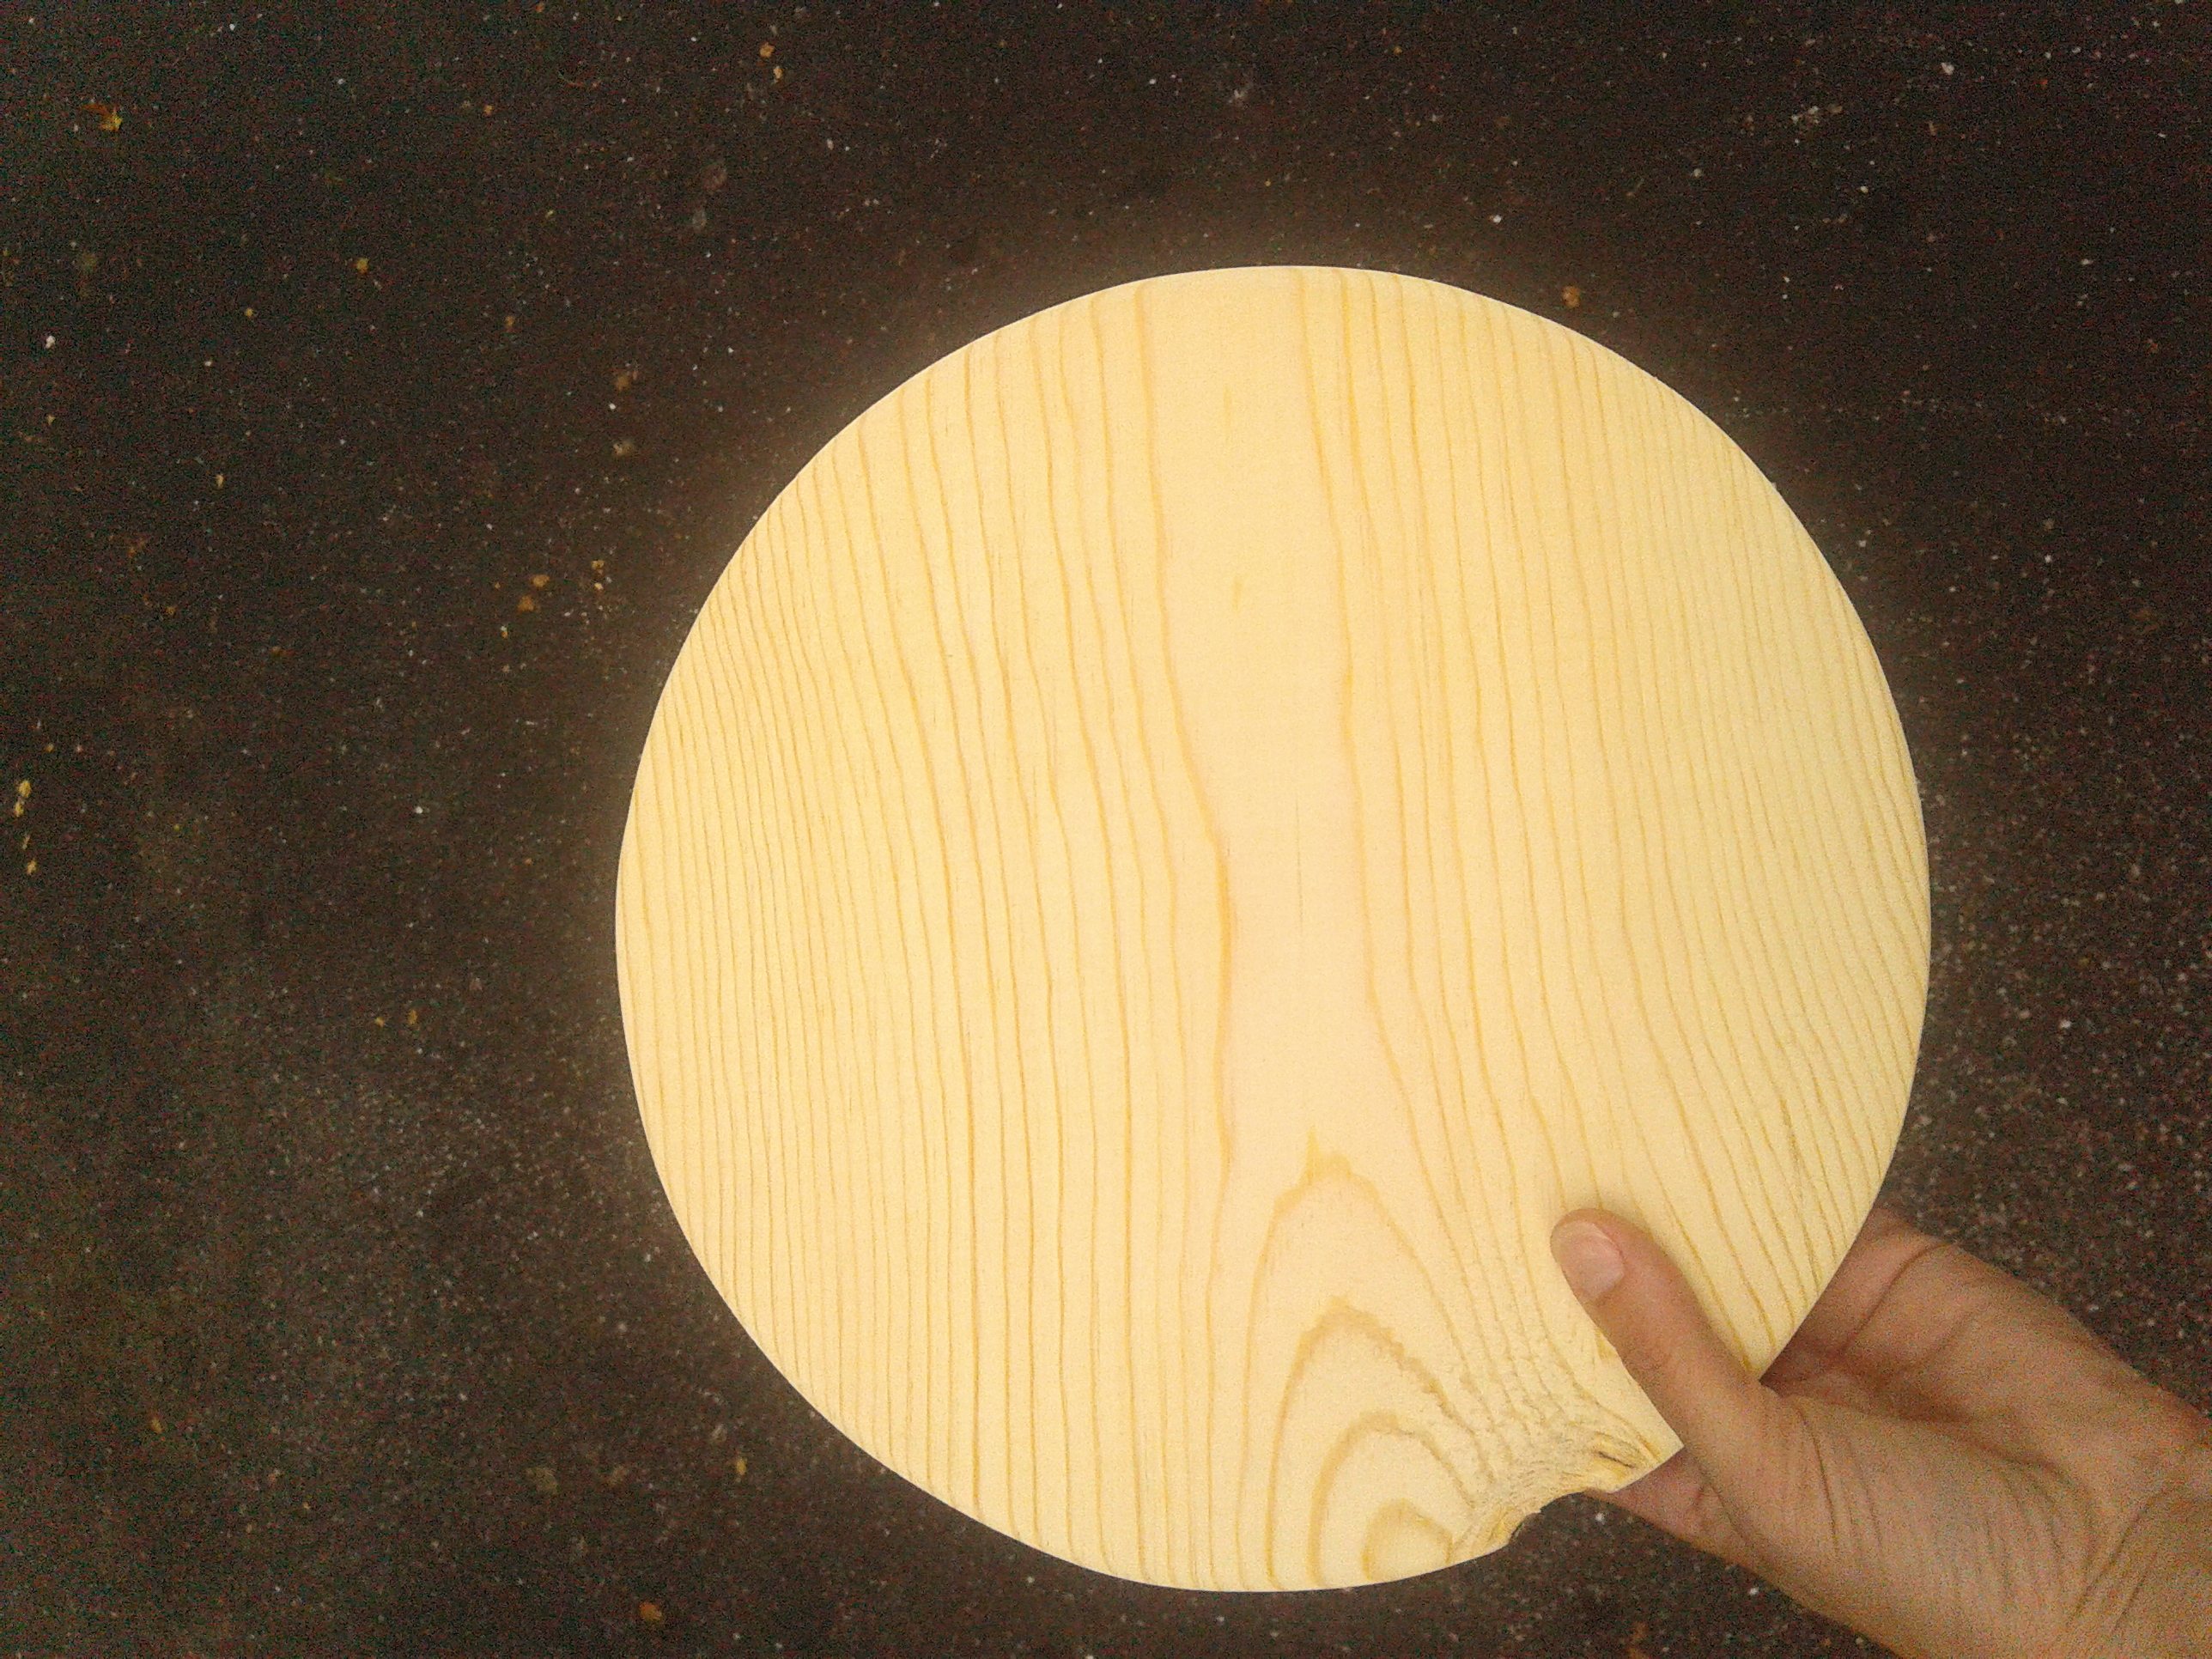
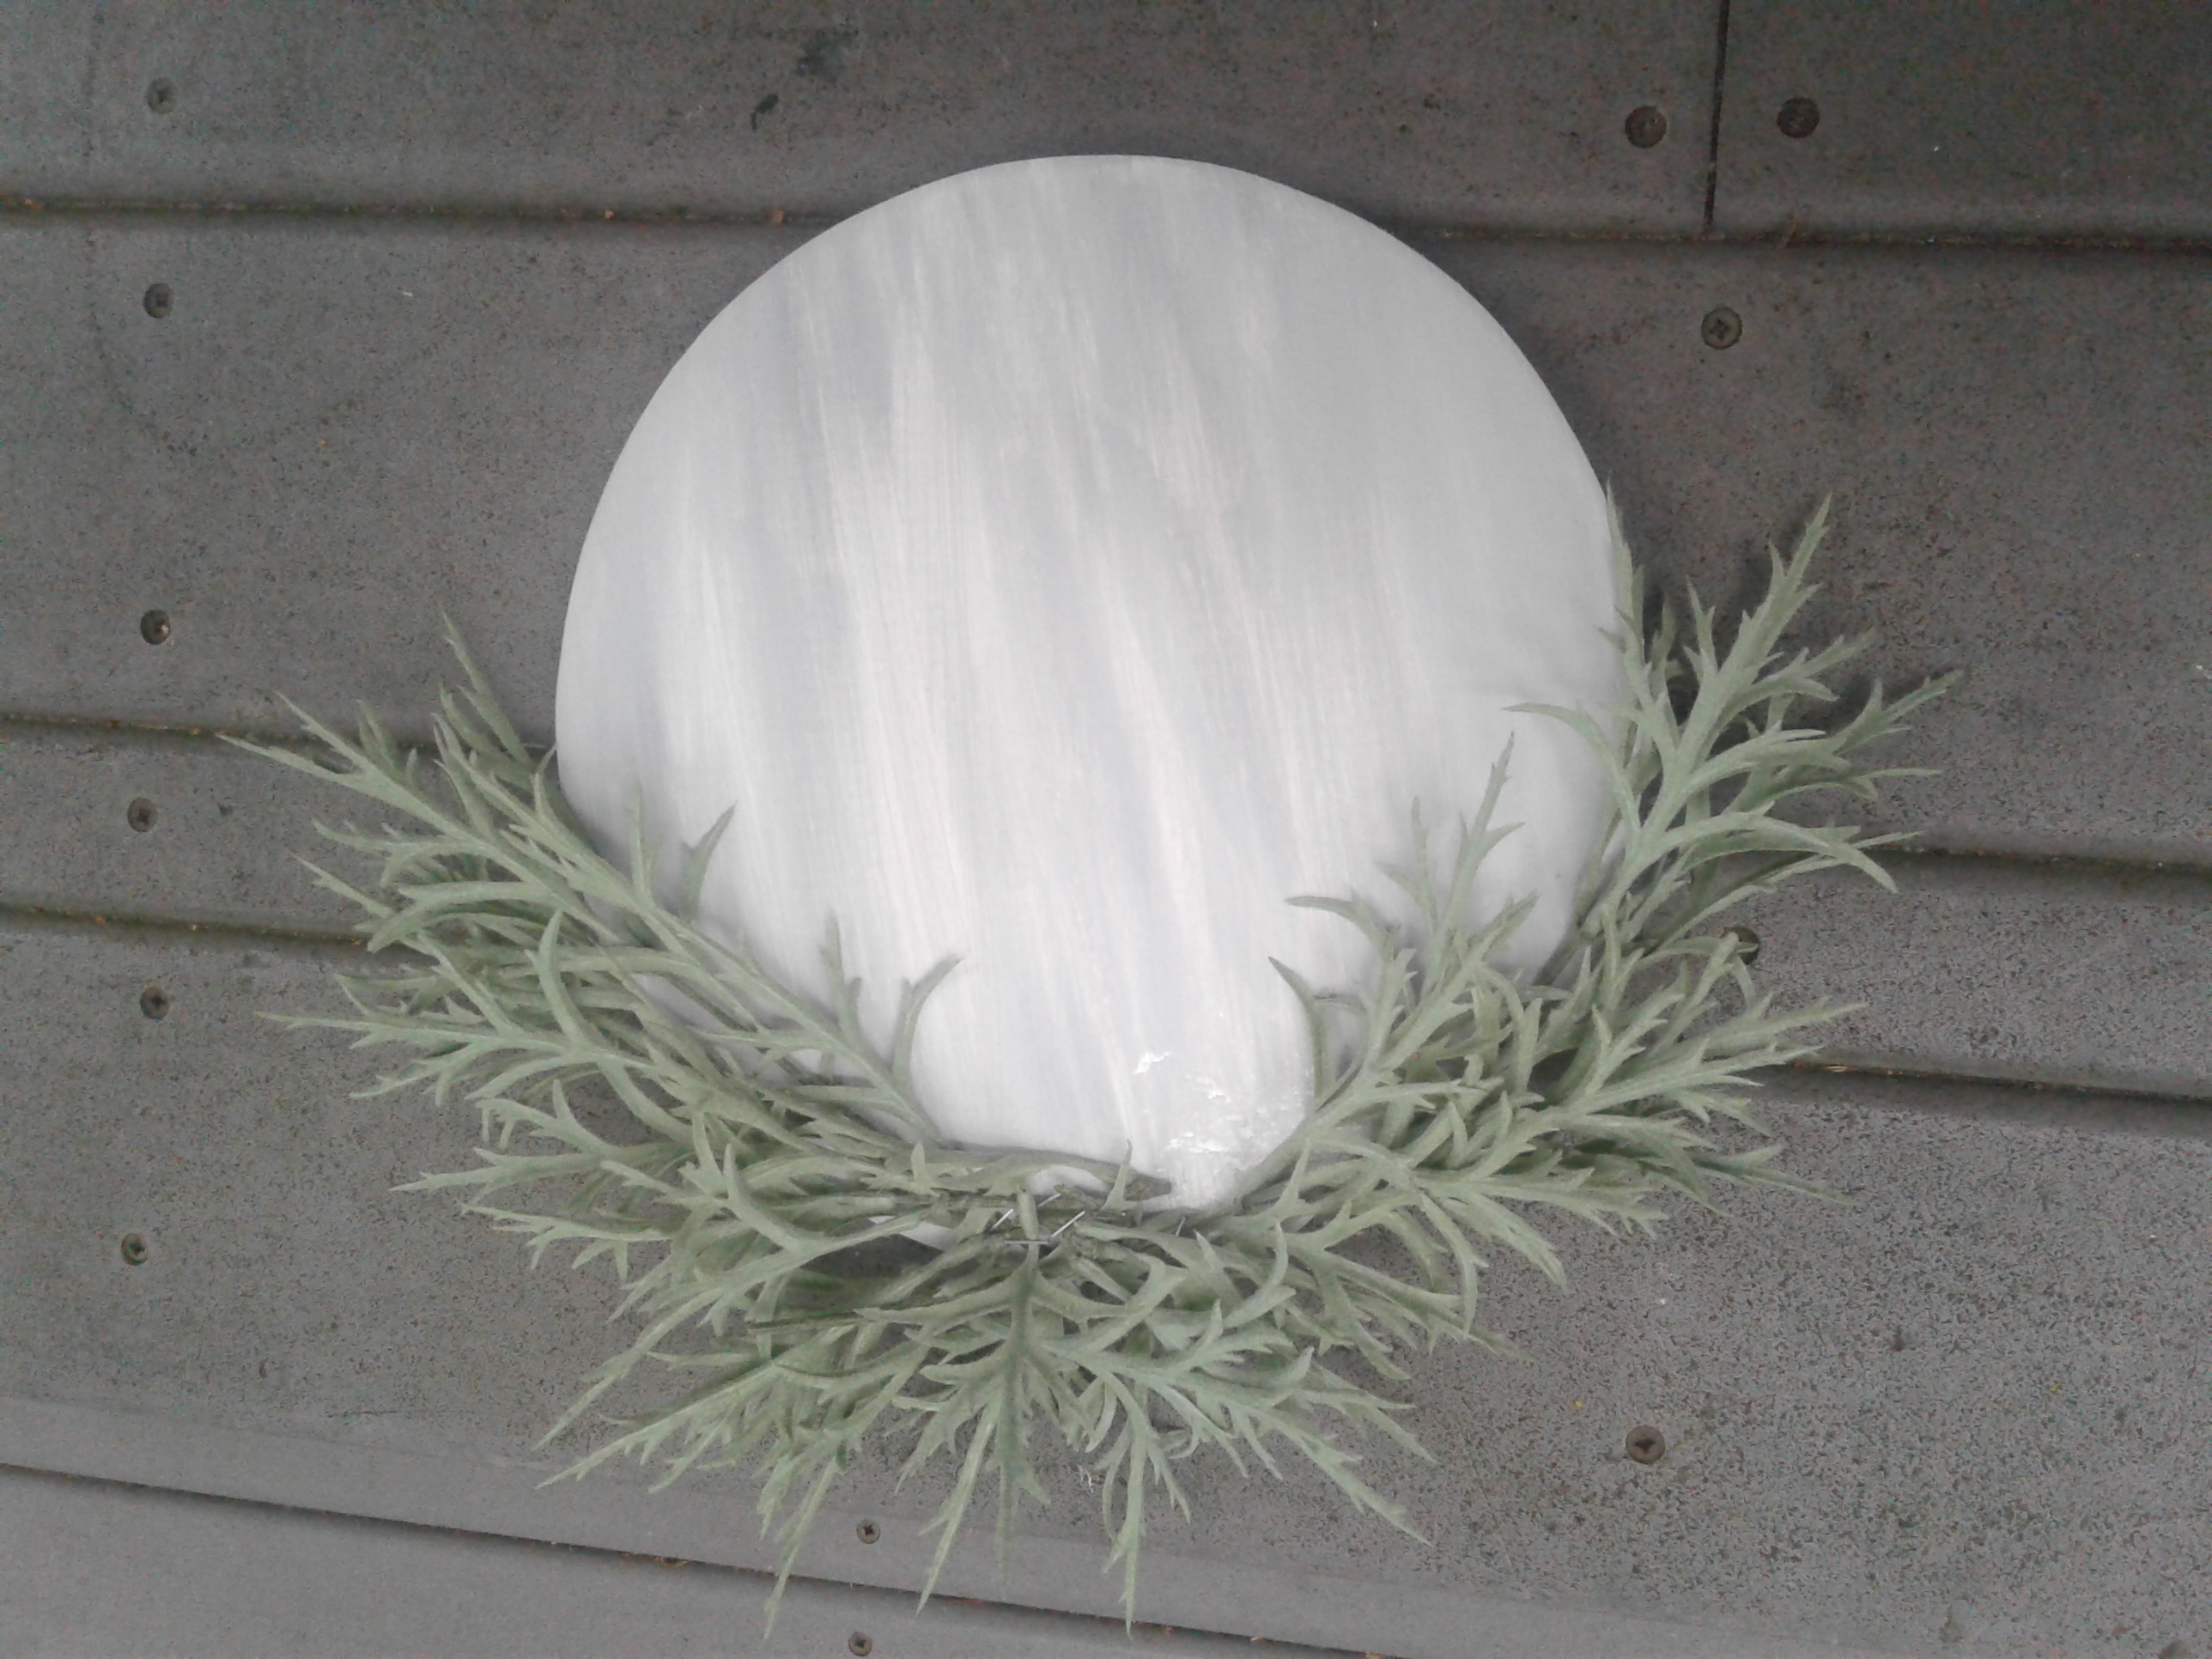
Start by finding a round bowl or object to trace a nice circle on your piece of wood. Mine circle is about 11" across. Once you have your circle traced on the wood, use your jig saw to cut it out. Then take out your sander or sand paper and smooth all both sides and the entire edge of your circle.
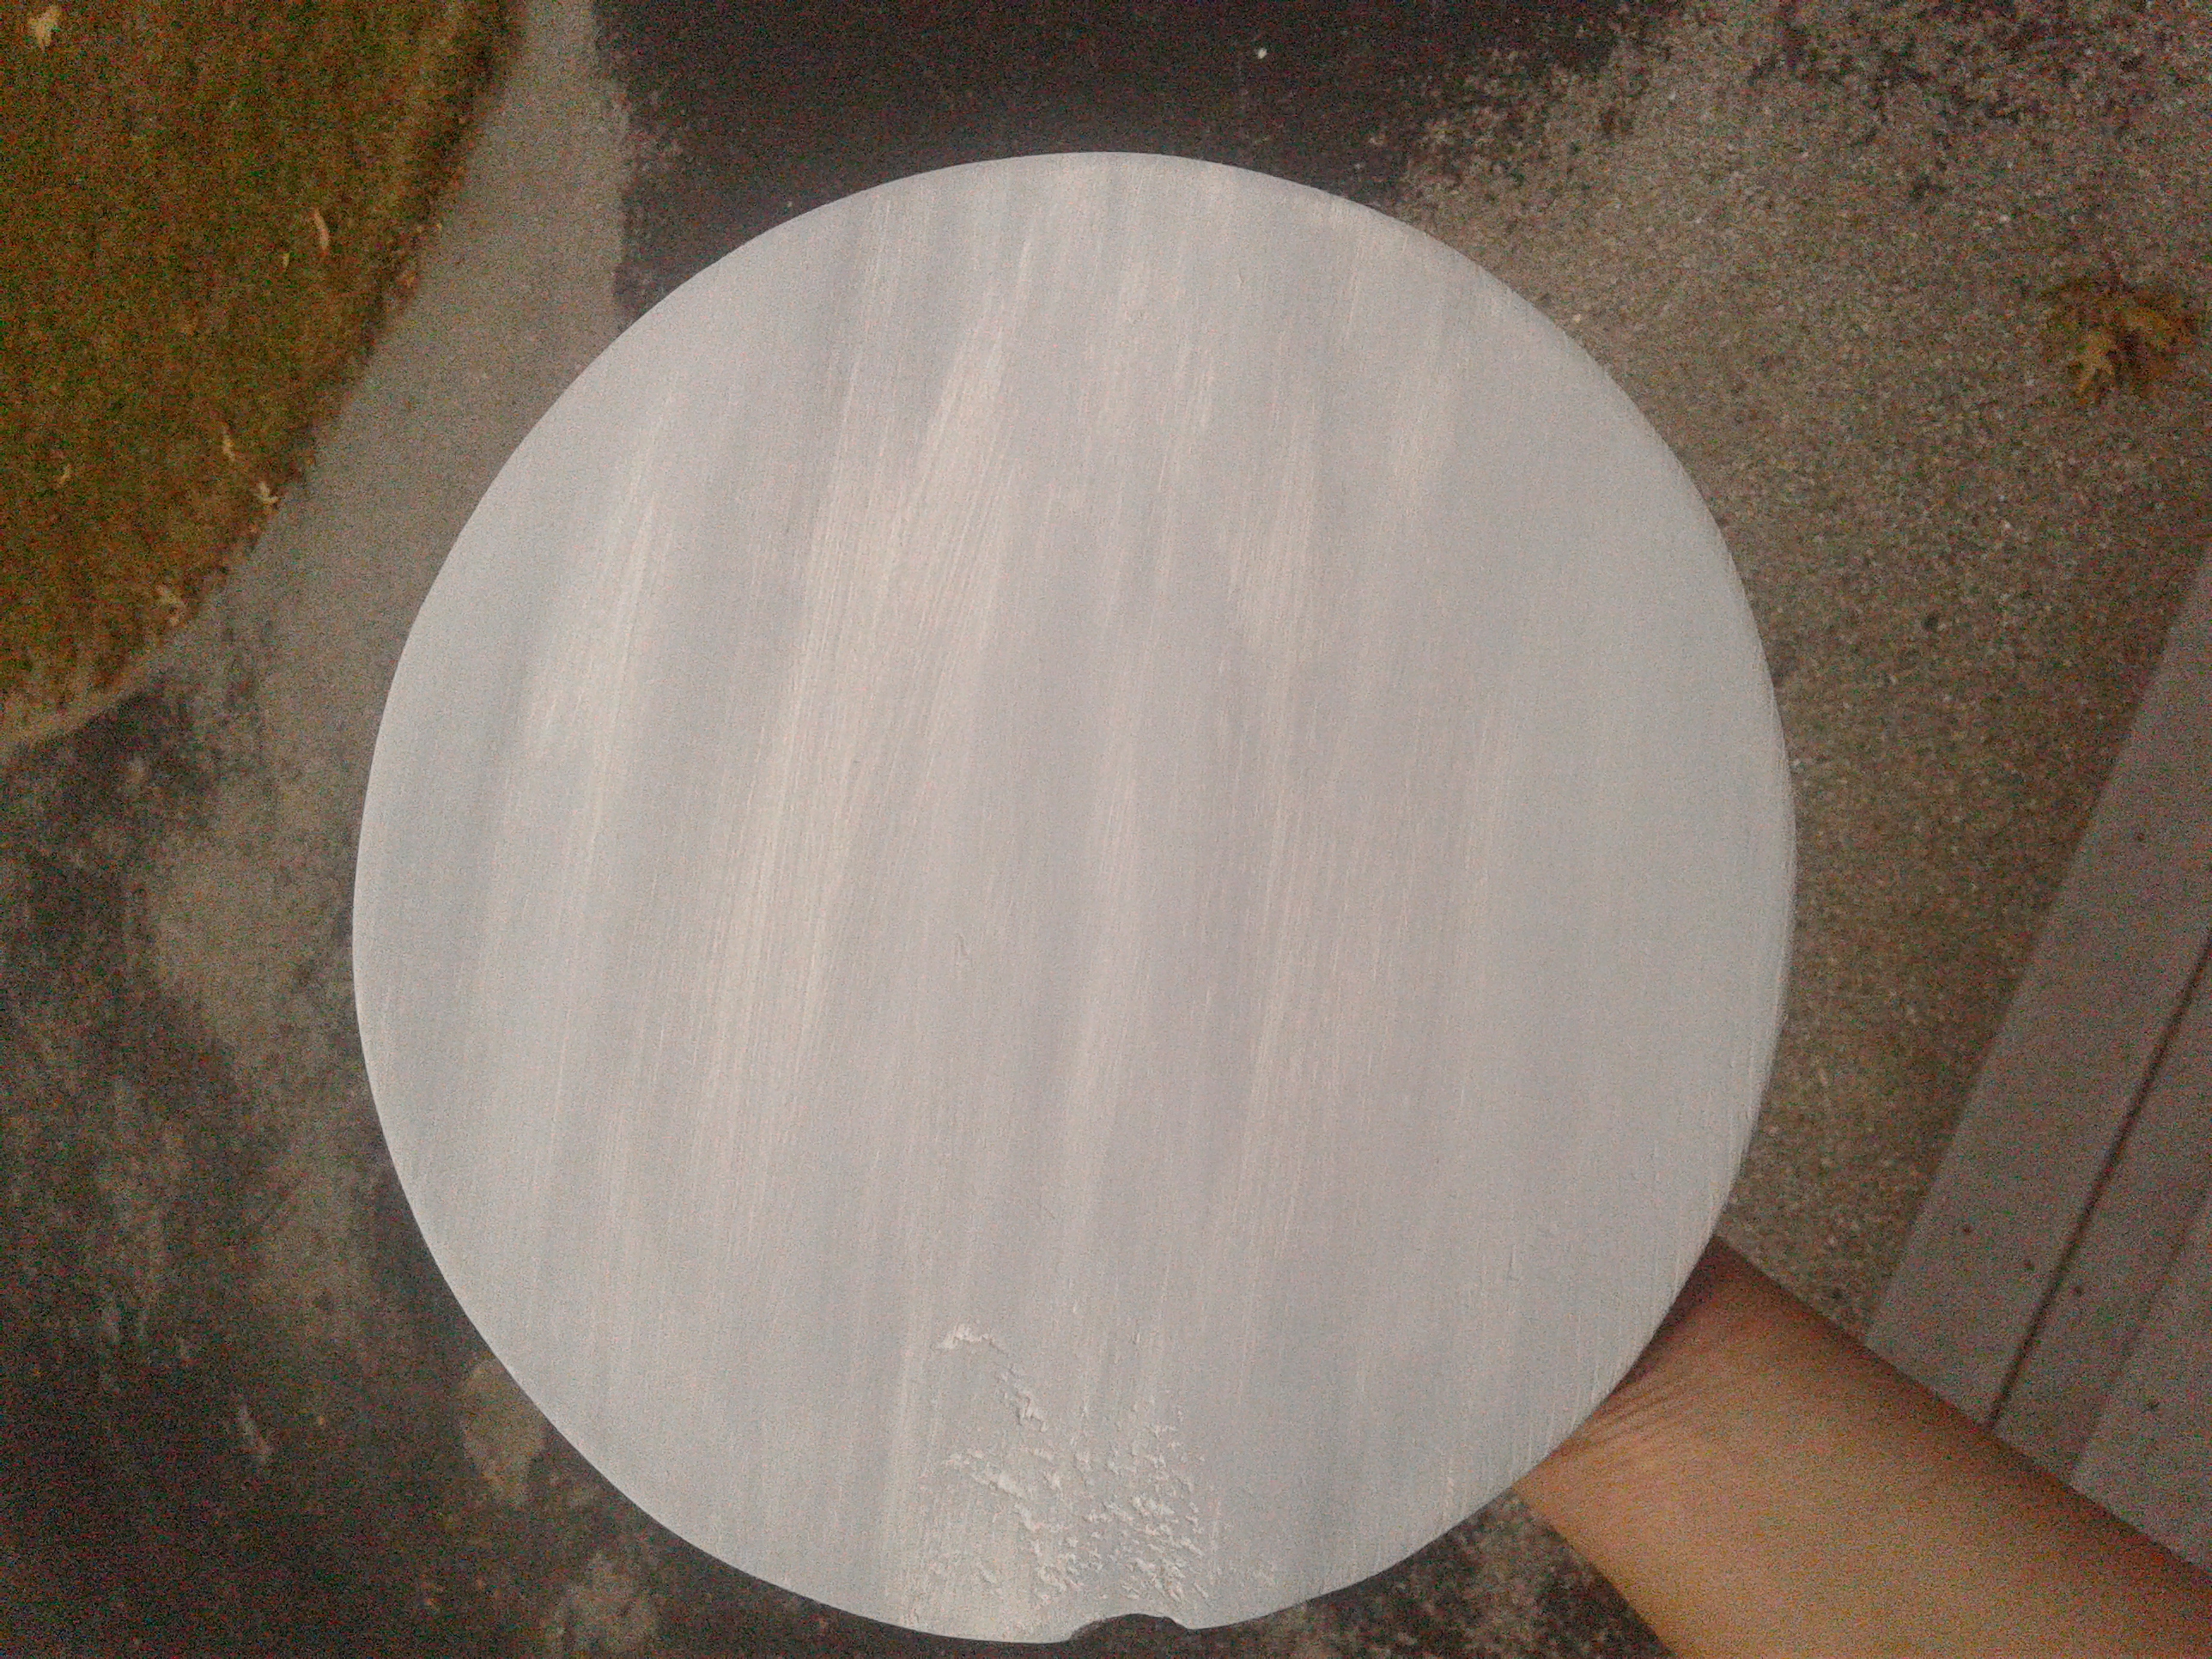
Then your circle is ready for some paint or stain. This time I decided to paint it, since I was in a hurry and wanted it to dry faster ;) I used some gray and white acrylic paint together to give it more of a blended and whitewashed look. Once you have yours painted, if you used some acrylic paint, make sure you spray a clear acrylic spray sealer over the paint to help protect it from the outdoor elements.
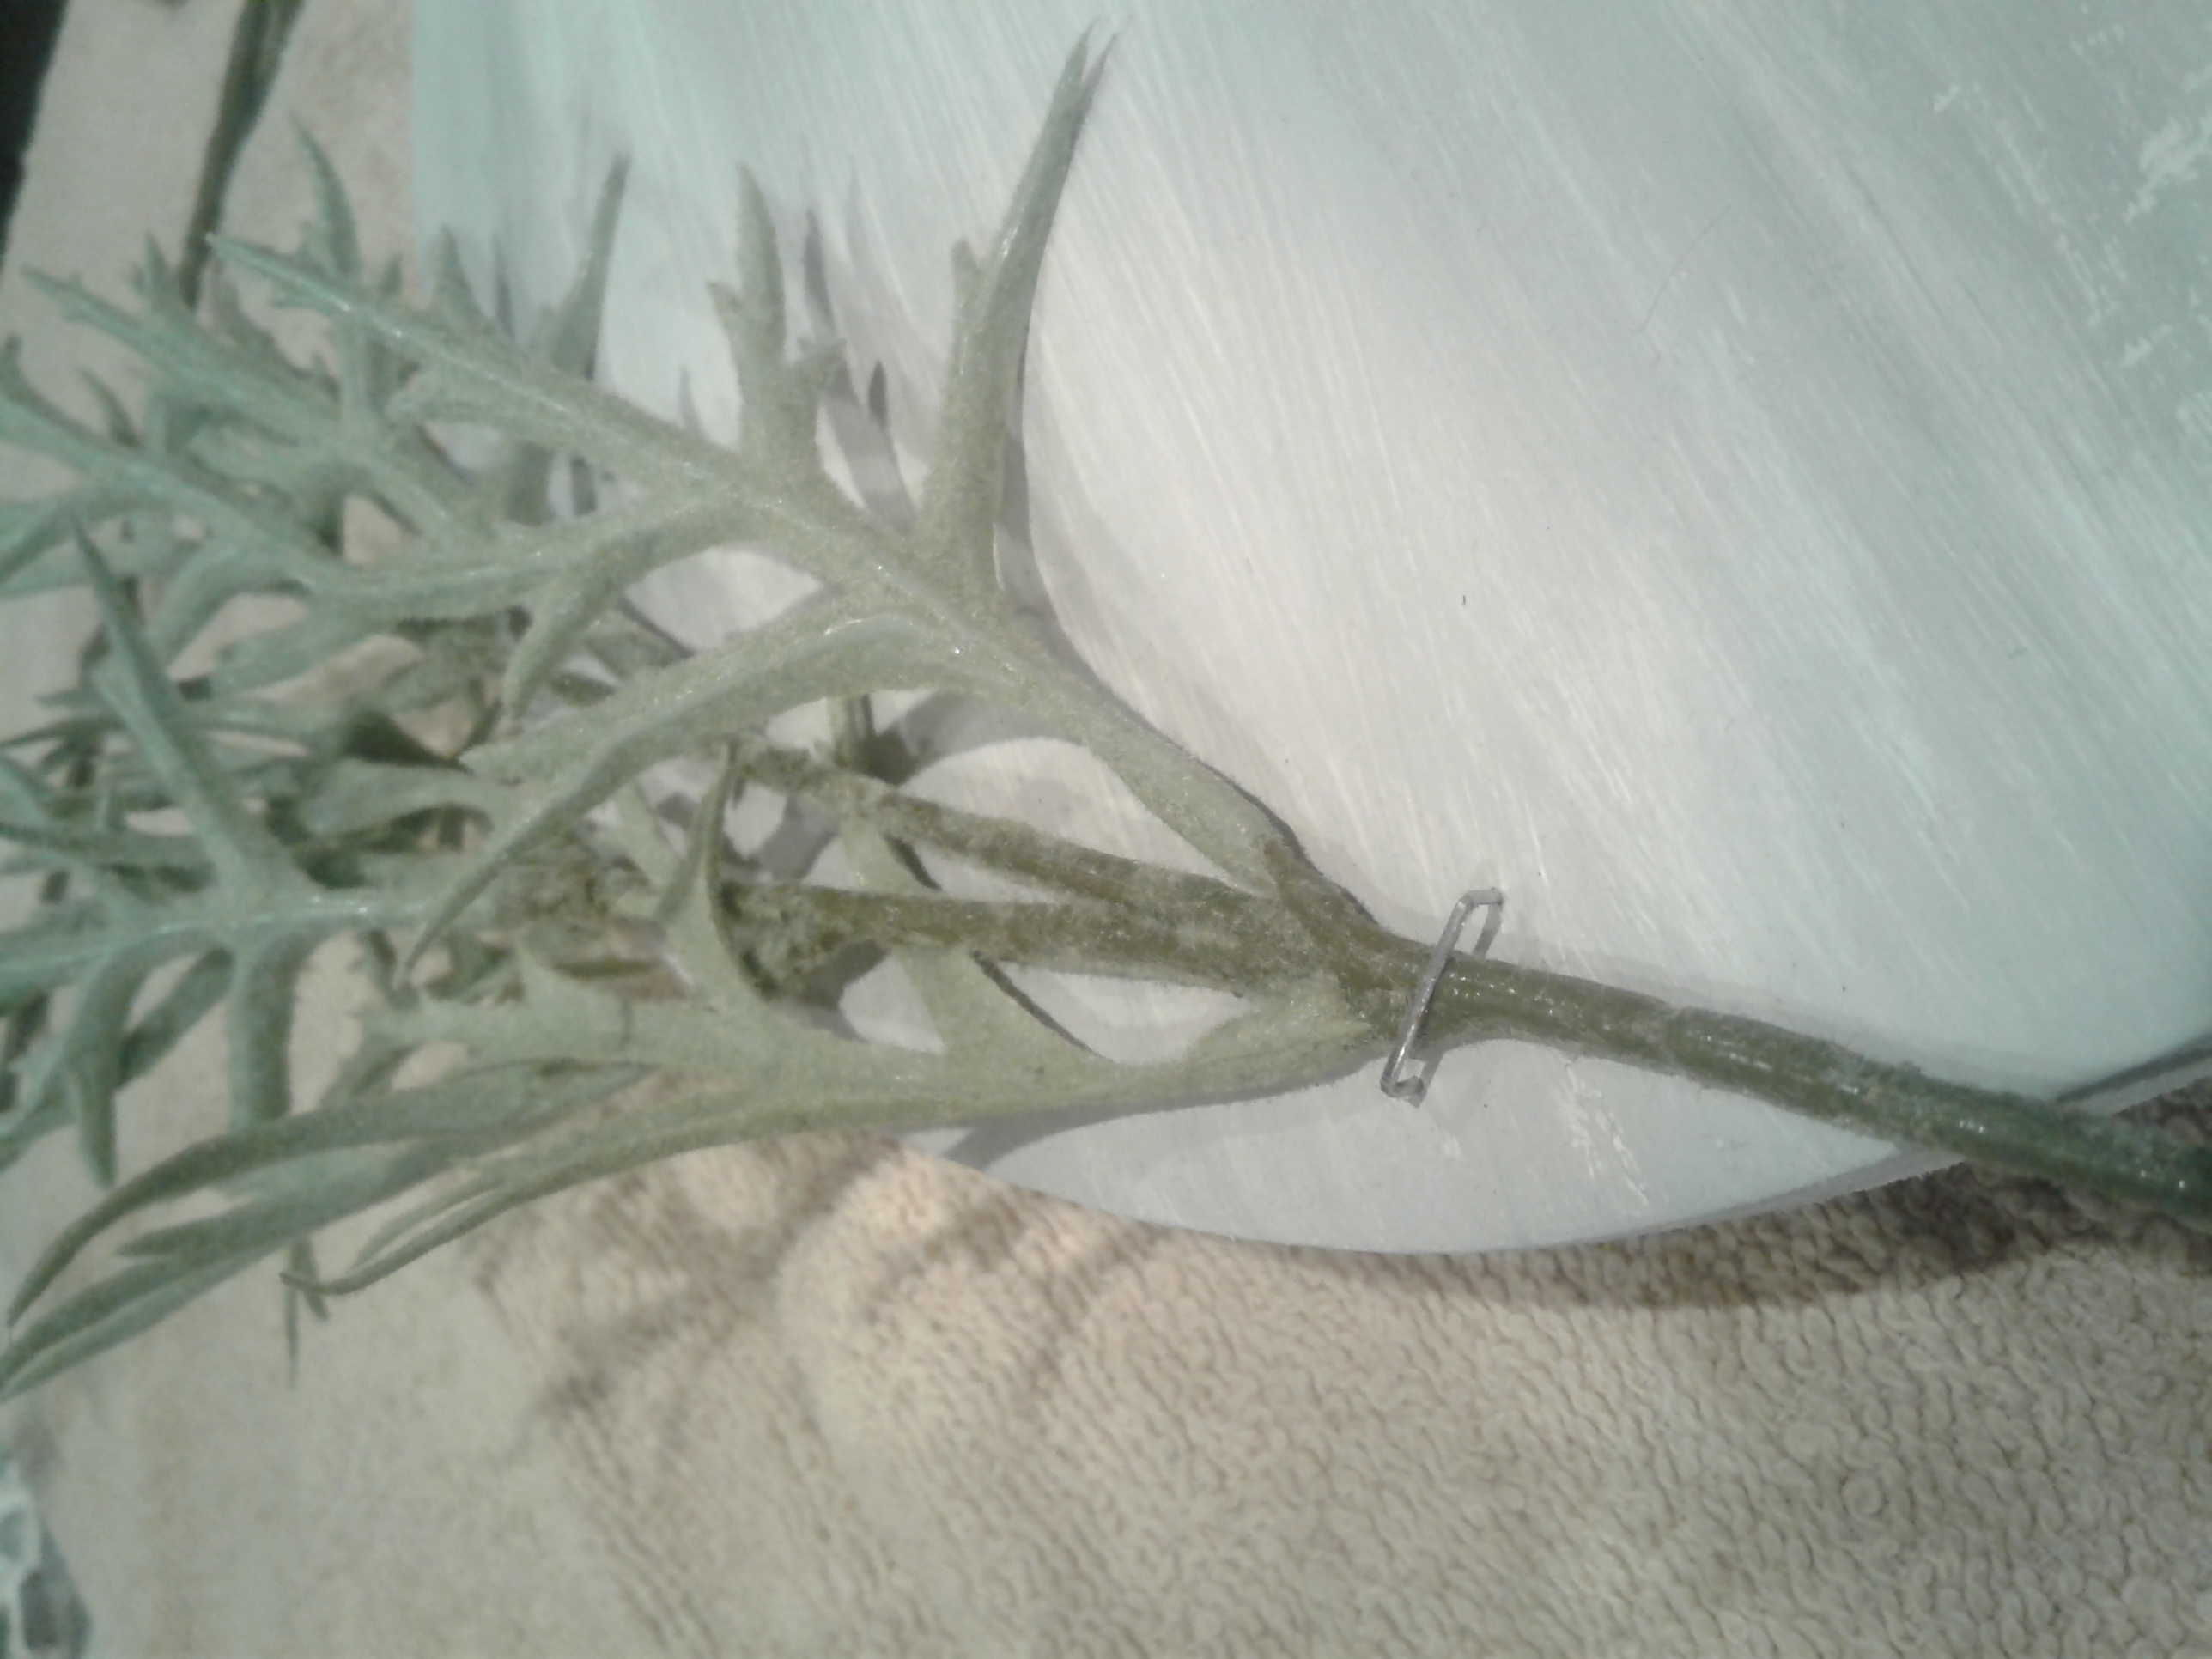
Then it's time to start attaching your greens to your wood. I cut down my greens into smaller sections and used my staple gun to secure them in place. Just keep laying them out how you like them and staple them into place.
Then I created a bow out of my burlap ribbon and stapled that into place and used my E6000 glue to glue my welcome sign into place.
Once my sign was dried, I stapled my hanging twine into place on the back of the sign and hung it up on my front door!

do it yourself
CrazyDIYmom.com Contact Us Privacy Policy Disclaimer About me