
DIY home projects
This post may contain affiliate links.
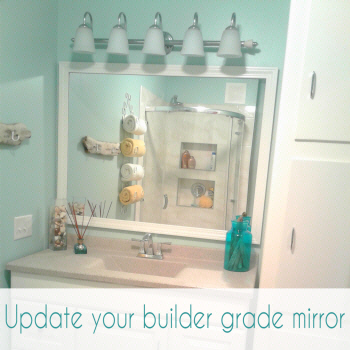
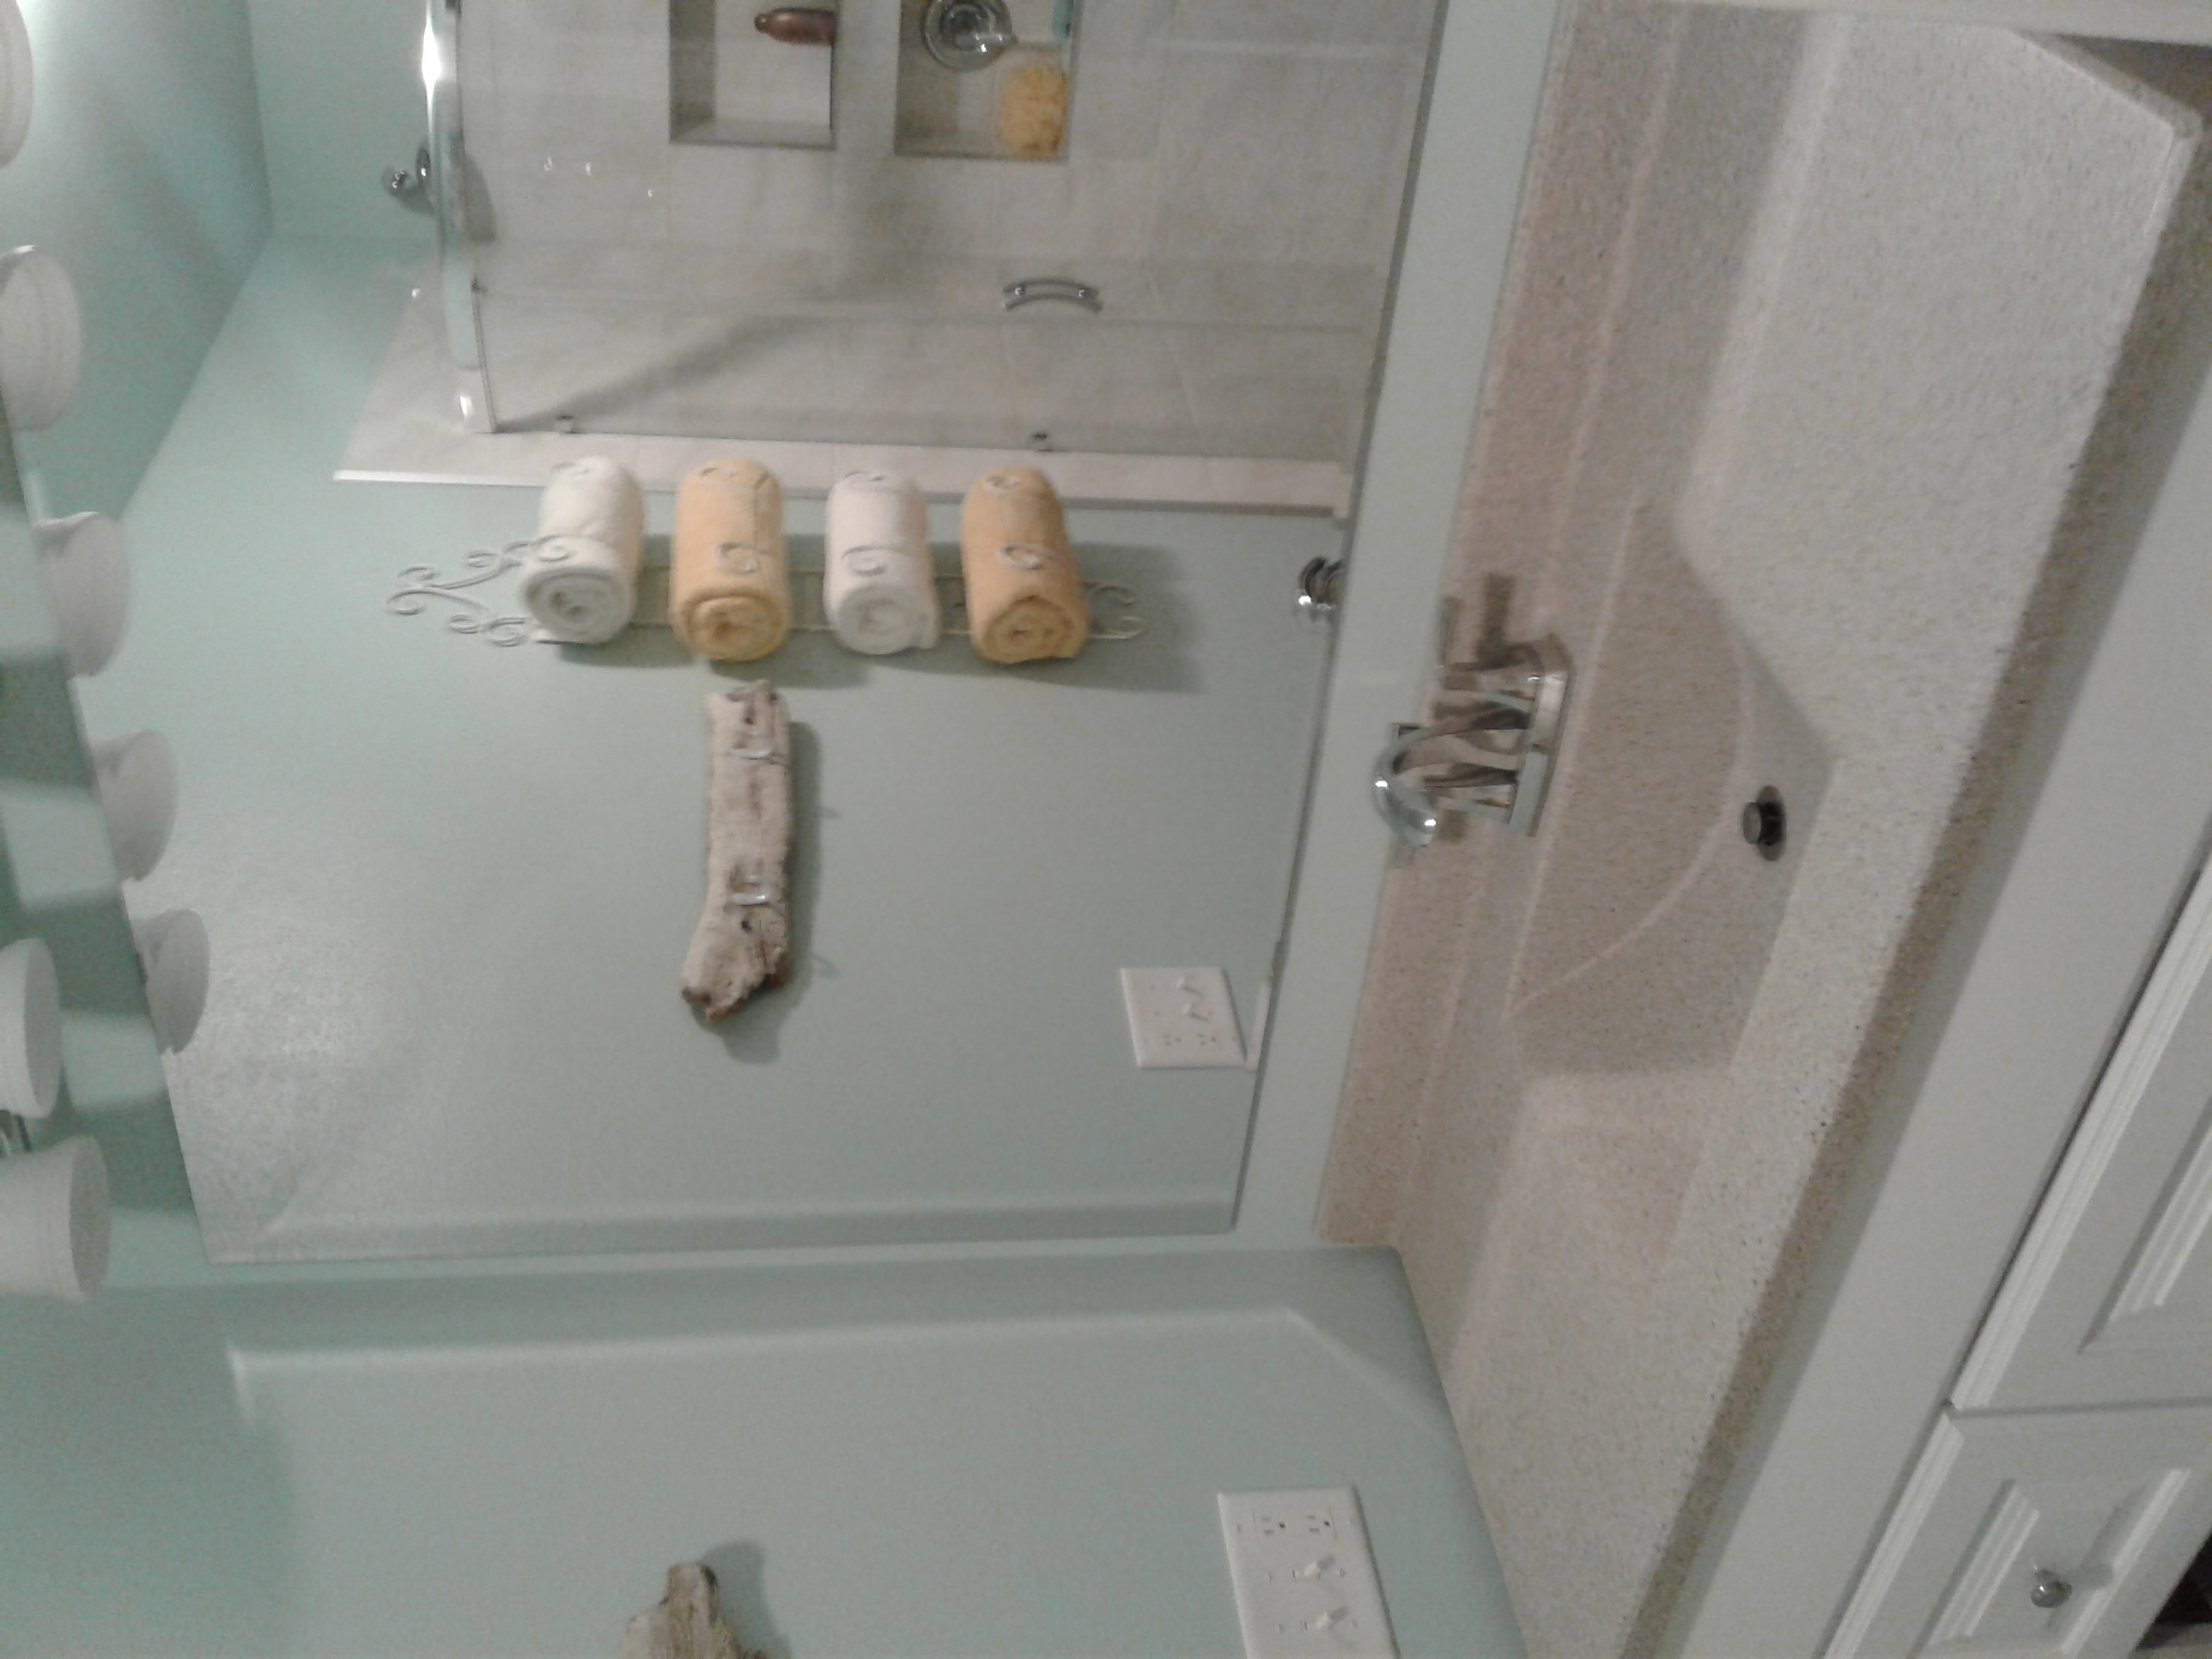
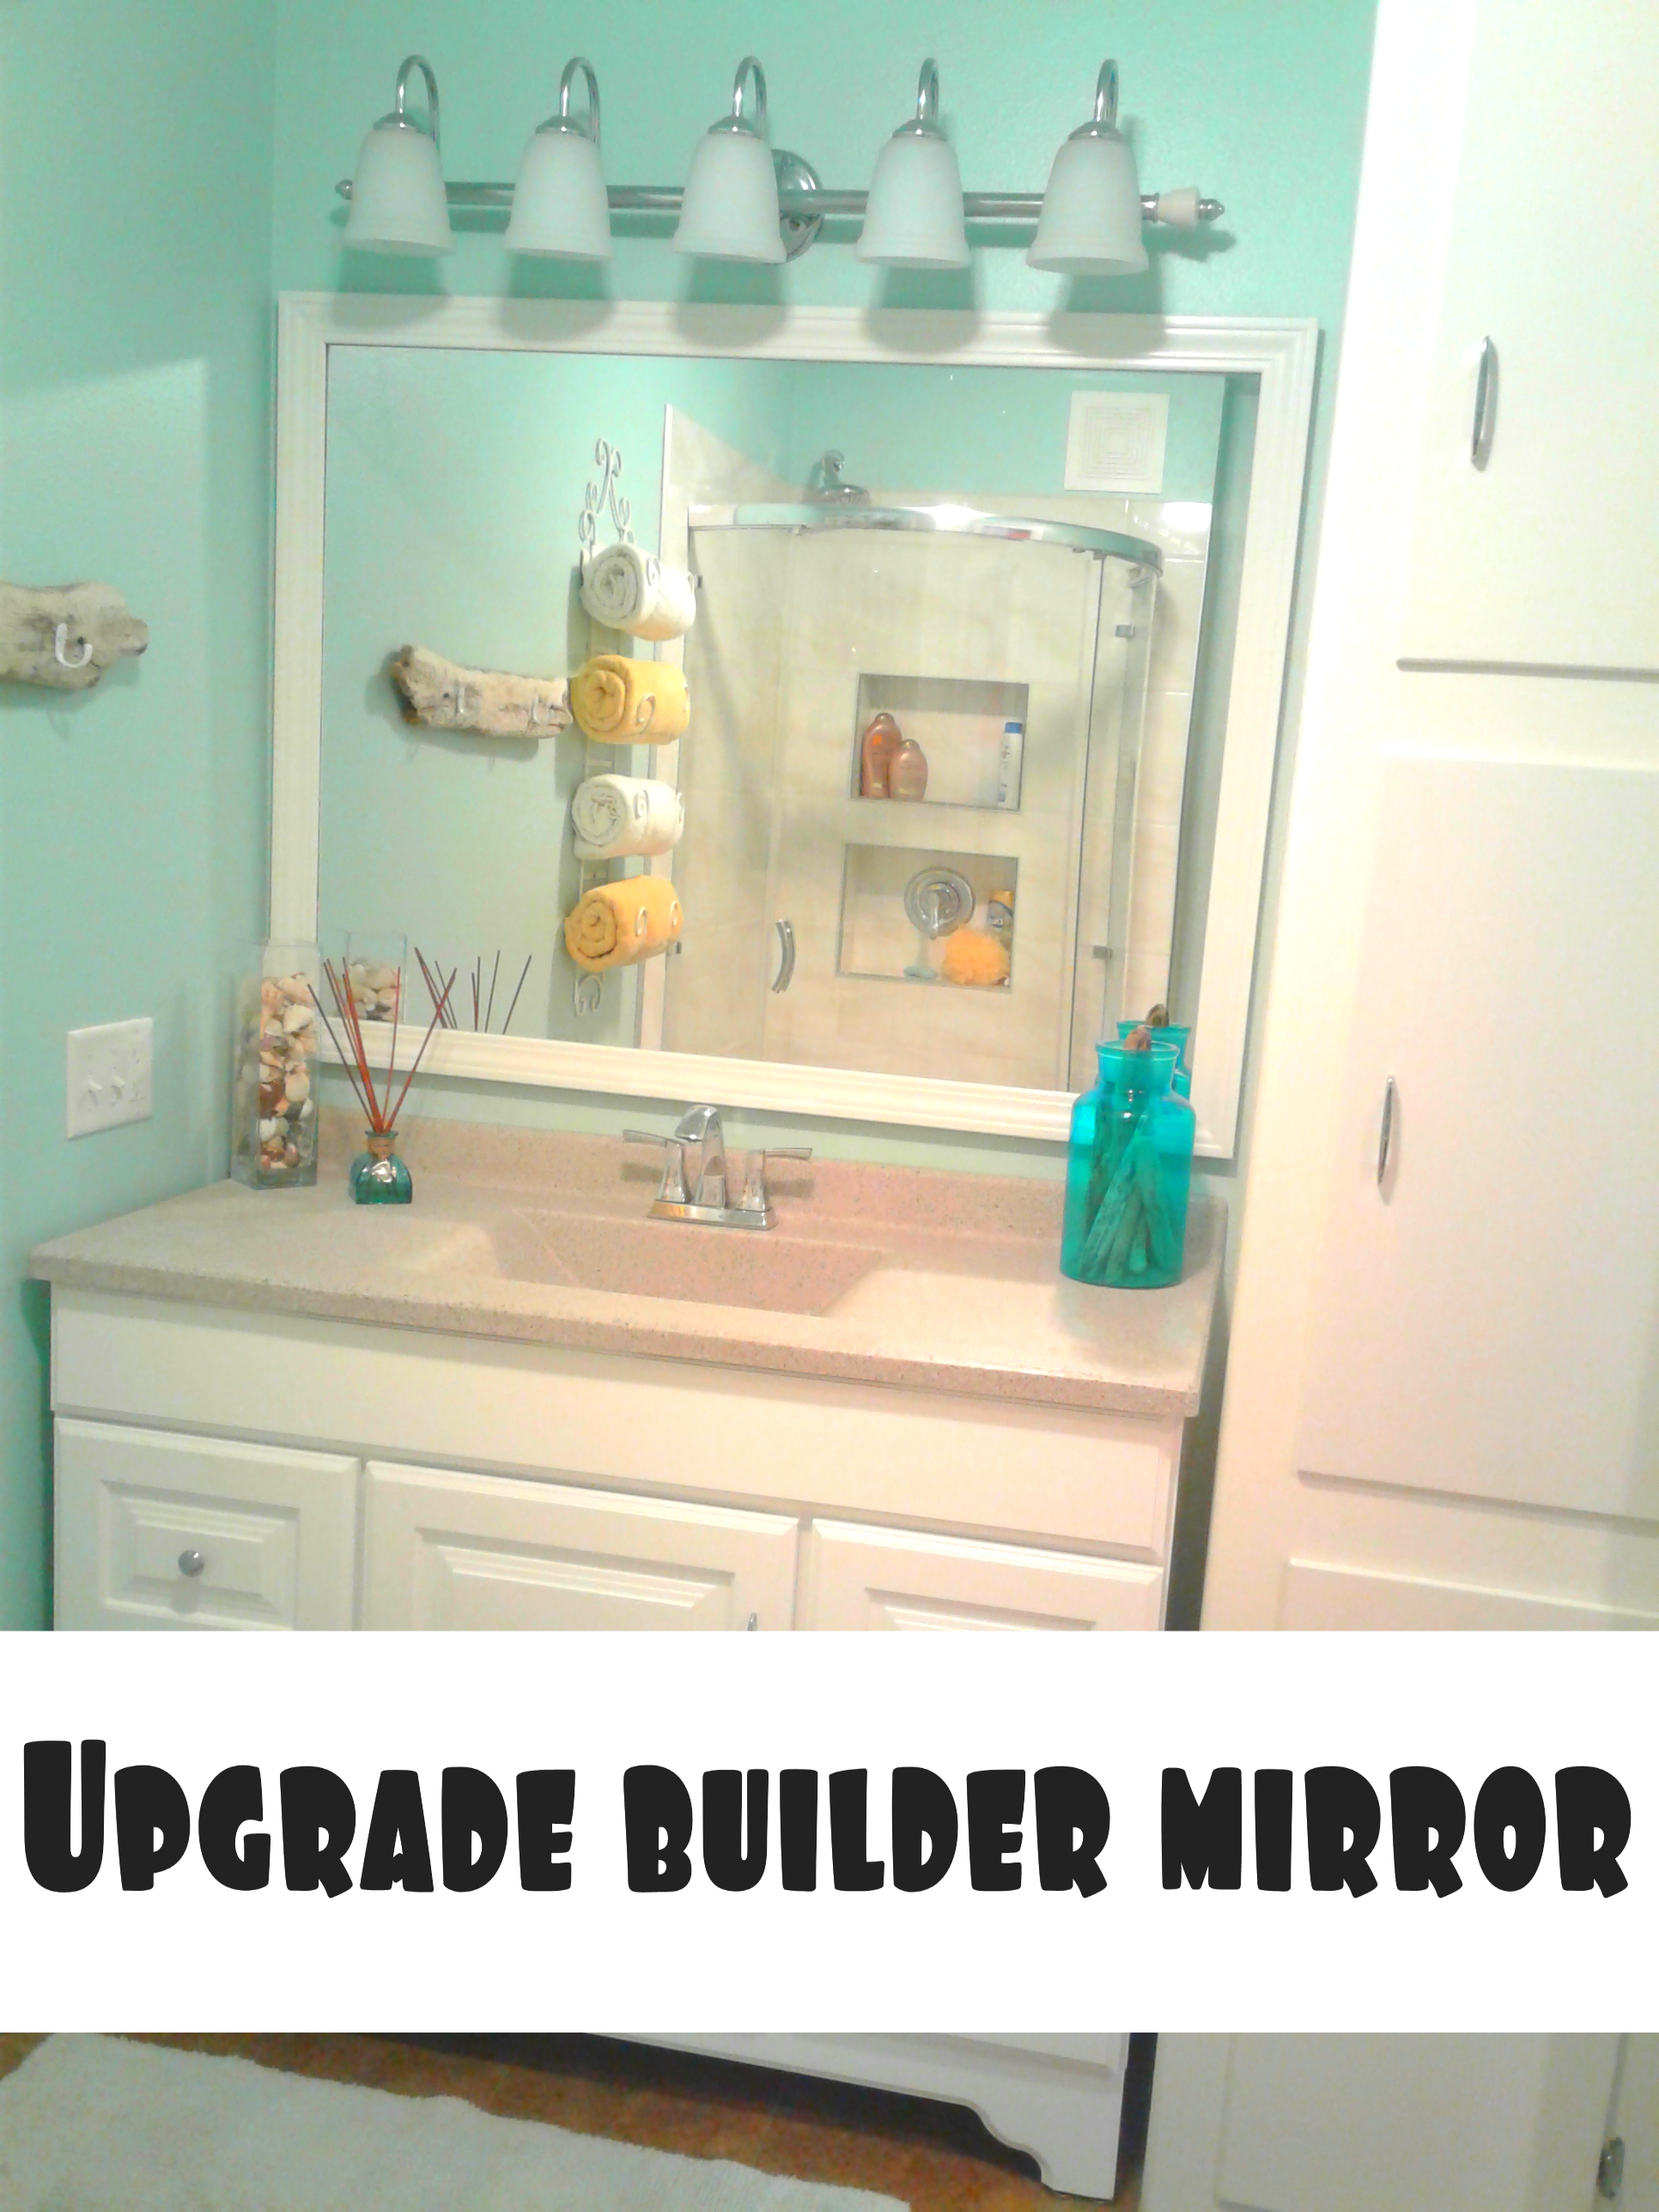
When we remodeled our bathroom we put up a large typical builder grade mirror. We had a large open area for the mirror and since the bathroom was smaller we wanted a large mirror to make it appear larger.
But after a few months I wanted to give it a more updated look by replacing the mirror. But mirrors can be expensive!
So we decided to upgrade the current mirror by adding a frame around it. And it was much easier than I thought!
What you'll need:
chop saw or cut off saw
wood casing or trim in your choice of design
liquid nails
painters tape
caulking gun
utility knife
tape measure
spackling
paint
Start by taking measurements of your mirror. I added an extra 1/2" on to the total height and width lengths of each piece because I wanted my mirror to fit closer to the size of my bathroom vanity.
Once you have your measurements taken you are ready to cut your casing pieces.
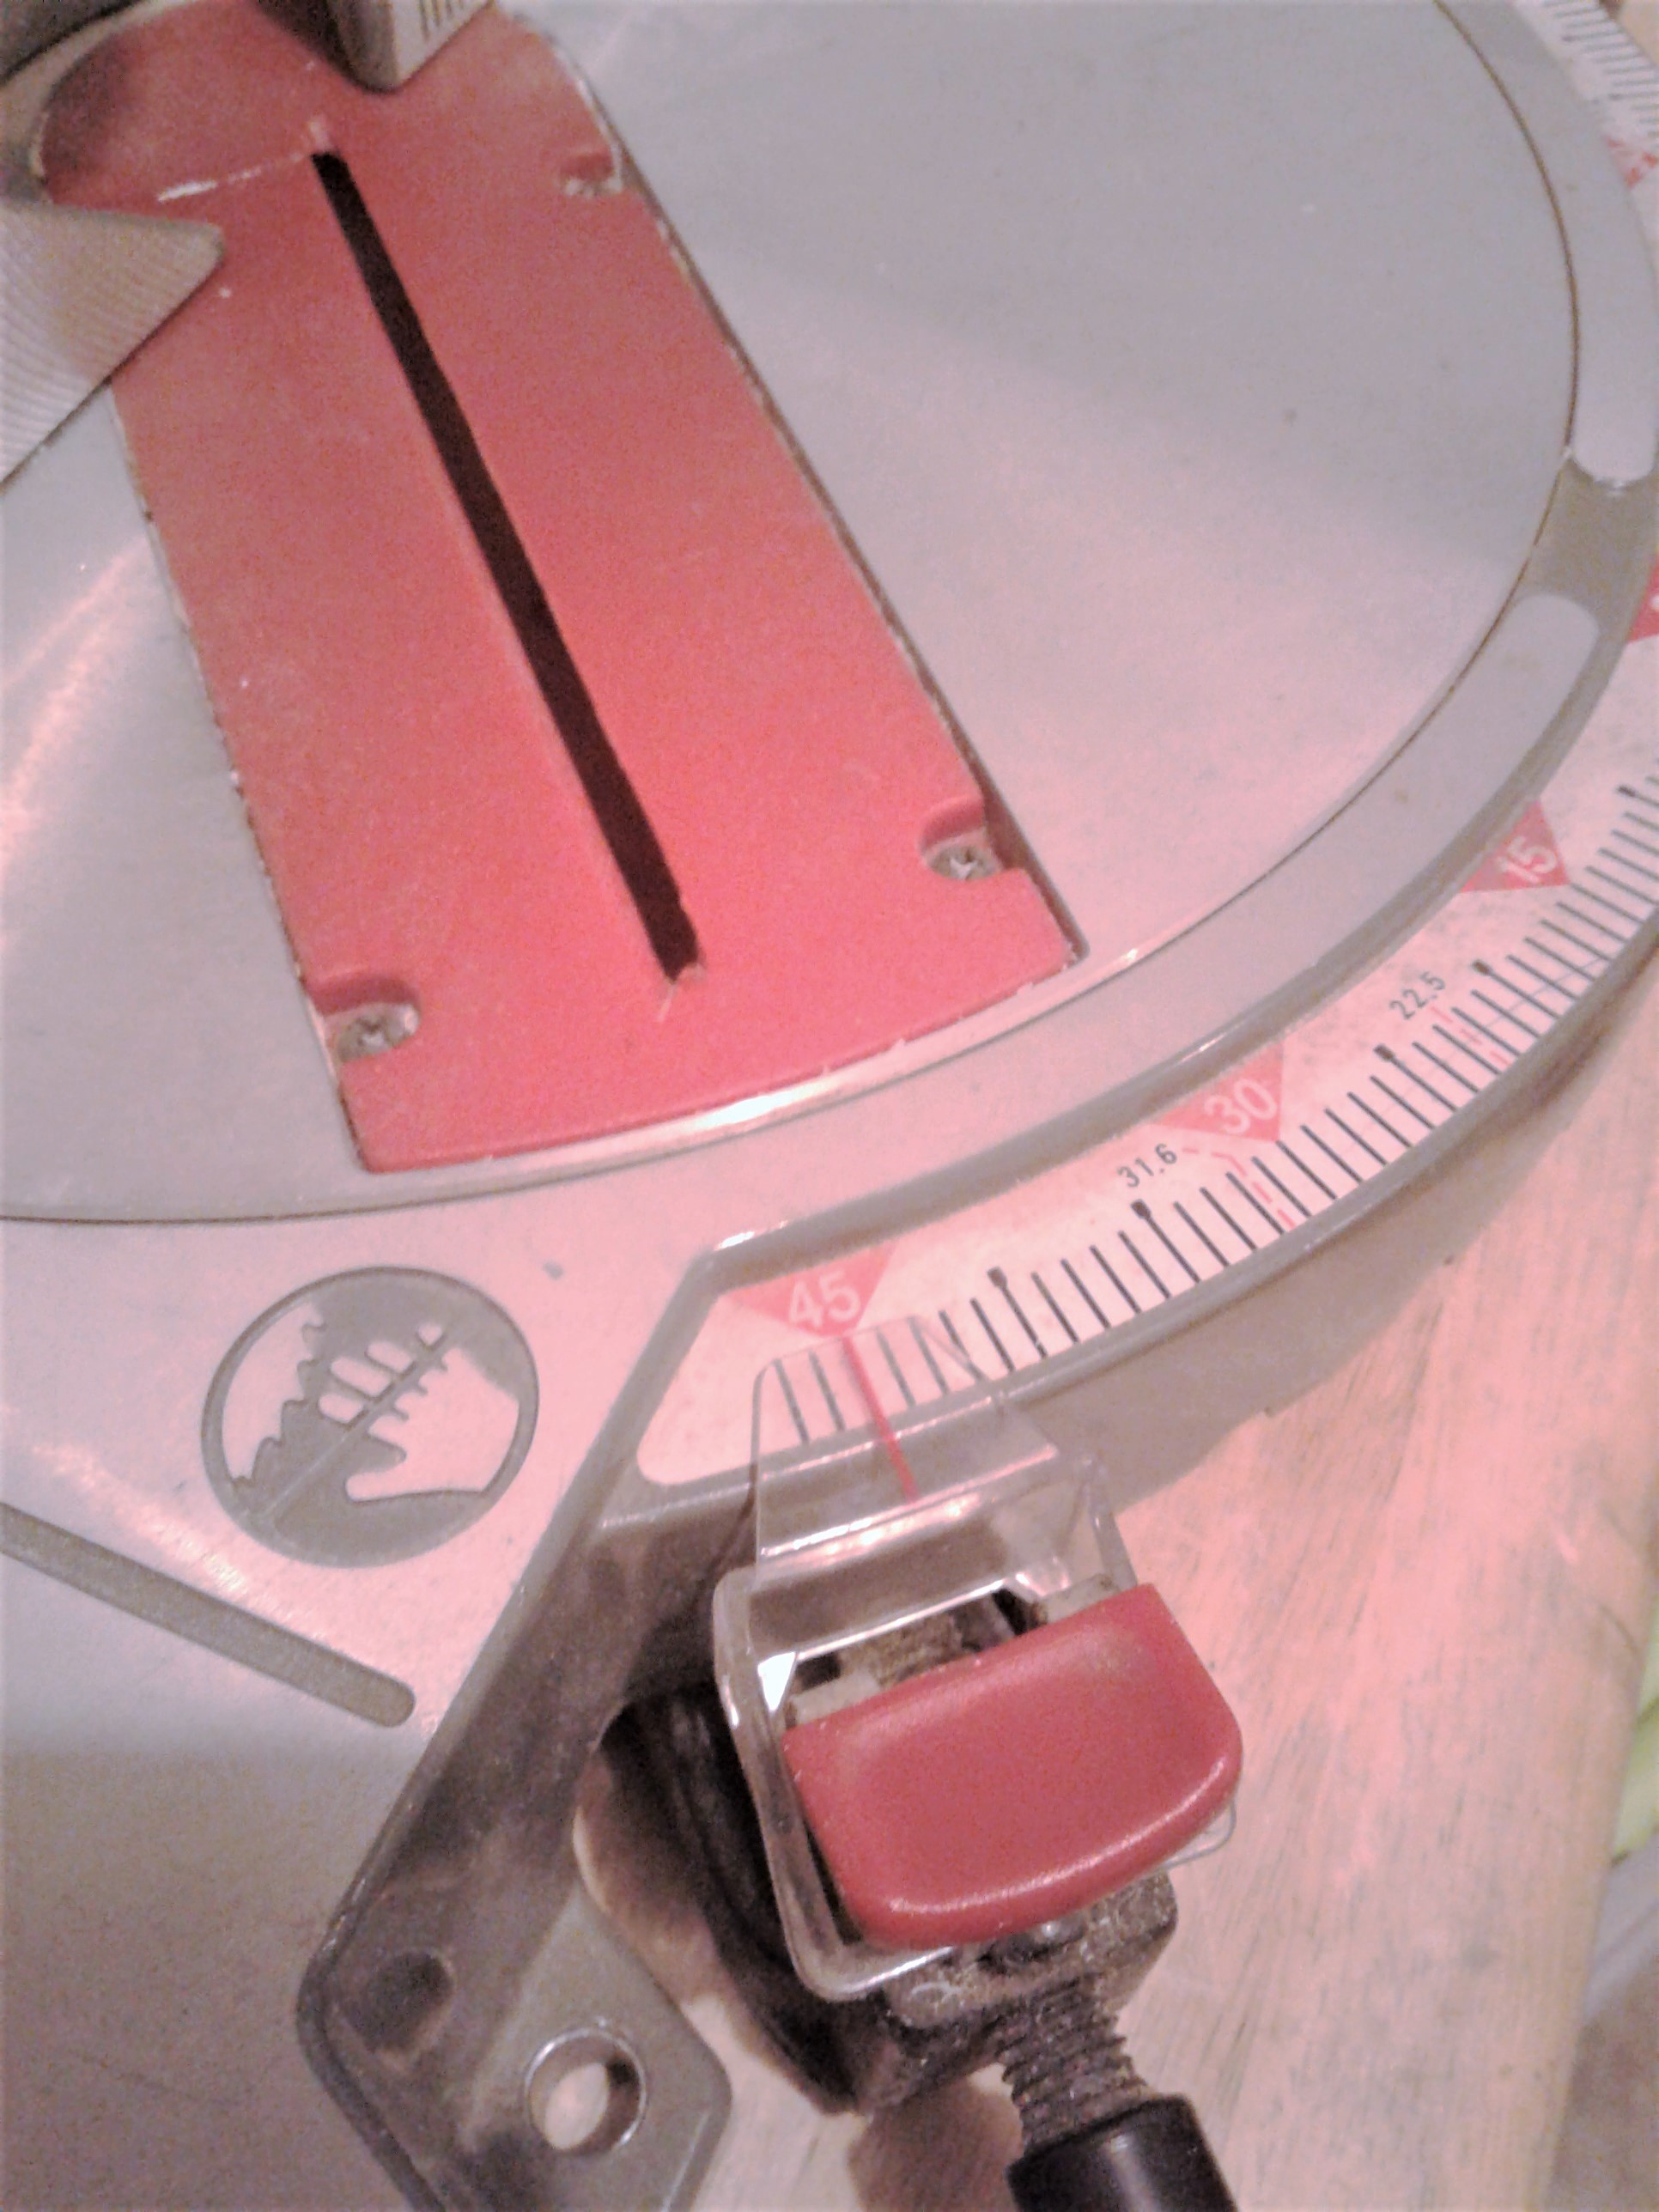
Set your chop saw to cut a 45* angle. Depending on your saw, this usually involves finding the buttom and rotating your saw to the 45* angle and setting it in place
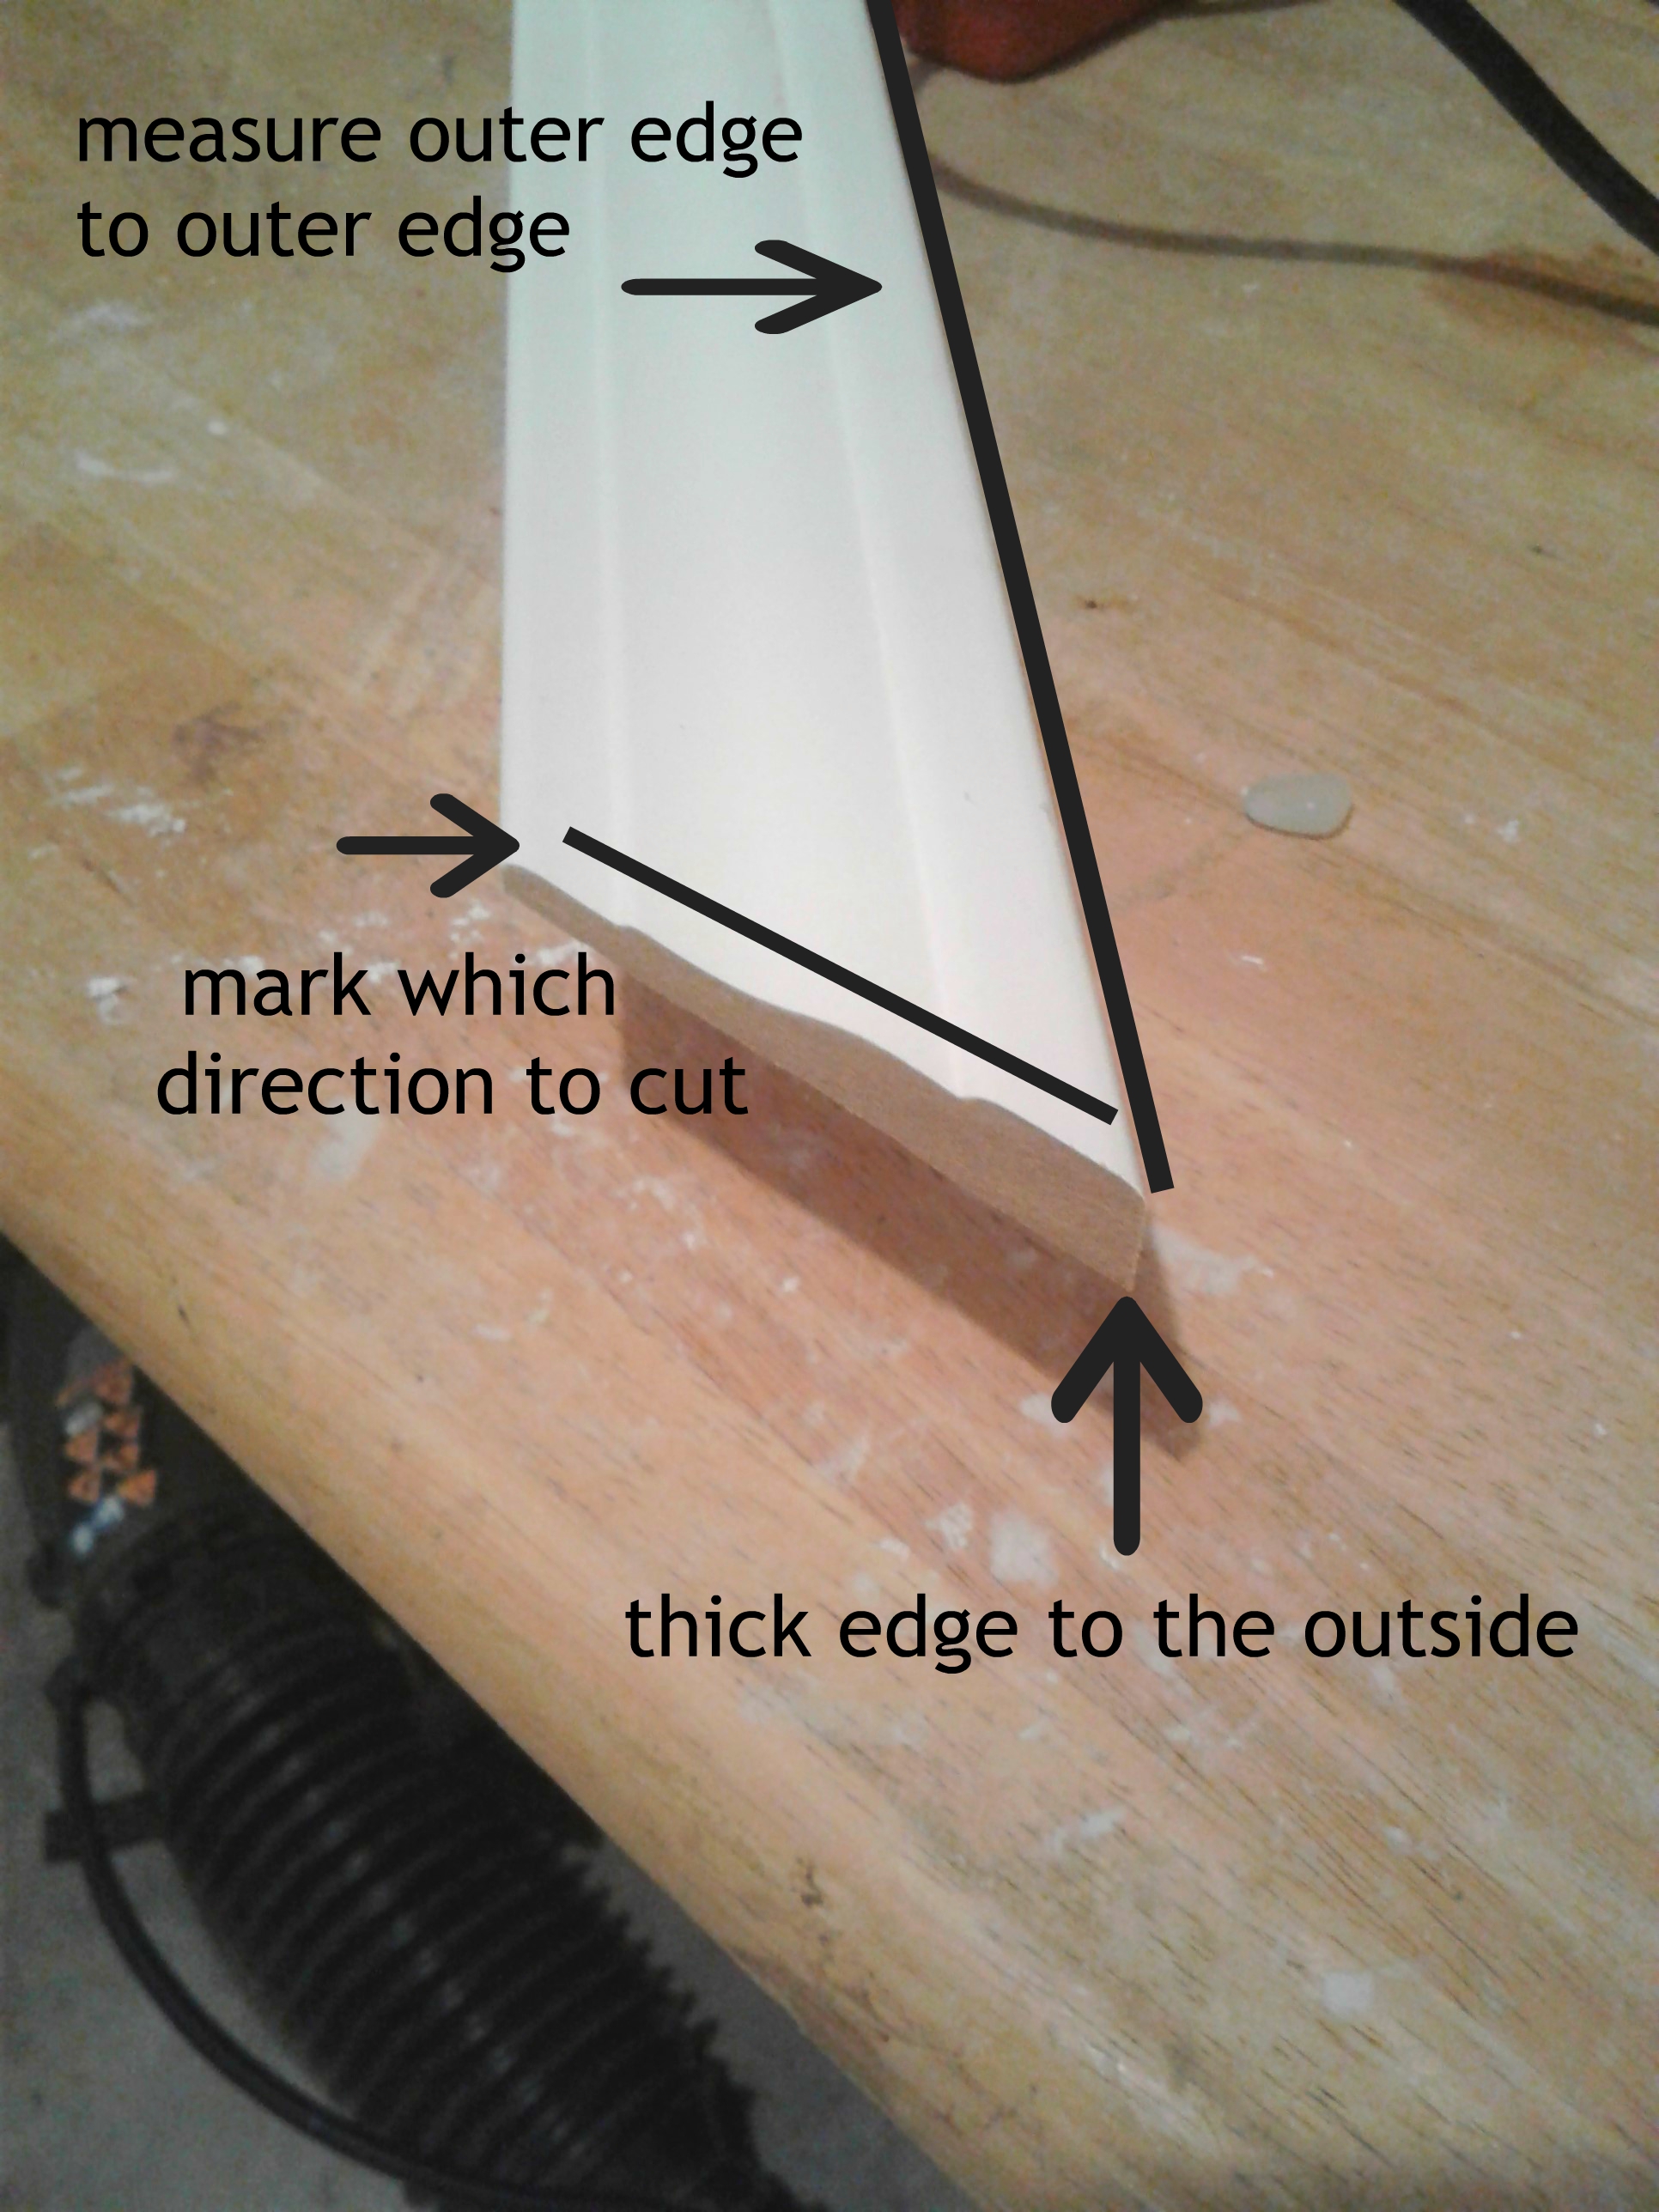
When cutting your pieces, keep in mind:
* measure outer point to outer poing
* mark your measurements on your casing so that you remember to cut from the outside in
* that all your trim pieces are cut at the right angle so that the THICKER end of the trim is always on the longest and outer end of your trim.
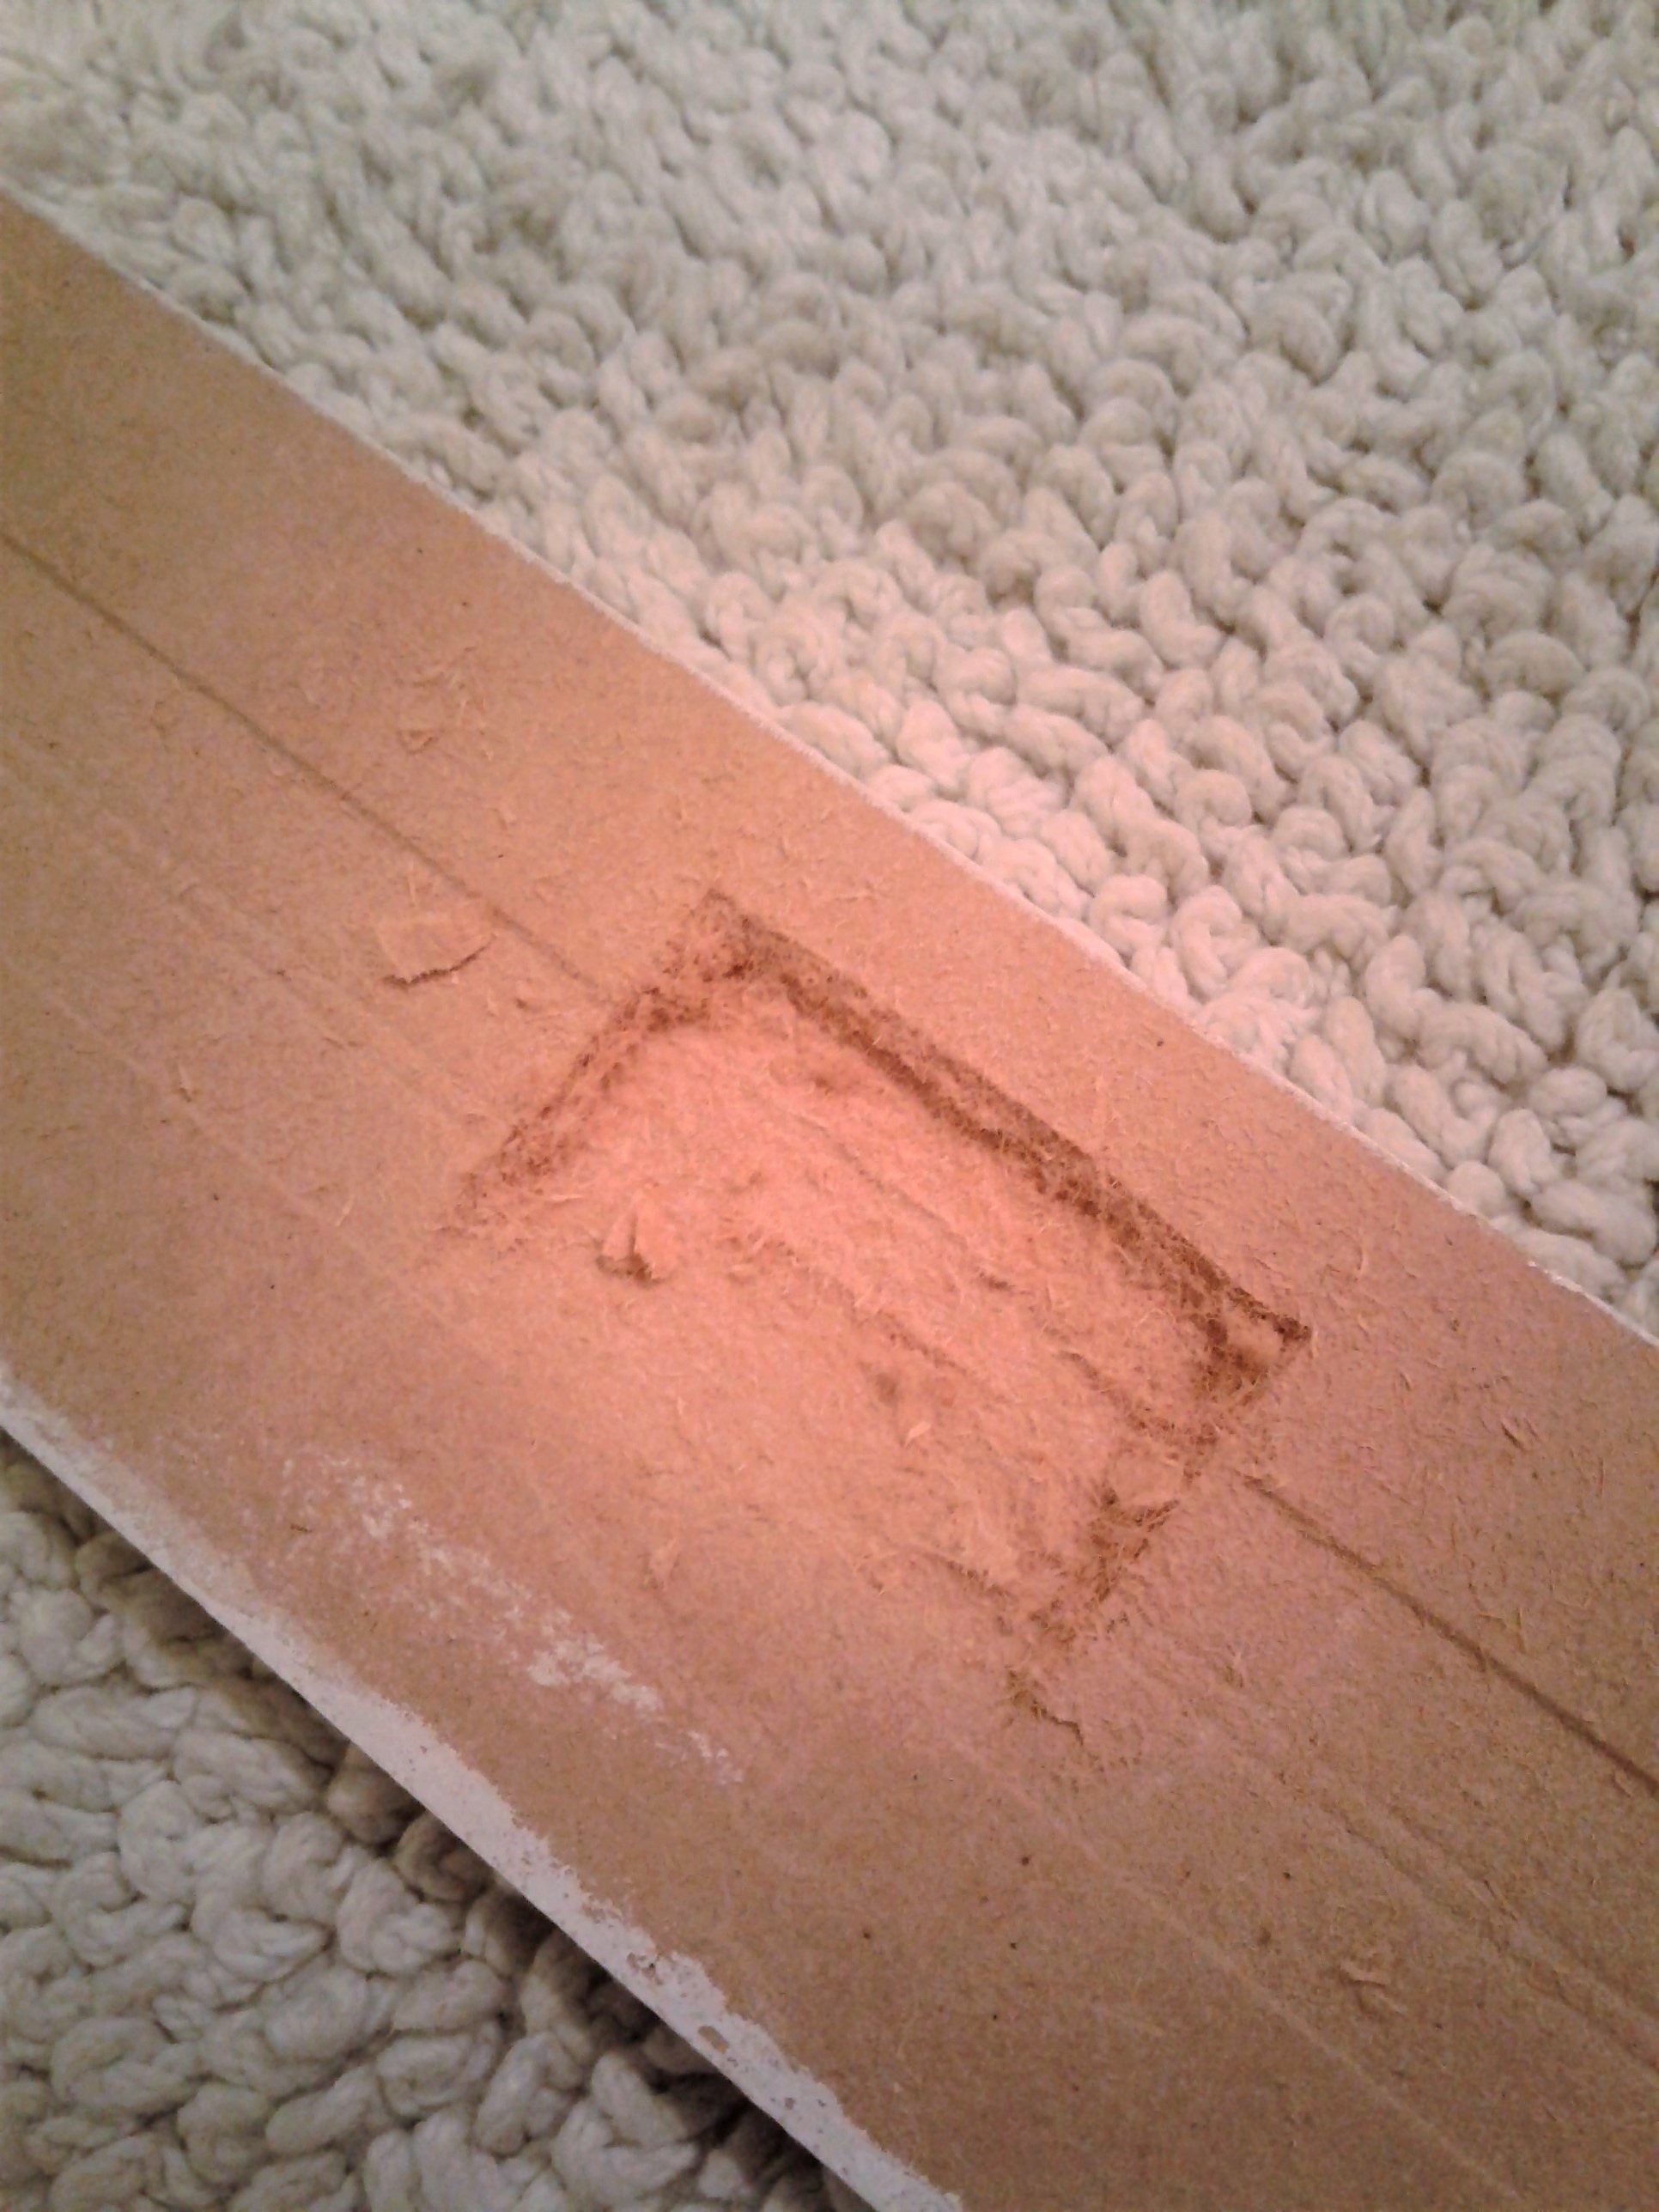
When you have all your pieces cut you will need to knotch out the area where the mirror holders are (if you have them) and mark them. Then take your utility knife and carefully remove the area where the holder would line up with your casing.
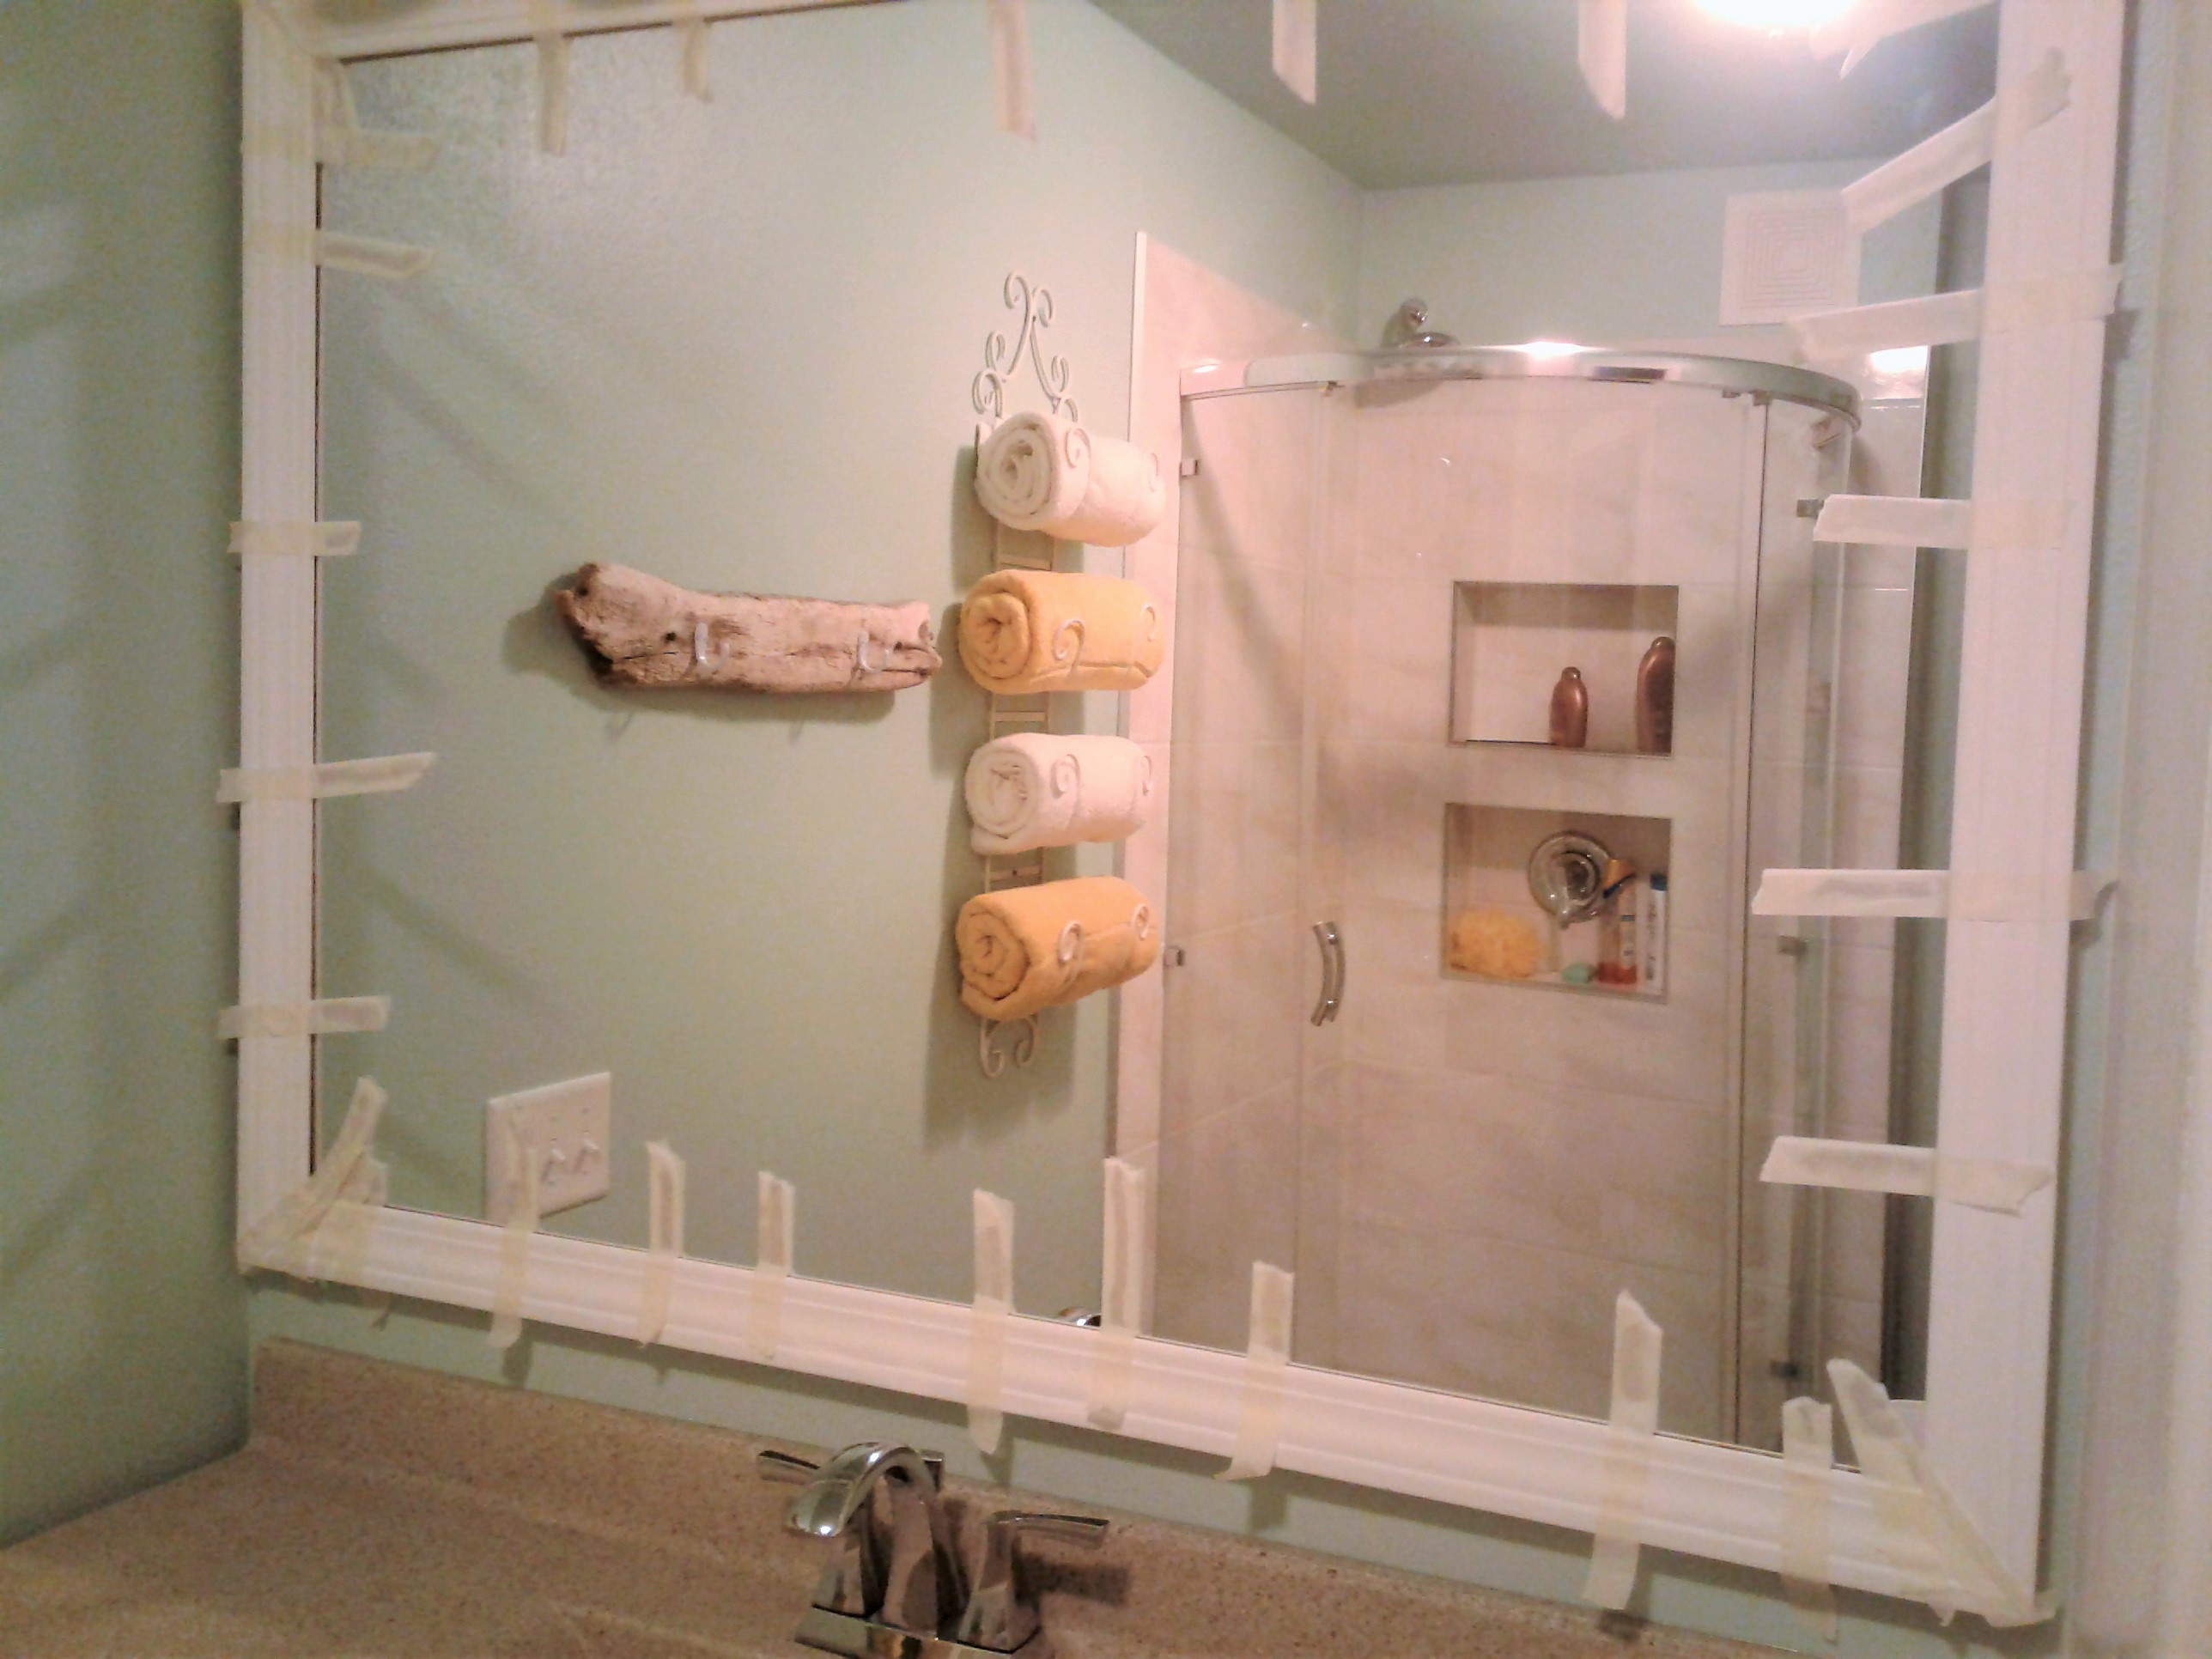
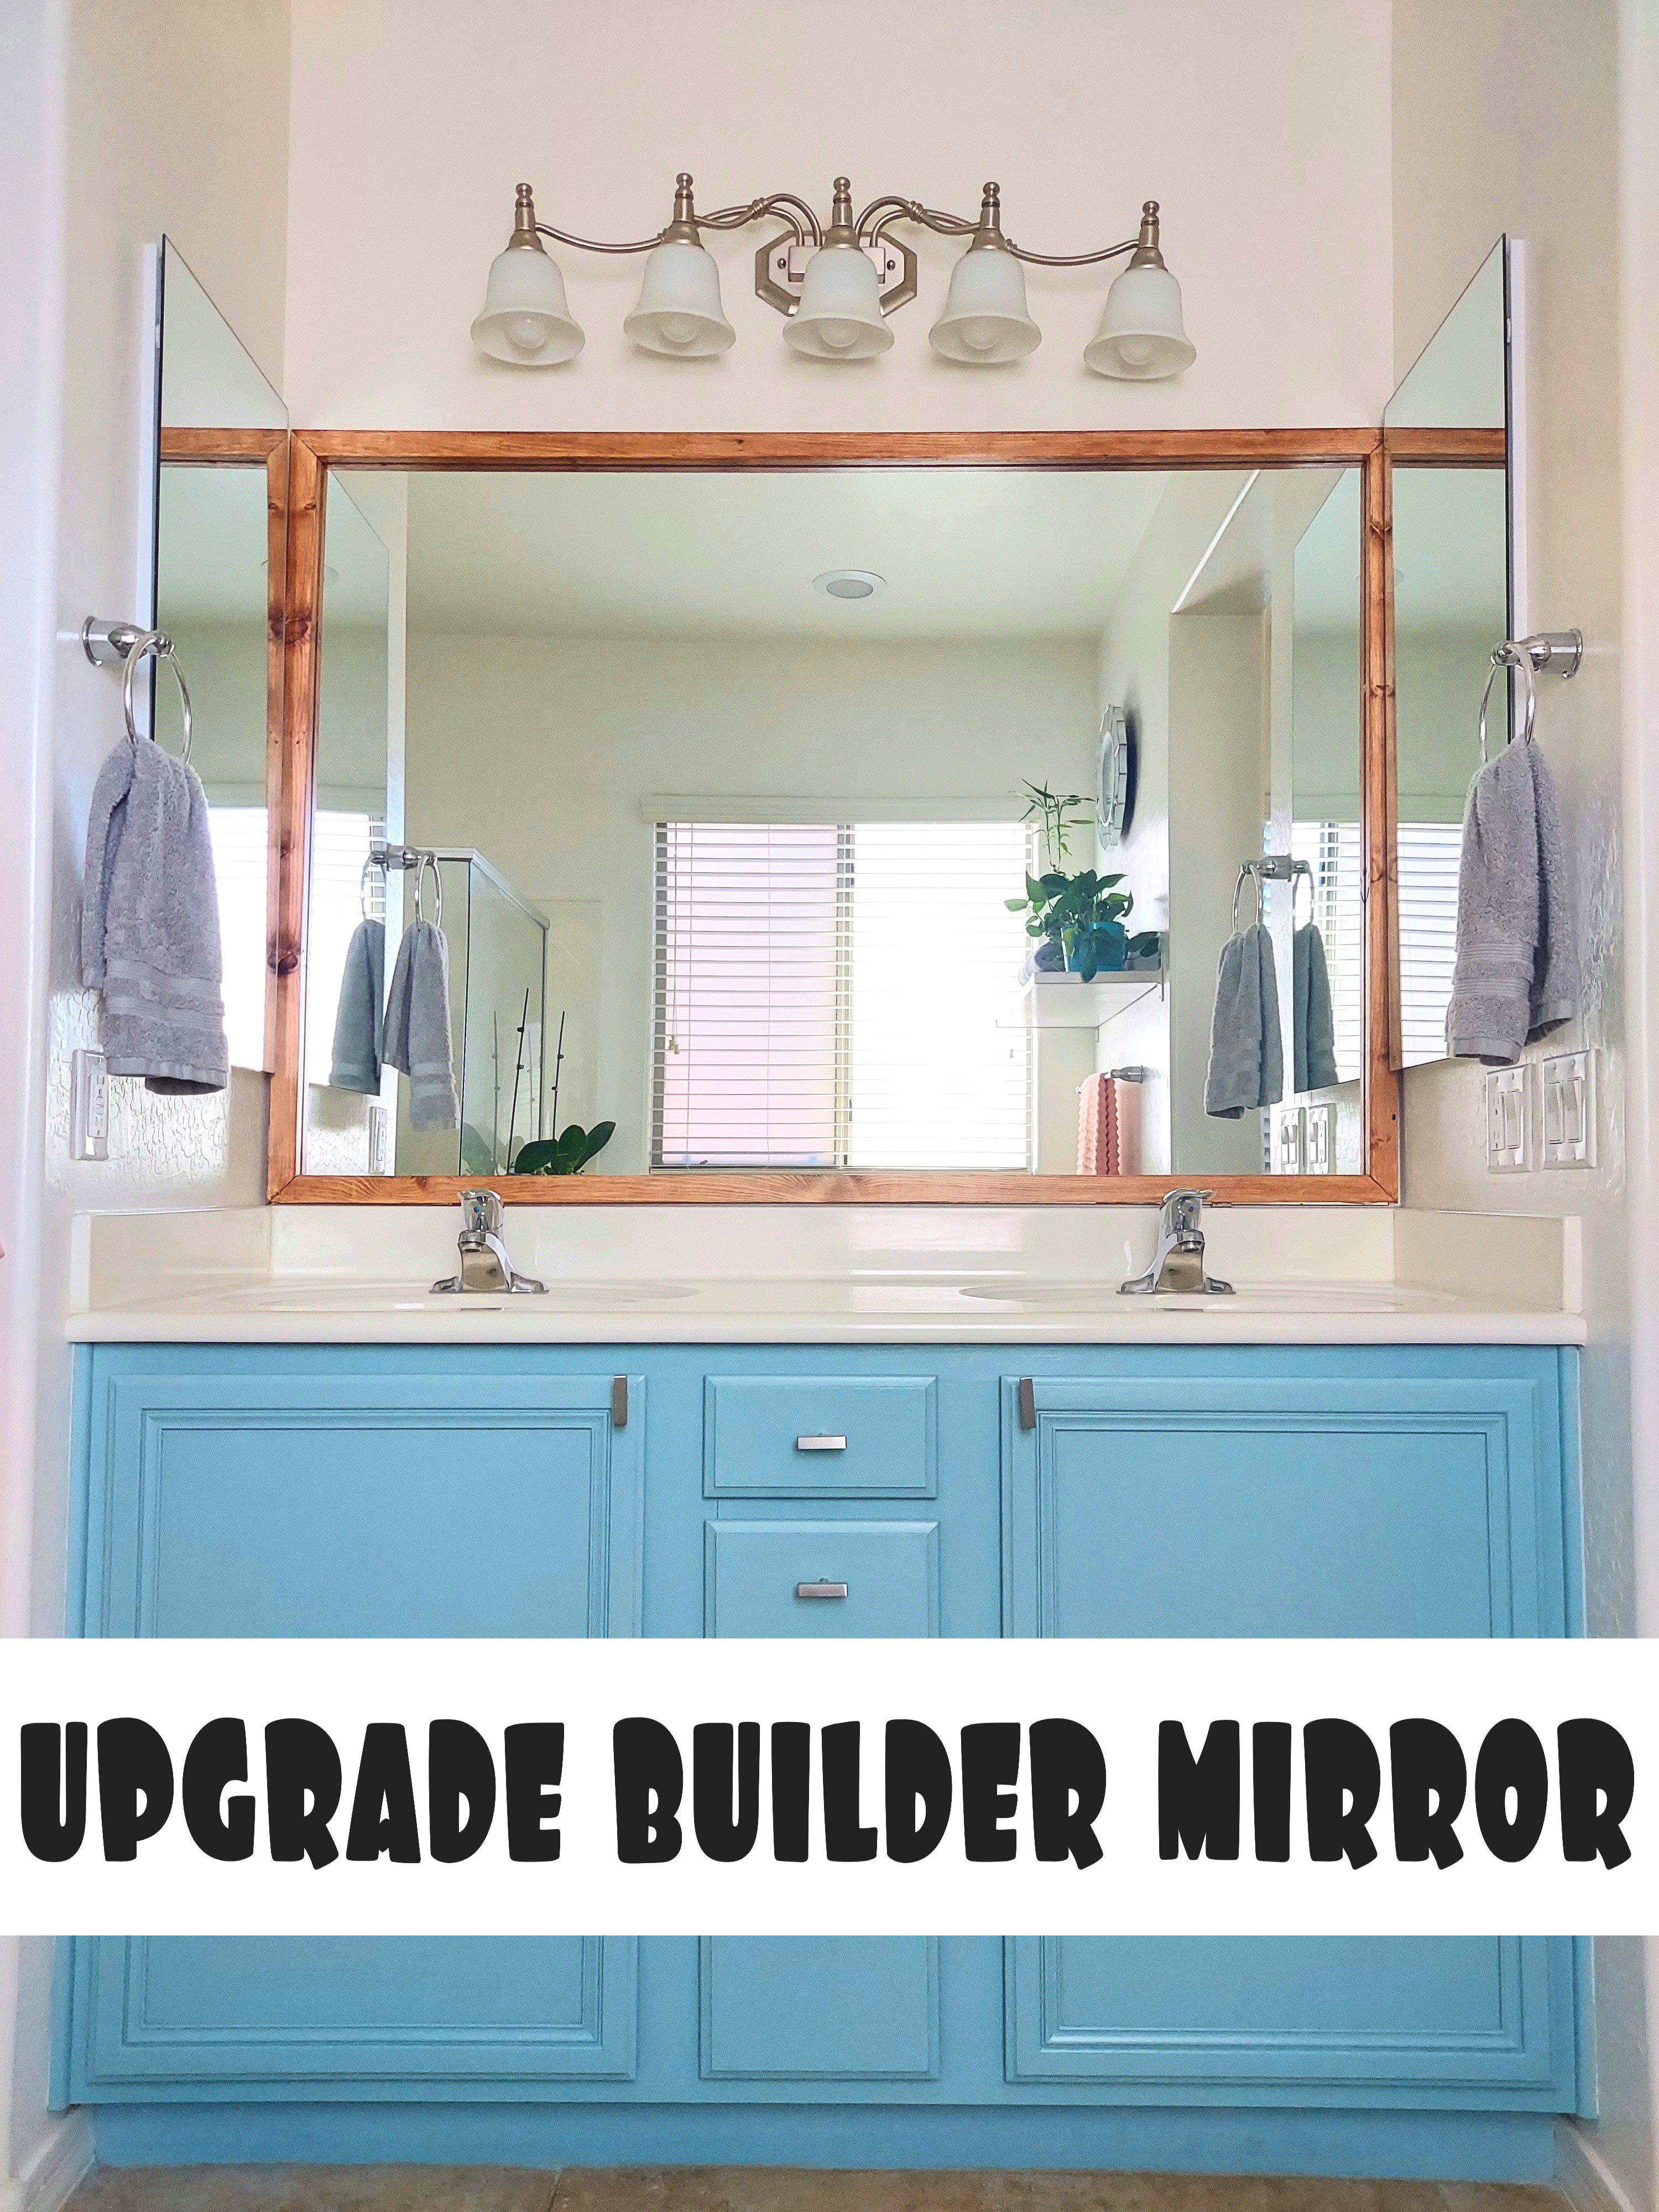
Then it's time to dry fit your frame. You may need an extra set of hands to help you with this part, otherwise you can tape them into place to make sure all your cuts and right and everything matches up. If you're good to go, then it's time to either paint or stain your frame. On this mirror, we painted the frame, but in another bathroom, we stained the wood.

Then apply liquid nails to the back side of each piece and begin to glue them onto your mirror. Once you have them all adjusted and set in place, use some of your painters tape to hold them nicely in place while the glue dries.
Wait a good 24 hours before your remove the tape just to make sure it is good and secure. Then all you need to do is use a little spackling, caulk or wood putty depending on whether you painted or stained (but make sure it's paintable) to fill in the little crack between each piece and then paint it whichever color you would like.
Then spend the next day standing in front of the mirror admiring your work!
do it yourself/h2
CrazyDIYmom.com Contact Us Privacy Policy Disclaimer About me