
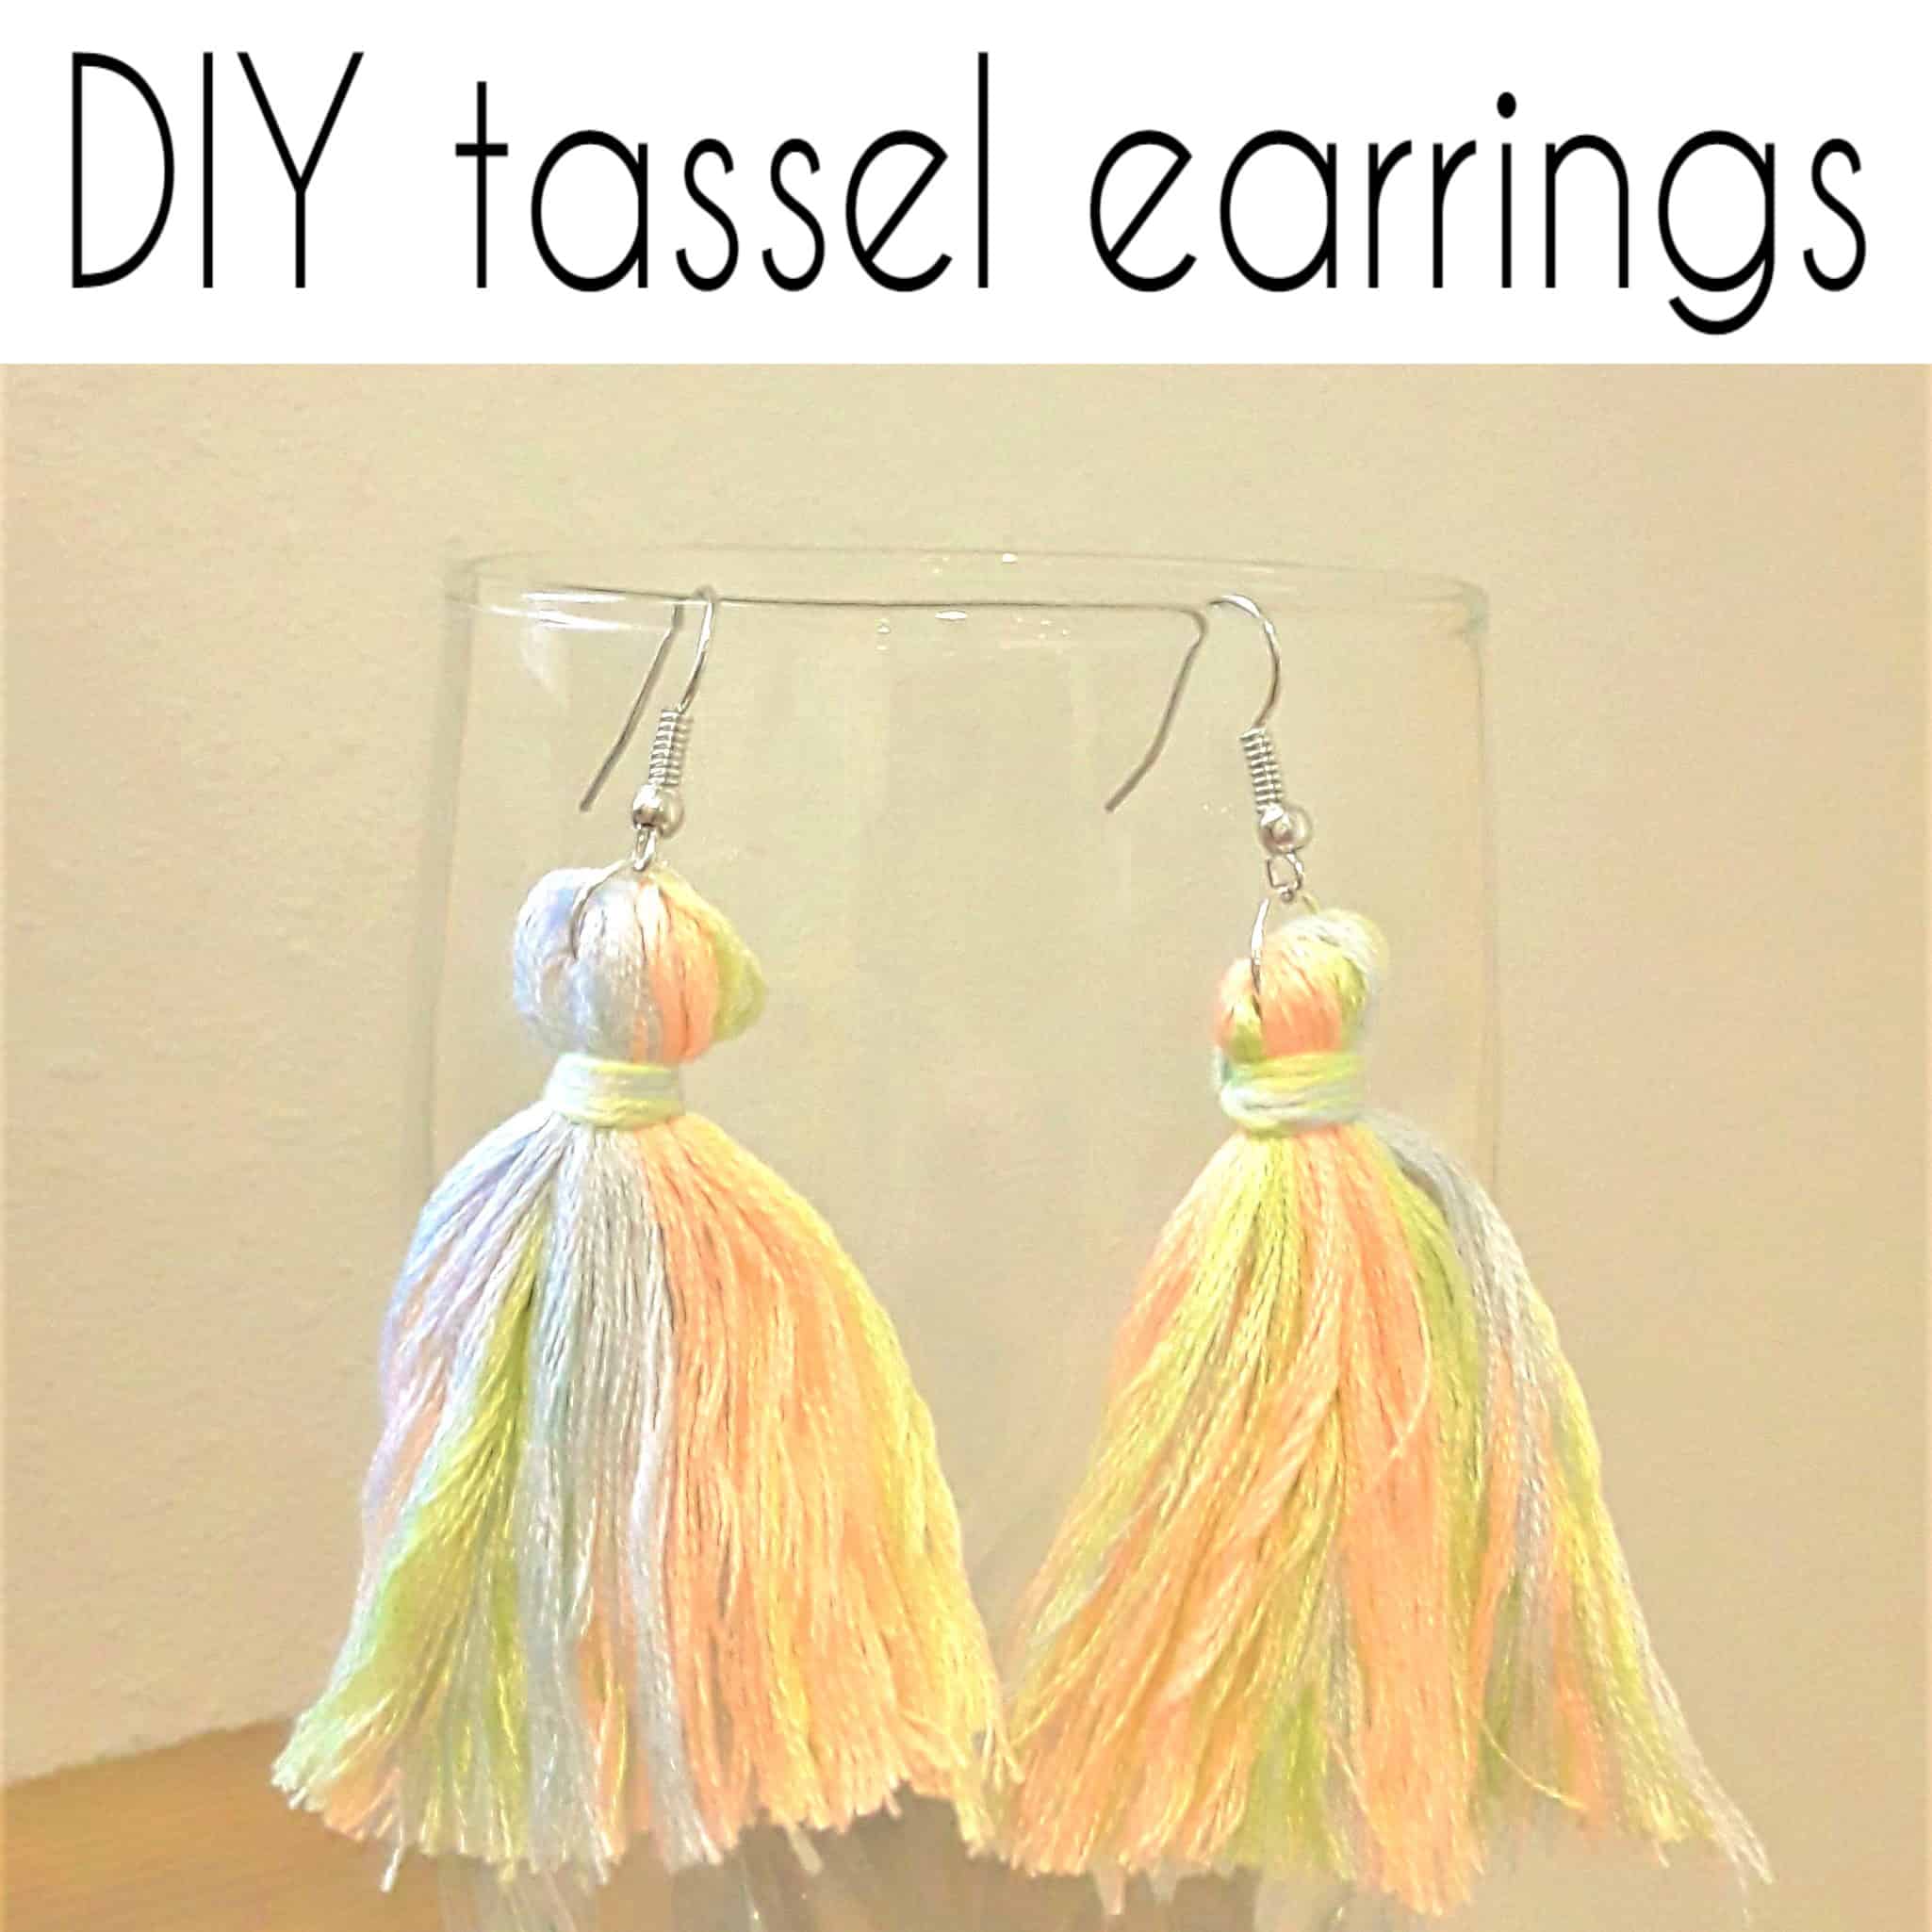
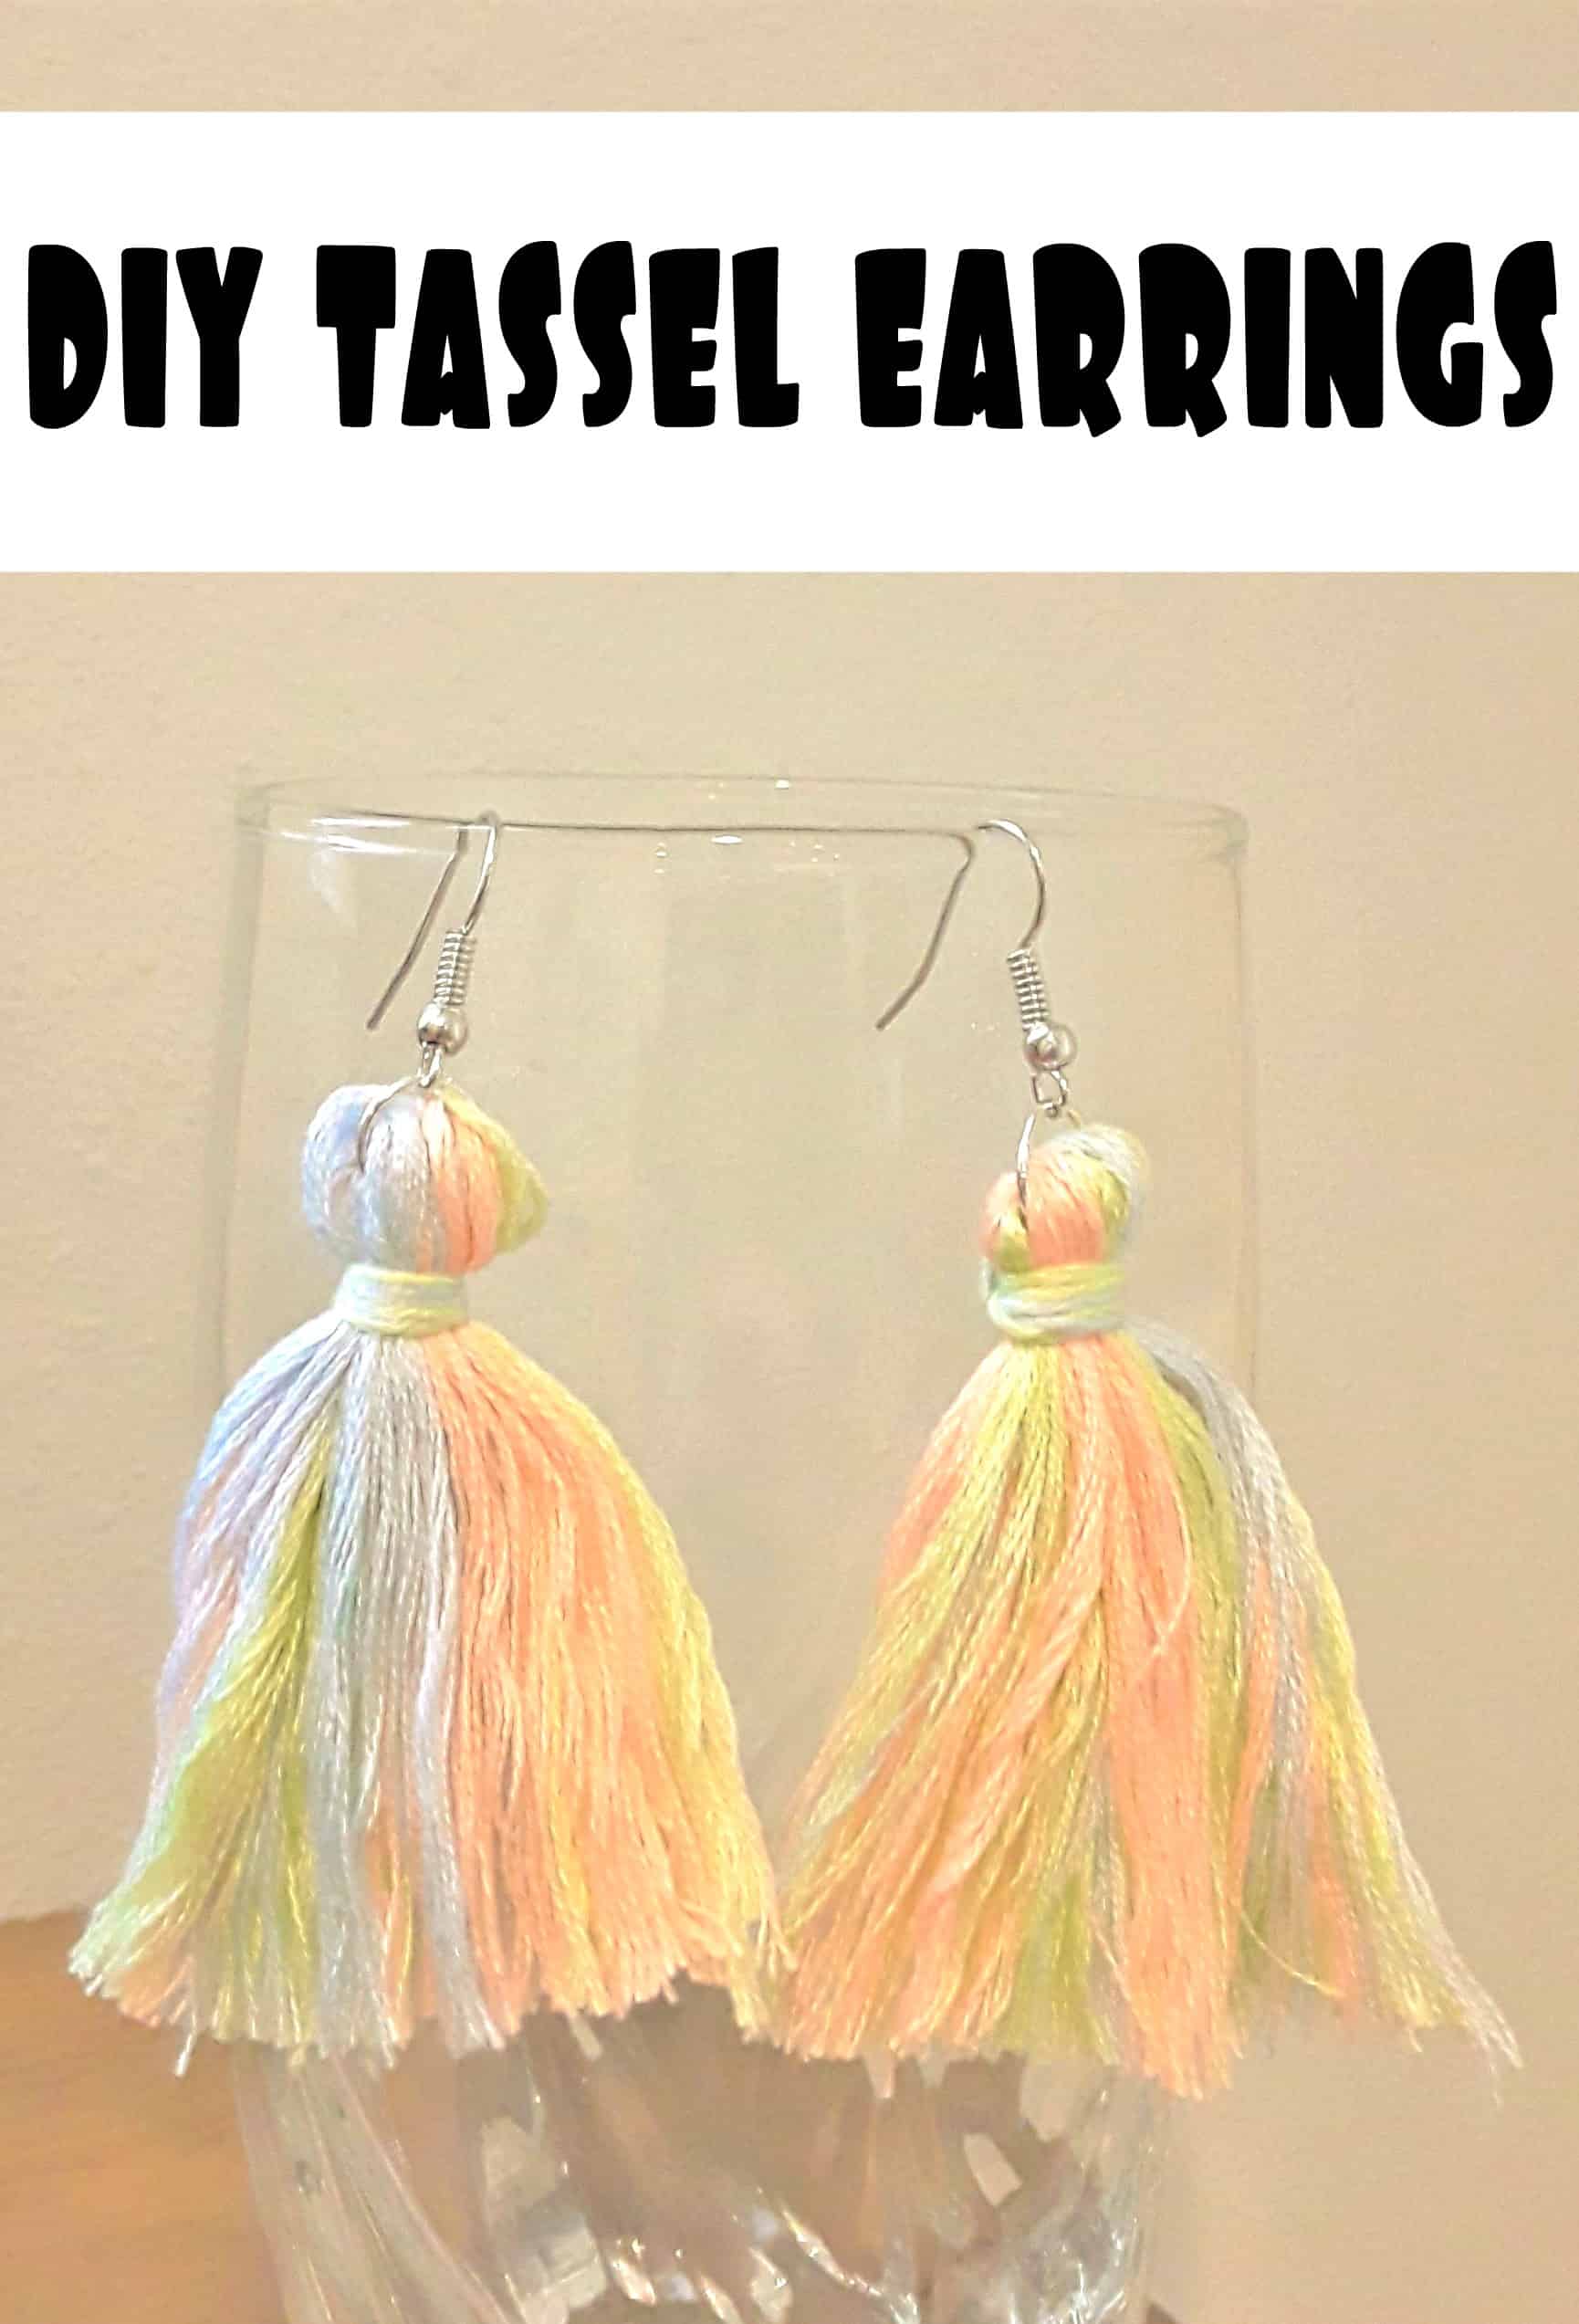
IY tassel earrings
This post may contain affiliate links.
Are you looking for some statement making earrings, but hate to spend so much on them? These are perfect! You can make them in any color, mulitple colors, different lengths, different widths - however you want.
What you will need:
embroidery floss
earring findings
jump rings
jewelry pliers
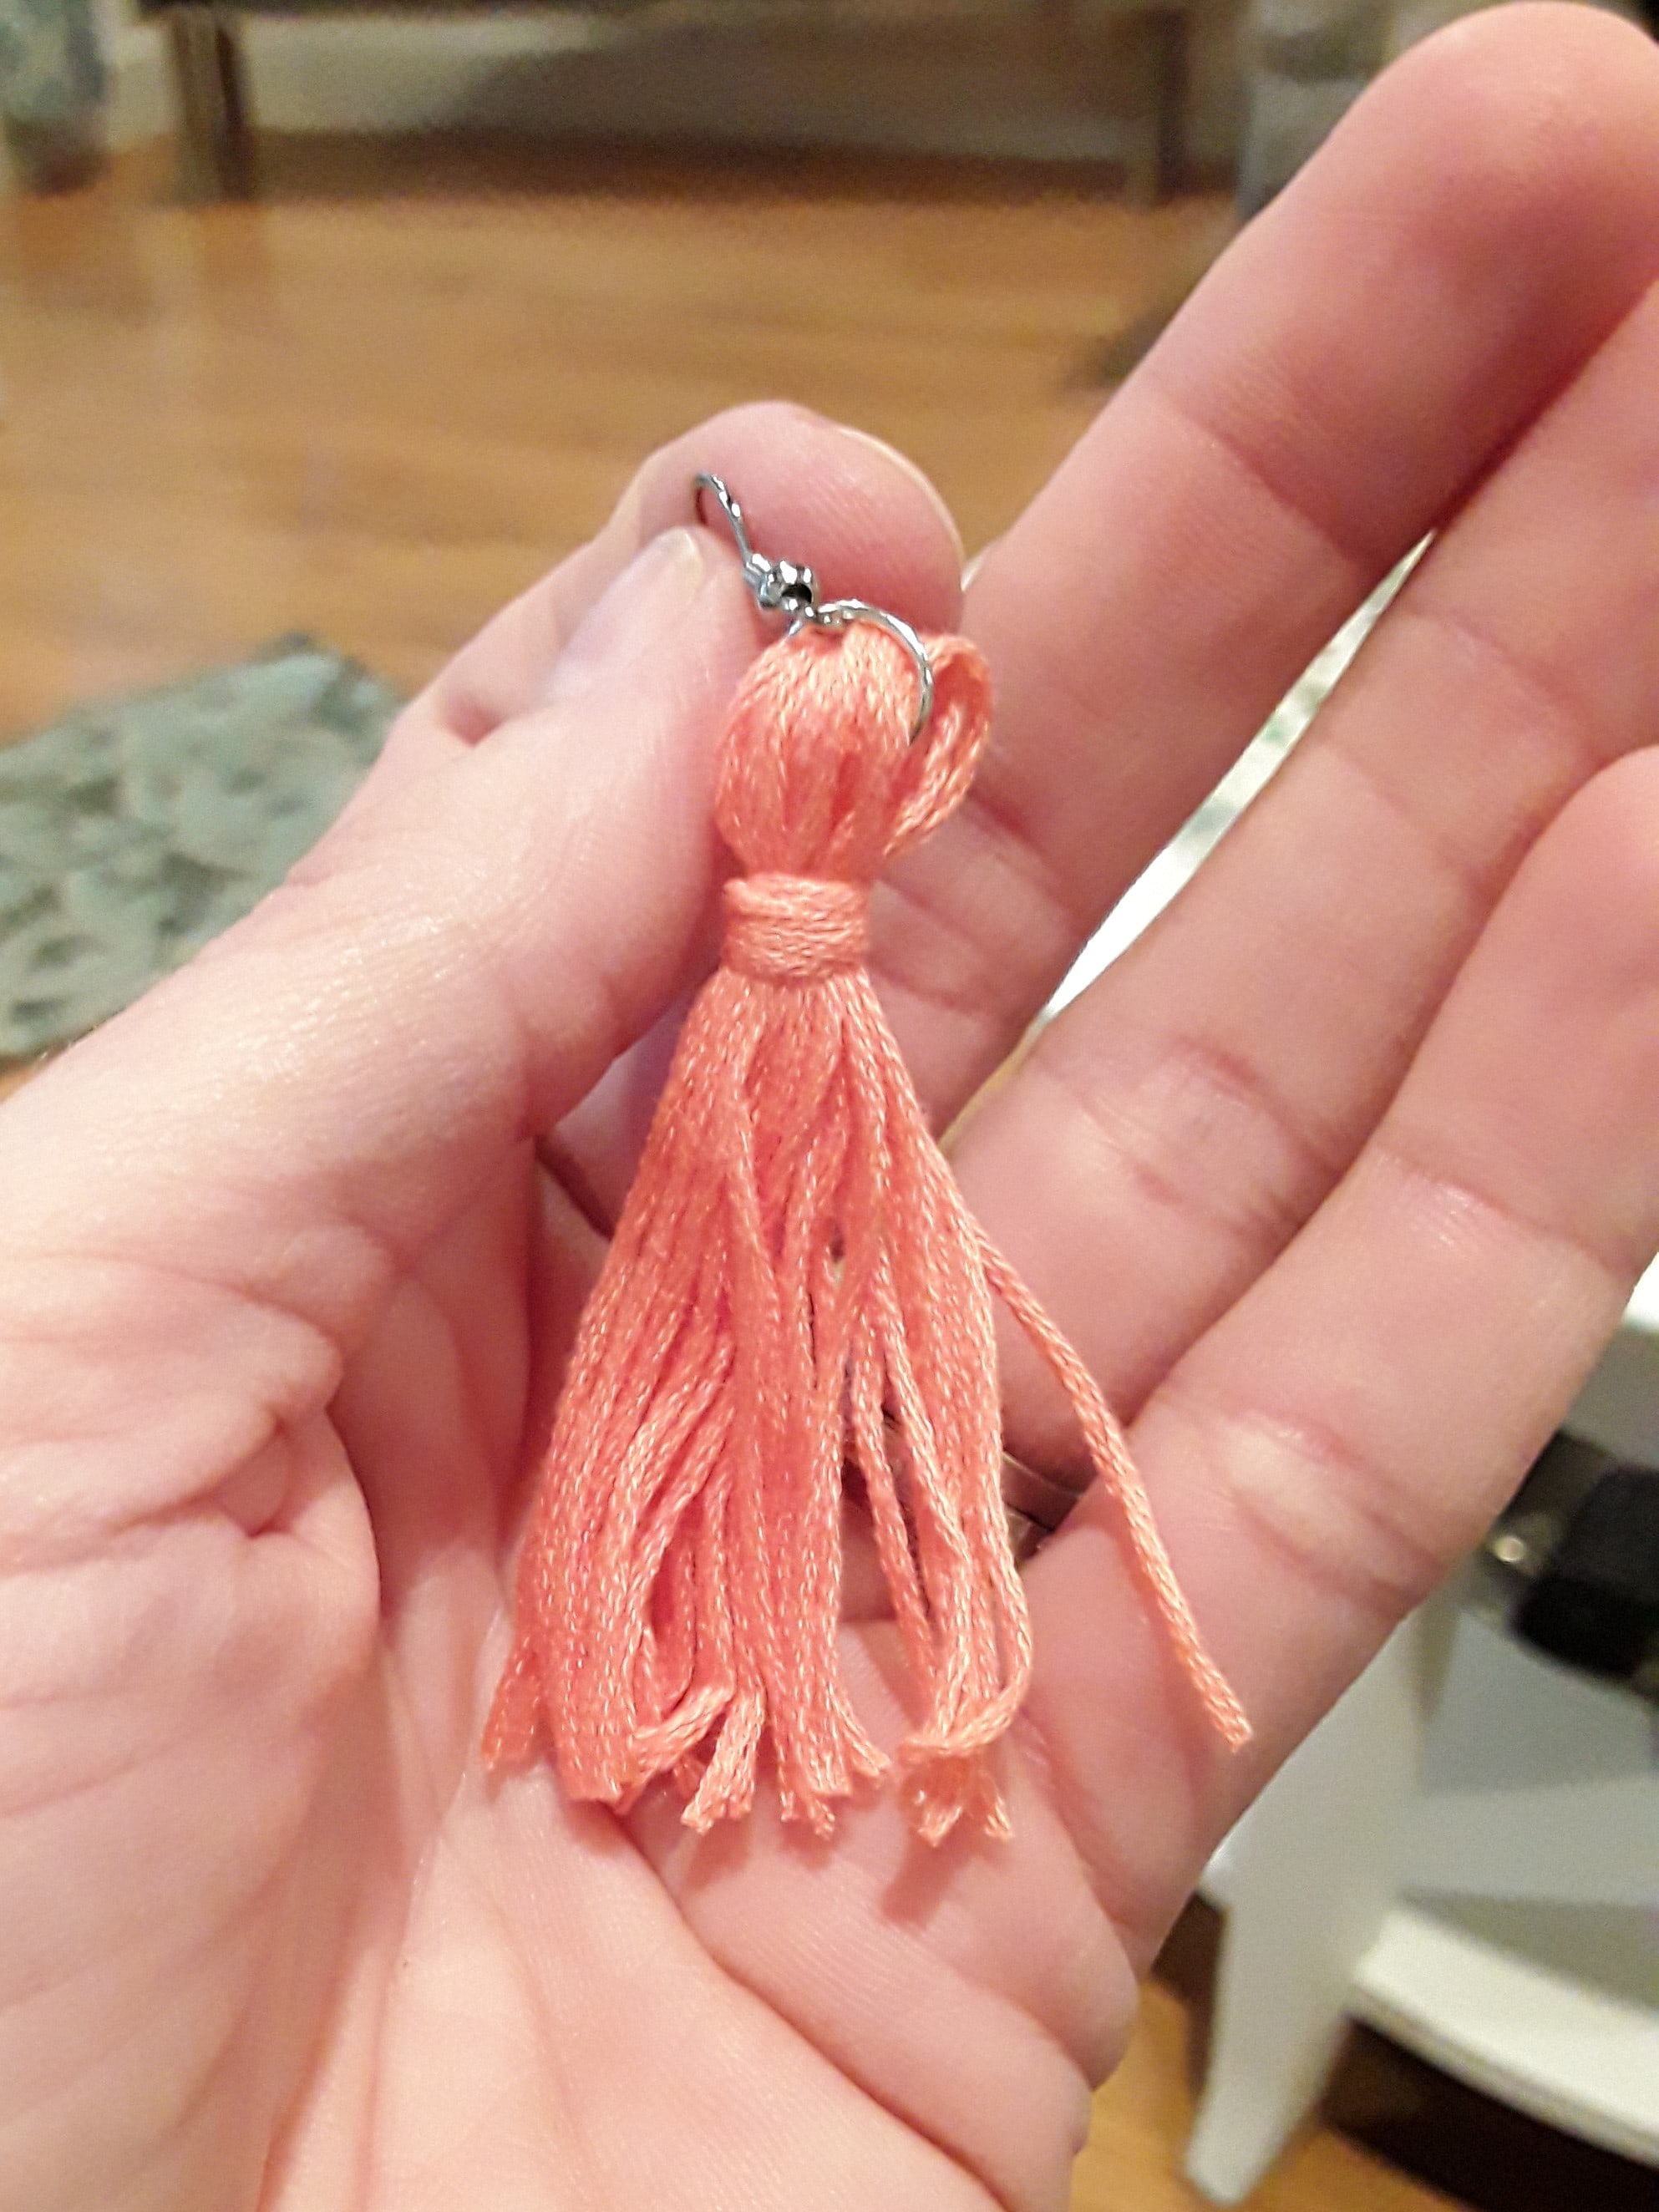
The first thing you need to do is make a tassel. A simple way to do this is to take a piece of sturdy paper or cardboard and start wrapping your floss around it. Make your paper as long as you want your earrings to be. So if you want a shorter tassel use a shorter piece of paper. You can always make a longer tassel and cut it down when you are finished if you are unsure of your desired length. Wrap it as many times as you want it thick to. I wrapped mine around about 15-20 times. When you have it to the desired thickness, take one of your jump rings, open it up and put it around all of the floss on one side of your paper and then close it about 3/4 of the way. Add in your earring hook and then close it tightly.

Once it's closed up tight, pull the jump ring up to the top and cut the bottom part of your tassel to make the bottom hang free. Then take some more of your floss and wrap it around the entire tassel near to the top to hold it all together and knot it when you are finished.
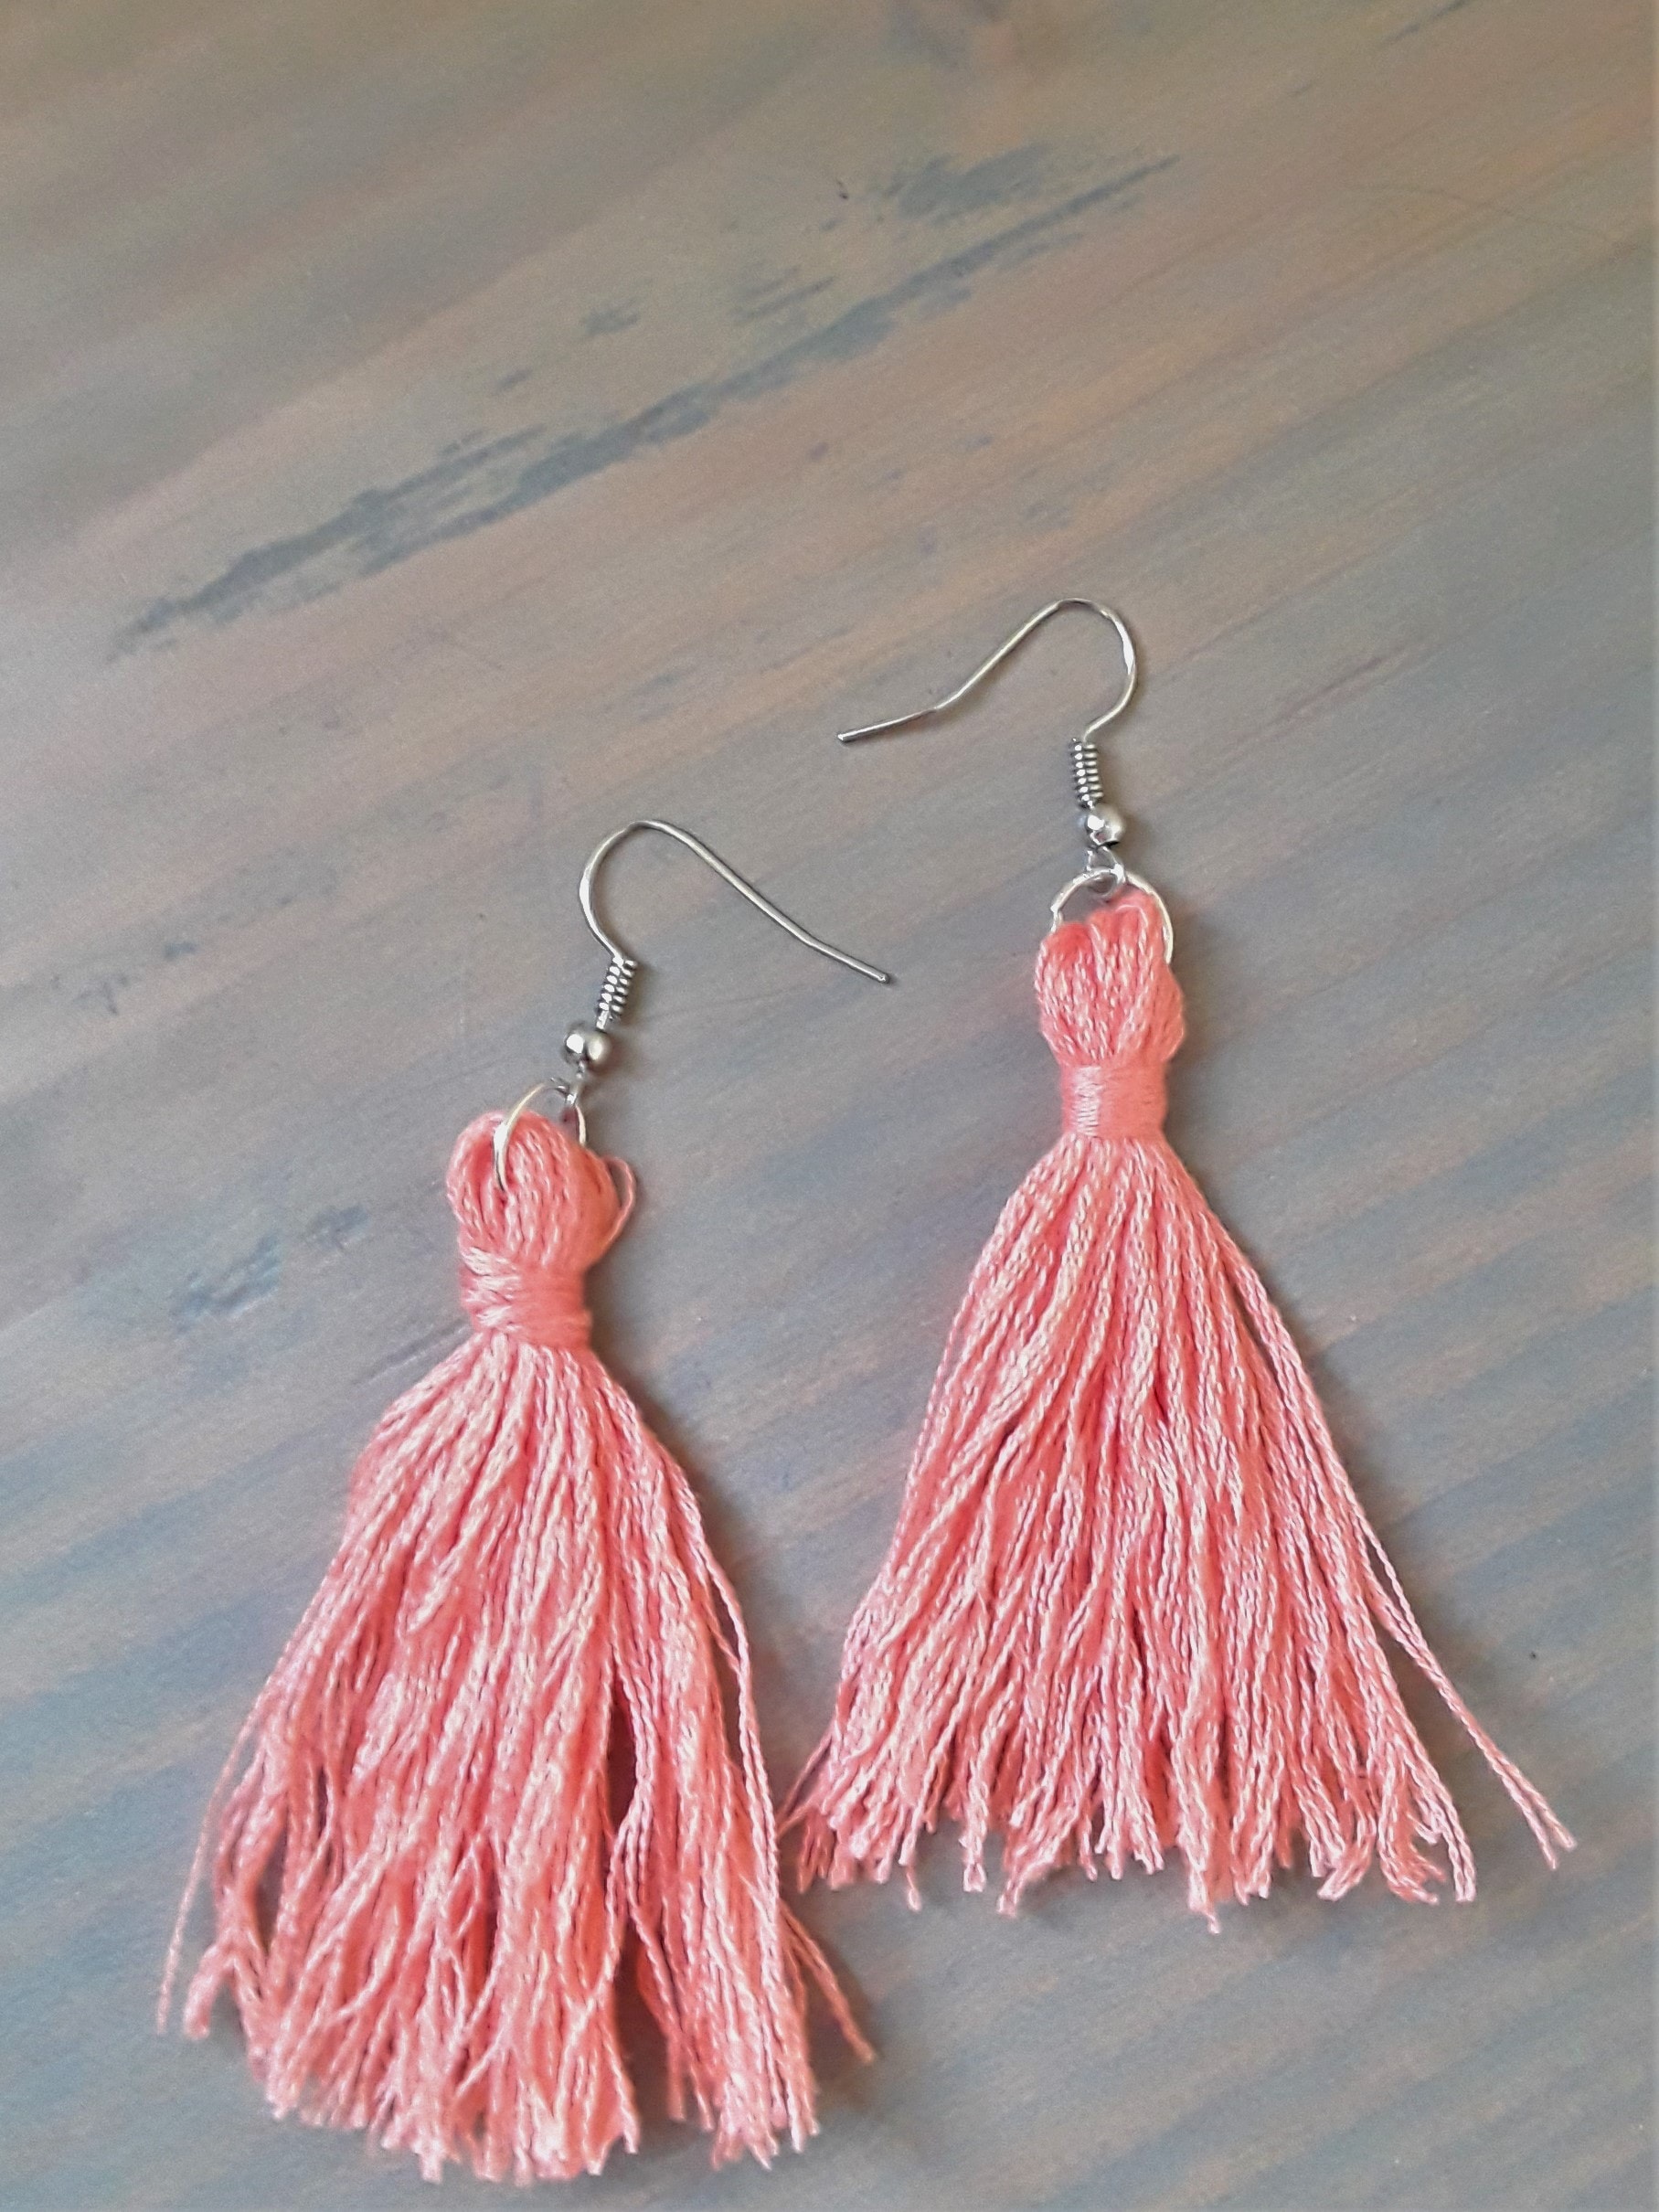
Next, use a fine toothed comb, any fine pointed object or your fingers to sort of fray your floss. This will give it a more textured and fuller look and keep it from looking like plain embroidery floss ;) Then take your scissors and trim up all the ends to five it a nice clean look and they're ready to wear!
do it yourself
CrazyDIYmom.com Contact Us Privacy Policy Disclaimer About me