
DIY home projects
DIY rustic wood headboard

* This post may contain affiliate links
We've had our new king bed for 4 years now and still hadn't decided on a headboard. Because our bedroom is upstairs, we have pitched ceilings and a very thick mattress , we did not want to add any more height to our bed by putting in on a frame so we just never got a headboard.
The bed looked so boring without a headboard so it was time for decide on a headboard. And I love how this one turned out and for about $25!
You will need:
sander and sand paper
(5) 1x6x8 standard boards
(2) 1x4x8 standard board
chop saw or cut off saw
drill and screws
Classic Grey wood stain
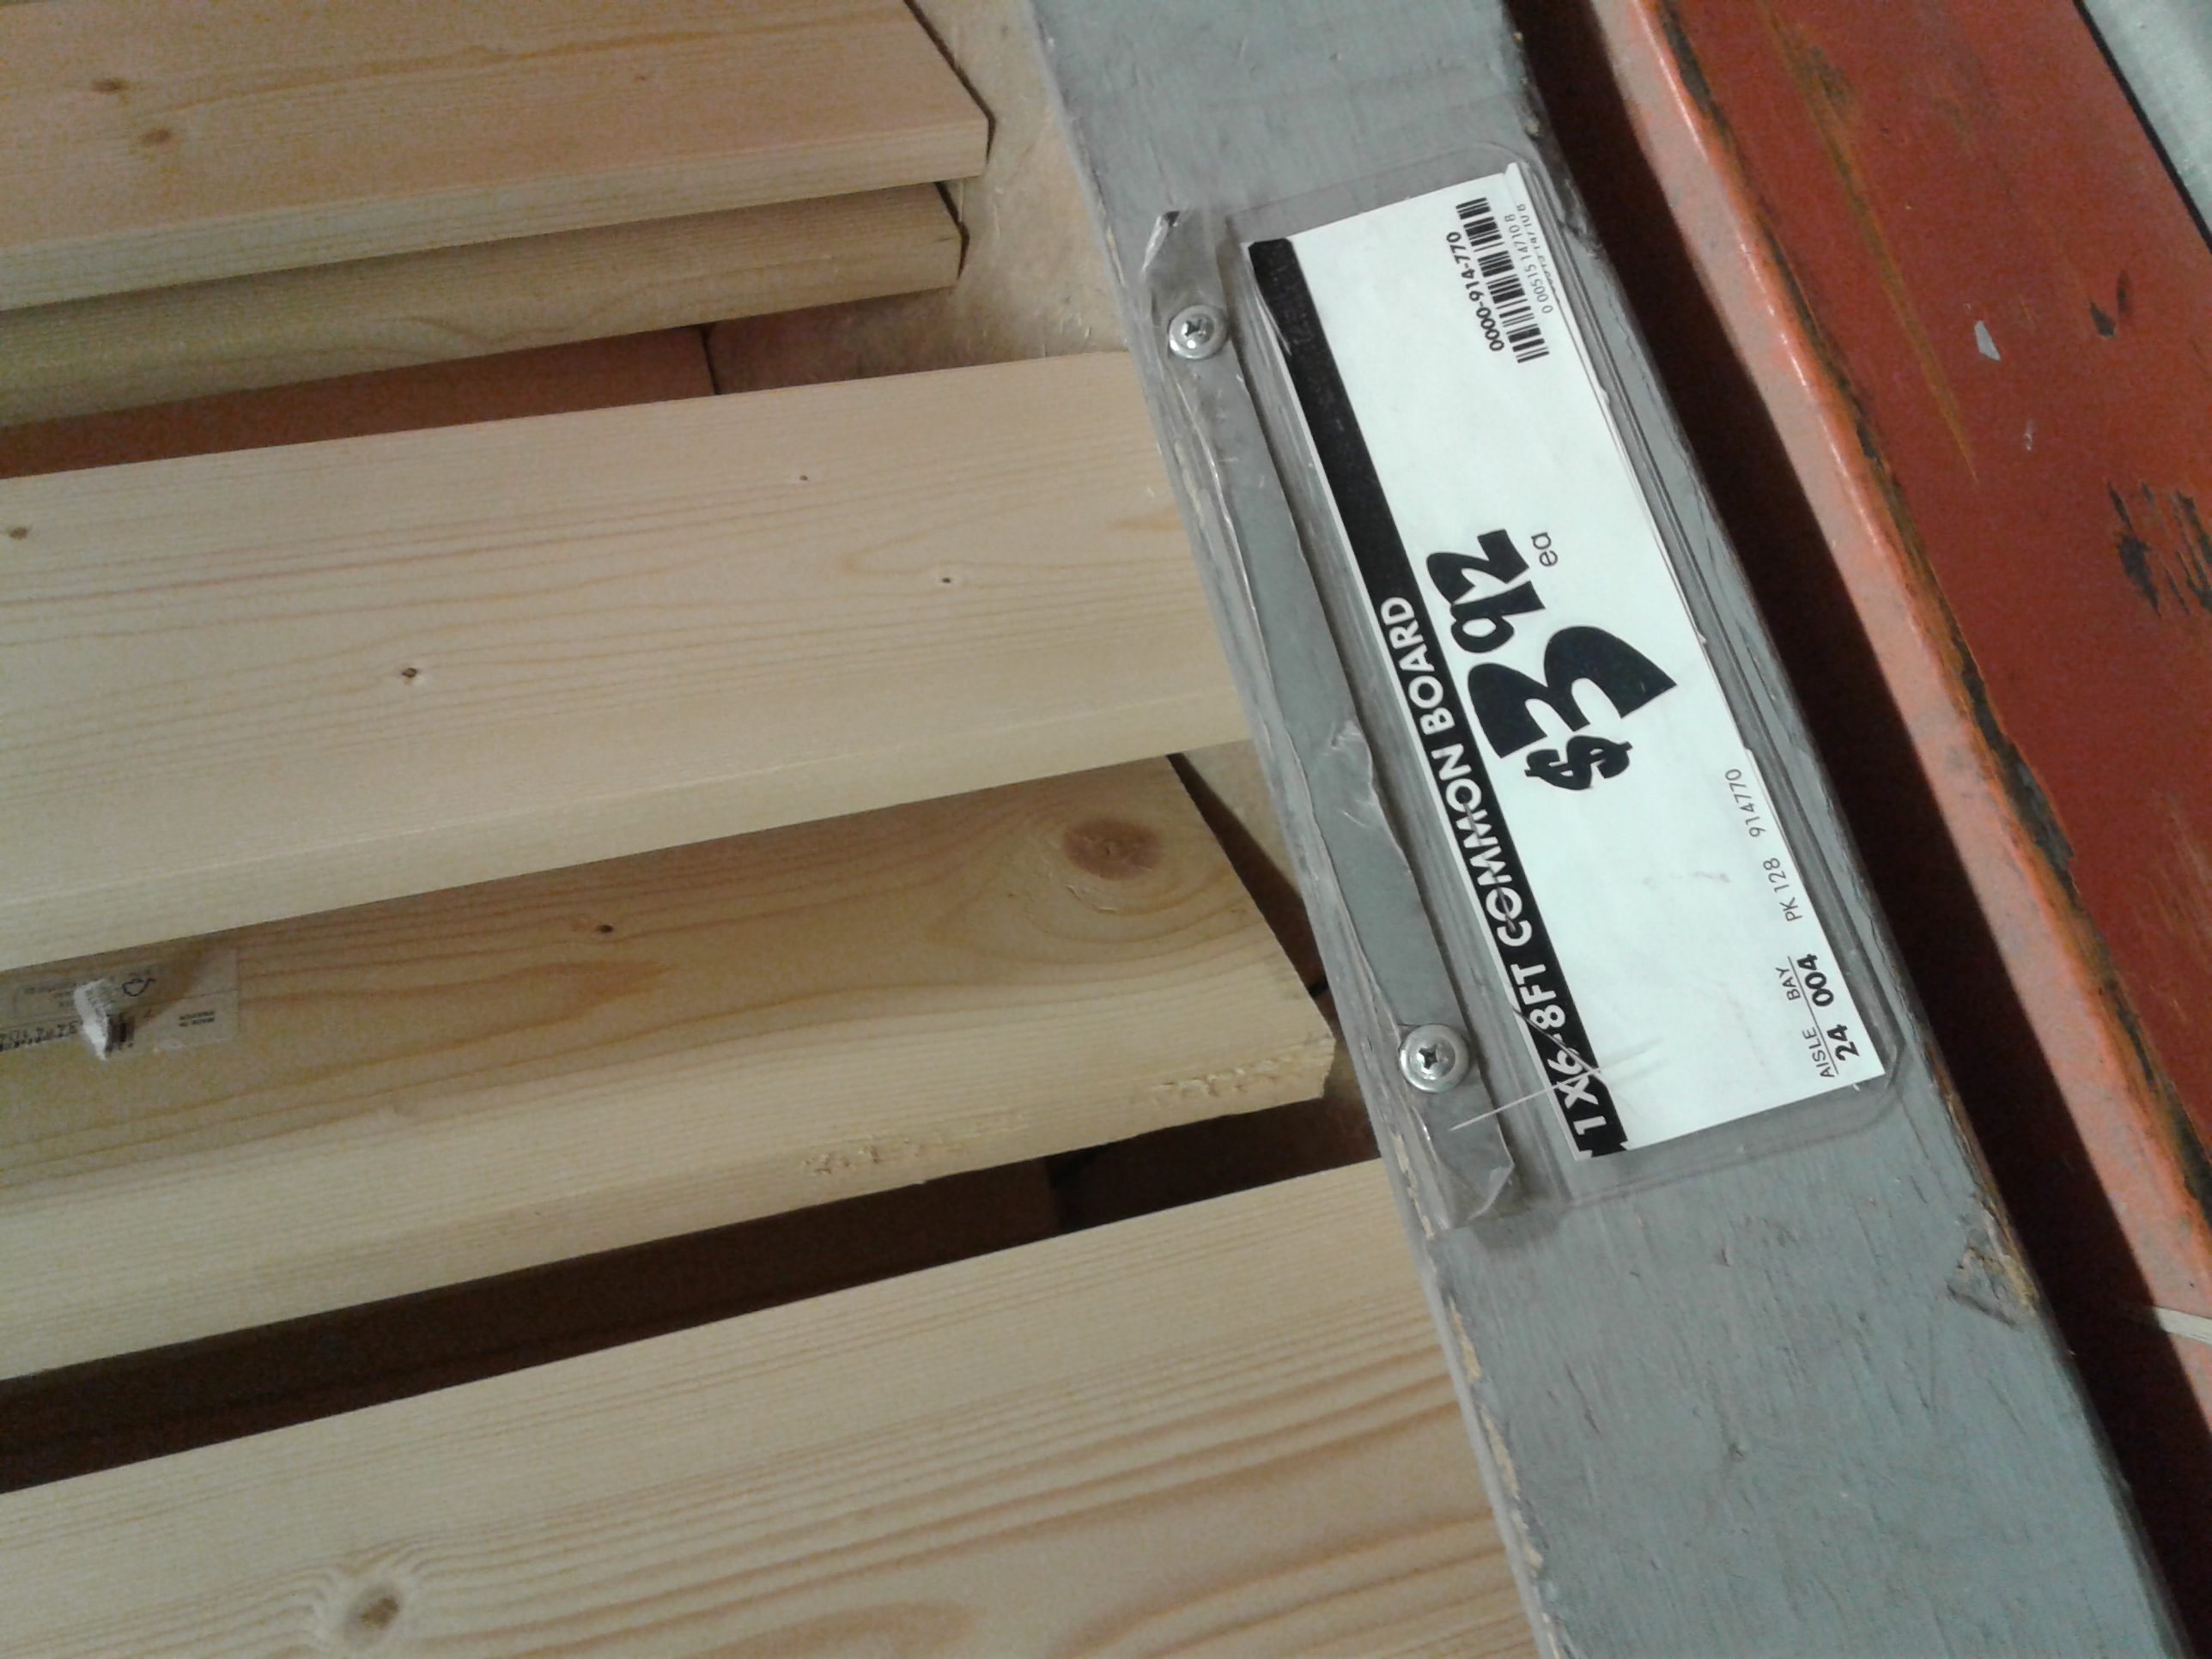
We found all of our wood and the Classic Grey wood stain
Start by measuring your mattress. I added 6" onto the total length so I would have about 3" extra on each side of the bed. I wasn't too picky about the height, just as long it was short enough to not hit the part of our wall where it starts to angle up toward the ceiling.
Once you have all your measurements, use your chop saw or cut off saw

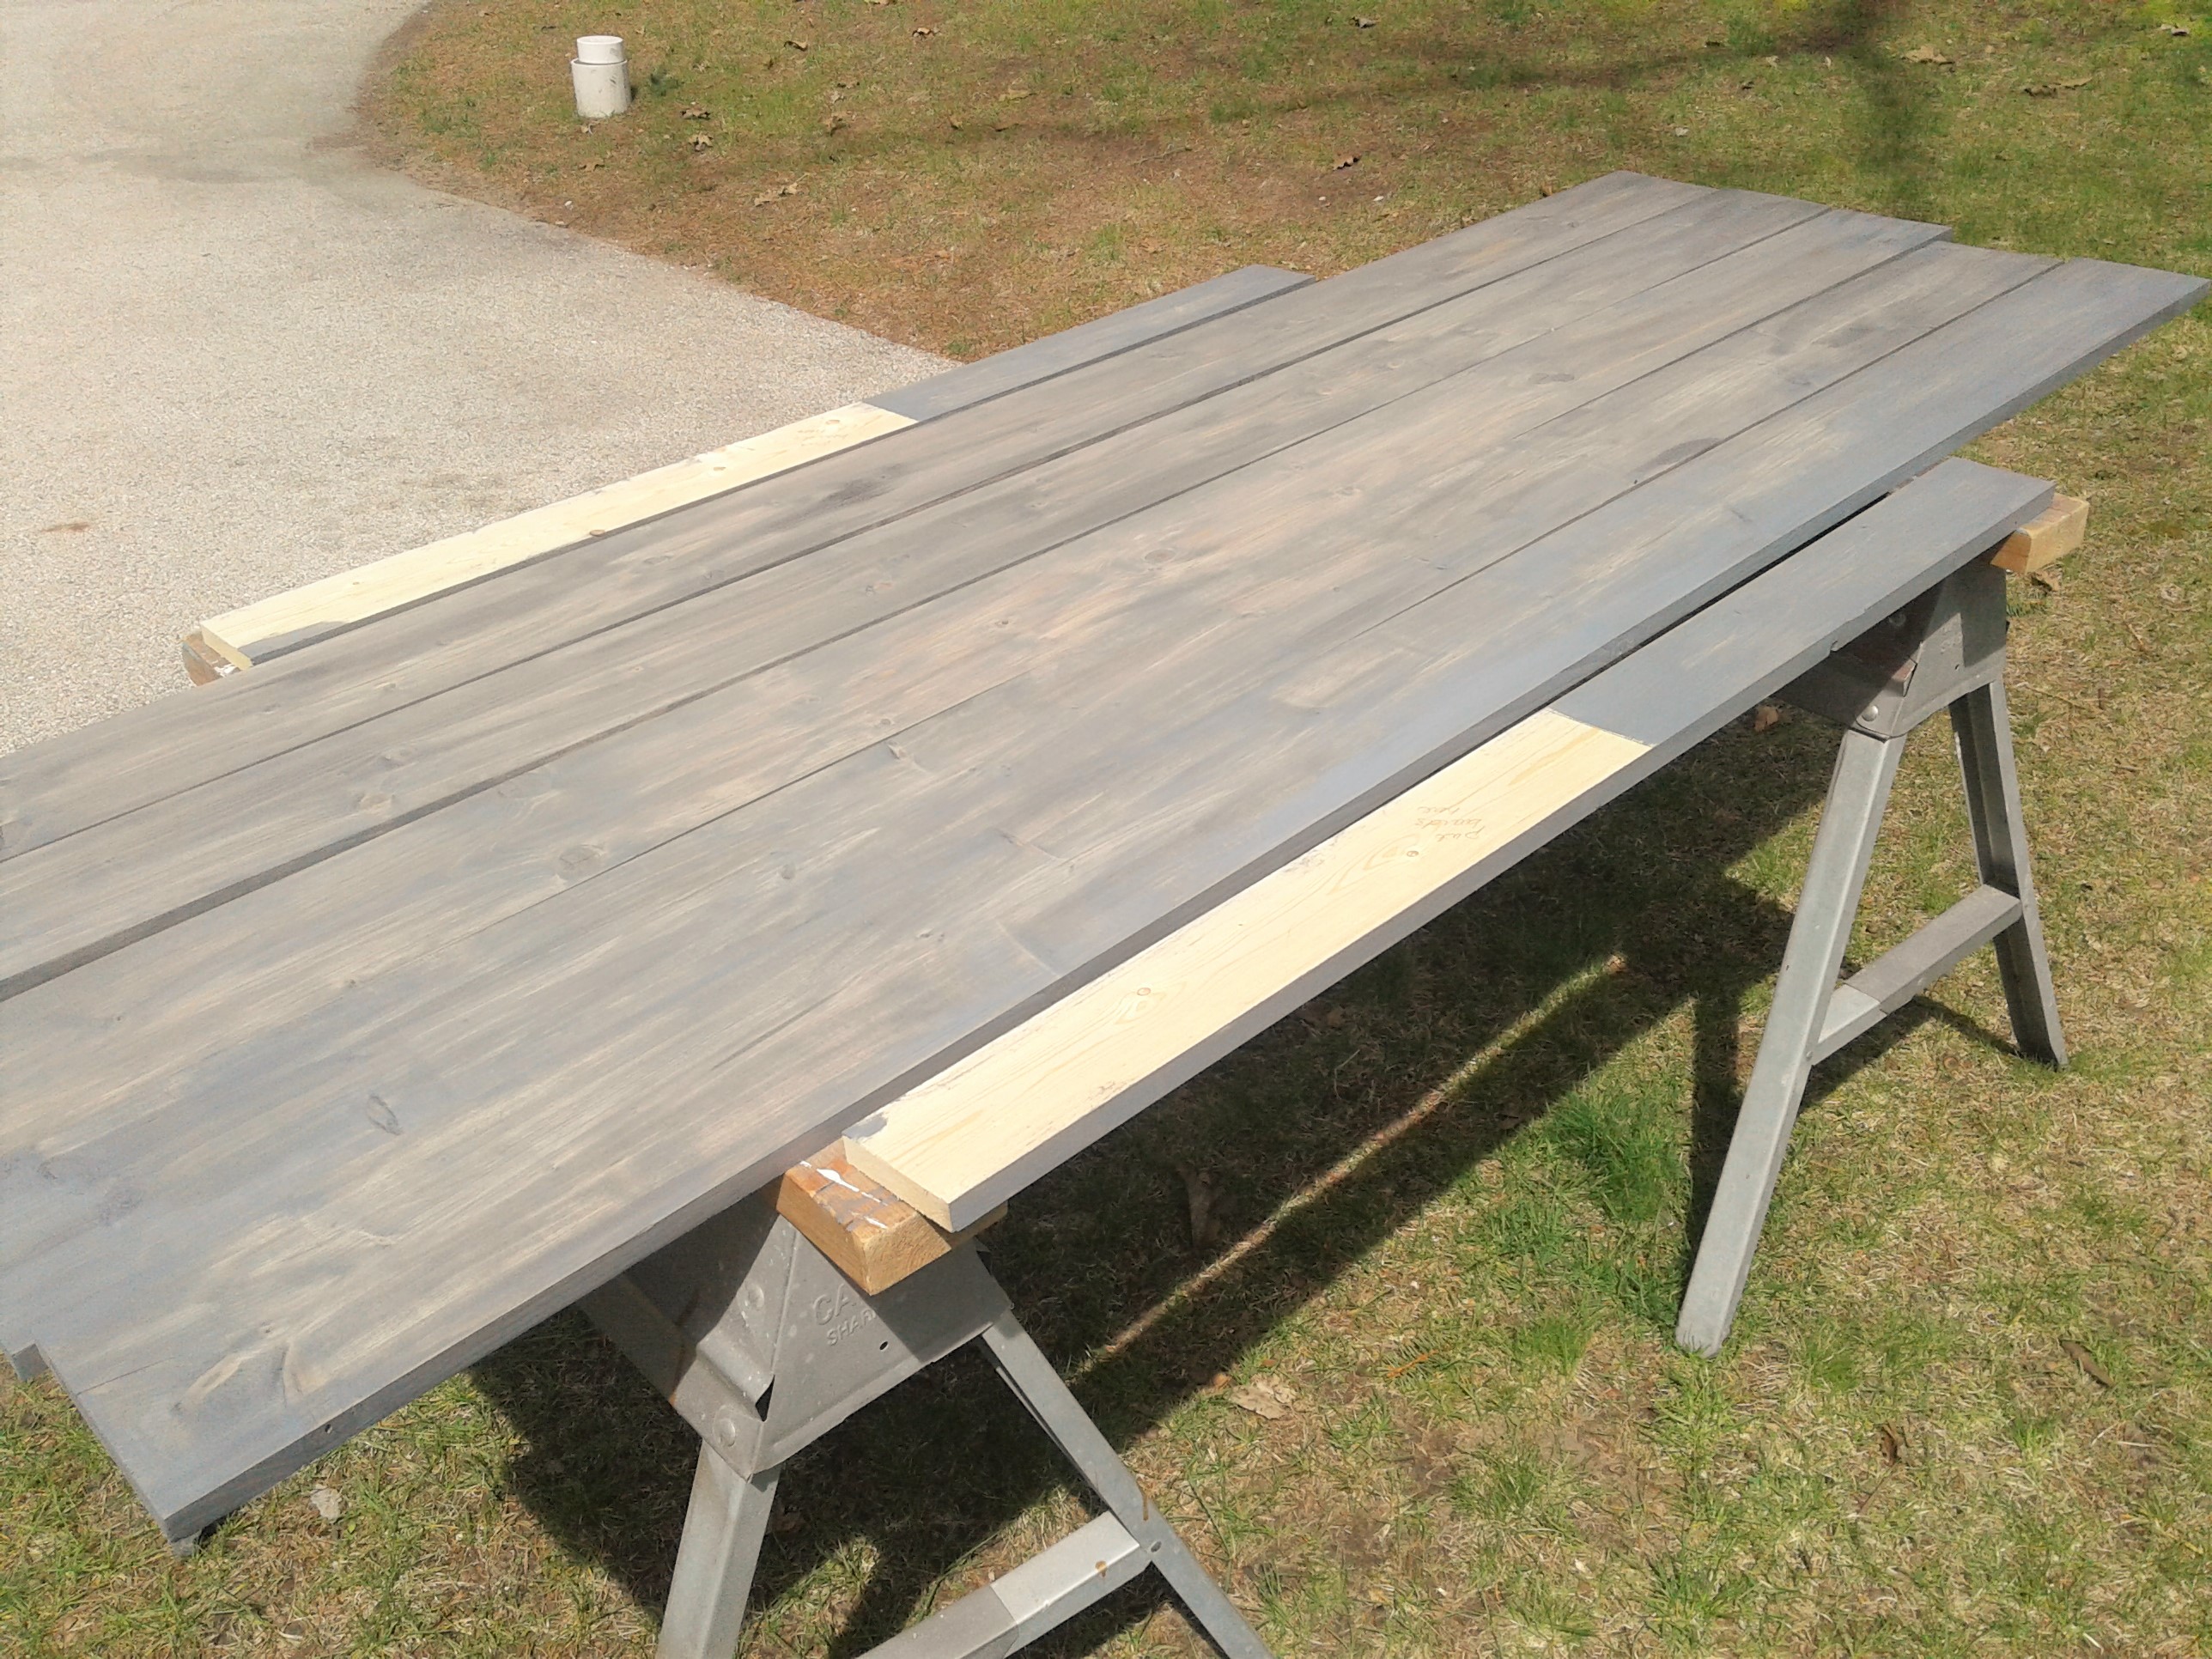
Once you have all your boards cut you can either stain your wood
Once your boards are dry you are ready to assemble your headboard. Take out your 1x4 boards, lay them on the ground and mark on them where you want your first/bottom board to go. I wanted my headboard about 2-3 inches below the top of my mattress so I measured that length and then marked that spot on each of my 1x4's so I knew where to nail my first board.
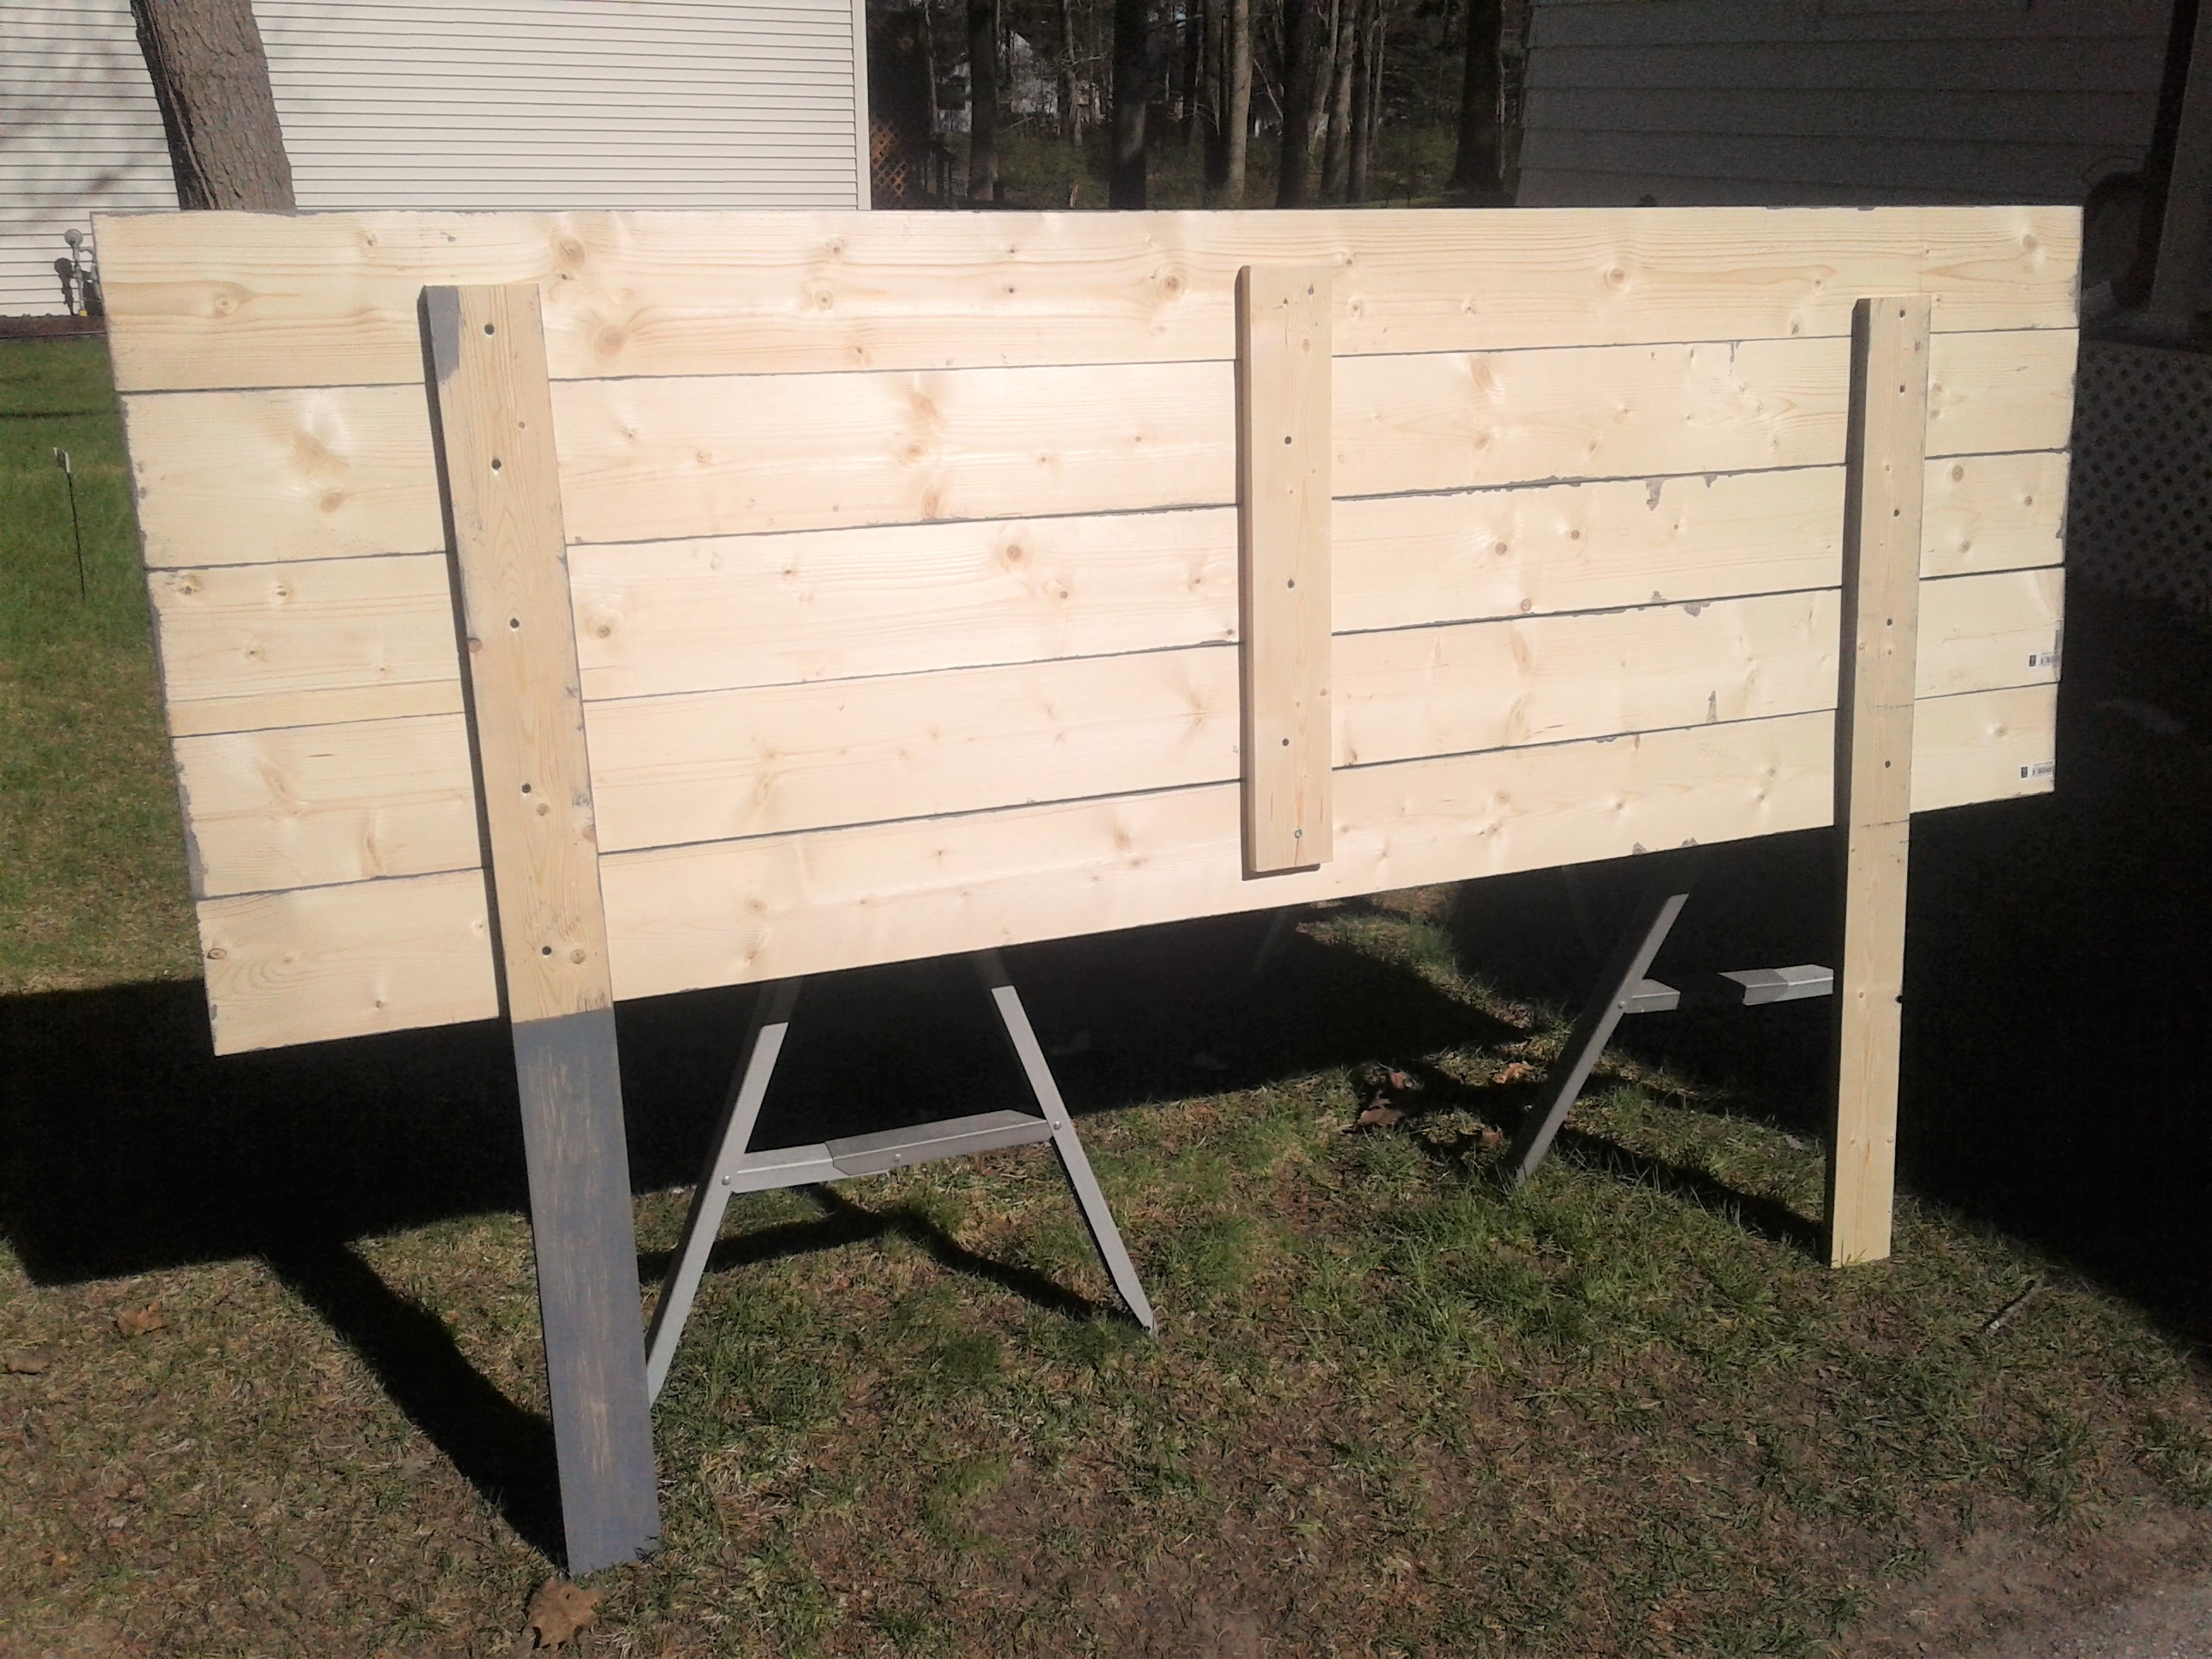
This is the backside of my headboard so you can see how I have all the boards laid out. Once you have it set out and all your boards are cut correctly, begin attaching your 1x6 boards to your 1x4 boards. I used 2 screws per board - 1 screw into each 1x4 board to make sure it was nice and secure. I also had some 1x4 left over so I used it in the middle of the headboard for extra support.
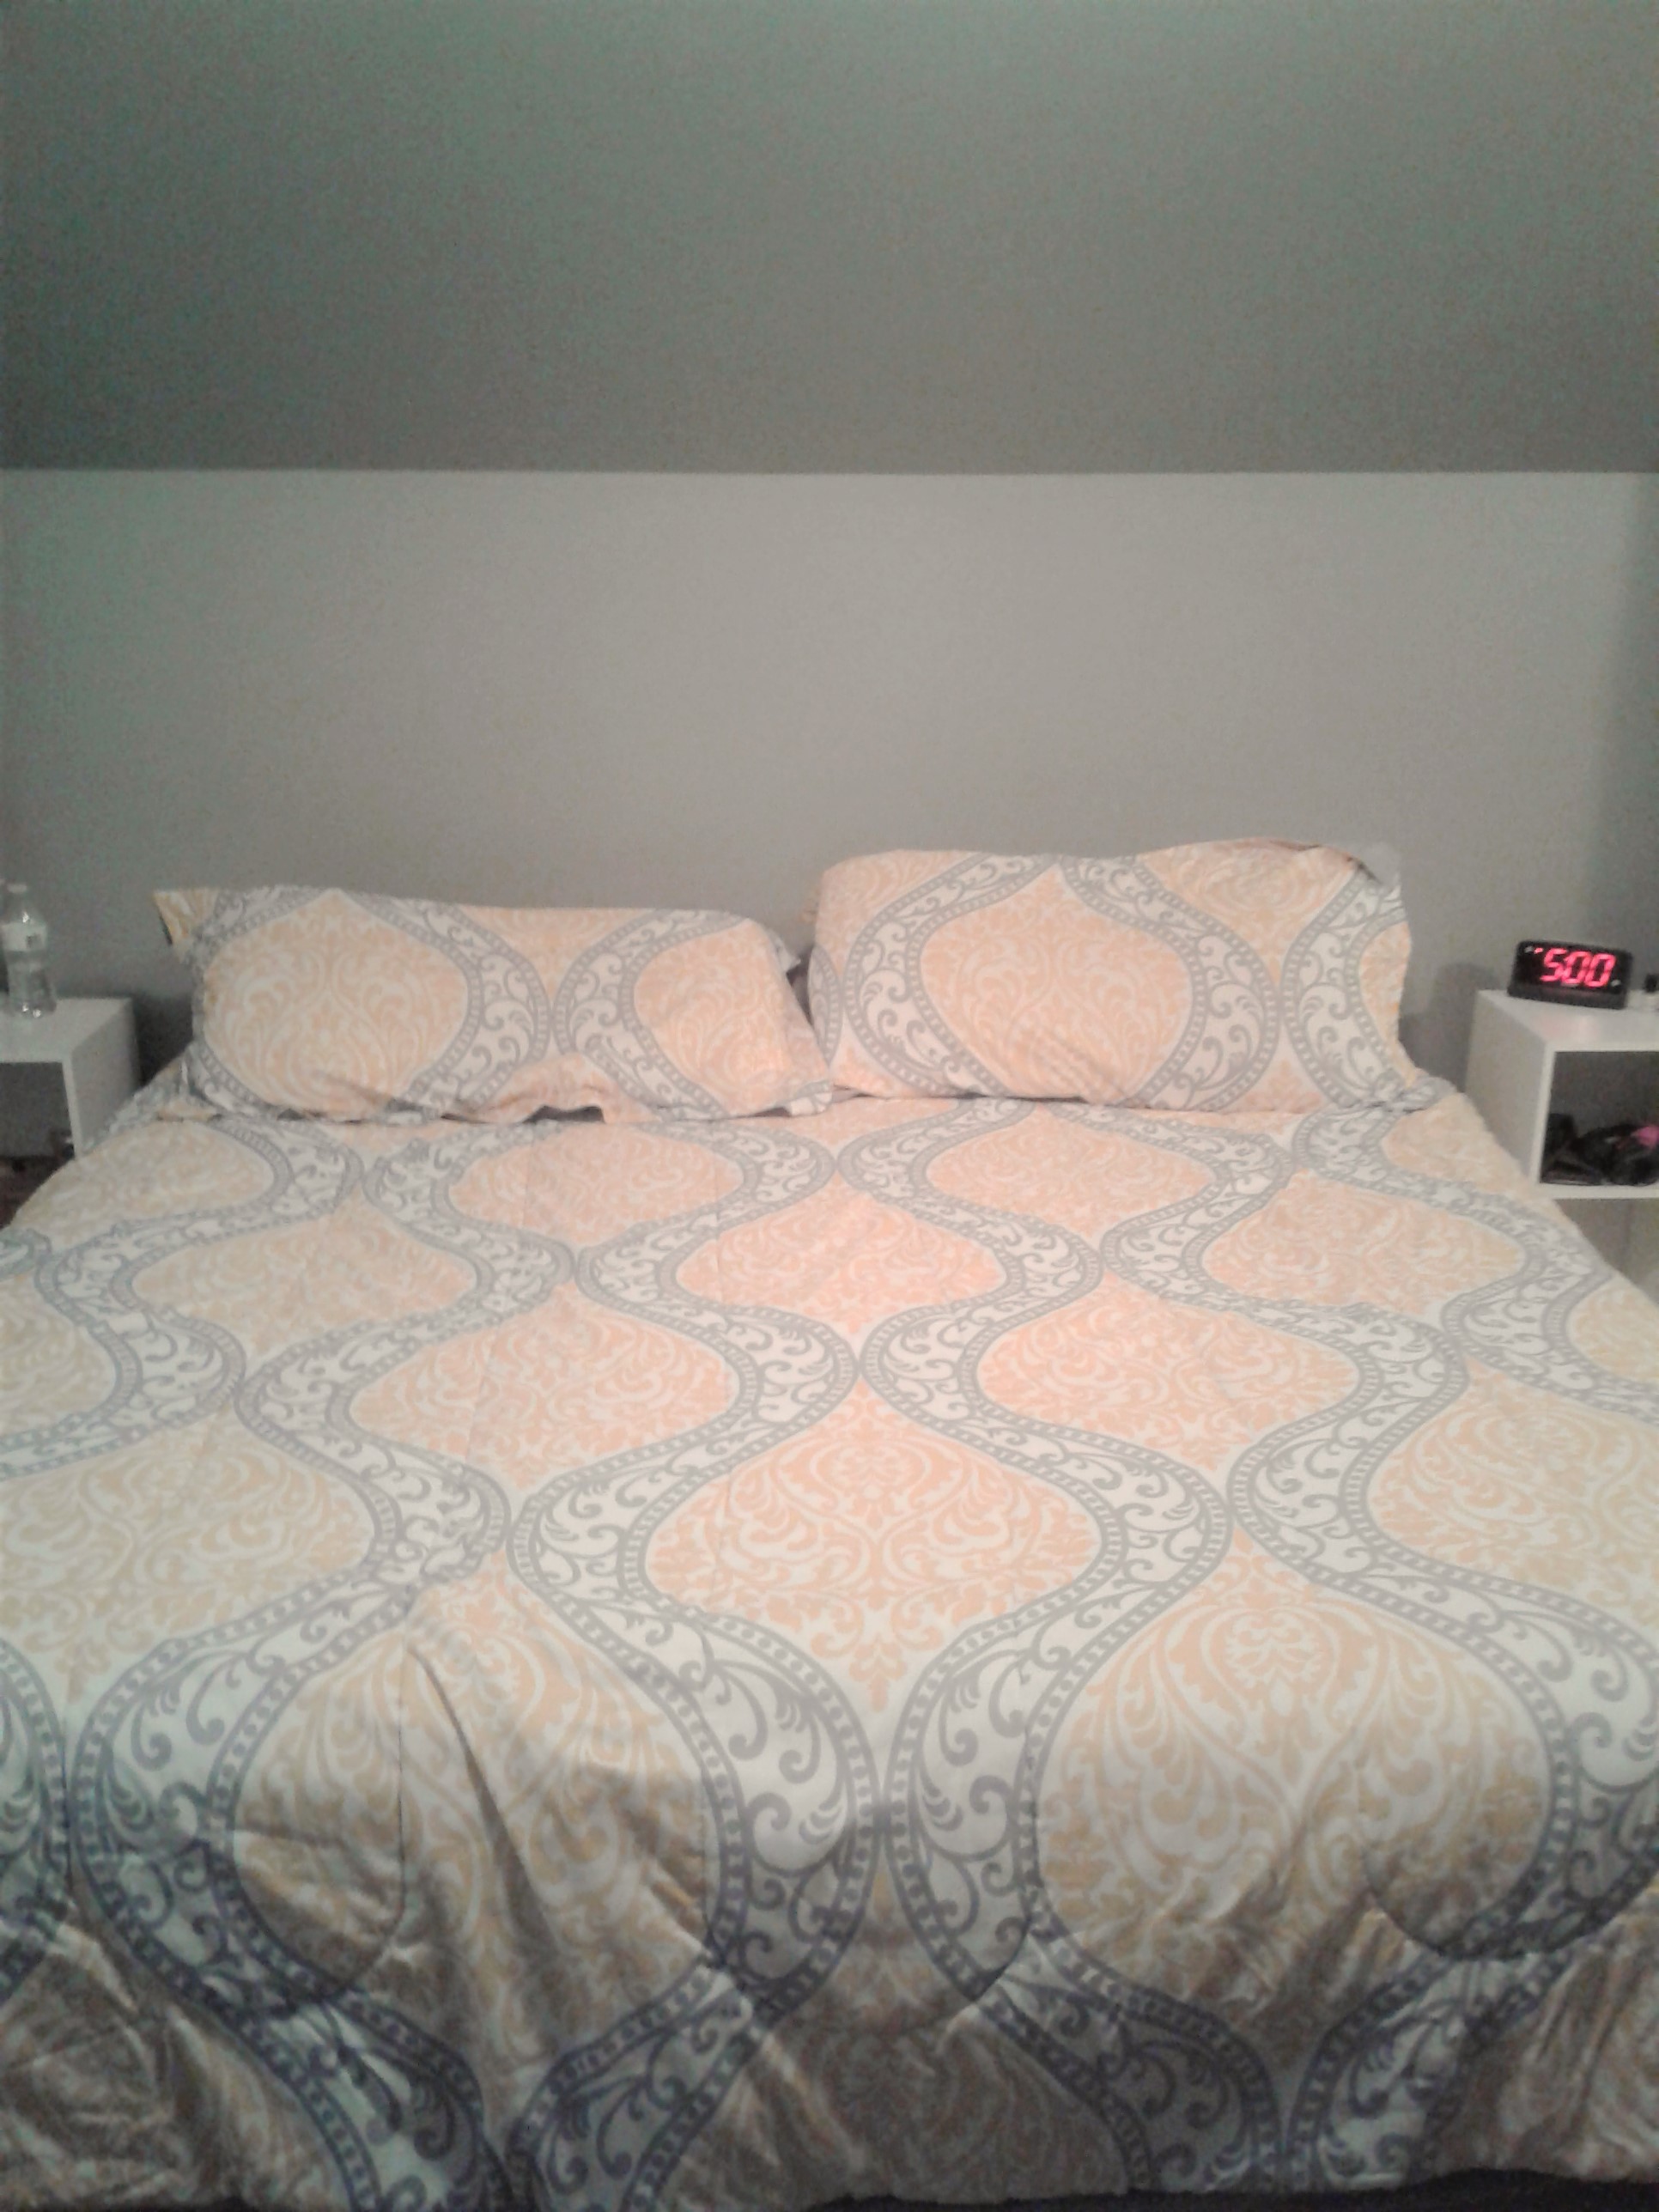
Once you have it all done, you are ready to place it. I set my headboard in place and pushed my mattresses up against it to hold it in place. My bed is so stinkin' heavy that my headboard doesn't move so this works great for me. If you prefer, you could add mounting brackets
It looks so much better! I'm glad I finally decided to DIY my rustic wood headboard.

do it yourself
CrazyDIYmom.com Contact Us Privacy Policy Disclaimer About me