
DIY home projects
This post may contain affiliate links.
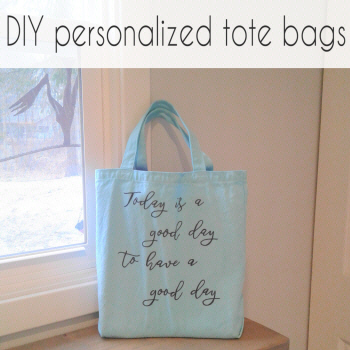
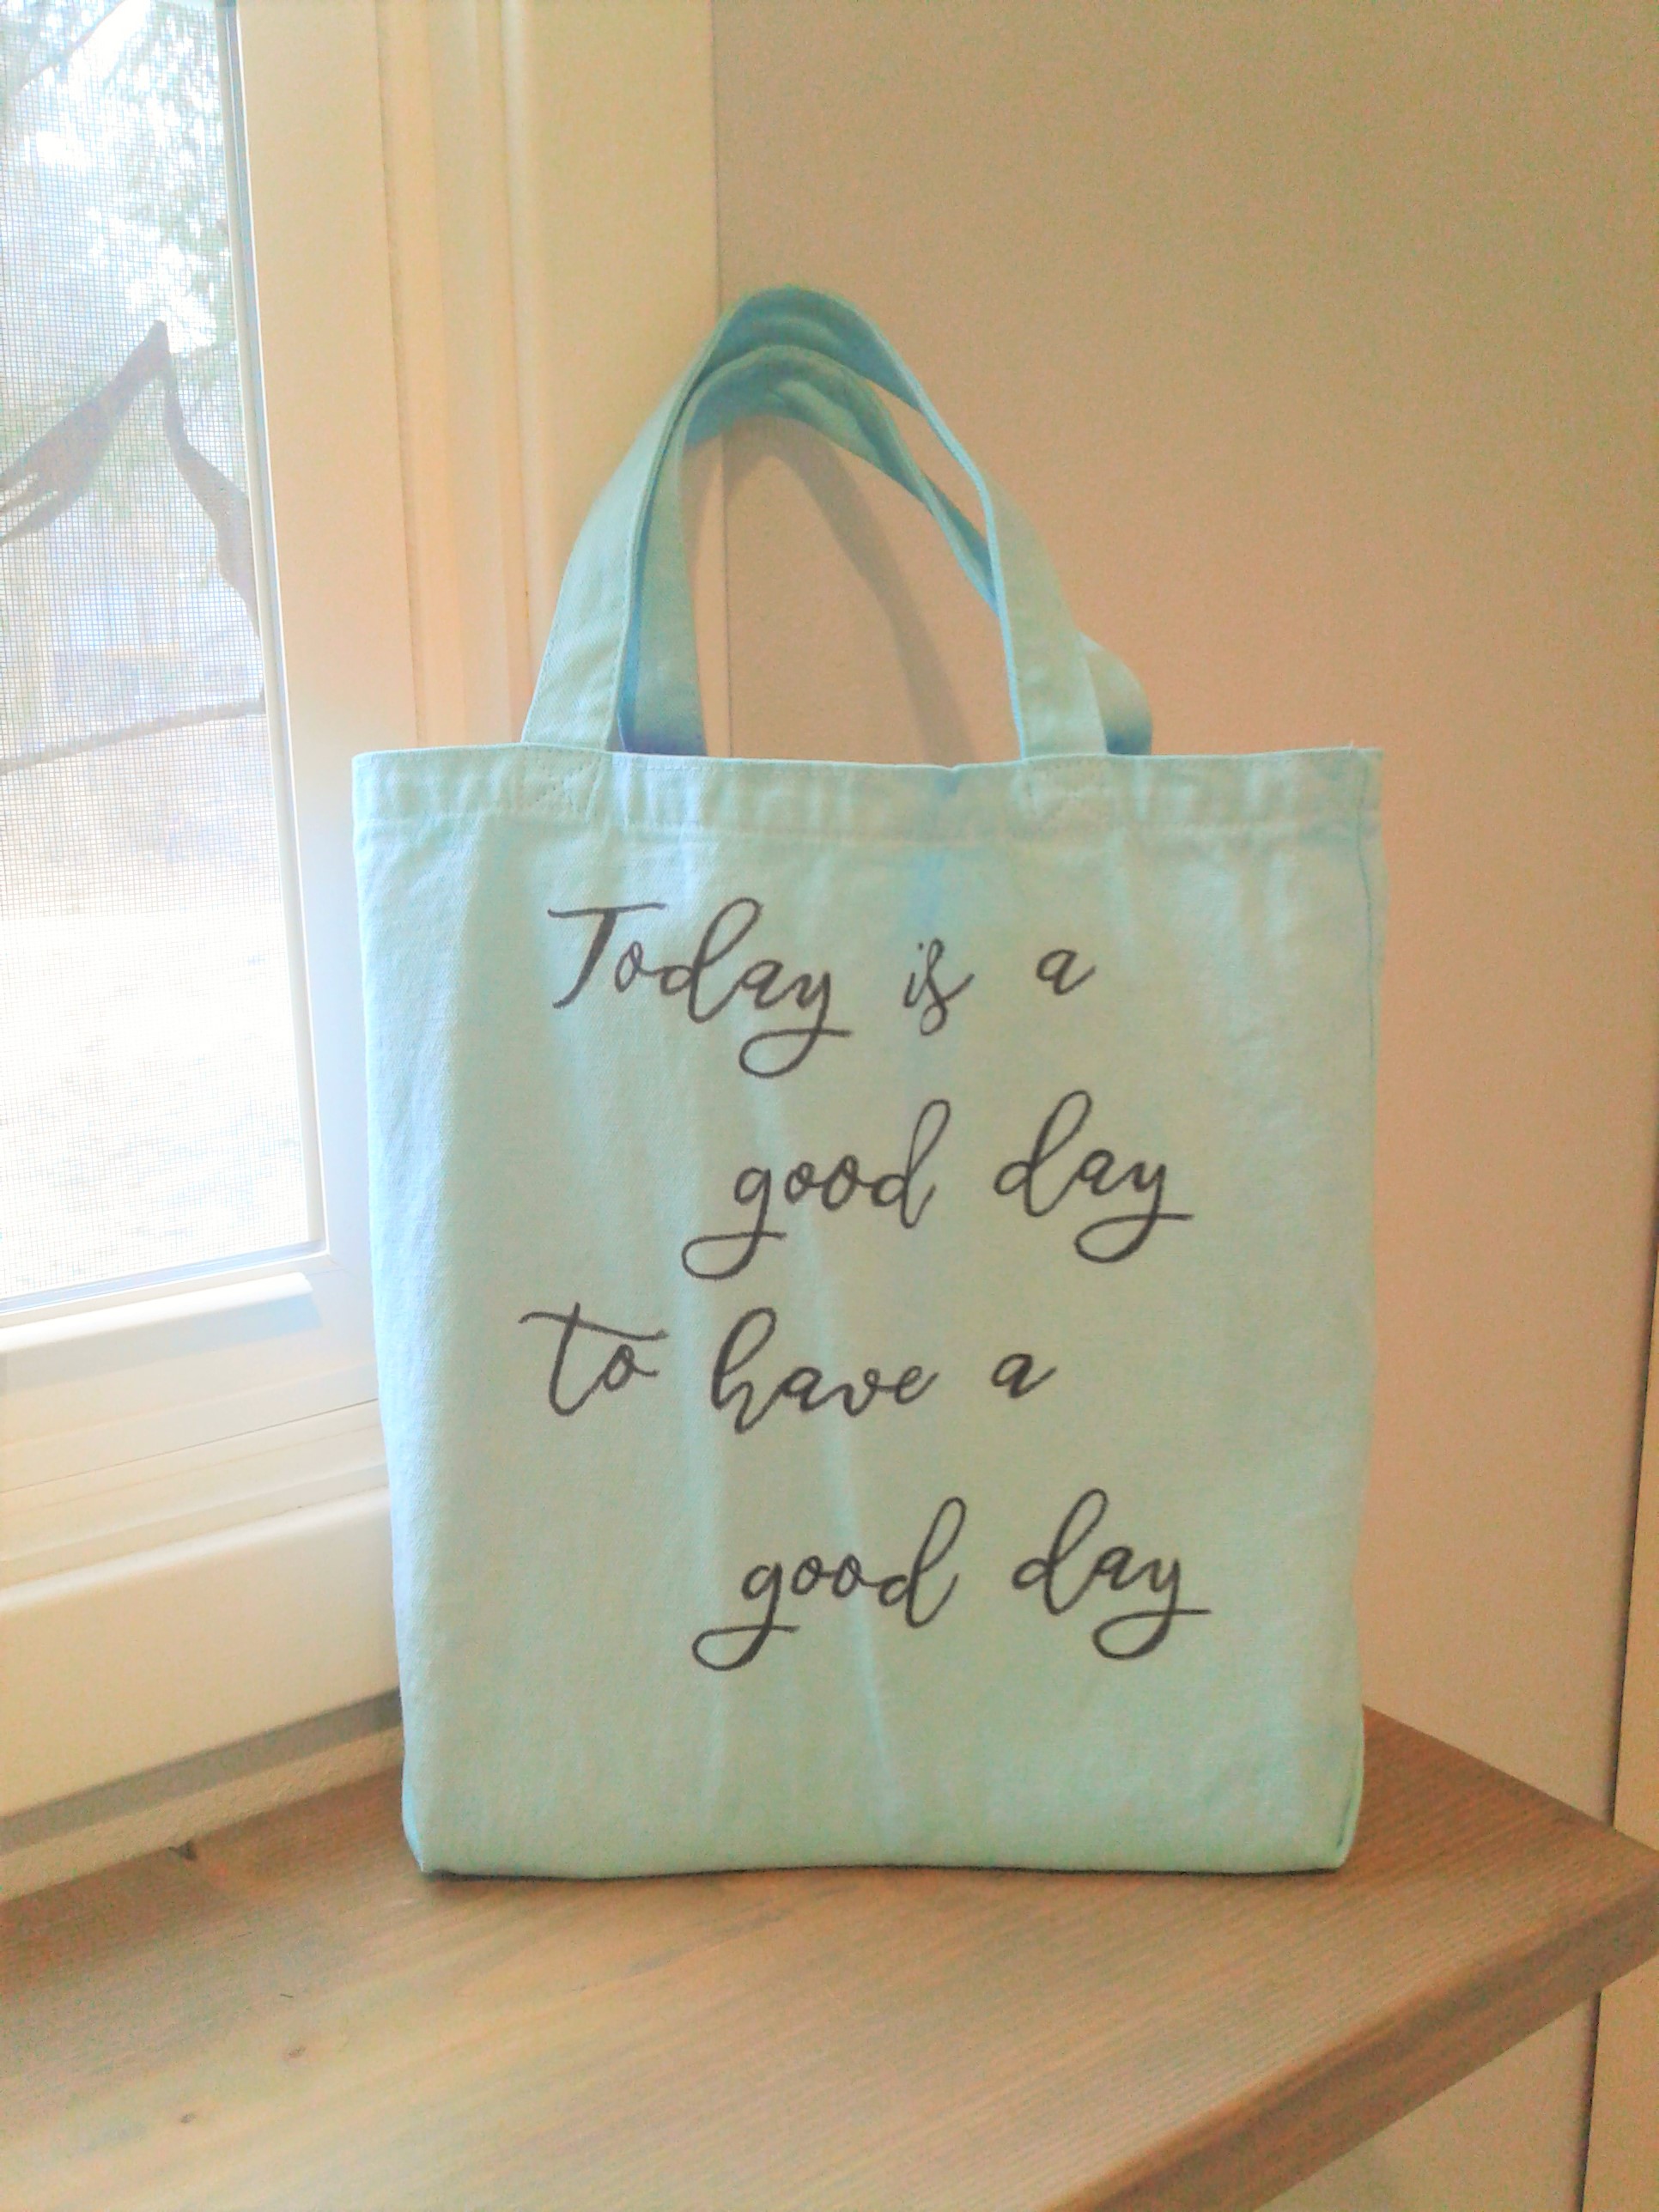
This is my new favorite tote bag! I love the saying on it. I keep some of my blogging papers in it and it is exactly what I need to see to start my day.
And this is so easy to make. My only suggestion? Get multiple tote bags because you're going to want to make a few ;)
You will need:
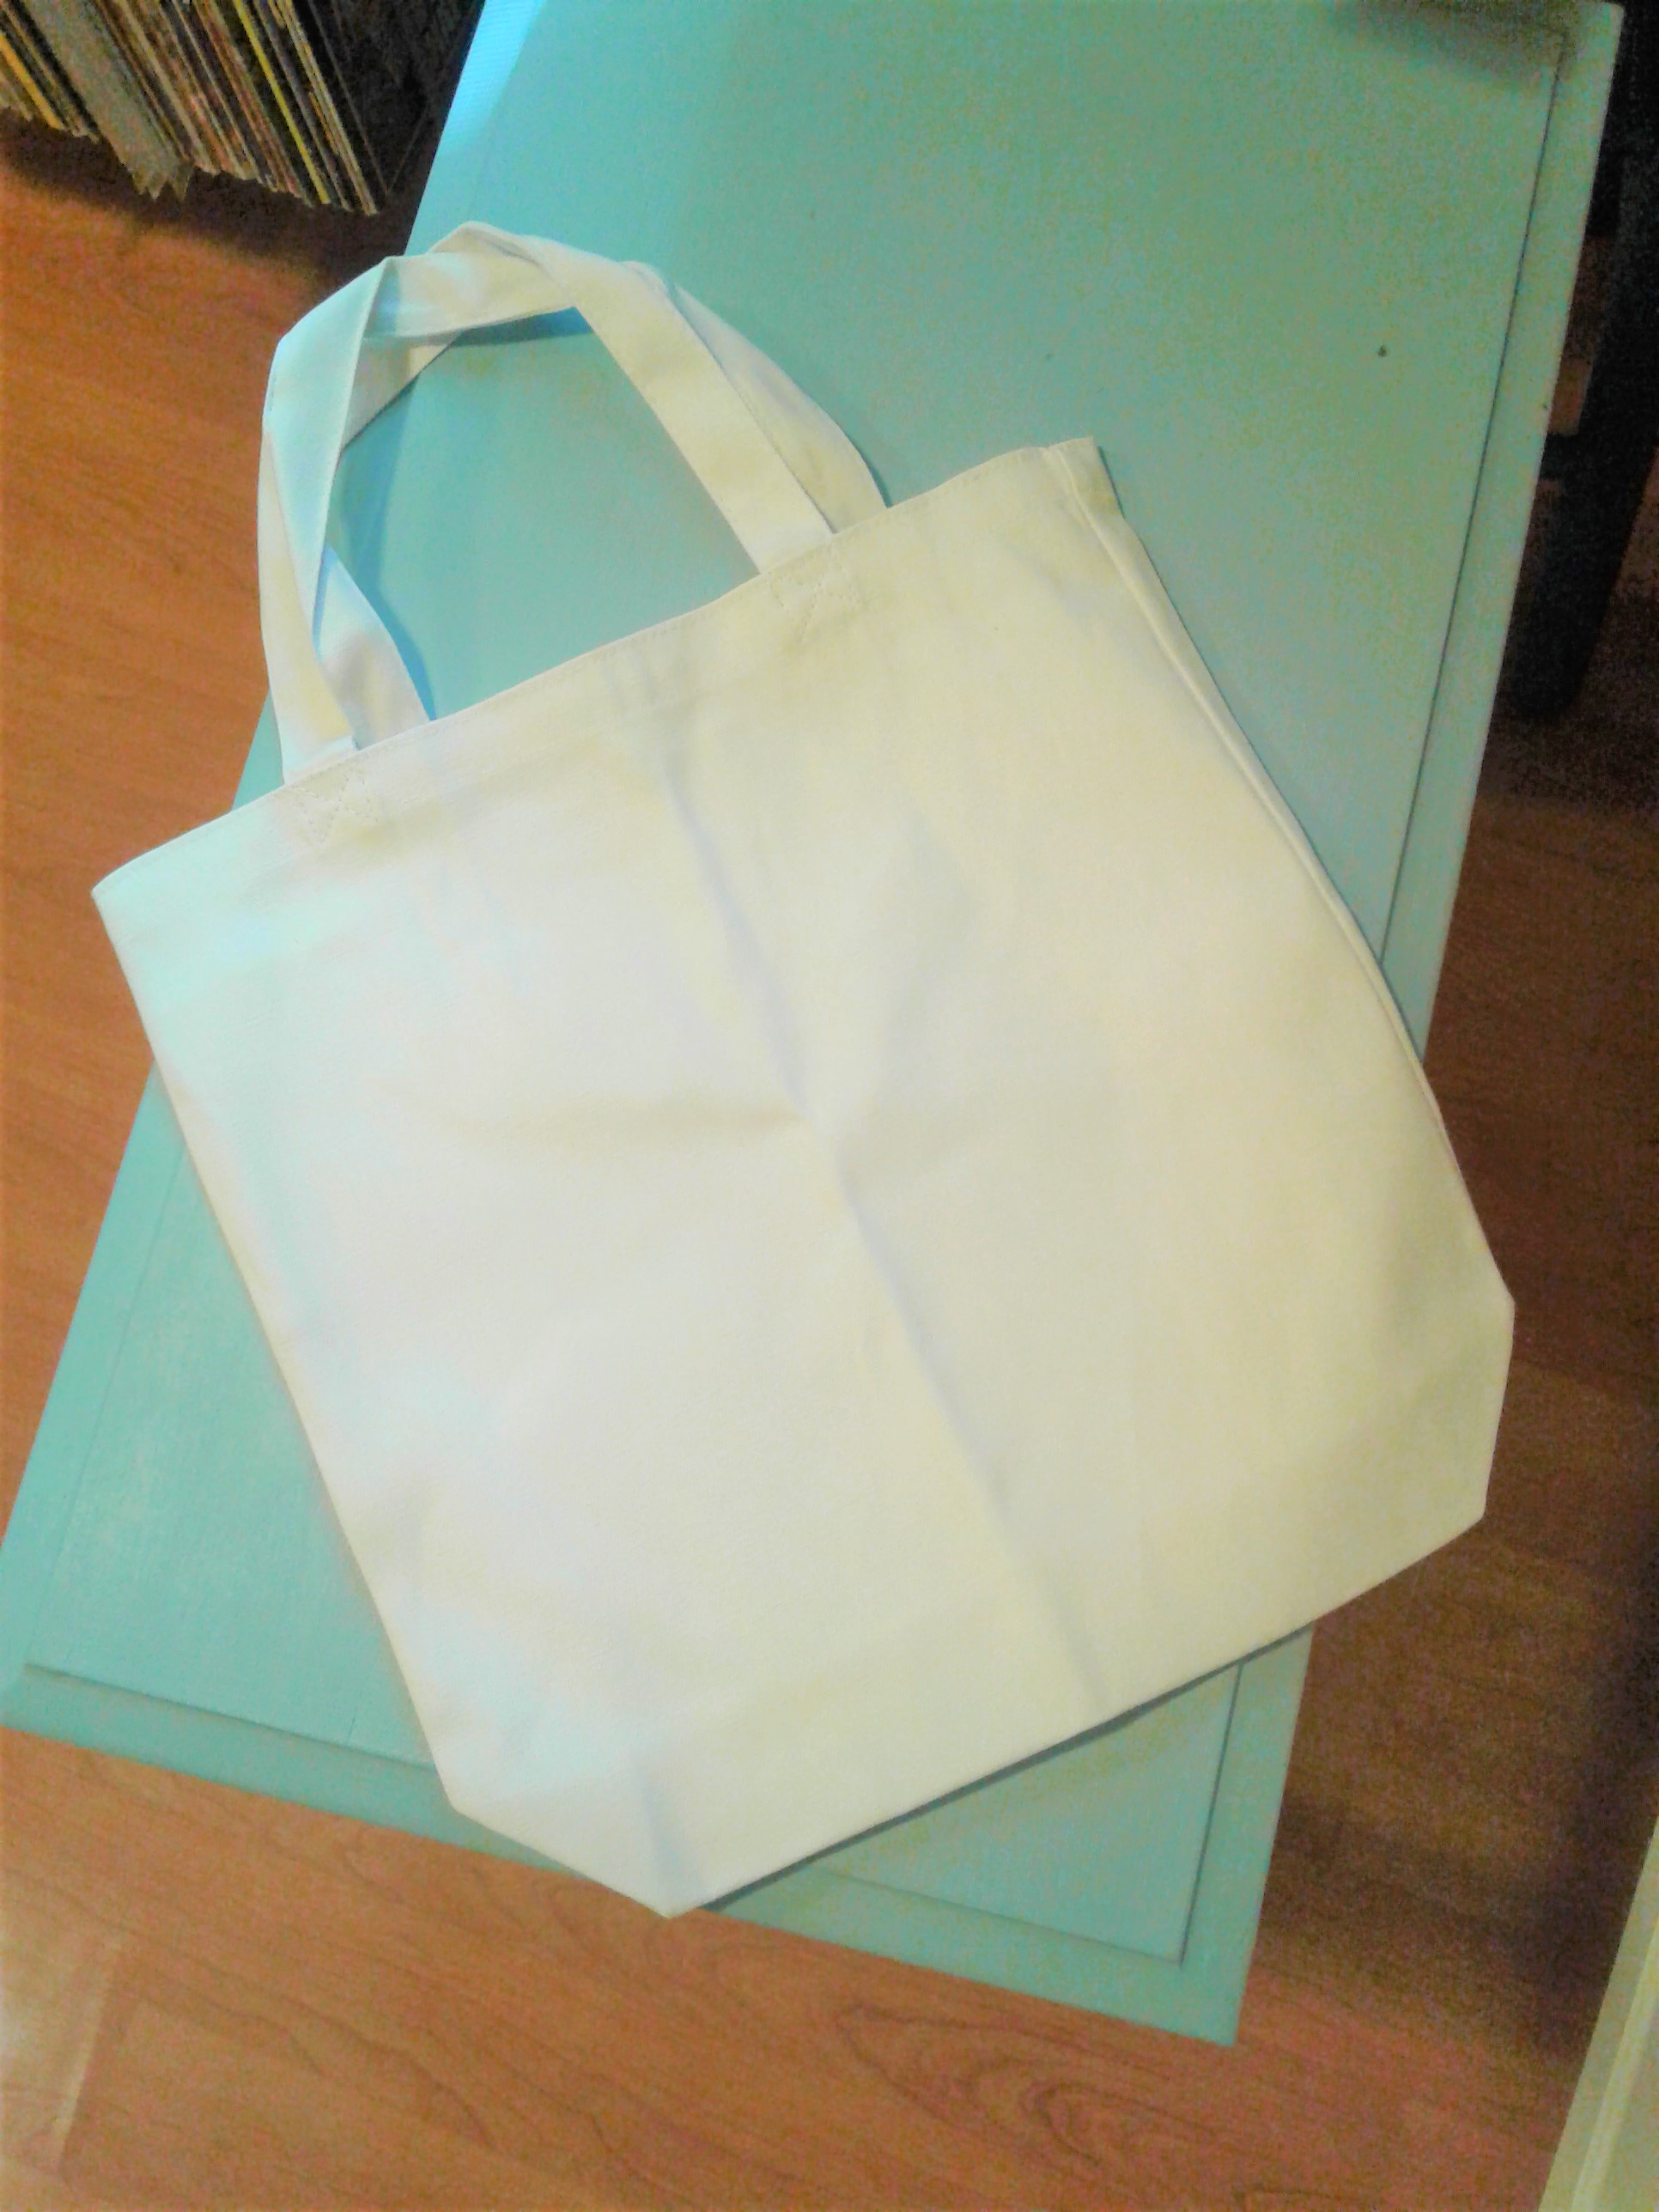
canvas tote bags
printer
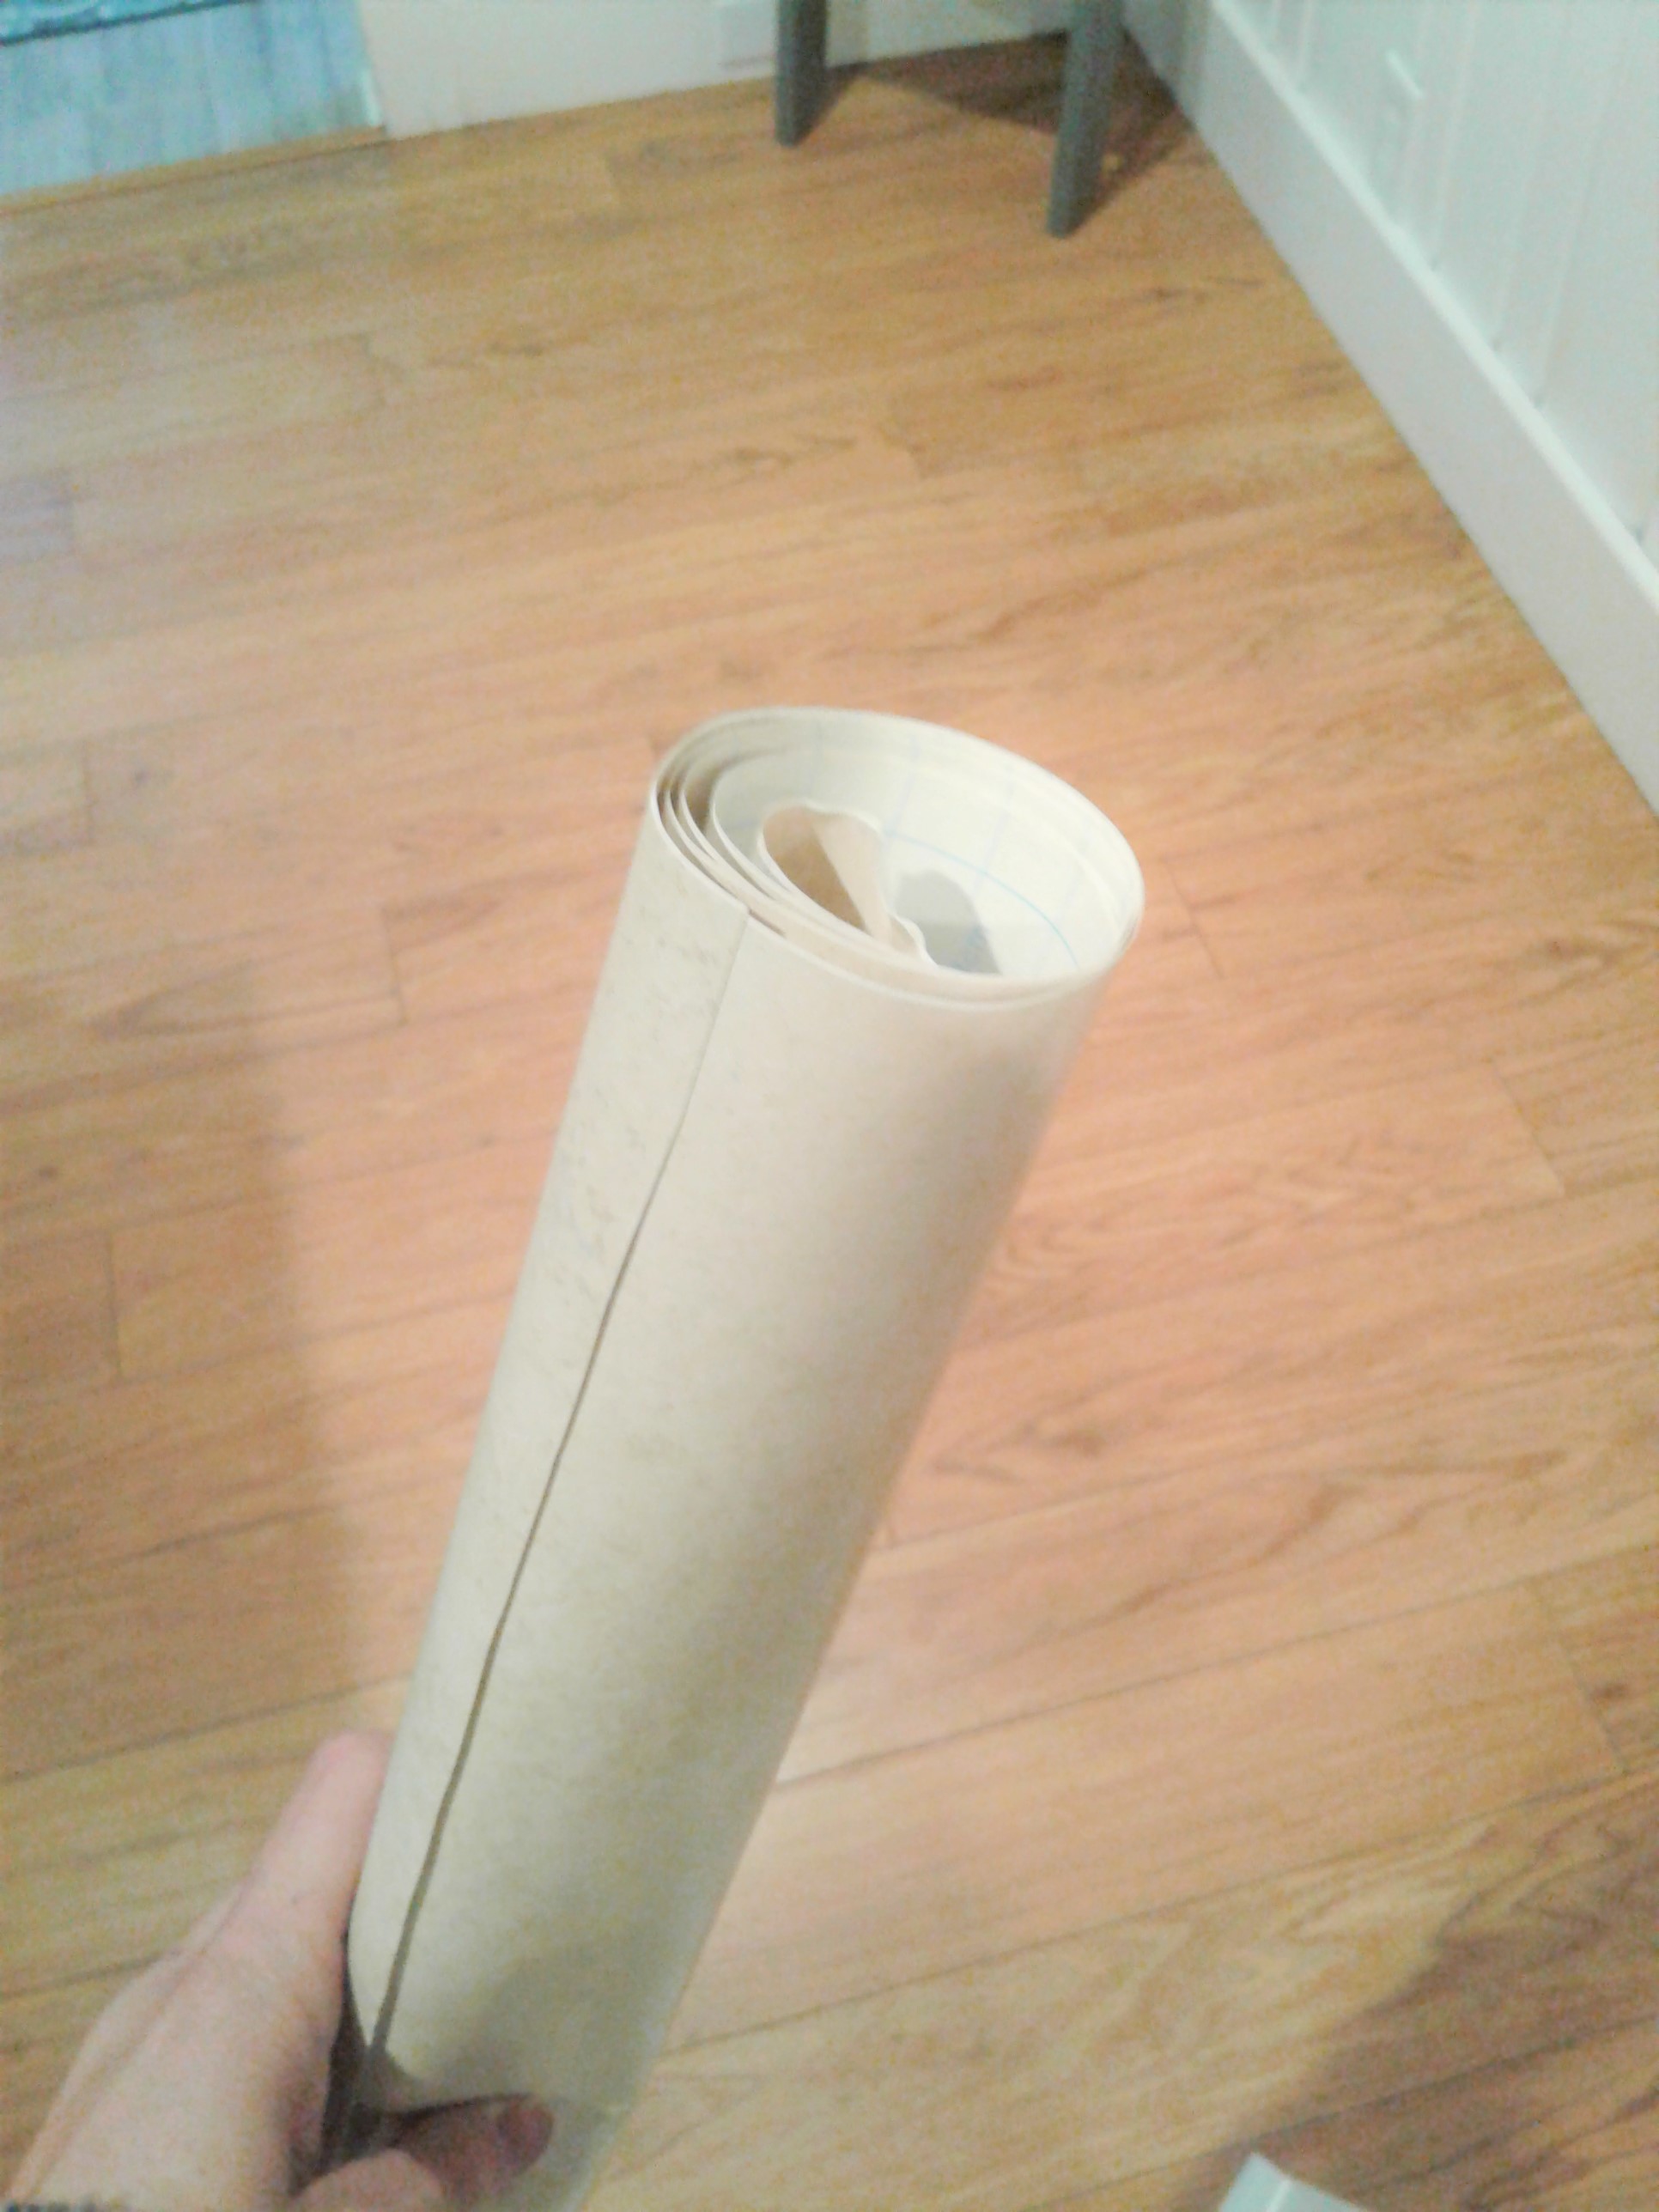
contact paper
permanent marker
Start by designing your saying on your computer making sure that it will fit on the size of the tote that you chose. When you have your image done, make sure to save the REVERSE image or the mirrored version of the image as this is how it will need to print.
If your tote bag came packaged up, use an iron to make sure the tote bag is nice and smooth where you plan to apply your image.
Your next step is to take your contact paper
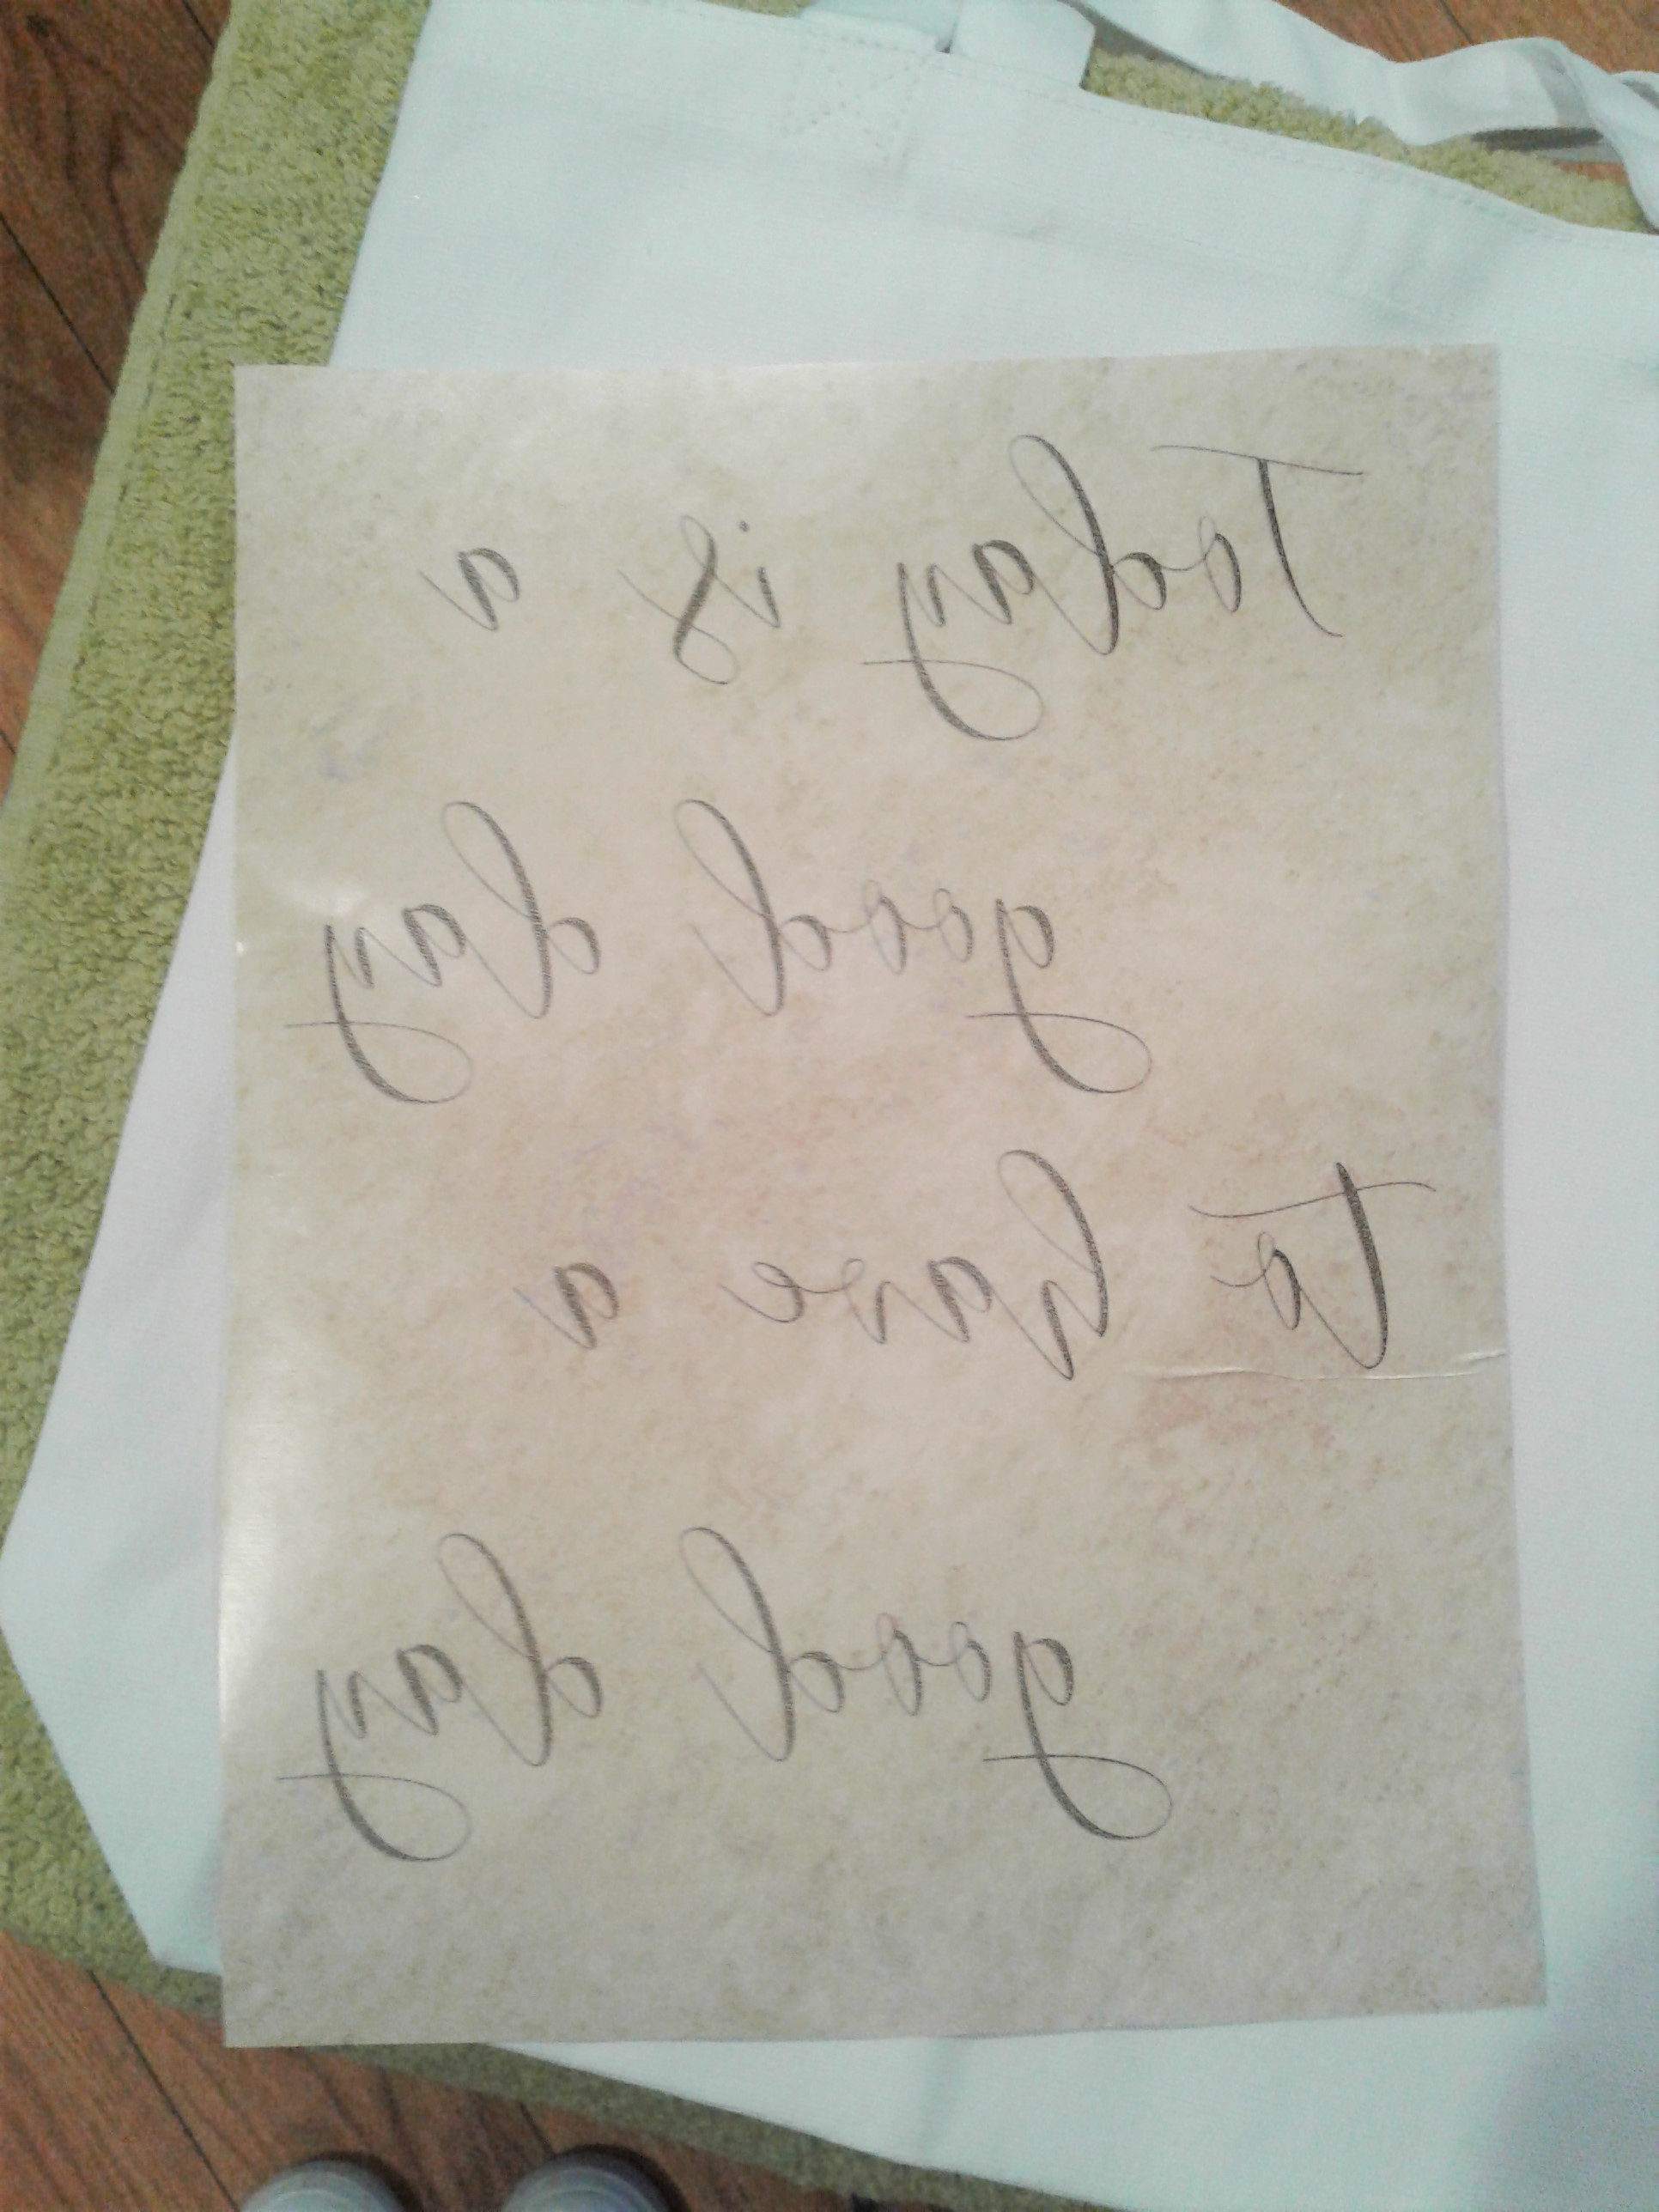
Put your piece of paper with the contact paper side up so that your ink will print on the contact paper side of the paper. Don't forget to print the mirrored version! When your image comes out of the printer, be careful not to touch the ink. The ink doesn't dry when it's printed on the contact paper which is what allows it to transfer to your tote bag.
When printed, your image should look like this:
Carefully take your image and place it down on your tote where you want the image applied. Make sure when you set your paper down you do not move the paper or the image will smear on your tote. Holding the image firmly in place, use your hand or the back of a spoon to rub all over the back side of the image to help transfer the ink onto the tote bag. You can carefully peel up a corner and see if it has transfered good or where you need to rub some more.
When your image has transfered, carefully lift up your image. If you are happy with the way your image looks, then let it dry and you're done!
(I didn't realize this next photo was so bad until I had already started the next step....oops)
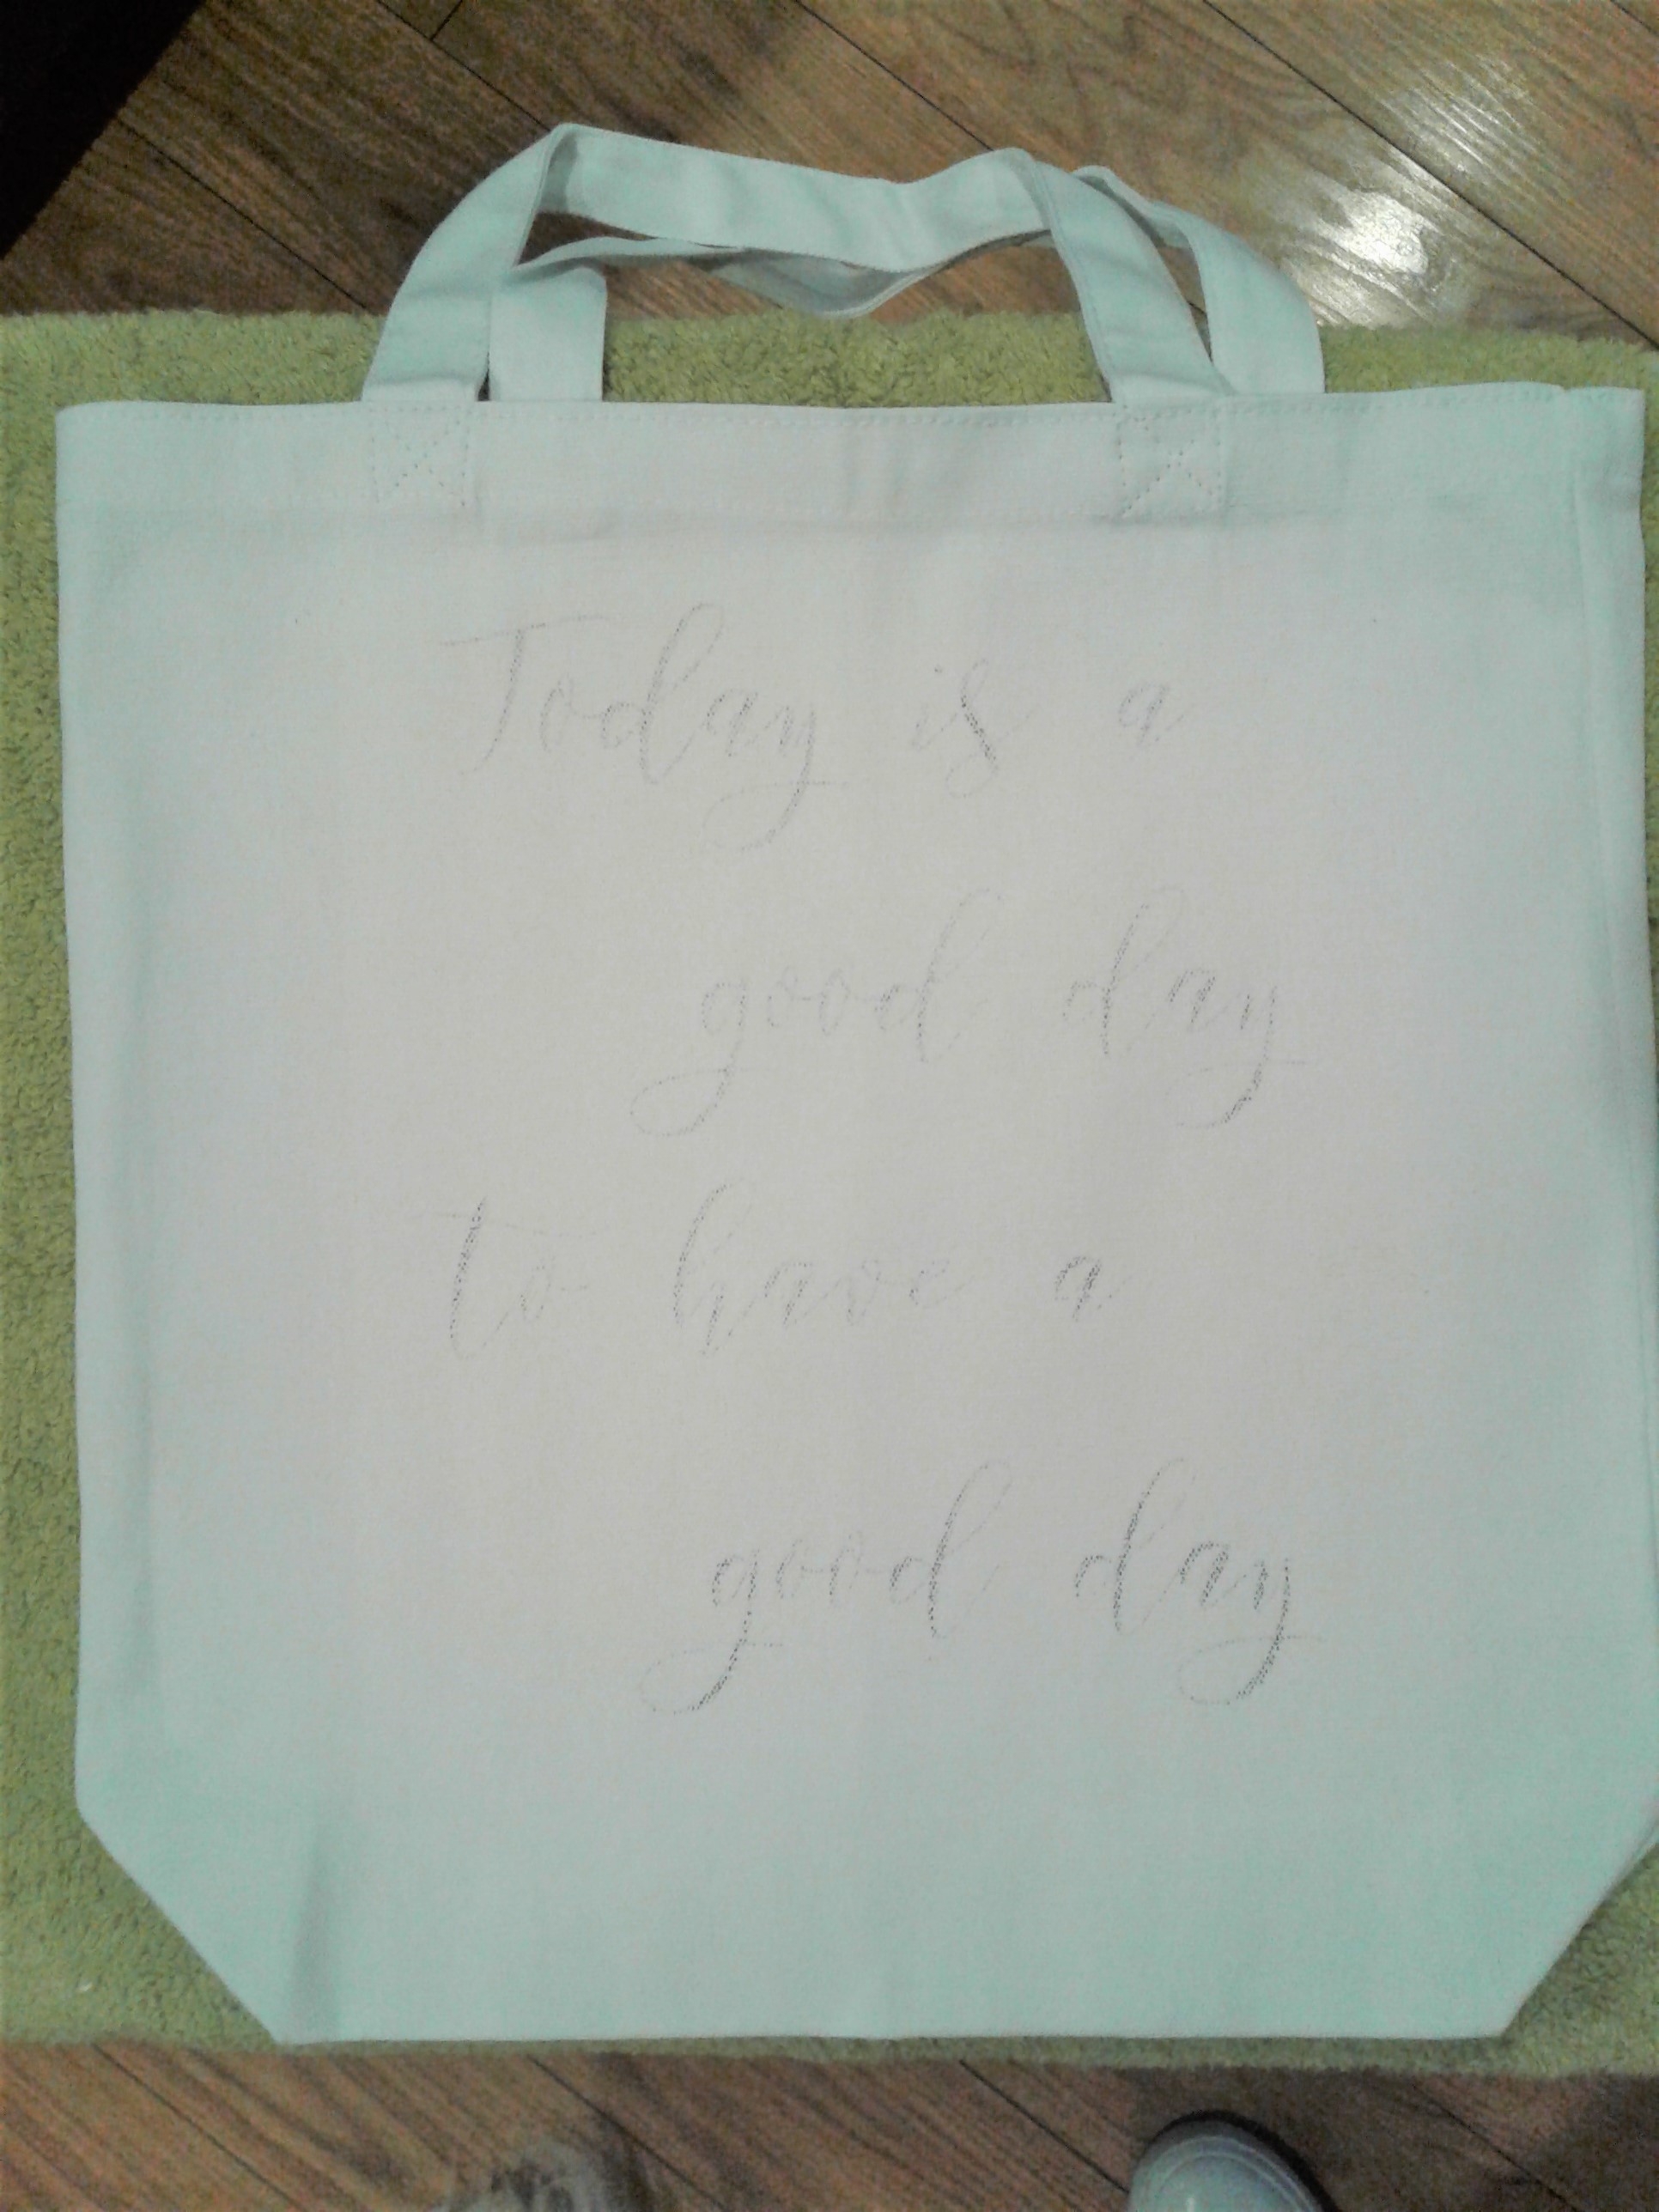
The font I used was very narrow and your image will not transfer as thick as the printed image when you use this method. I love that, because it gives it more of a rustic and "not-so-perfect" look, but I did want my font to stand out a bit more. Use a permanent marker to trace along your image and fill in all the spots that didn't transfer where you wanted them to.
I also wanted to give my tote bag a little bit of color, so I used some leftover RIT dye to color it a teal blue.
do it yourself
CrazyDIYmom.com Contact Us Privacy Policy Disclaimer About me