
photo rocks
This post may contain affiliate links.
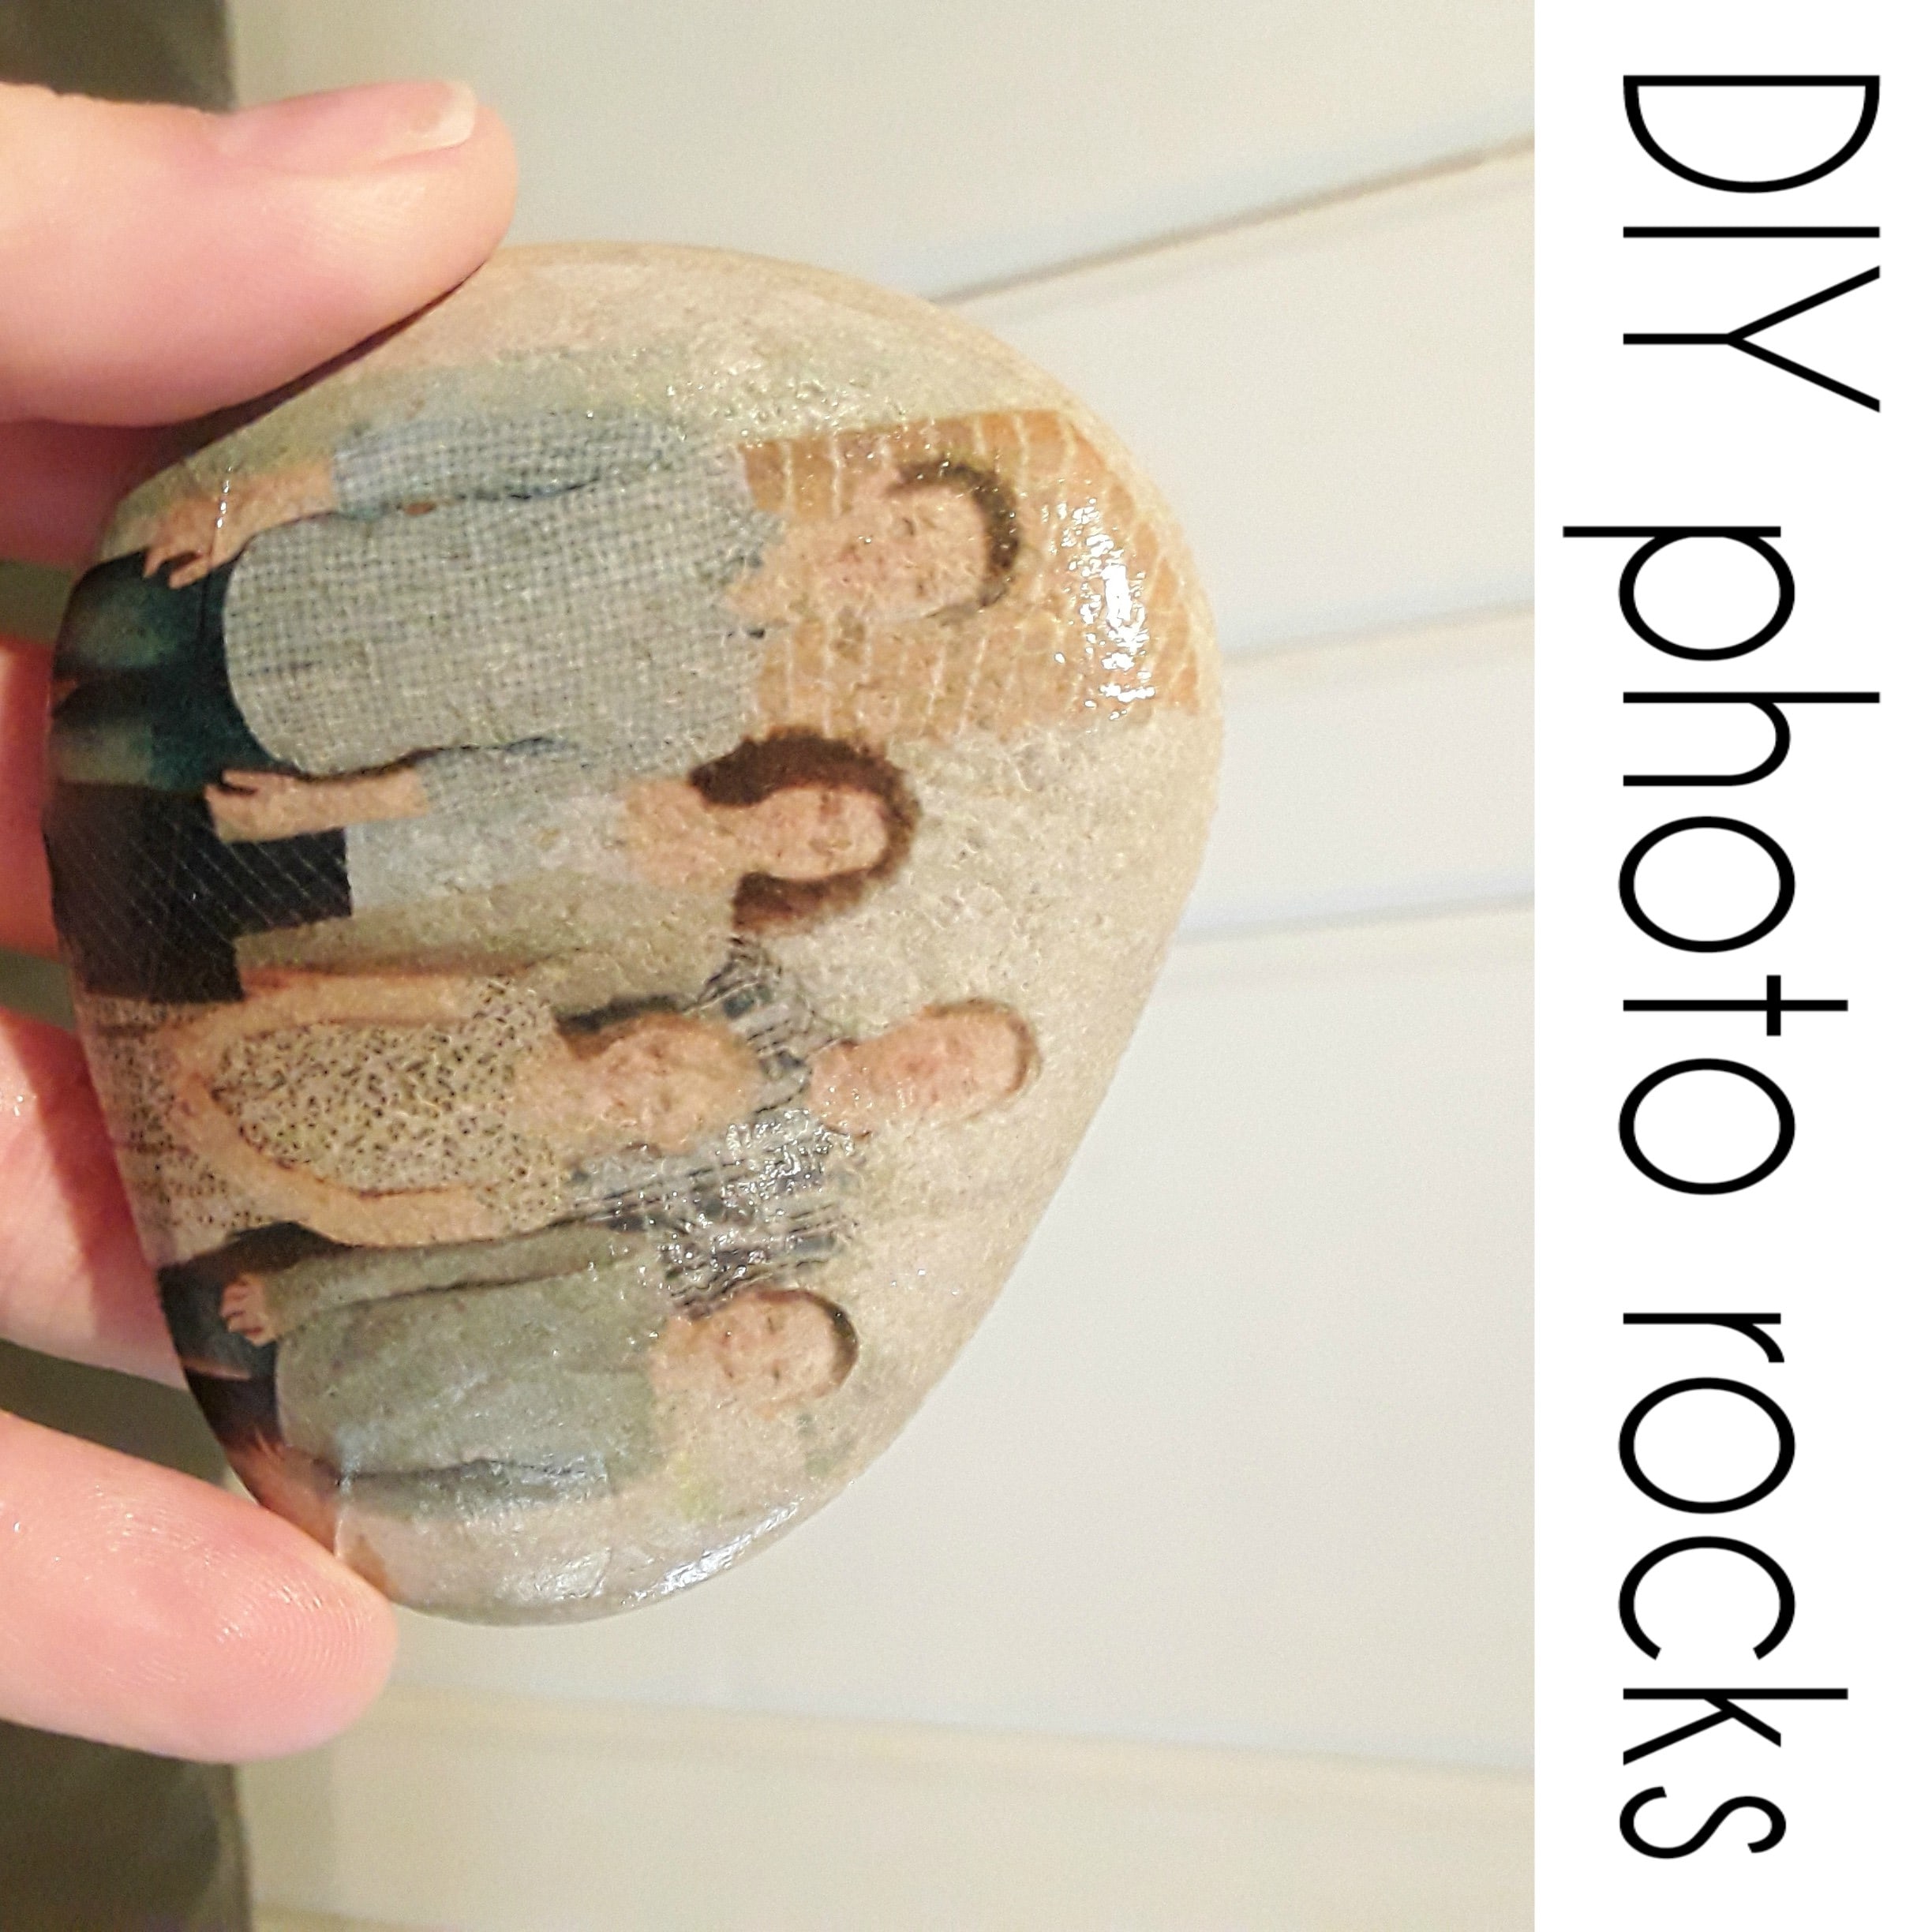
This DIY is so easy and such a fun way to display your favorite photos. And you probably already have these items at home!
What you will need:
white tissue paper
printer paper and printer
mod podge
foam brush
smooth rocks
We live by the lake so we have an abundance of smooth rocks in a variety of sizes. And you can use any size rocks, just print your pictures accordingly.
You will need to print your photos onto tissue paper. To get my tissue paper to feed through my printer properly, I used some tape to secure the tissue paper tightly to my printer paper so that it would feed right through and print onto the tissue paper.
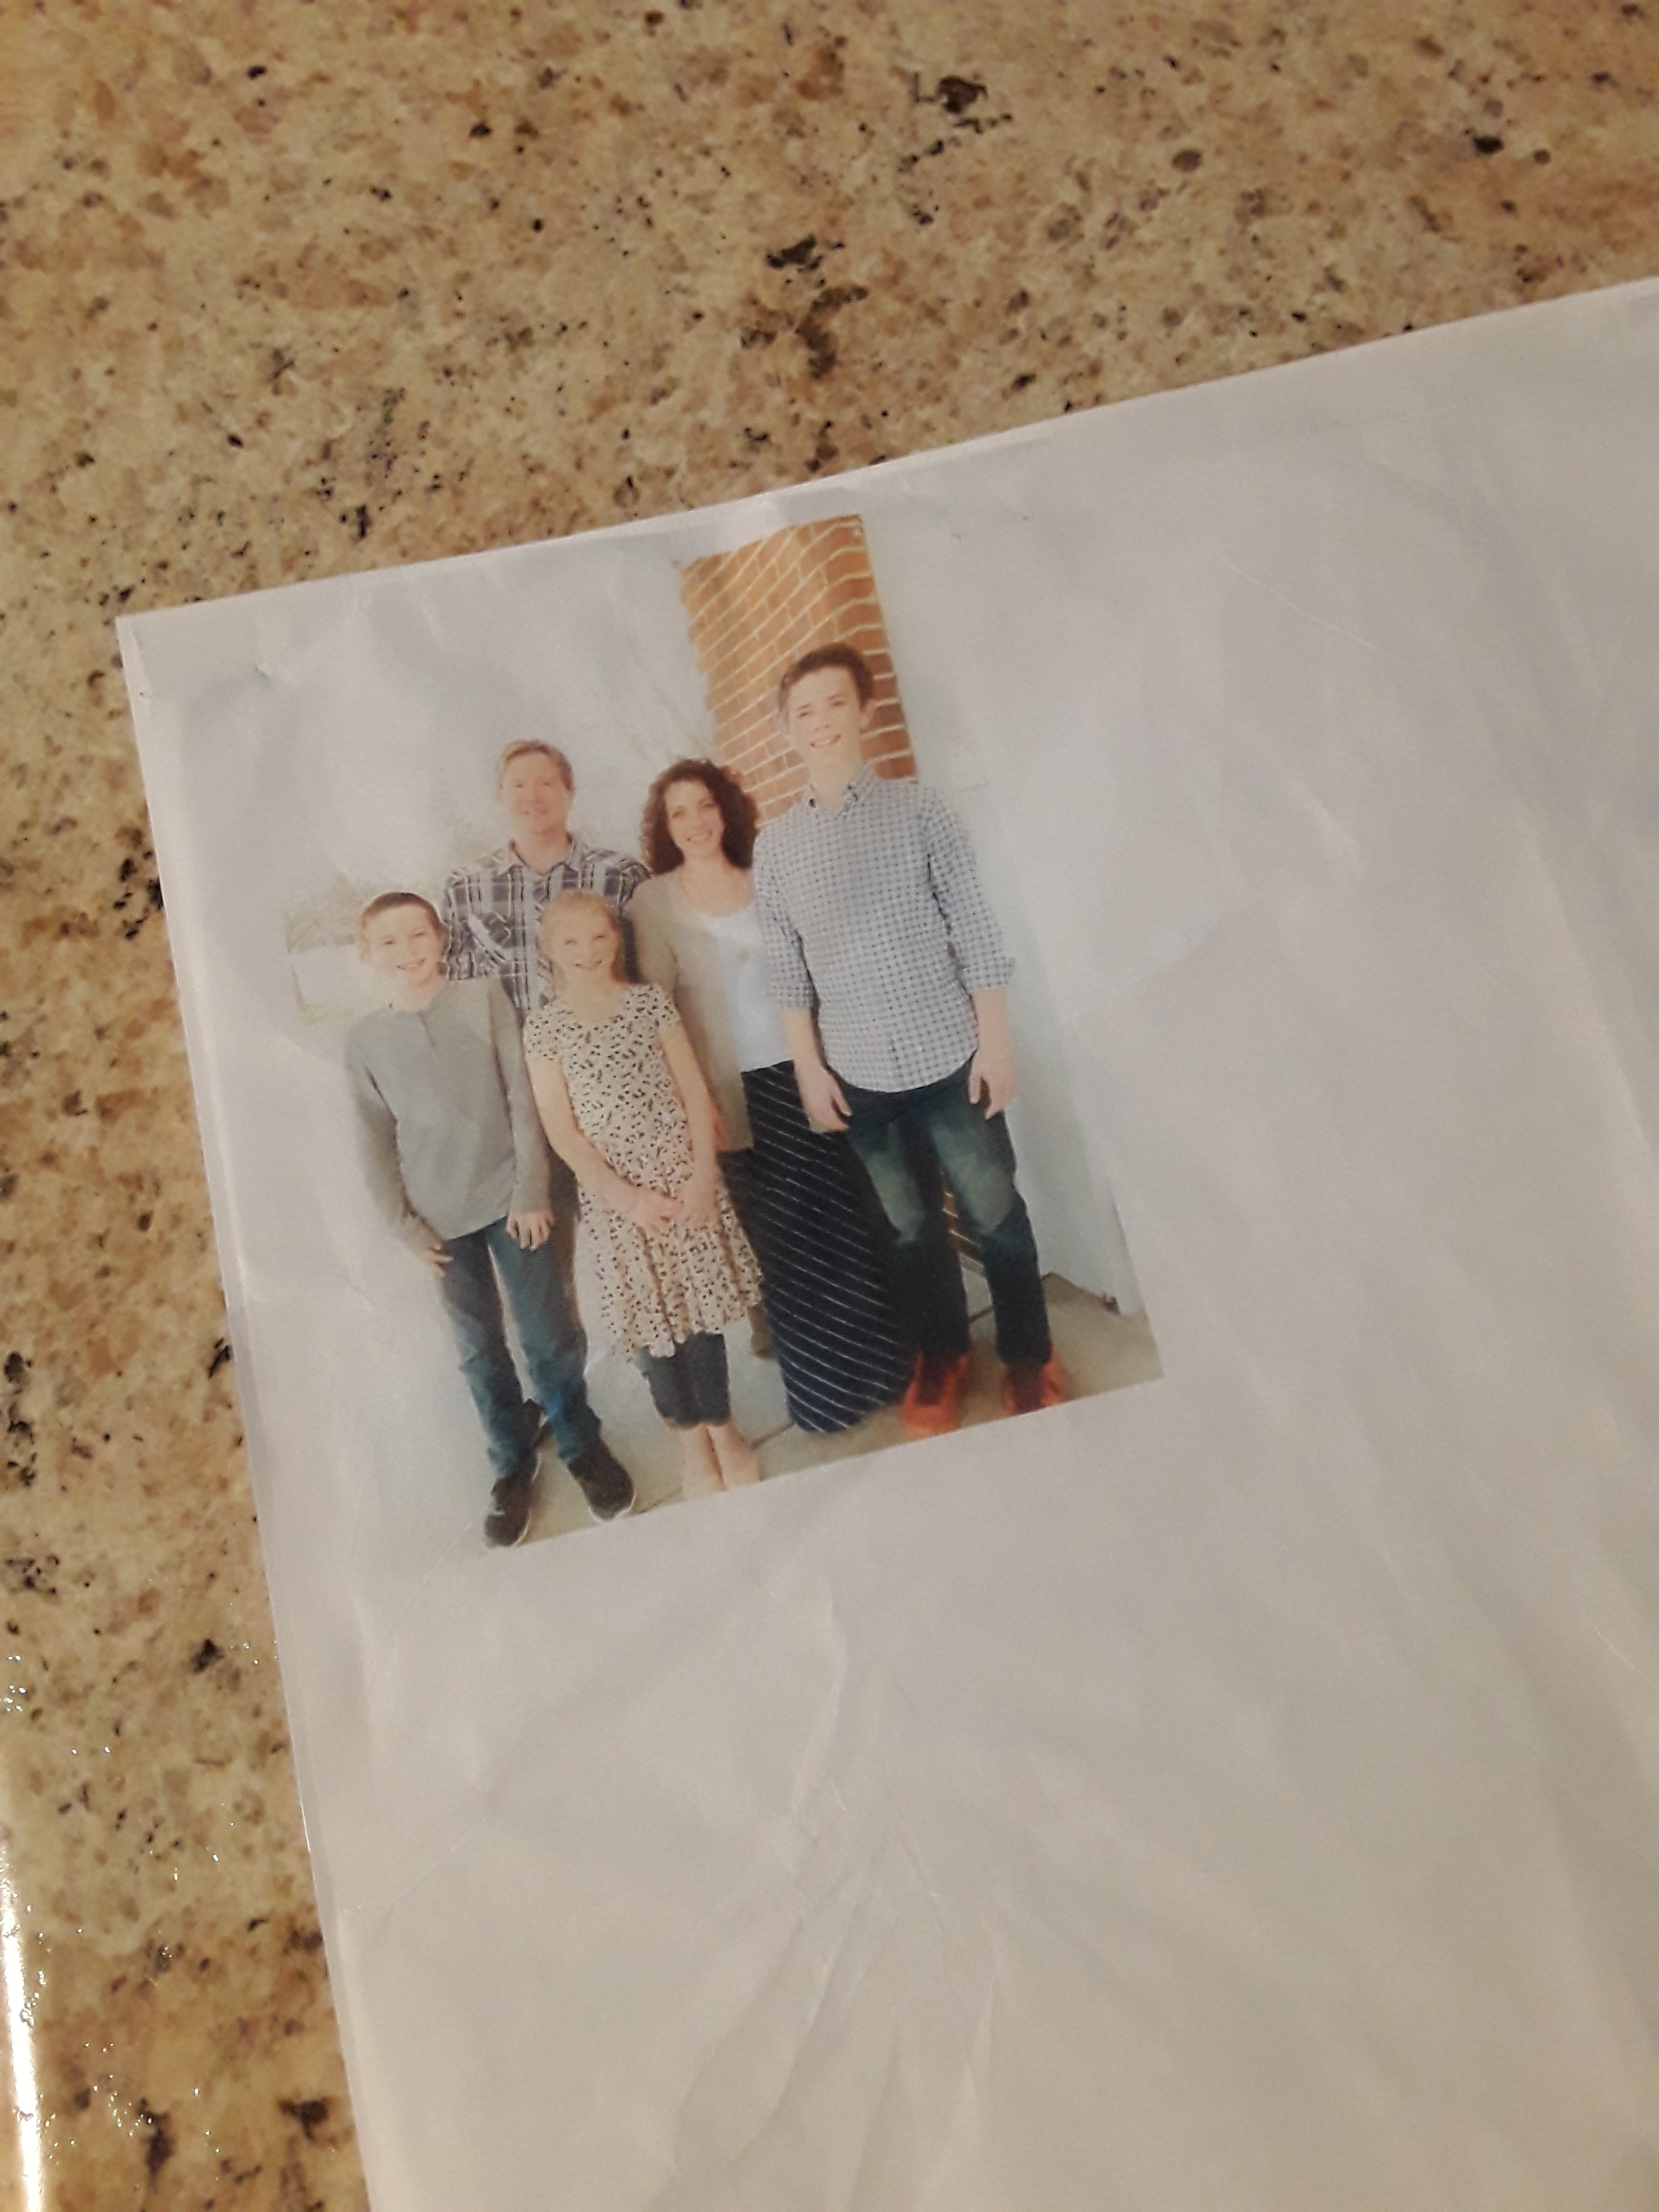
What size you print them at will depend on what size rocks you use. I tried to print my pictures a bit bigger than my rocks so that the picture covered the majority of the rock.
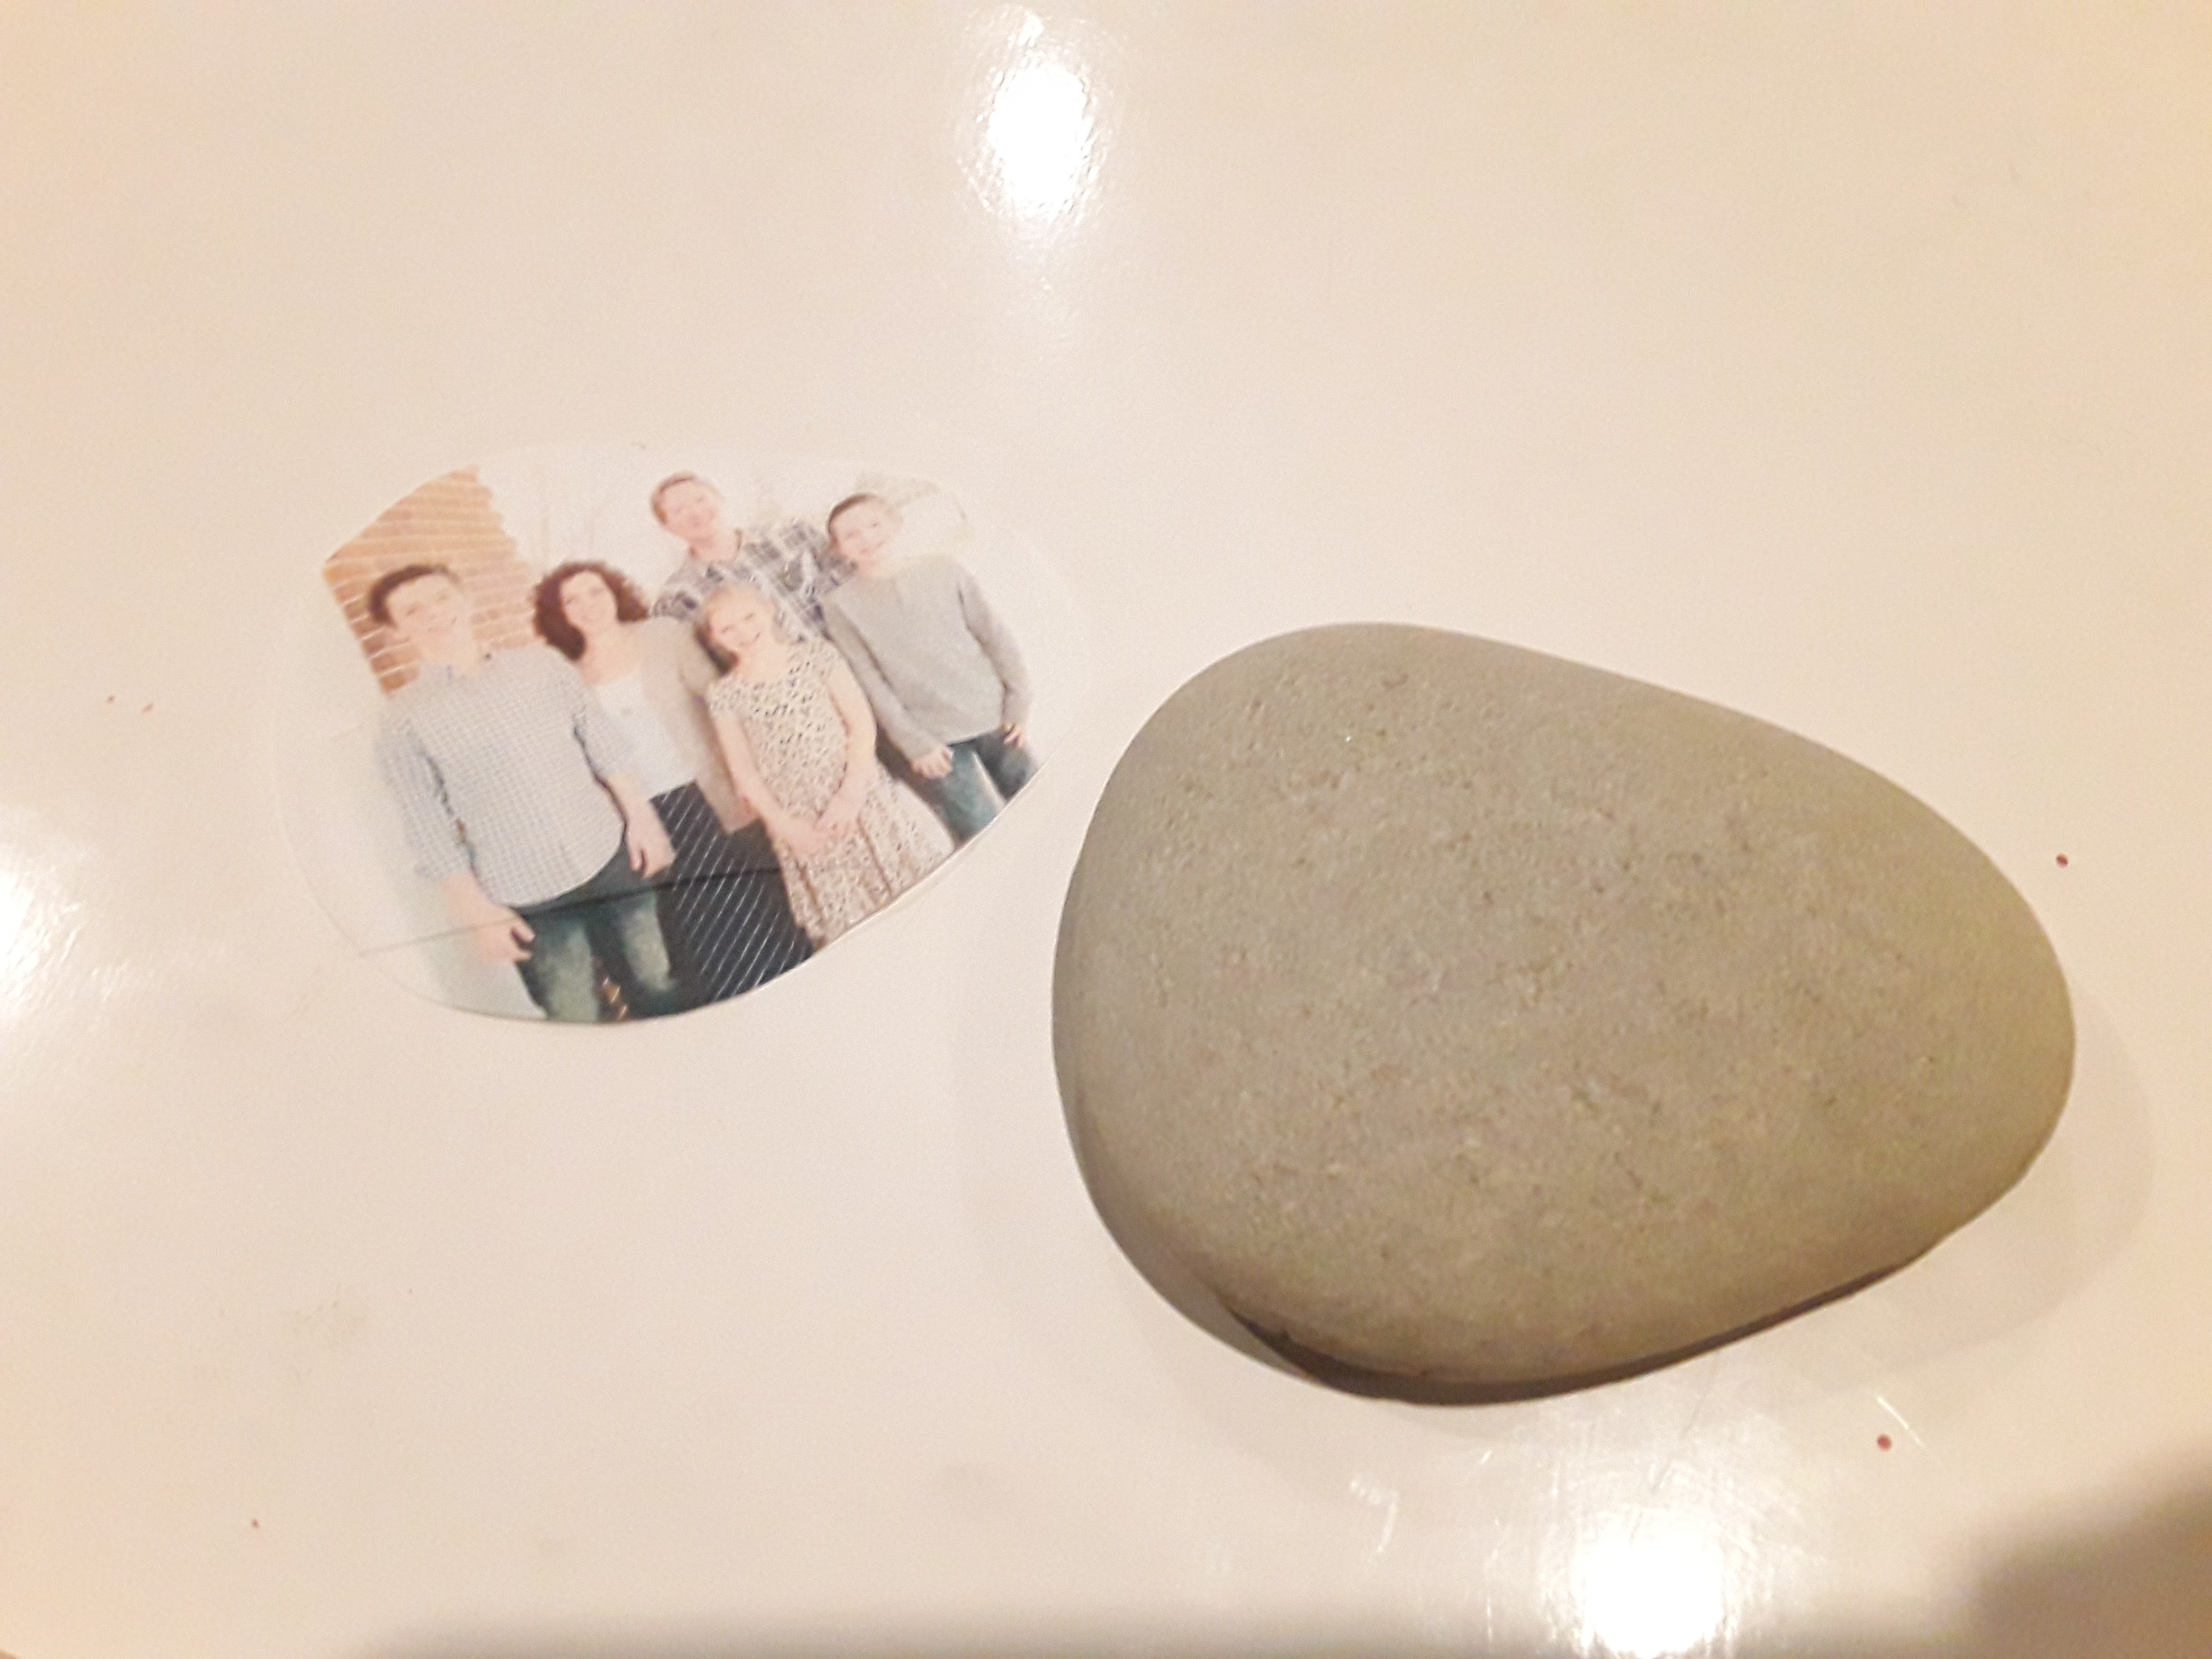
I placed my rock over top of the image and traced around it and then cut it out so that I knew it would fit nicely on my rock.
Then apply some mod podge to your rock with your foam brush and then carefully lay your image over top. Set it down in the correct spot the first time because it will not slide around once it hits the glue. Then apply more mod podge over top of the image and let it dry.
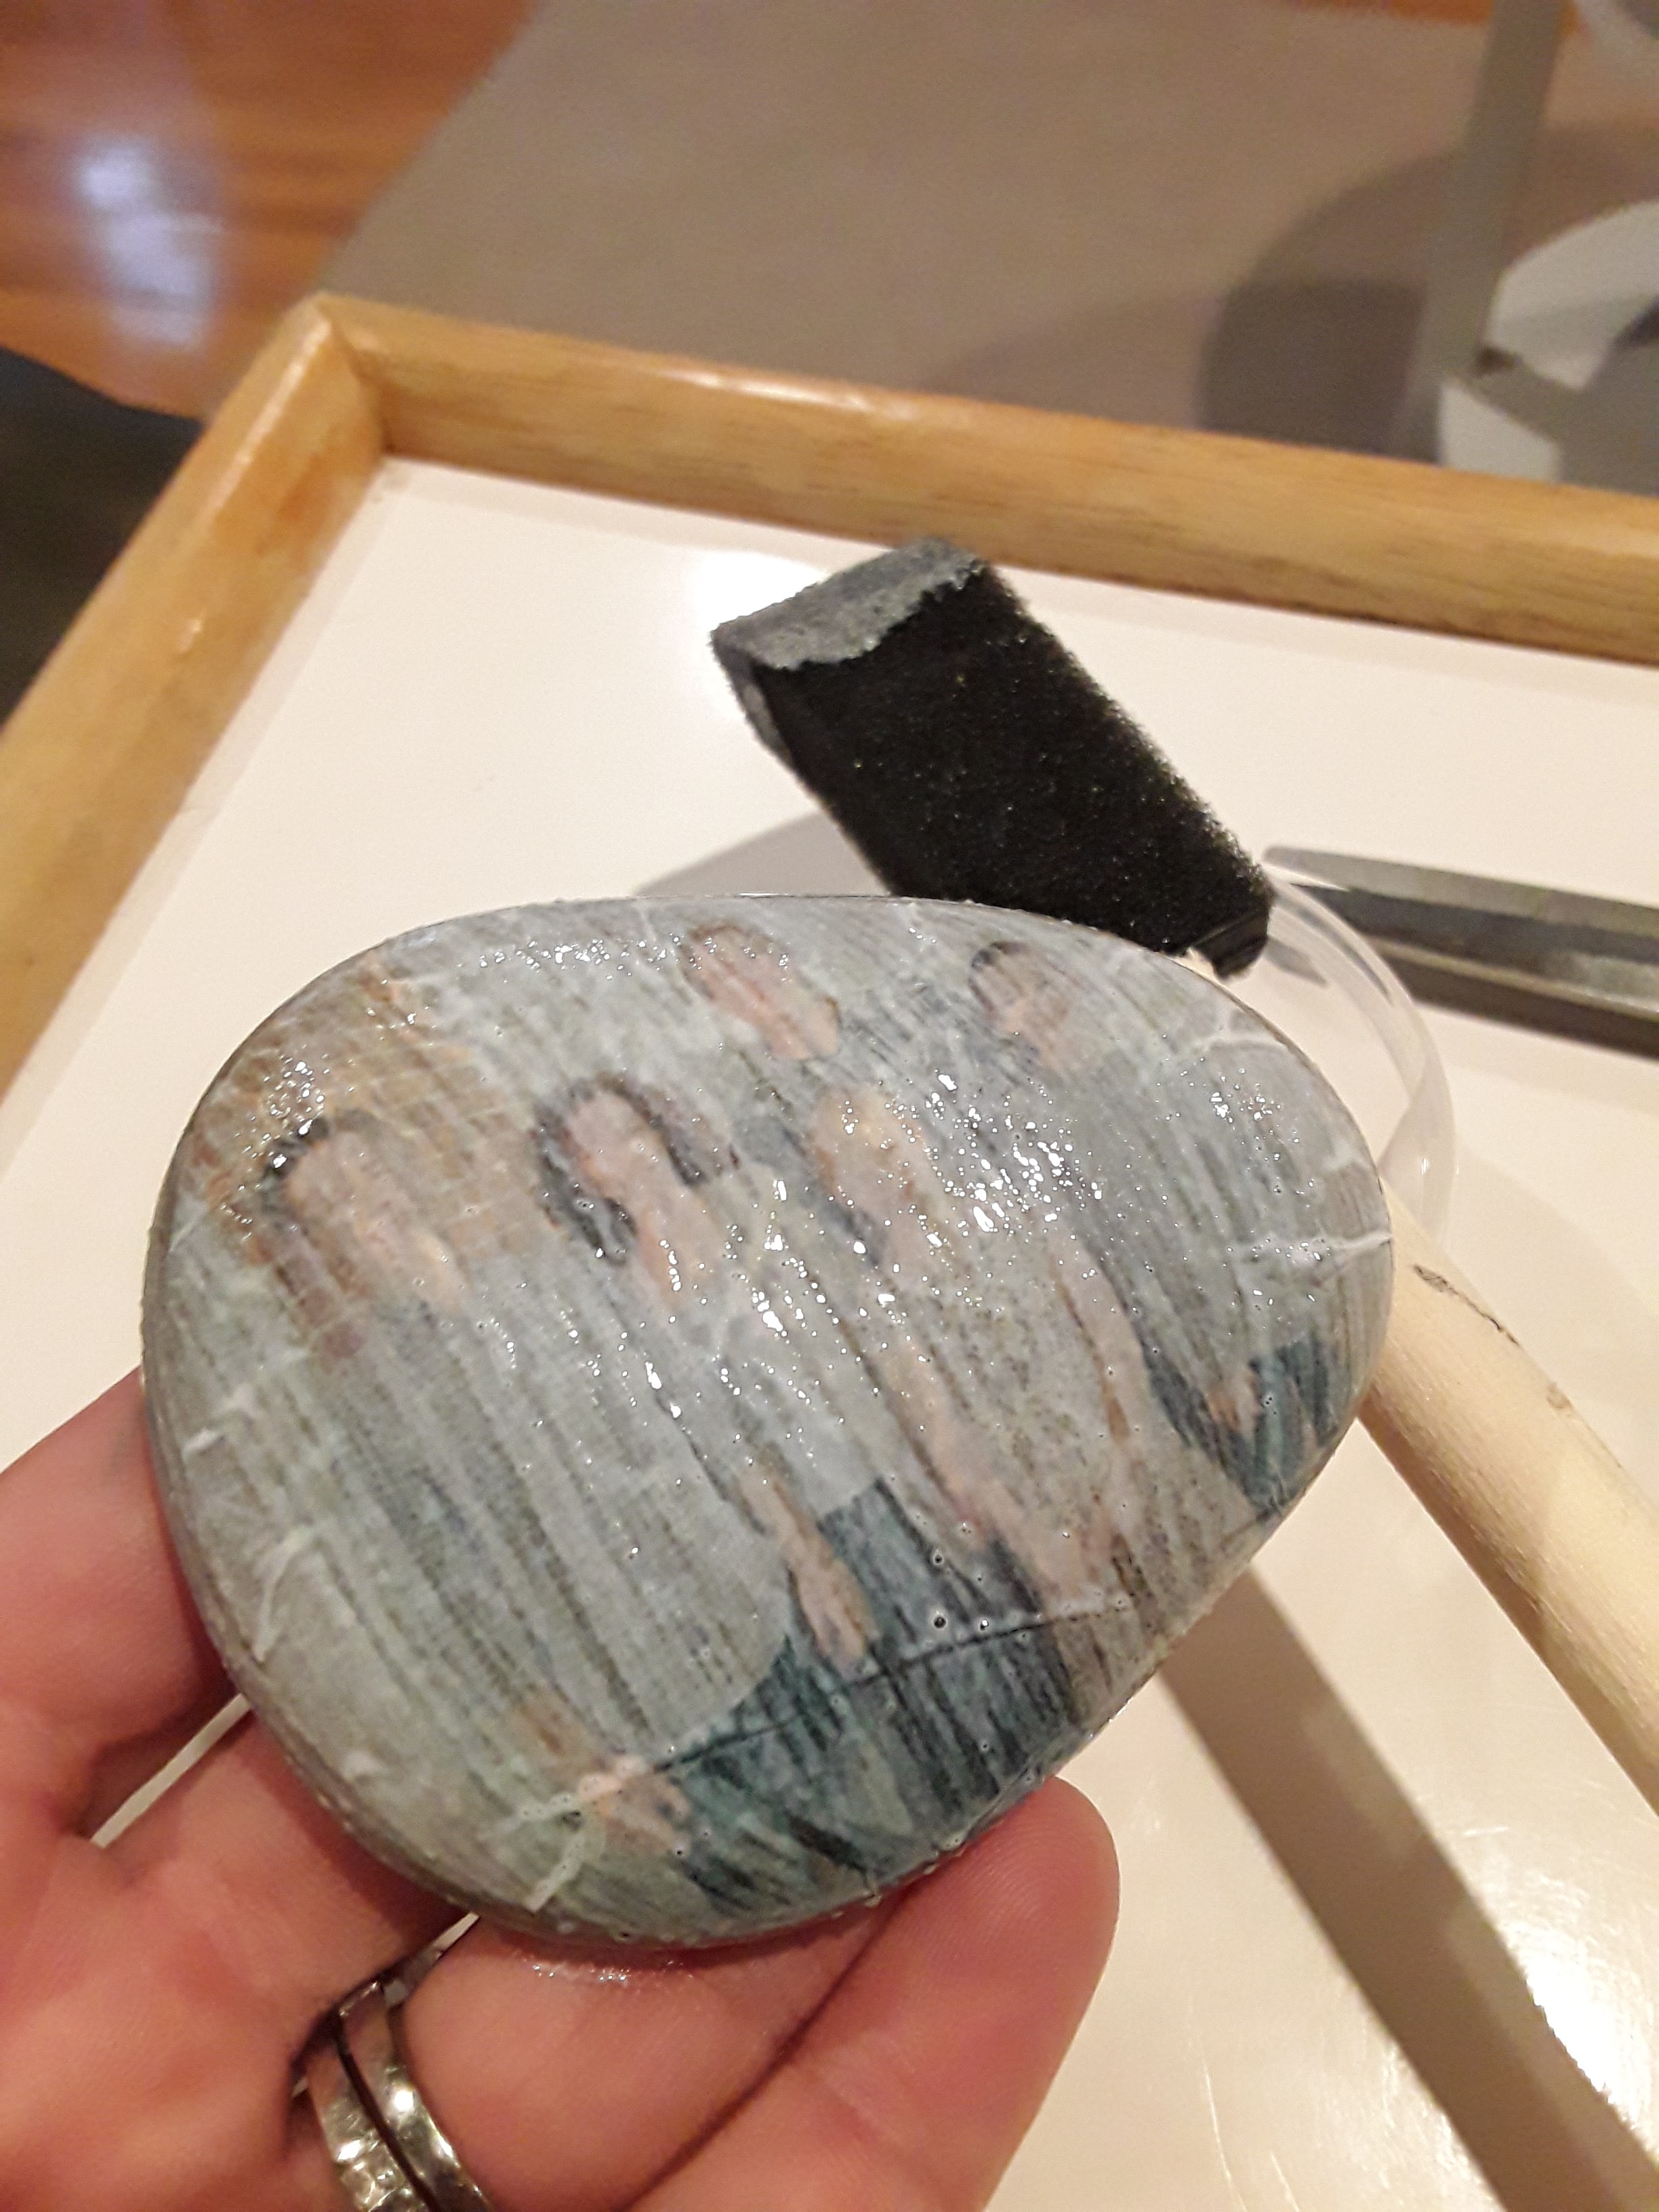
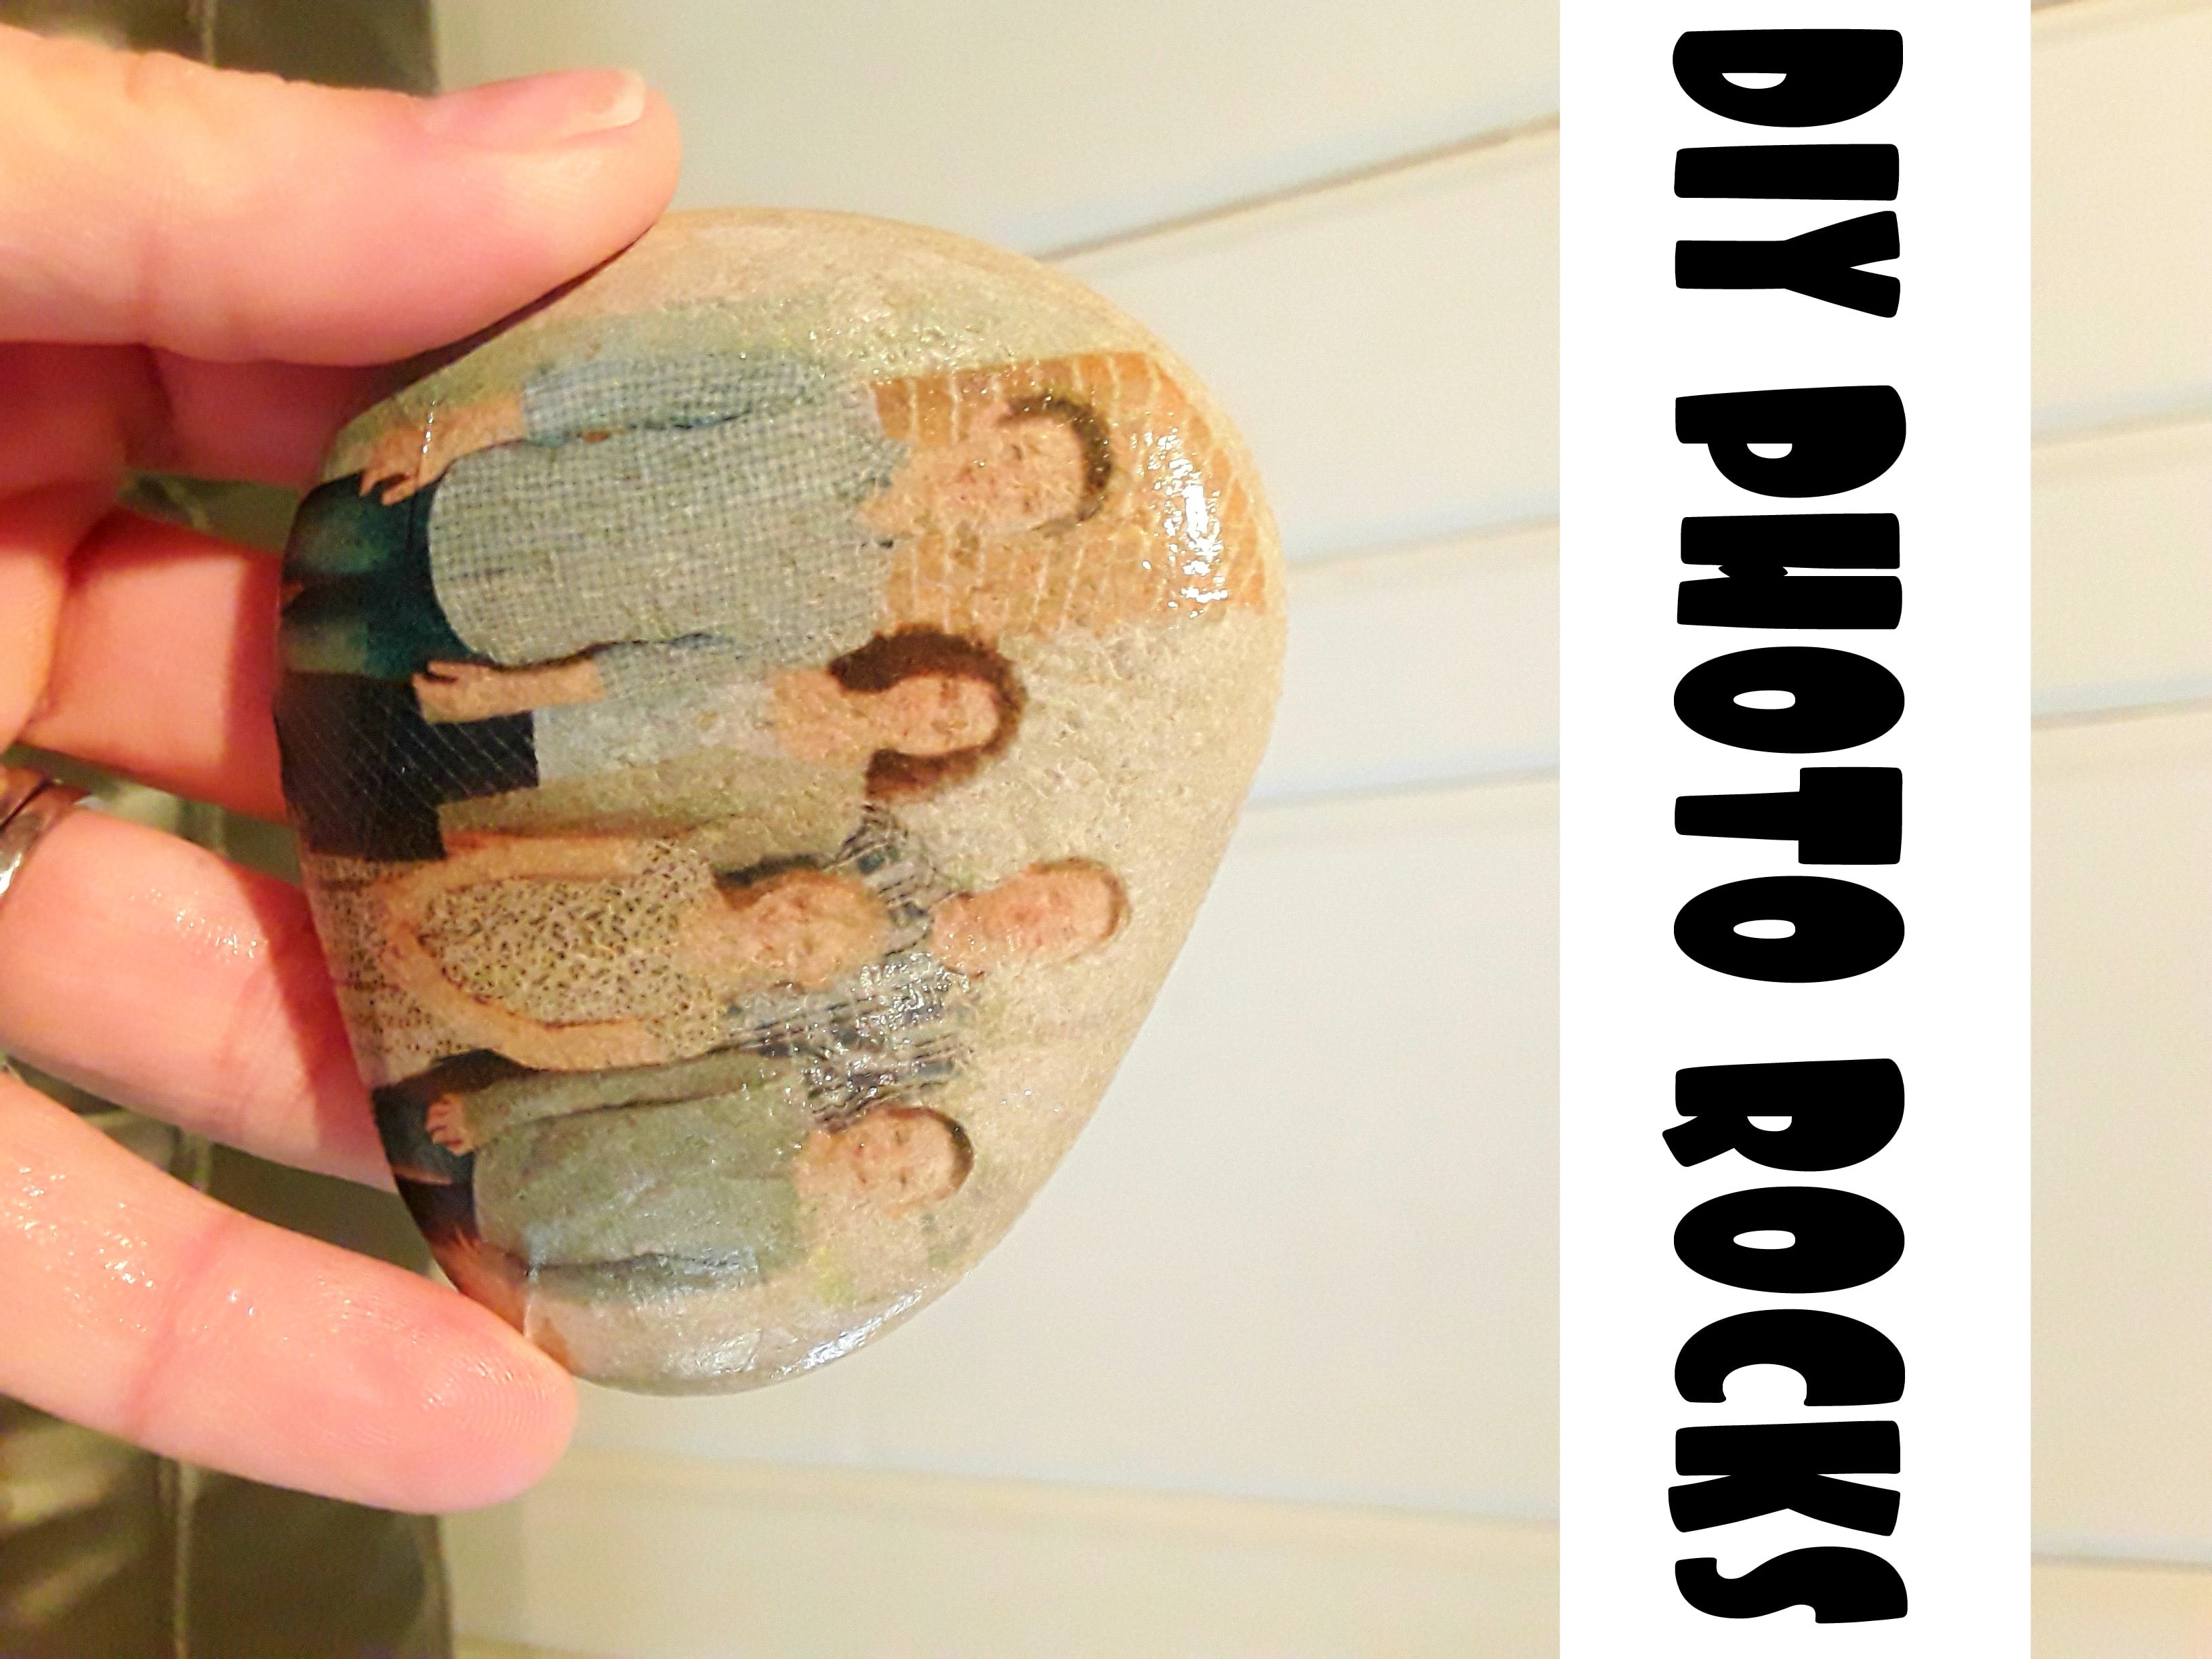
Once it has dried you can leave it, or apply another coat of mod podge. I applied 2 coats just to be sure it was nicely protected. Then display them or give them away!
do it yourself
Want more DIY's?CrazyDIYmom.com Contact Us Privacy Policy Disclaimer About me