
DIY home projects
This post may contain affiliate links.
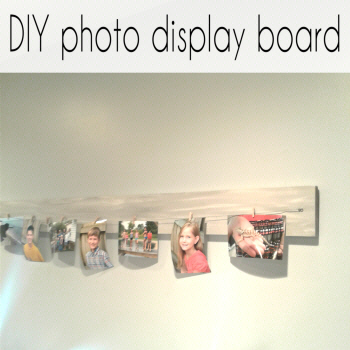
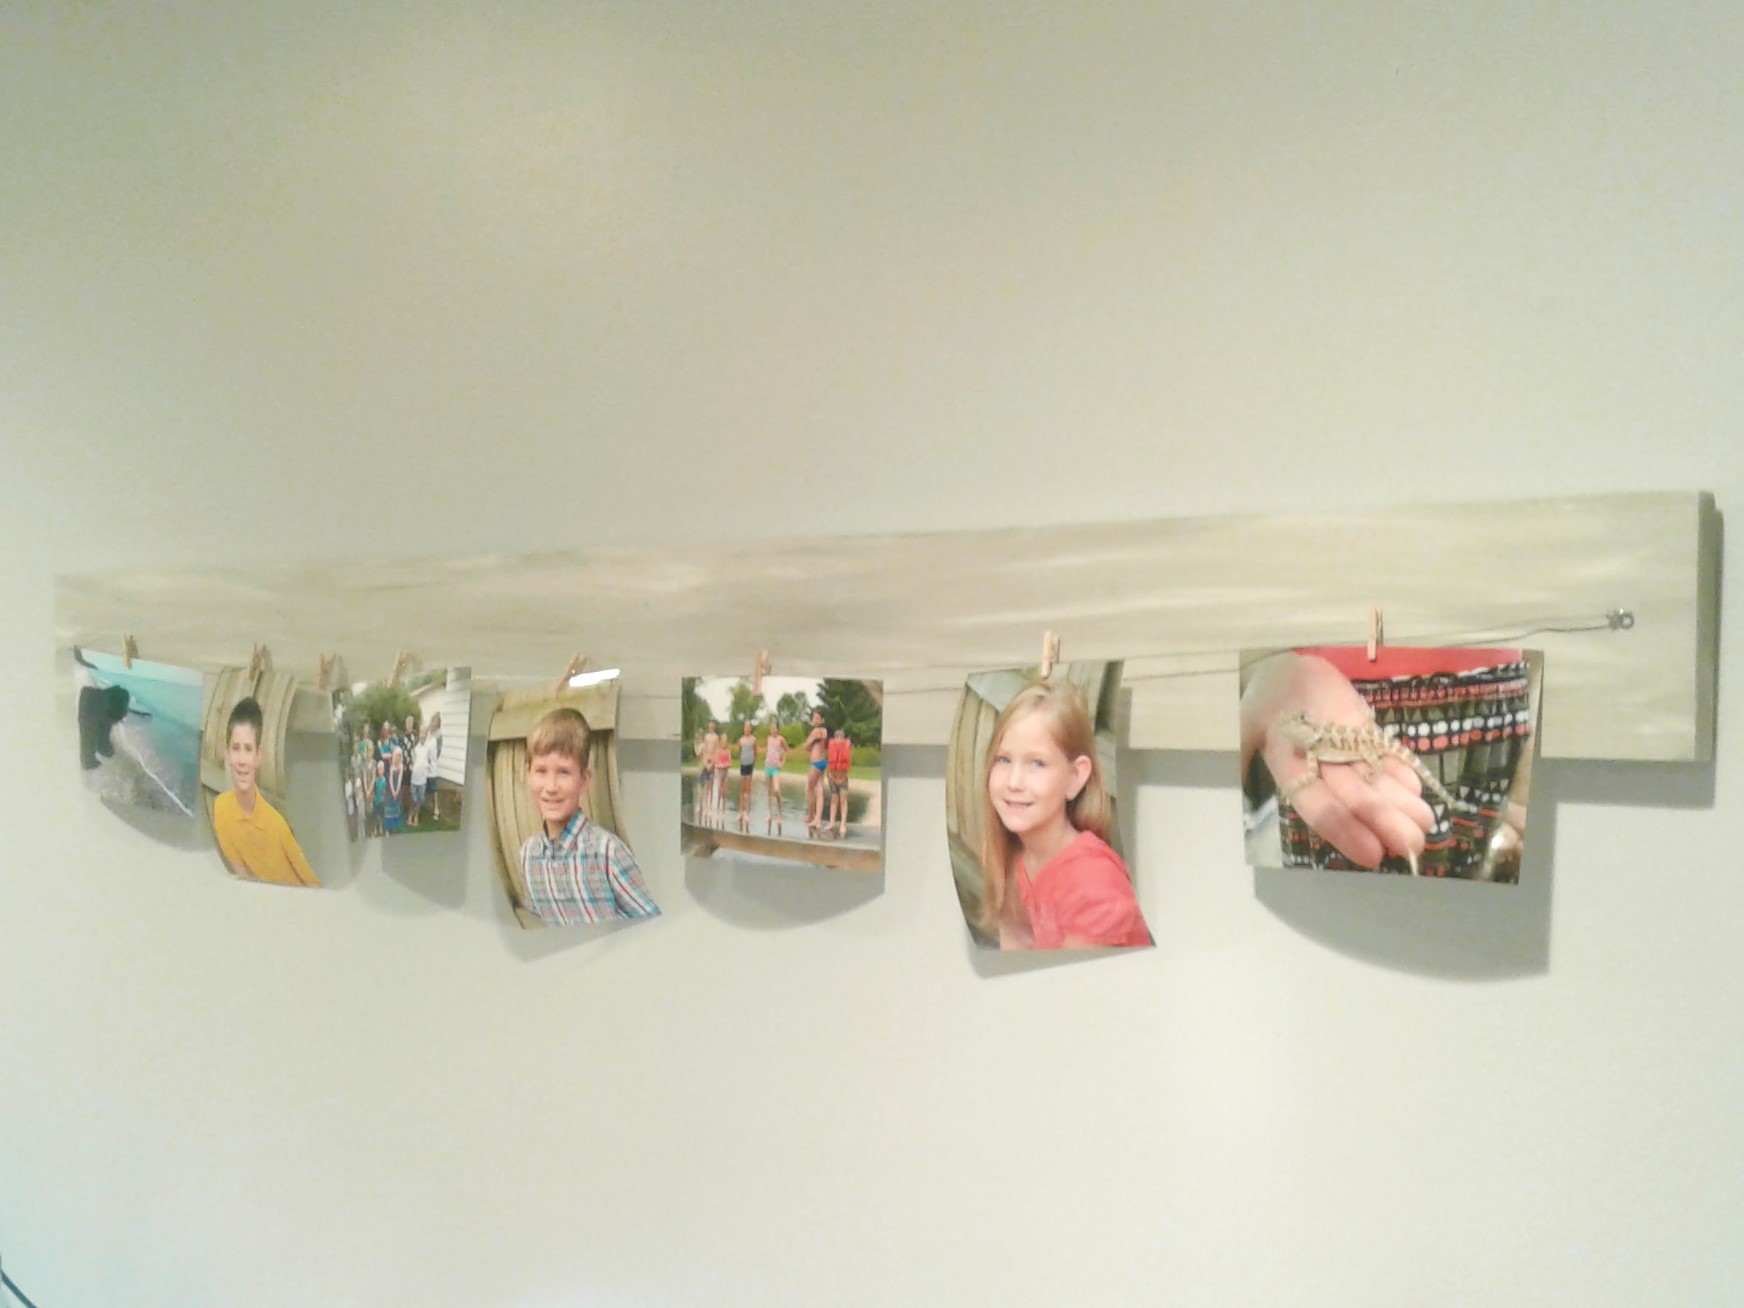
I love to display photos in our house, but I only have so much standing room for frames. I also don't like to hang up too many of those multiple photo frames because they can sometimes look too cluttered. Plus, I like to be able to easily change out the photos and this was perfect! I can cut the board to the exact size I want and easily change the photos to some of our favorites.
You will need:
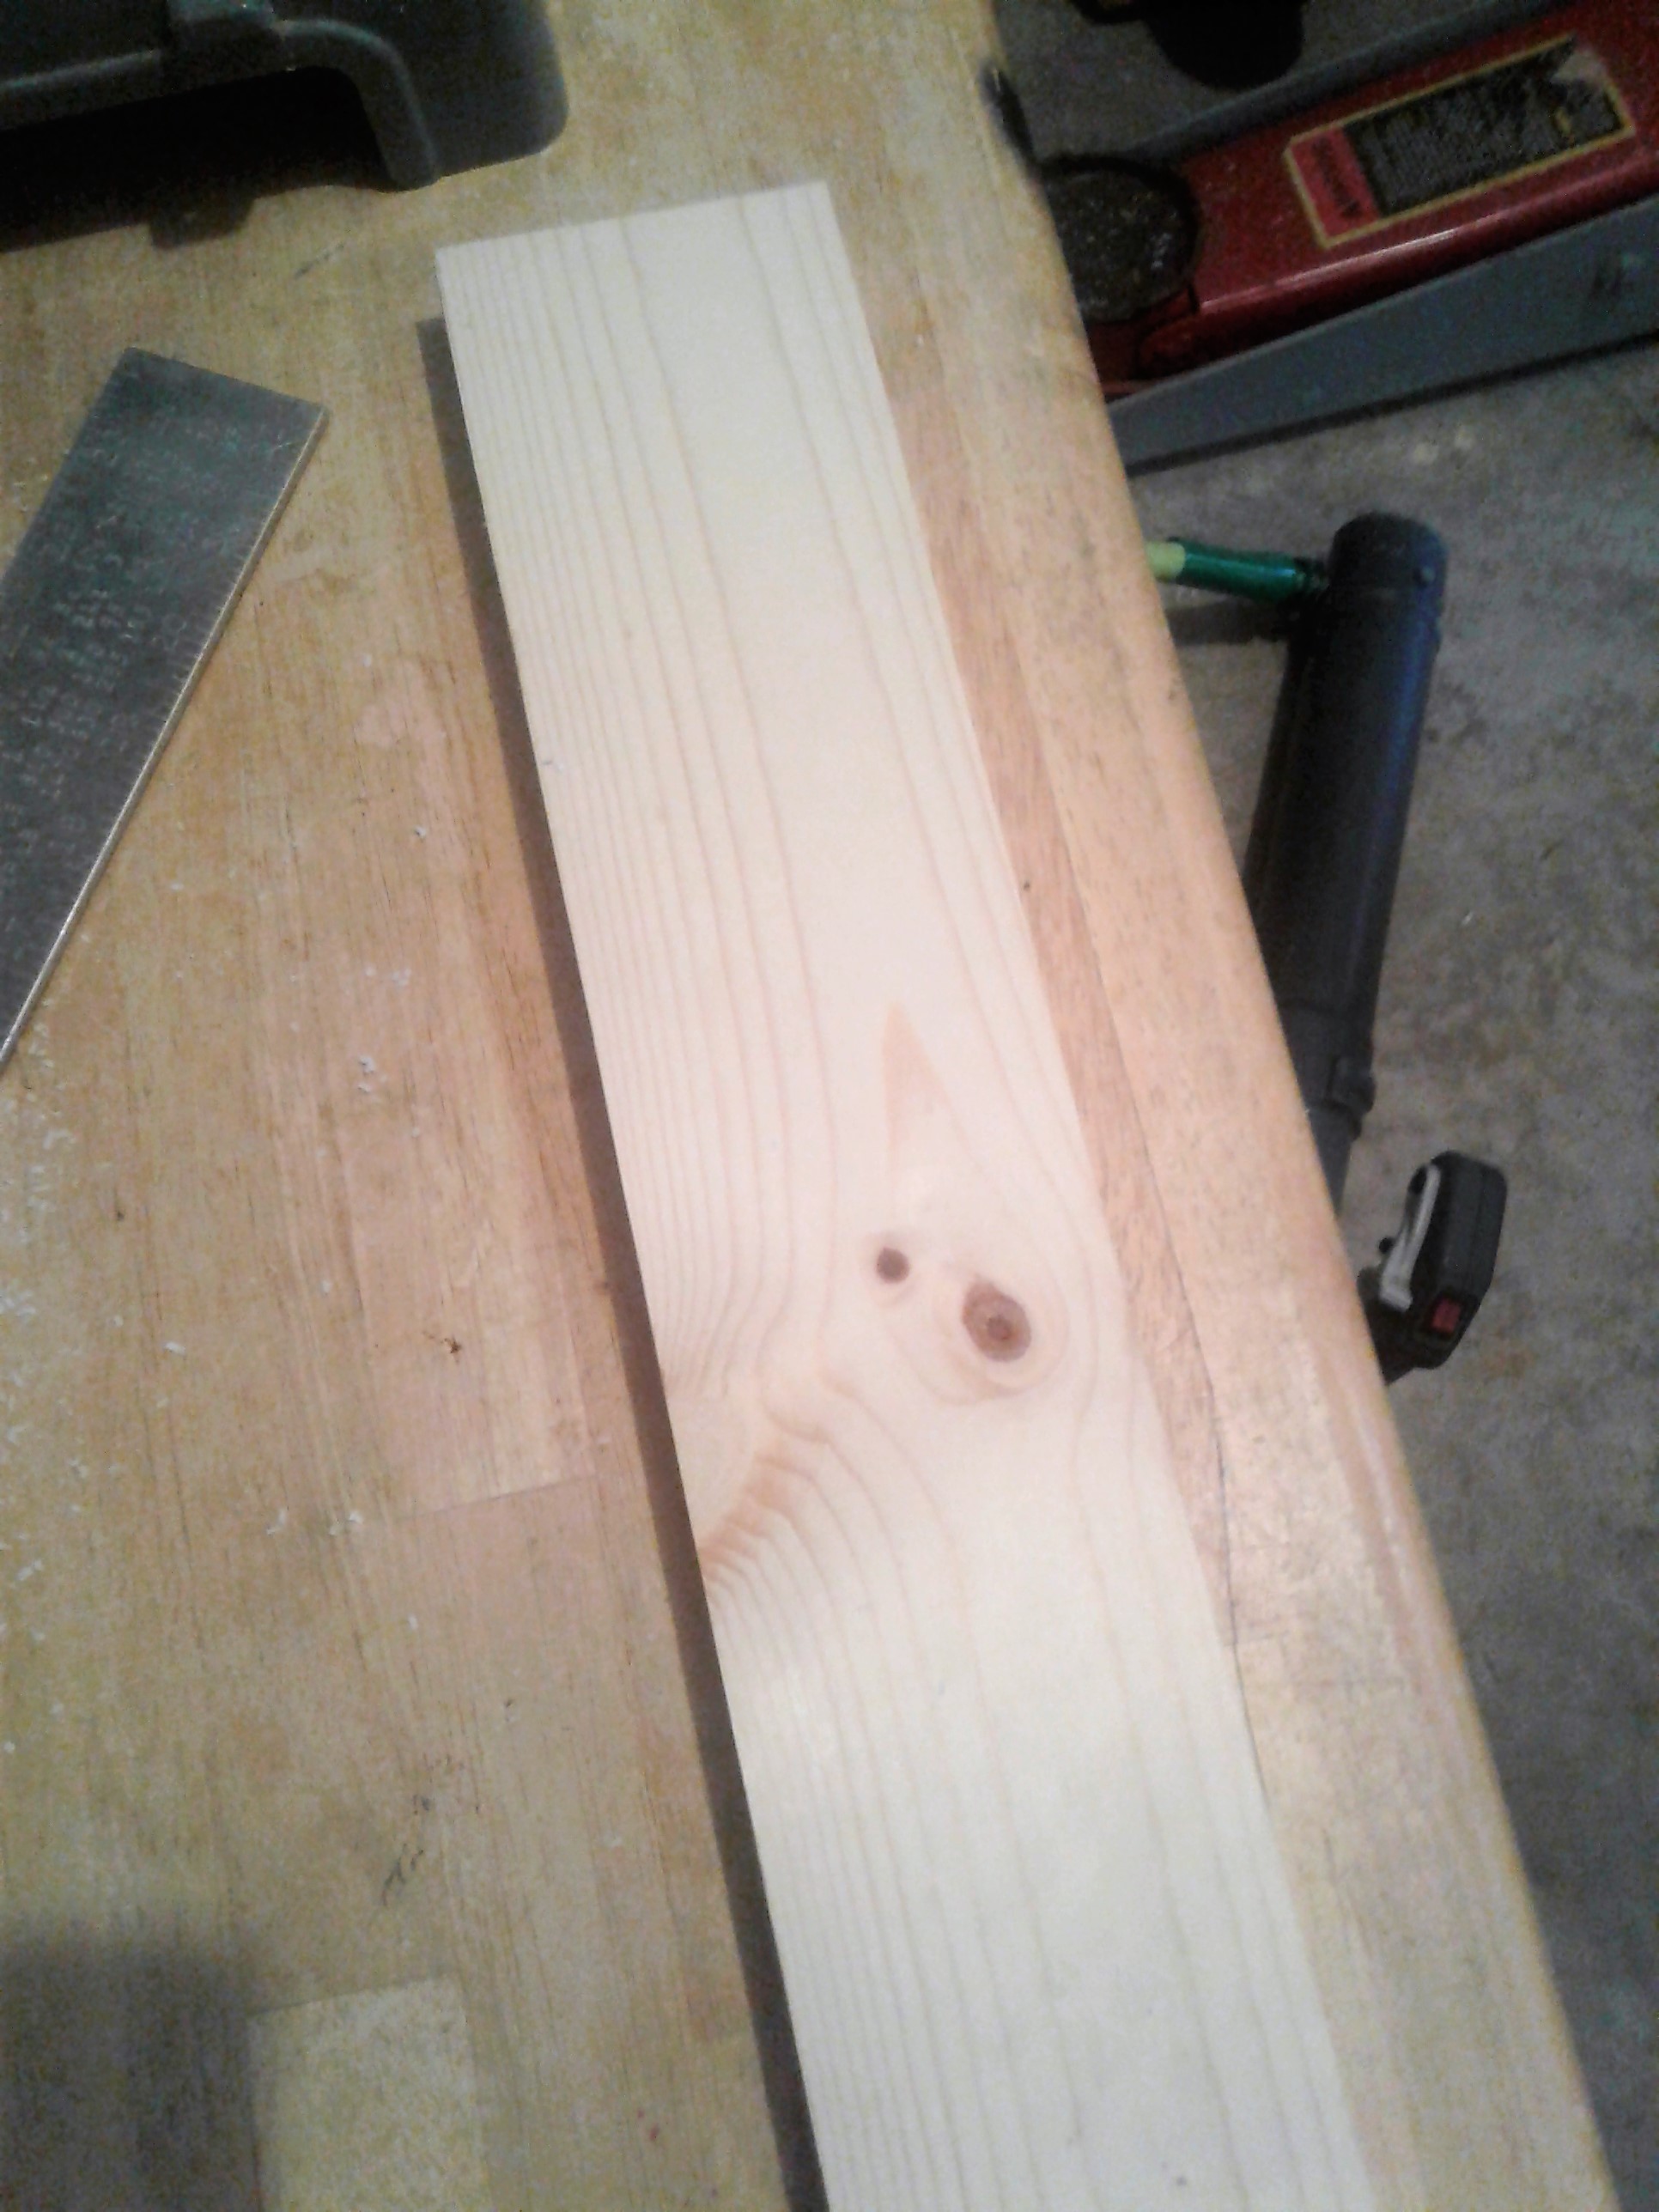
1x4 piece of wood cut to the length I want
2 eye hooks
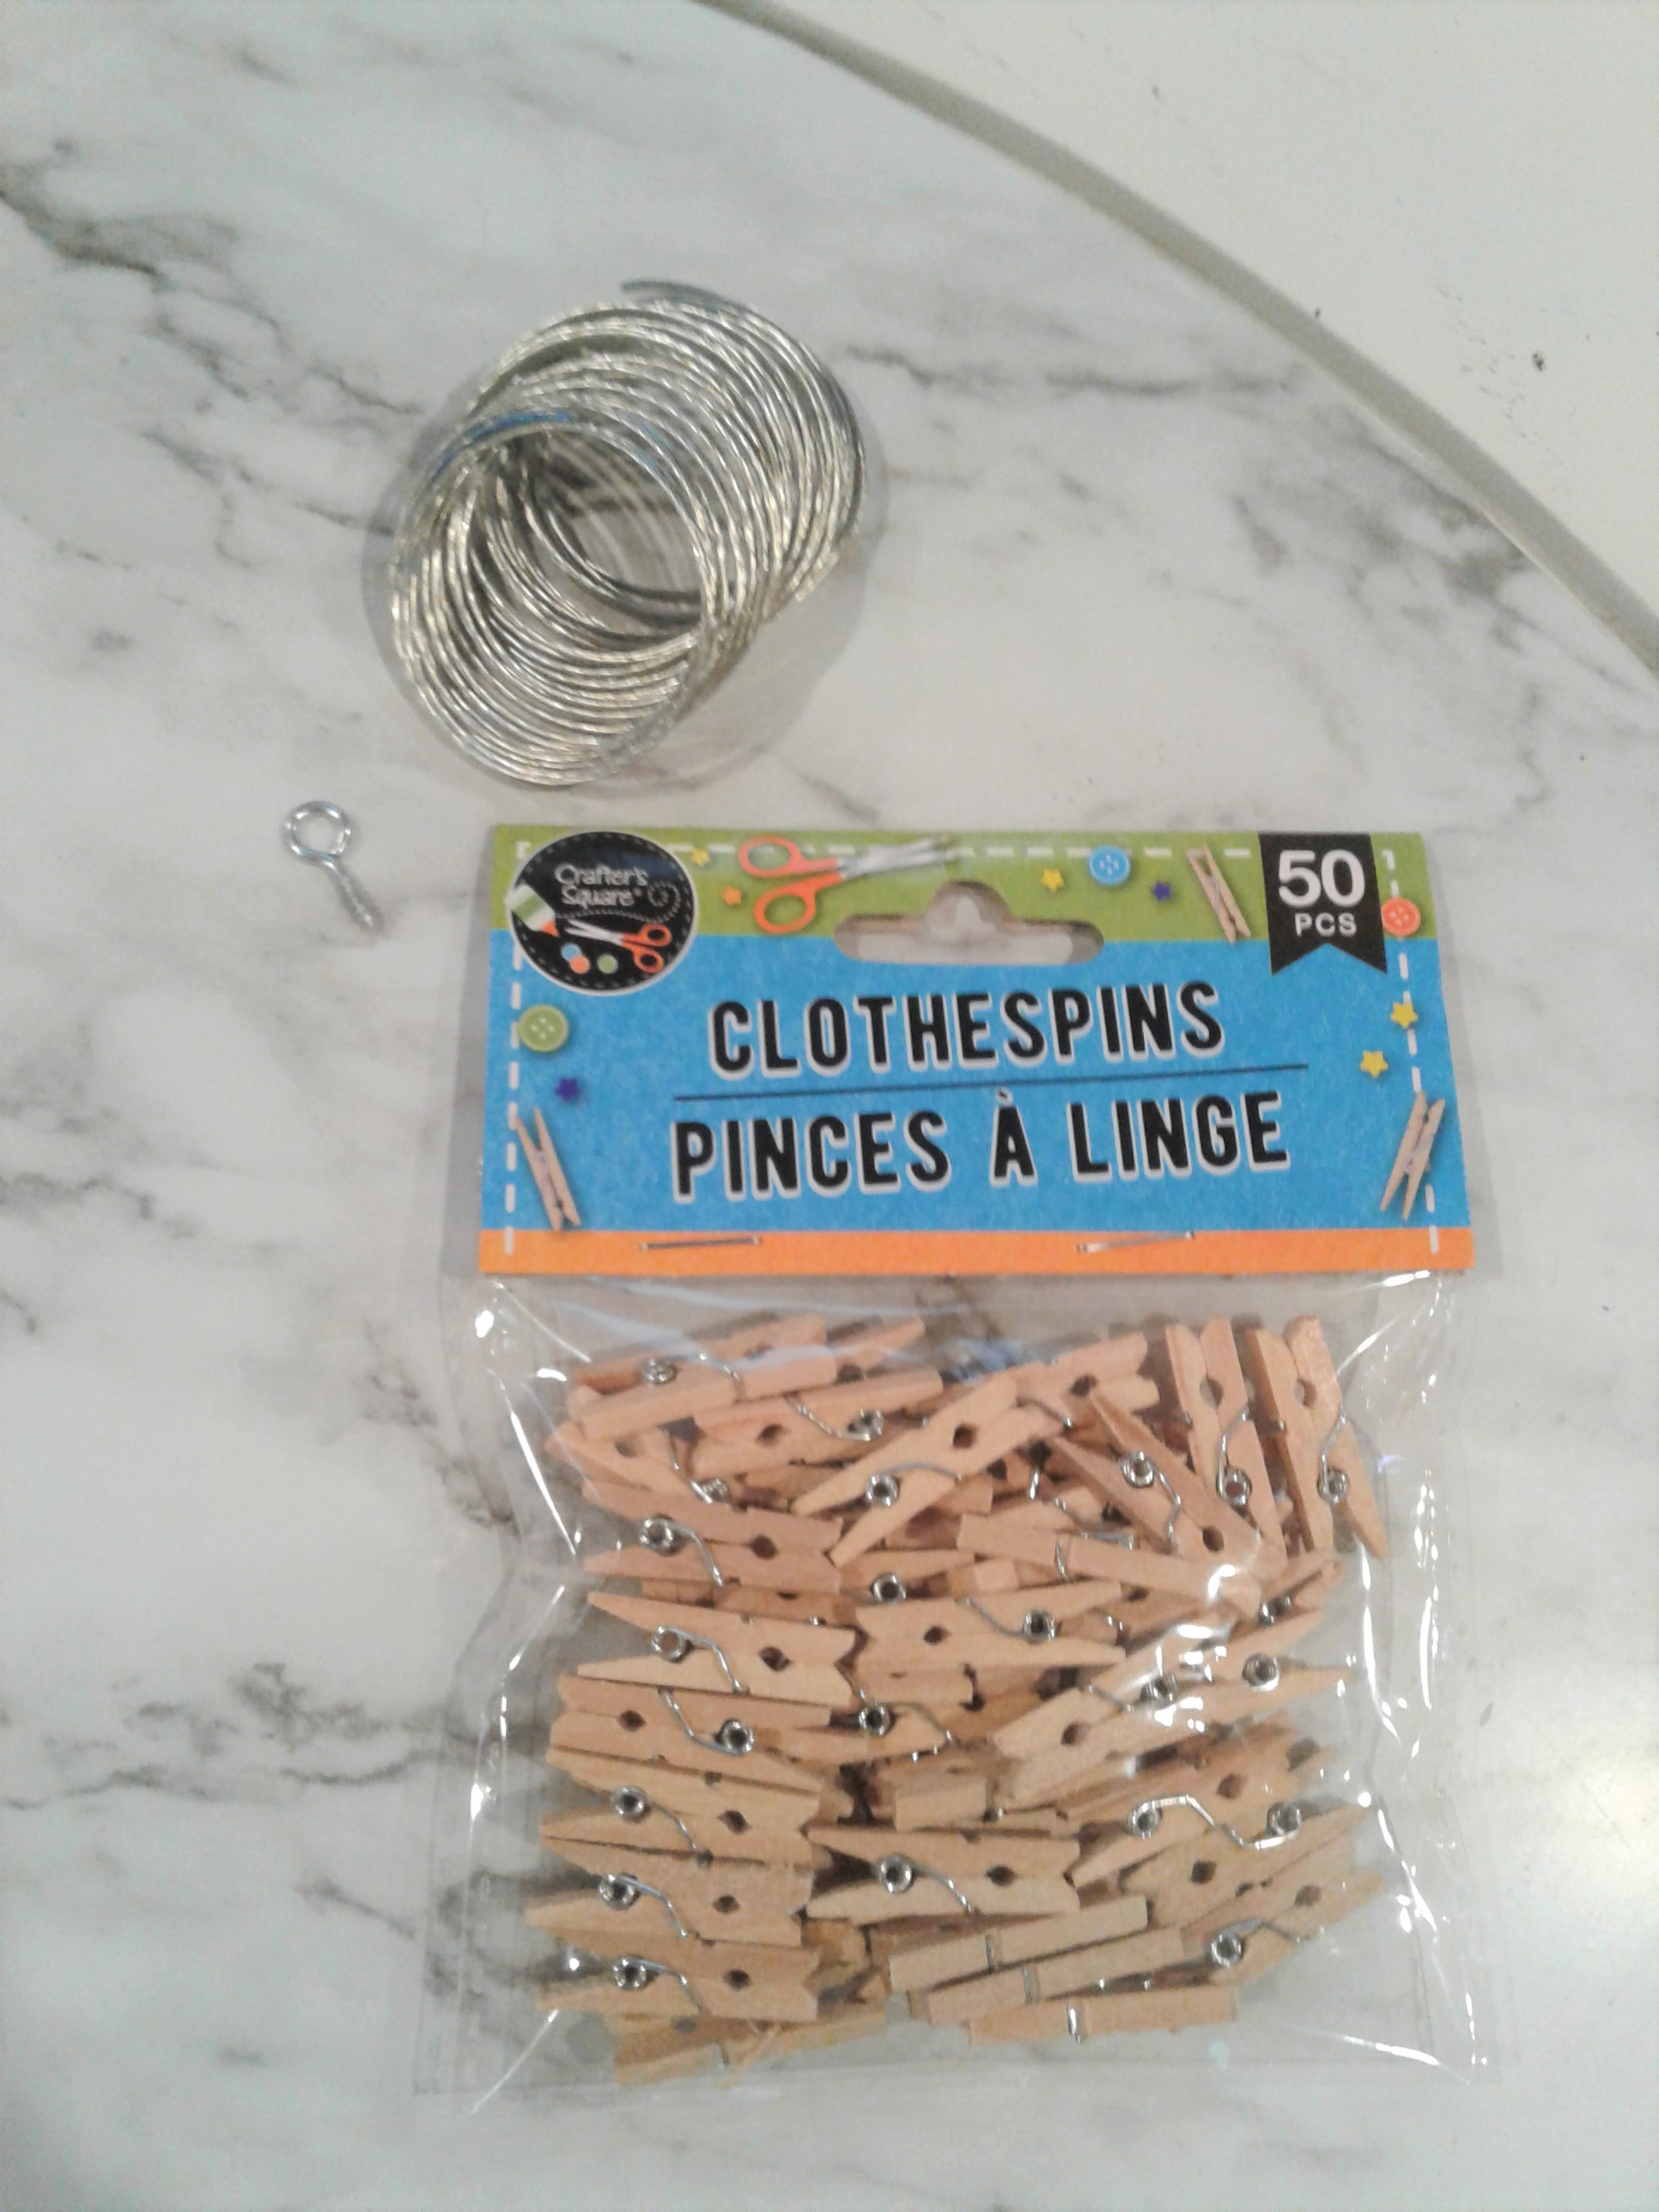
picture hanging wire
wire cutter
mini clothespins
Start by cutting your wood to size and sanding all sizes of your board.
Then it's time to paint it or stain it. I used some white and gray acryic paint to paint mine. I dropped on globs of both colors, wet my paint brush real well and then brushed all the colors together to give it a more whitewashed gray look.
When my paint was all dry, I sprayed it with a clear acrylic sealer to protect the paint.
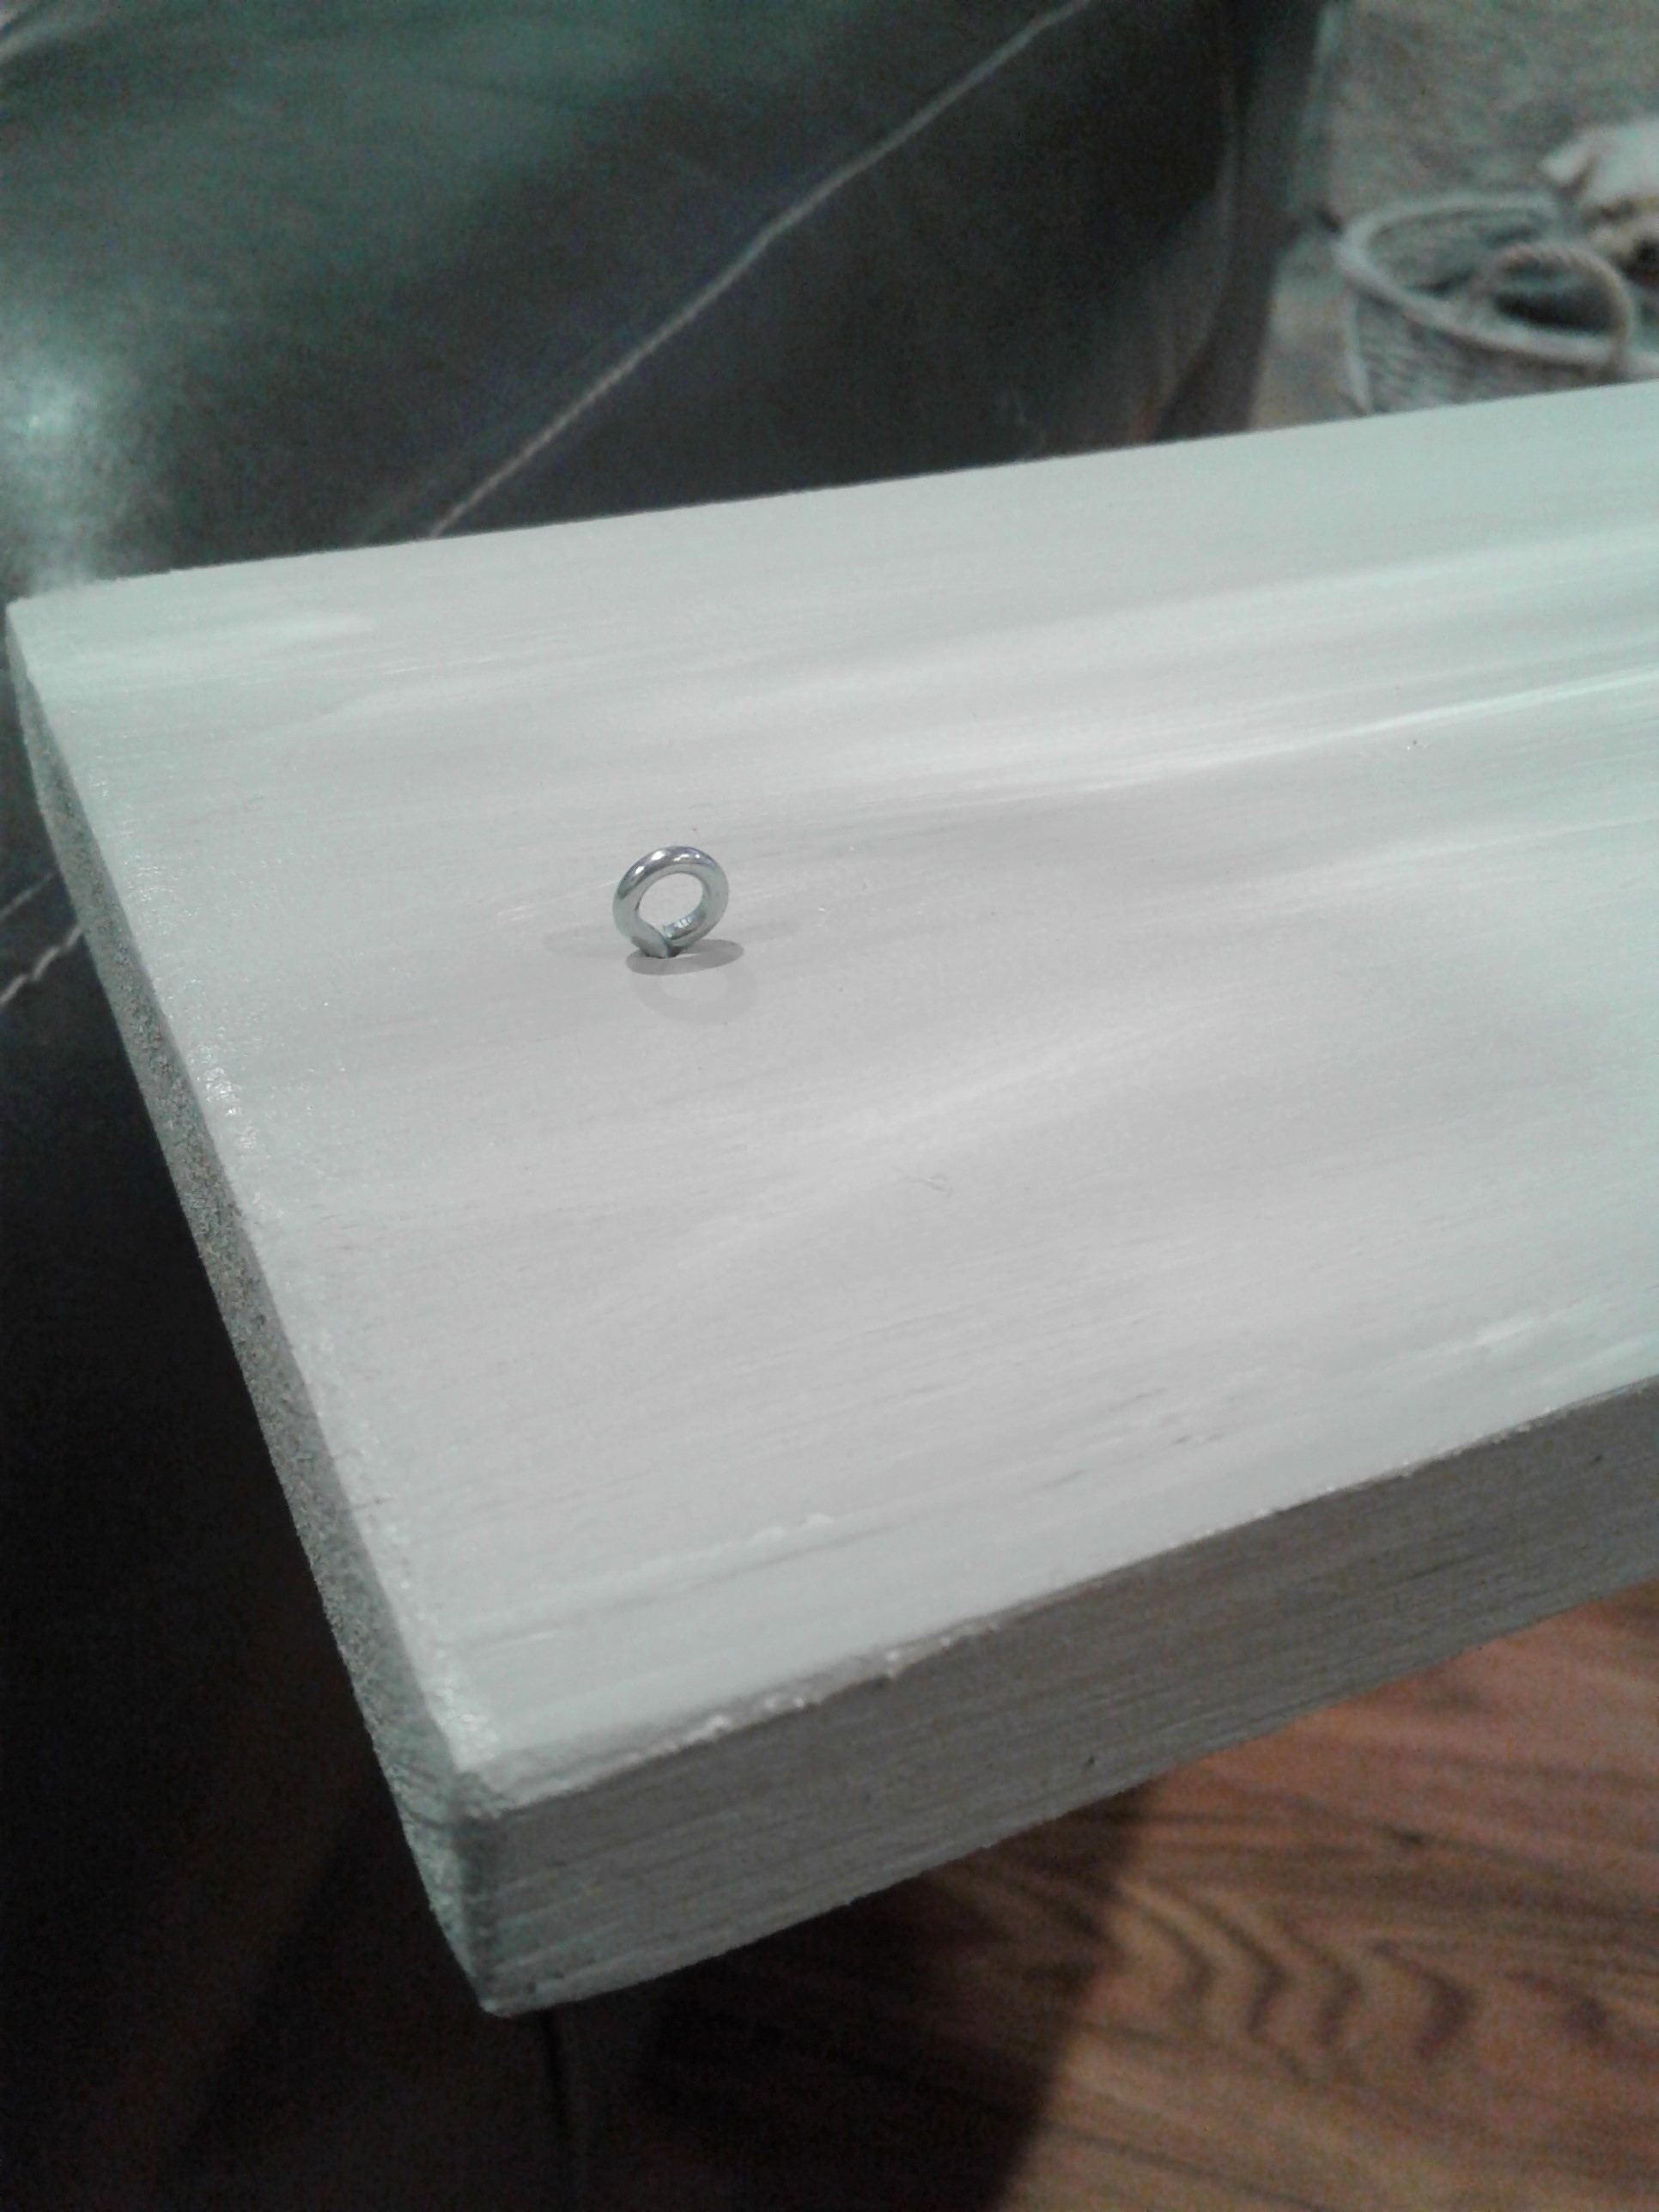
When your paint has dried it's time to add in your eye hooks. Screw 1 eye hook into the middle of each end of the front of your board.
Next, take your picture hanging wire and attach it to one of your eye hooks. I wrapped mine around my eye hook and tied it into a knot to make sure it was nice and secure. Then, pulling the wire nice and tight, attach it to the other eye hook so that the wire goes across the front of your board.
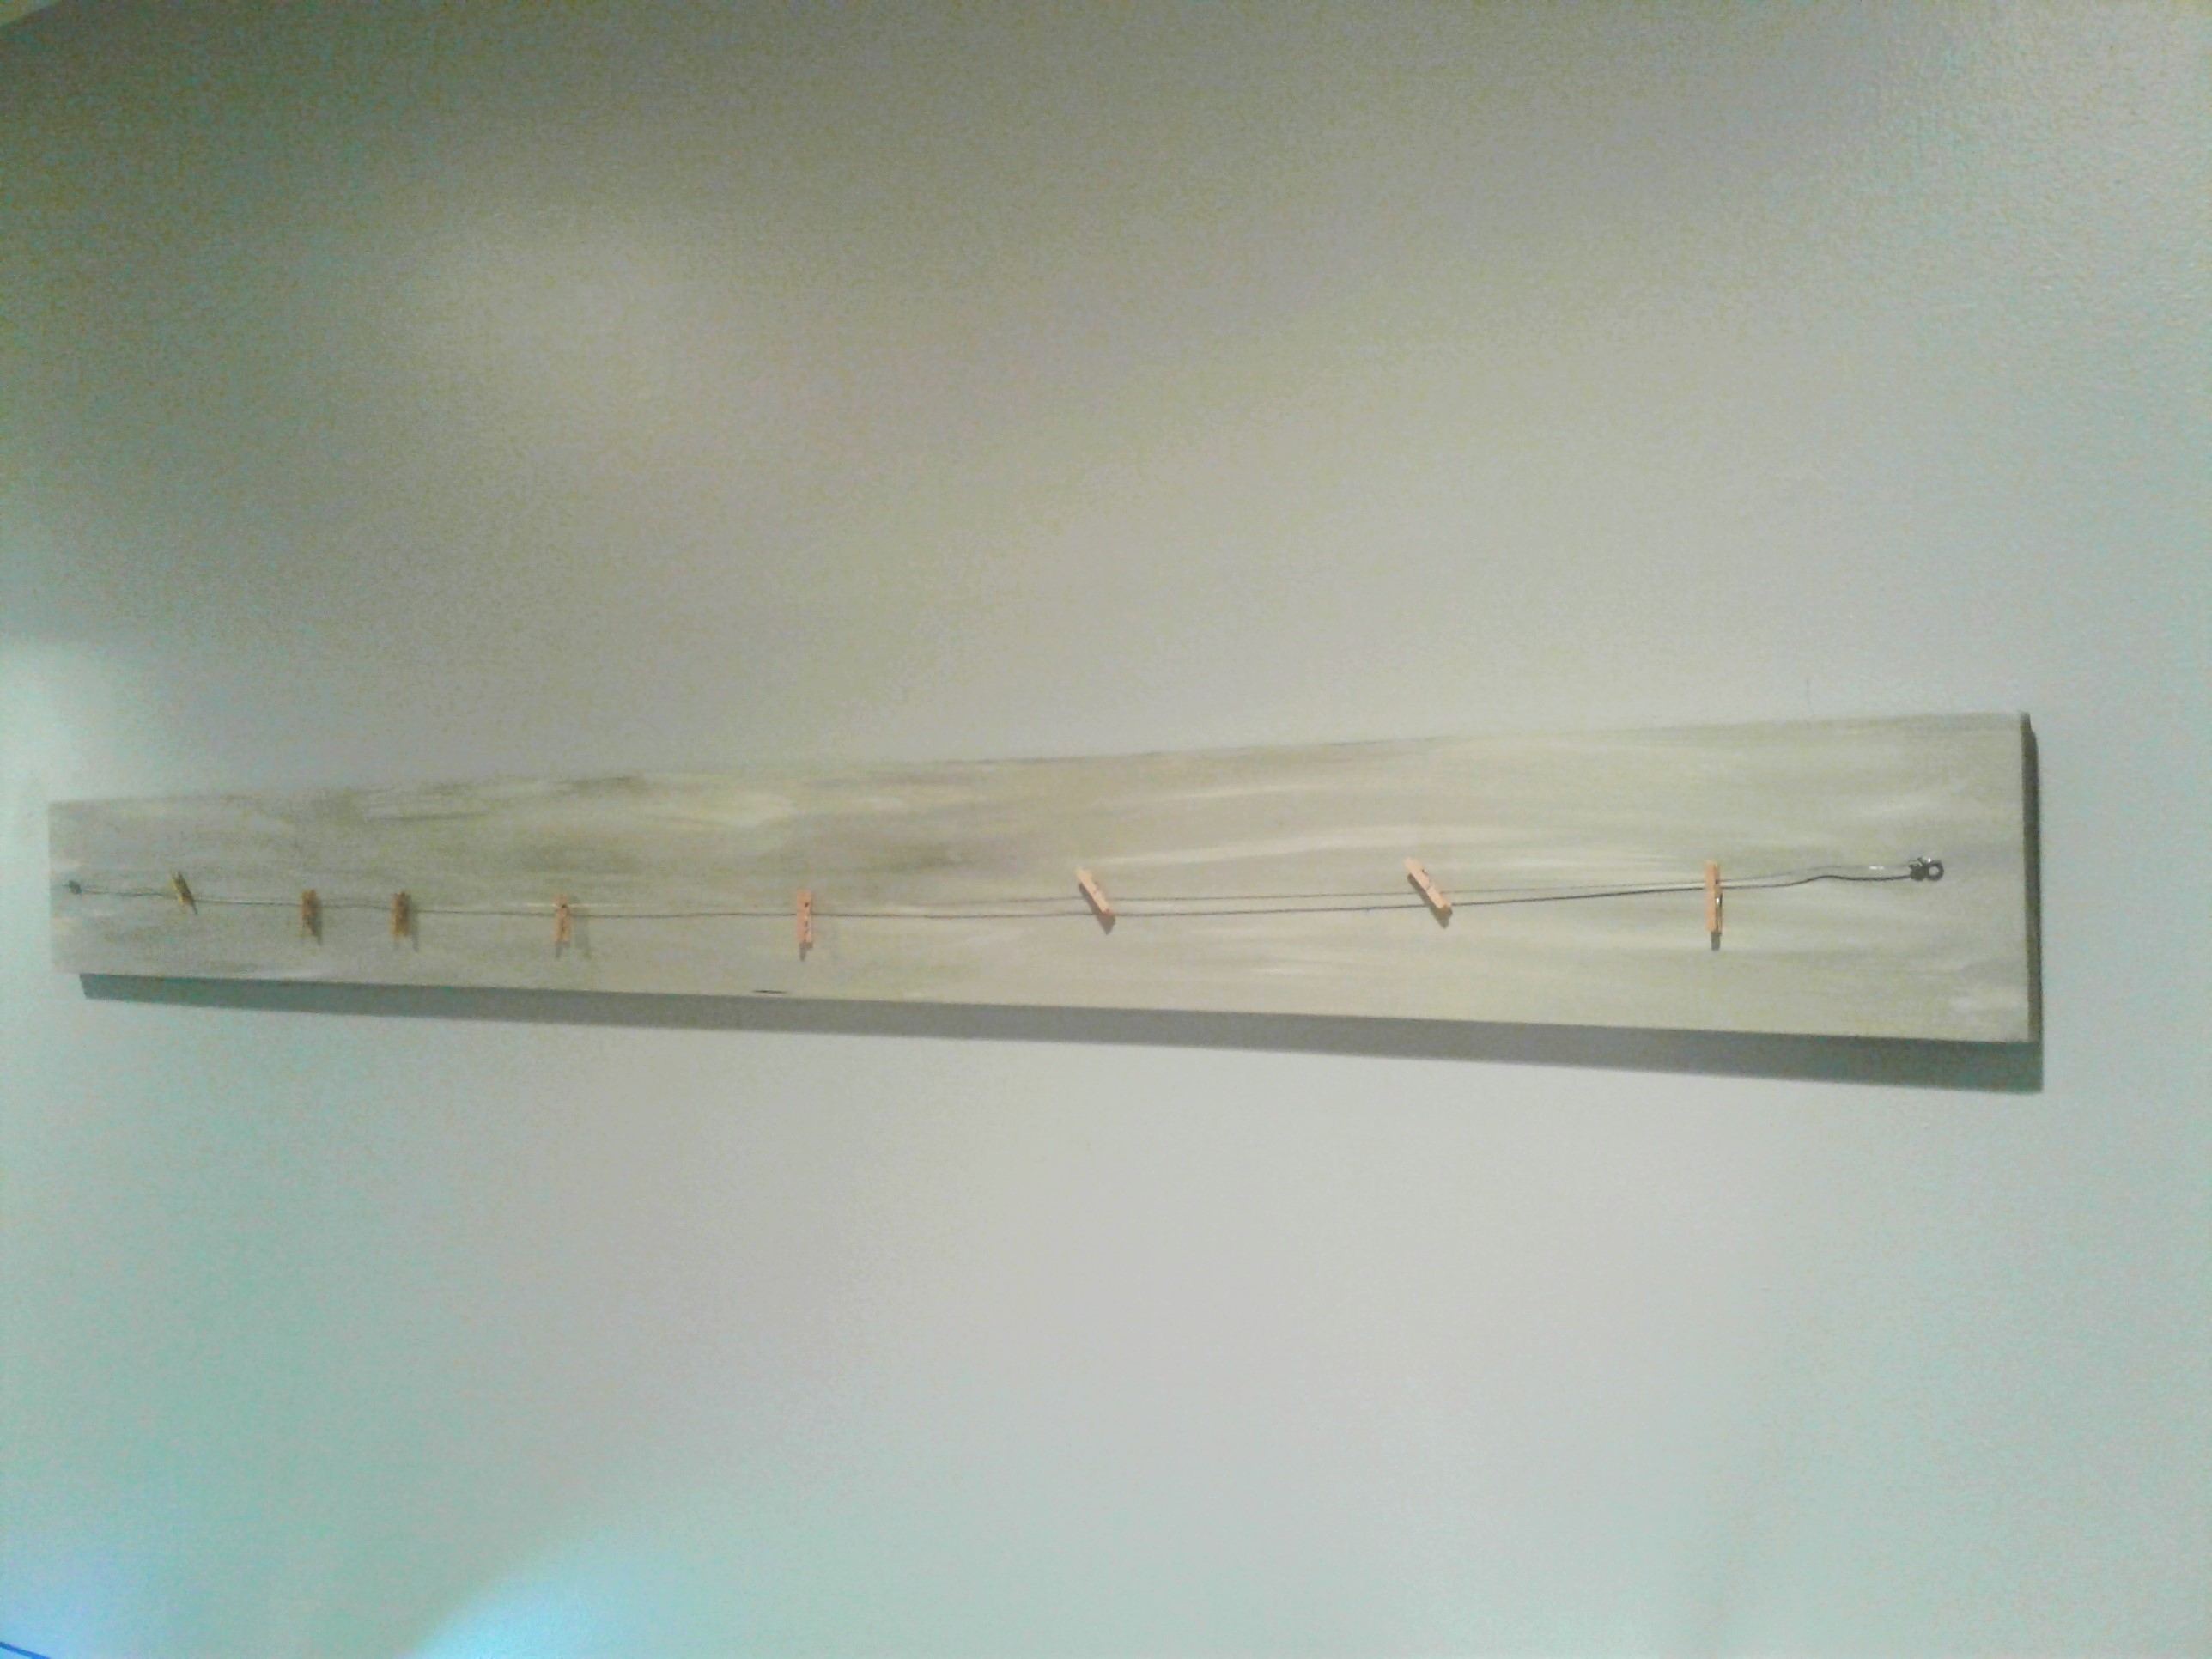
Then add a few of your mini clothespins to your wire and hang up your favorite pictures! To hang up your wood you can attach your favorite picture hanger to the back.
o it yourself
CrazyDIYmom.com 2015 Contact Us Privacy Policy Disclaimer About me