
DIY pallet dog cabana
This post may contain affiliate links.
When you get your hands on a nice looking wood pallet you have to save it for.....something!
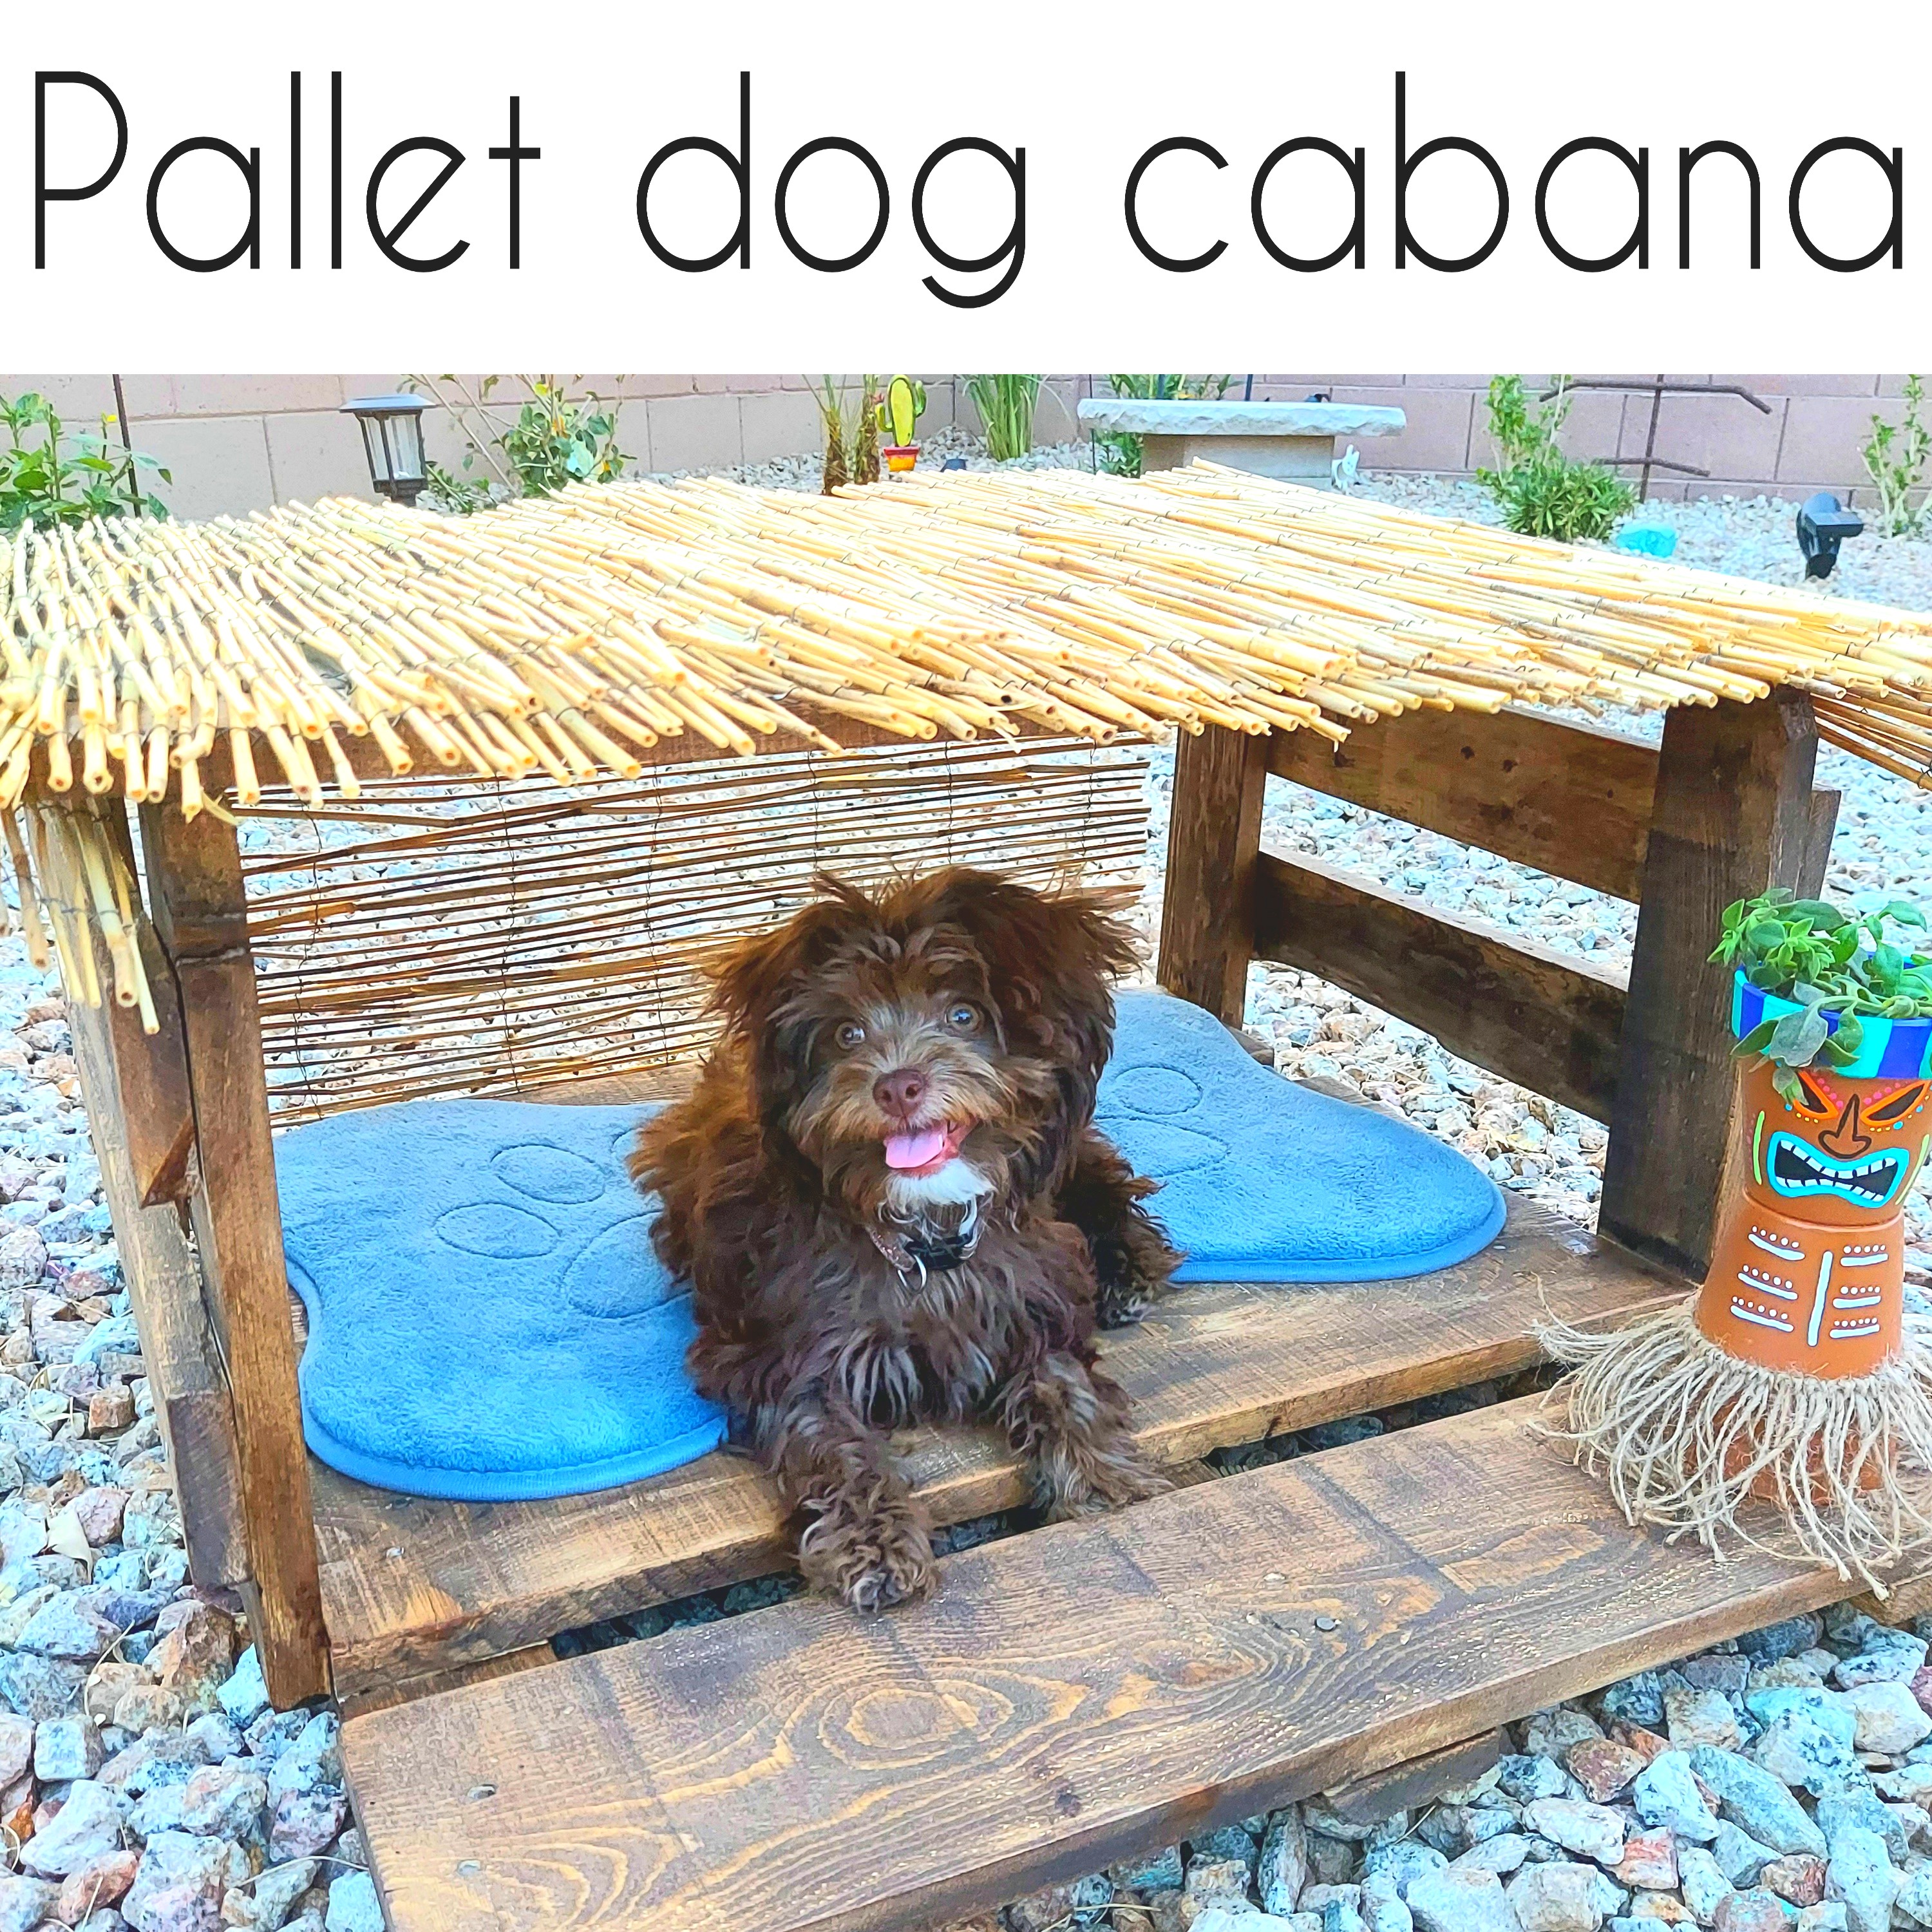
I had been trying to find a way to provide shade for our new pup for when we are hanging out in the pool. Our yard here in Phoenix does not have a lot of shade so this pallet was the perfect way to create a cute little cabana for her to chill out in.
What you will need:
a wood pallet
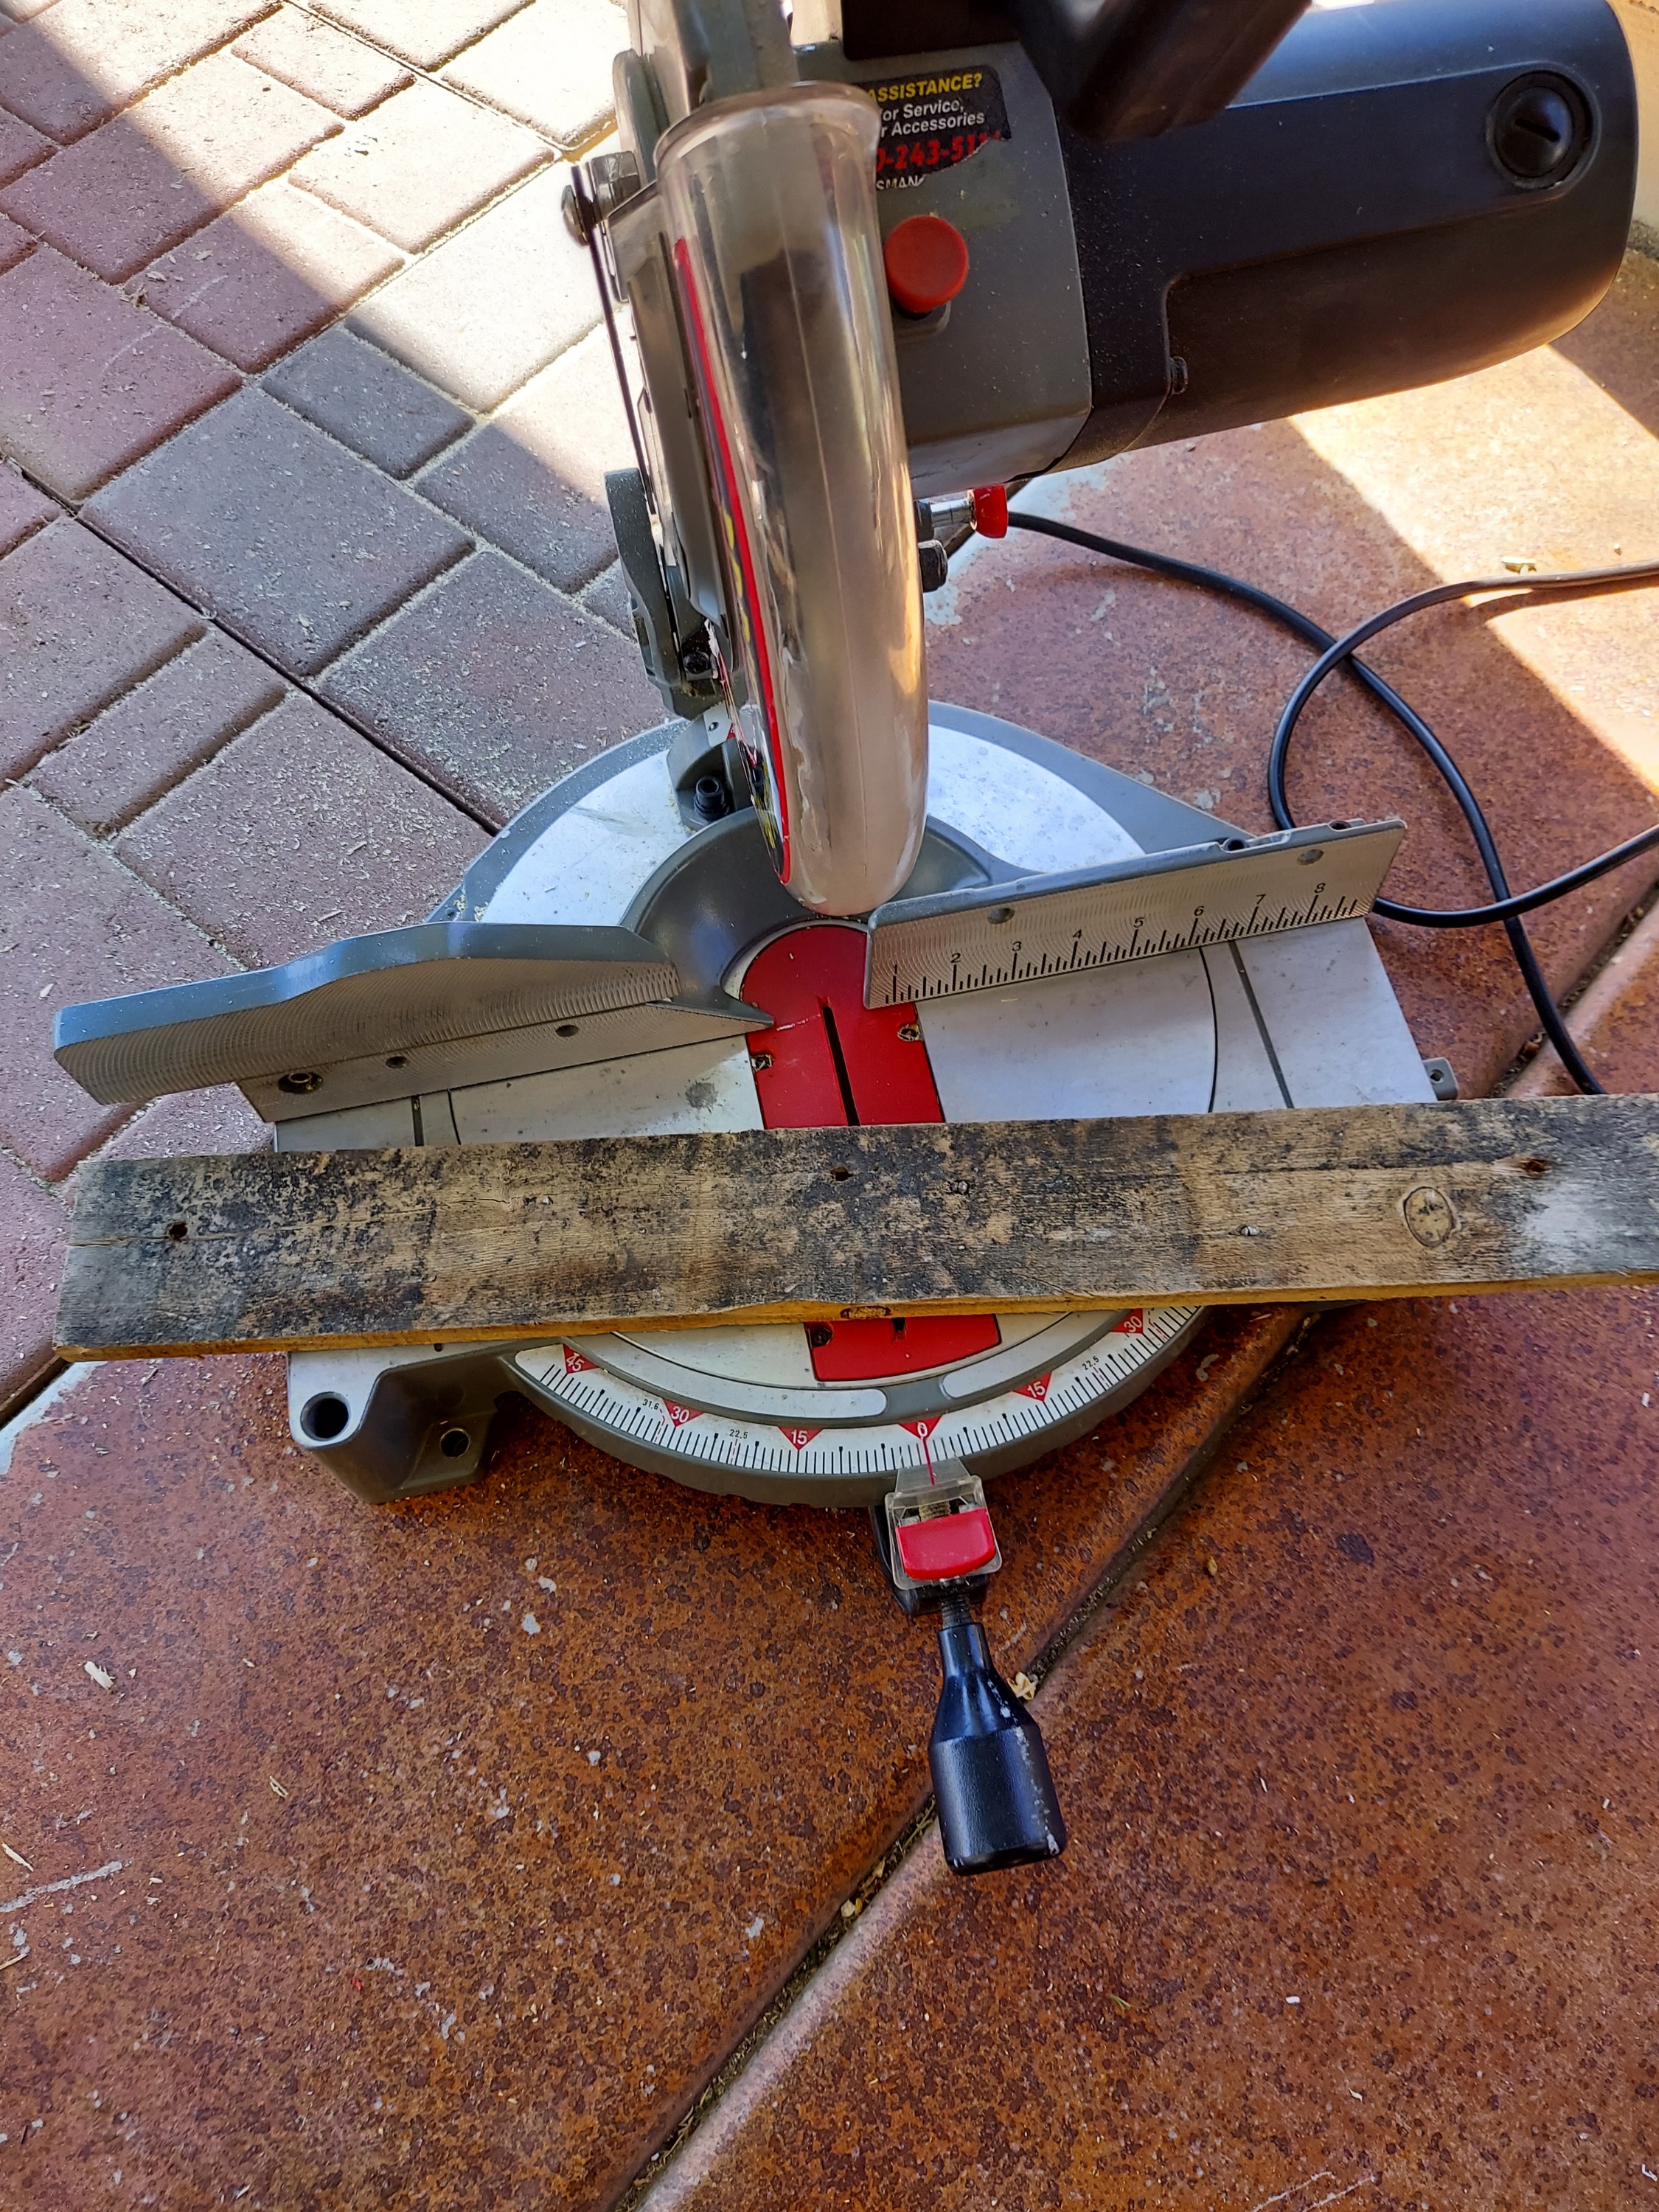
cut off saw
pry bar
hammer
staple gun and stples
drill and screws
reed fencing
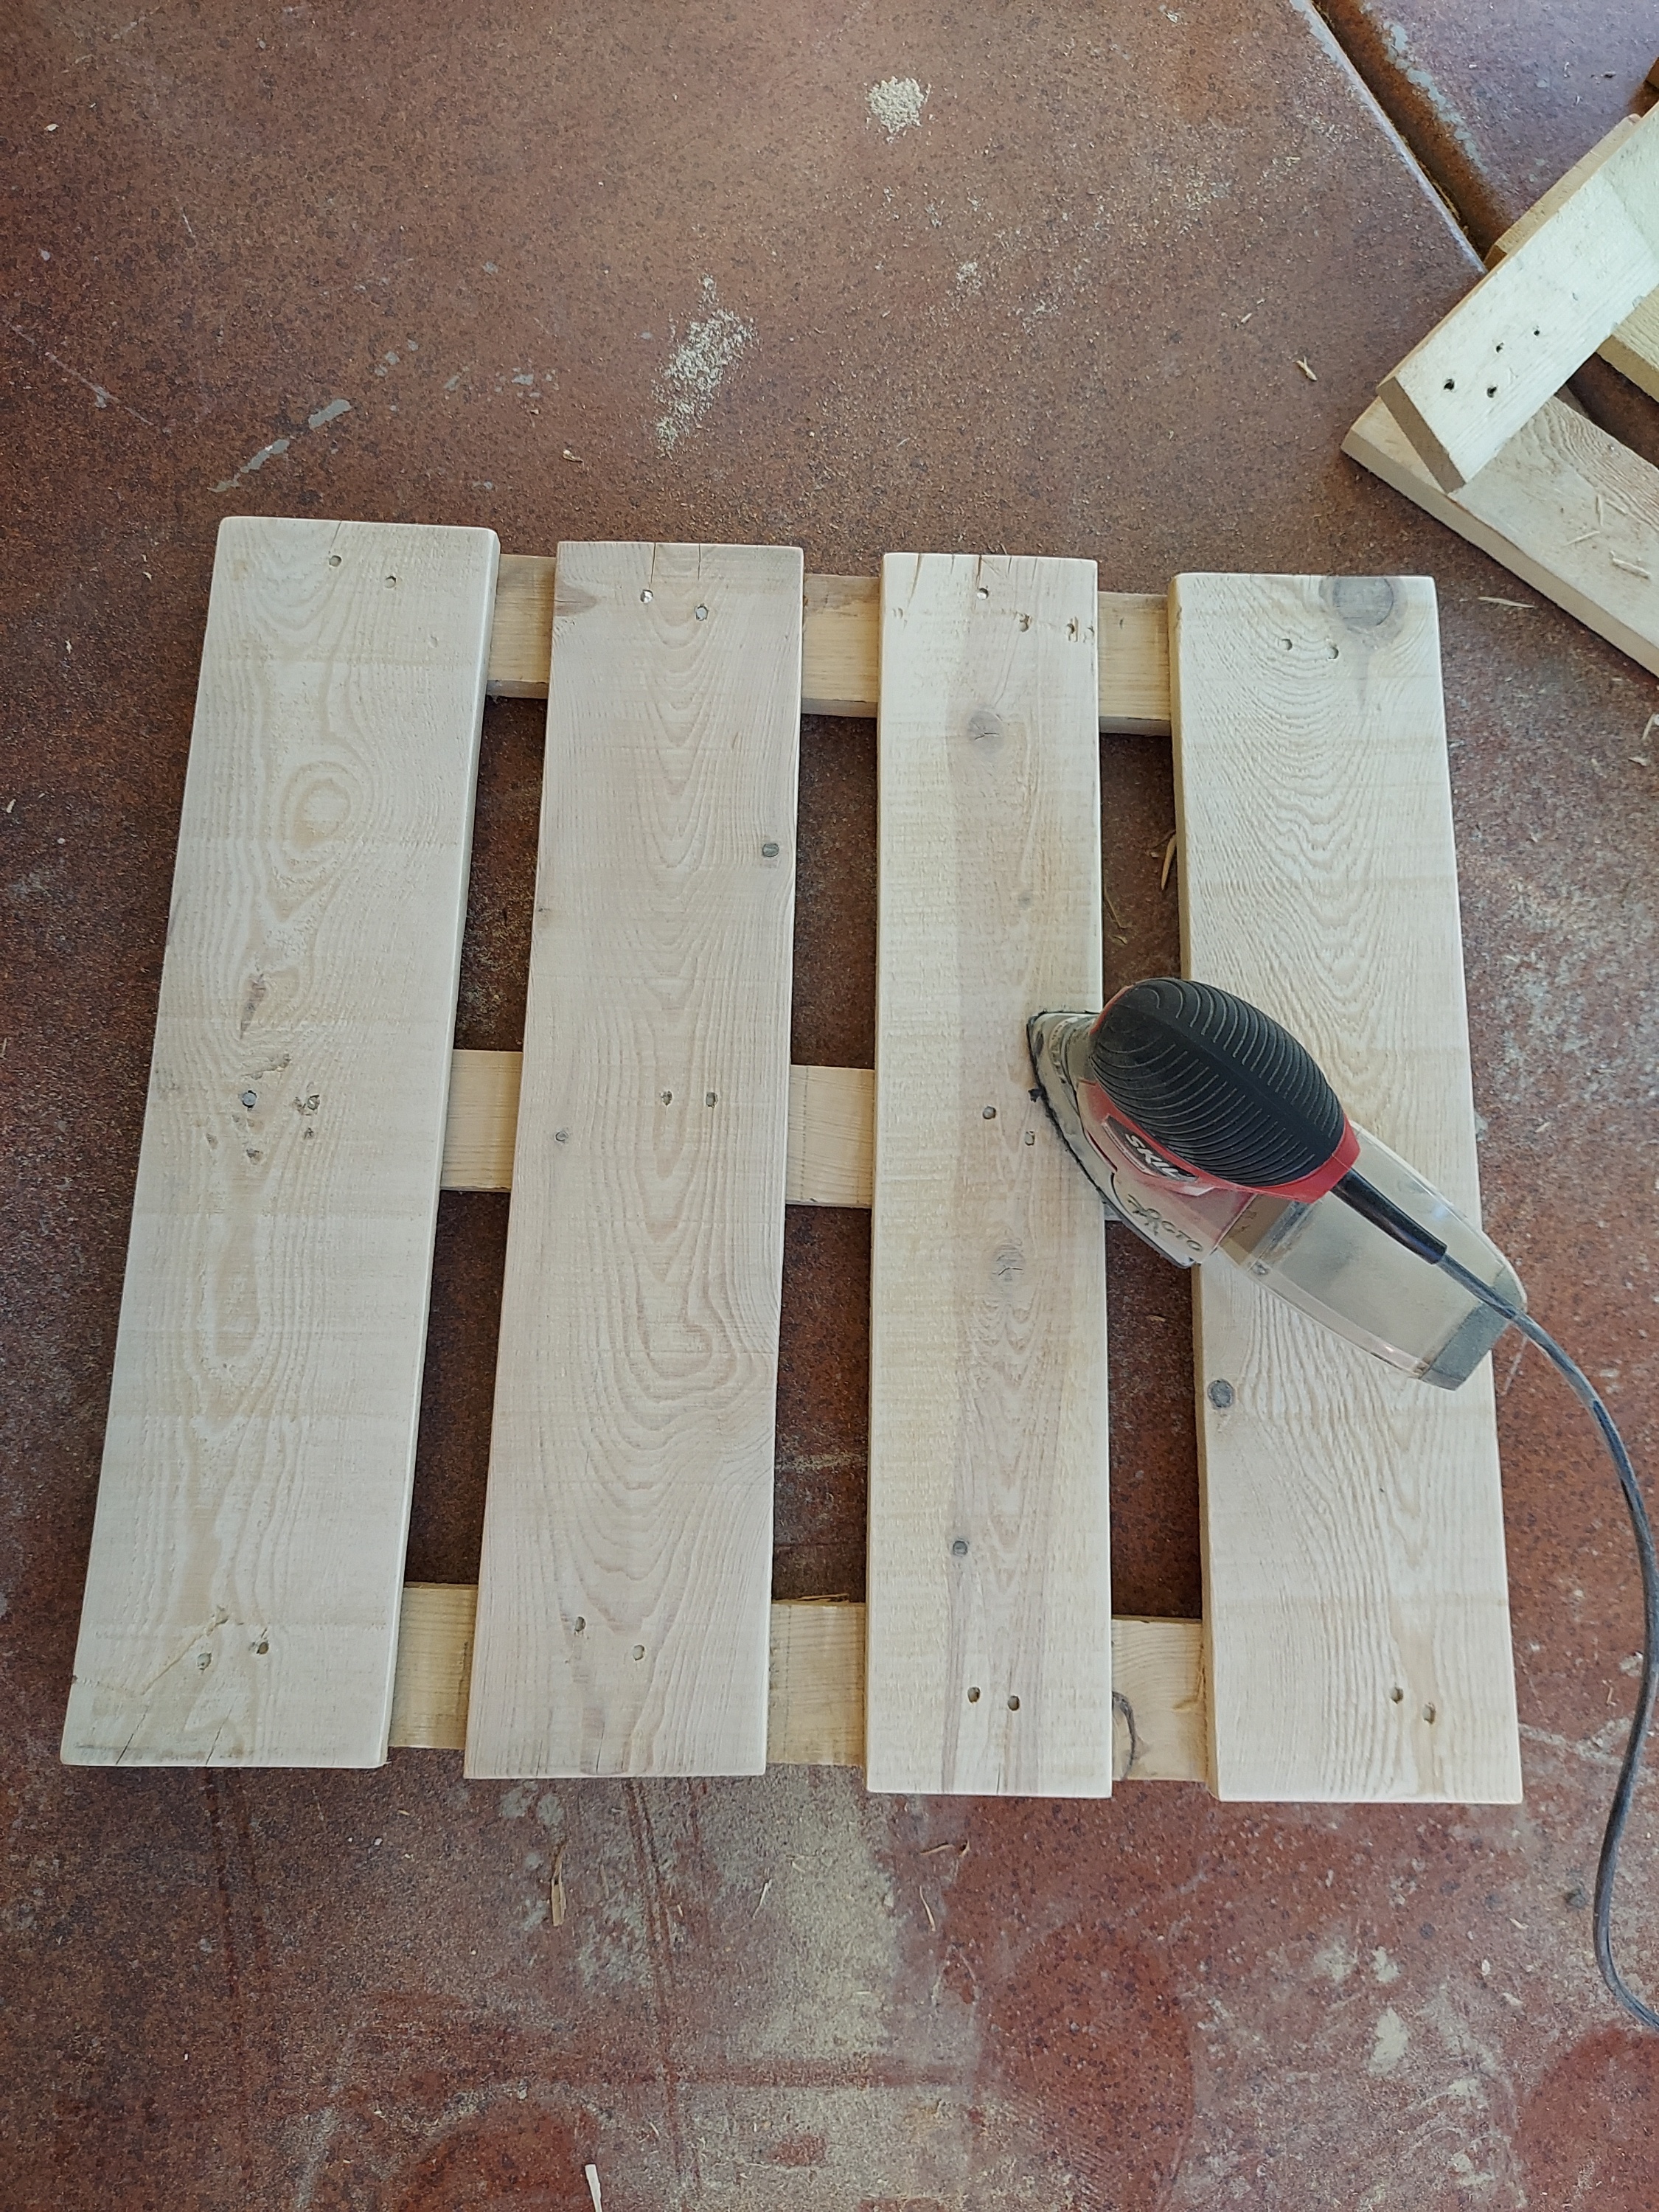
sander
I used this stain
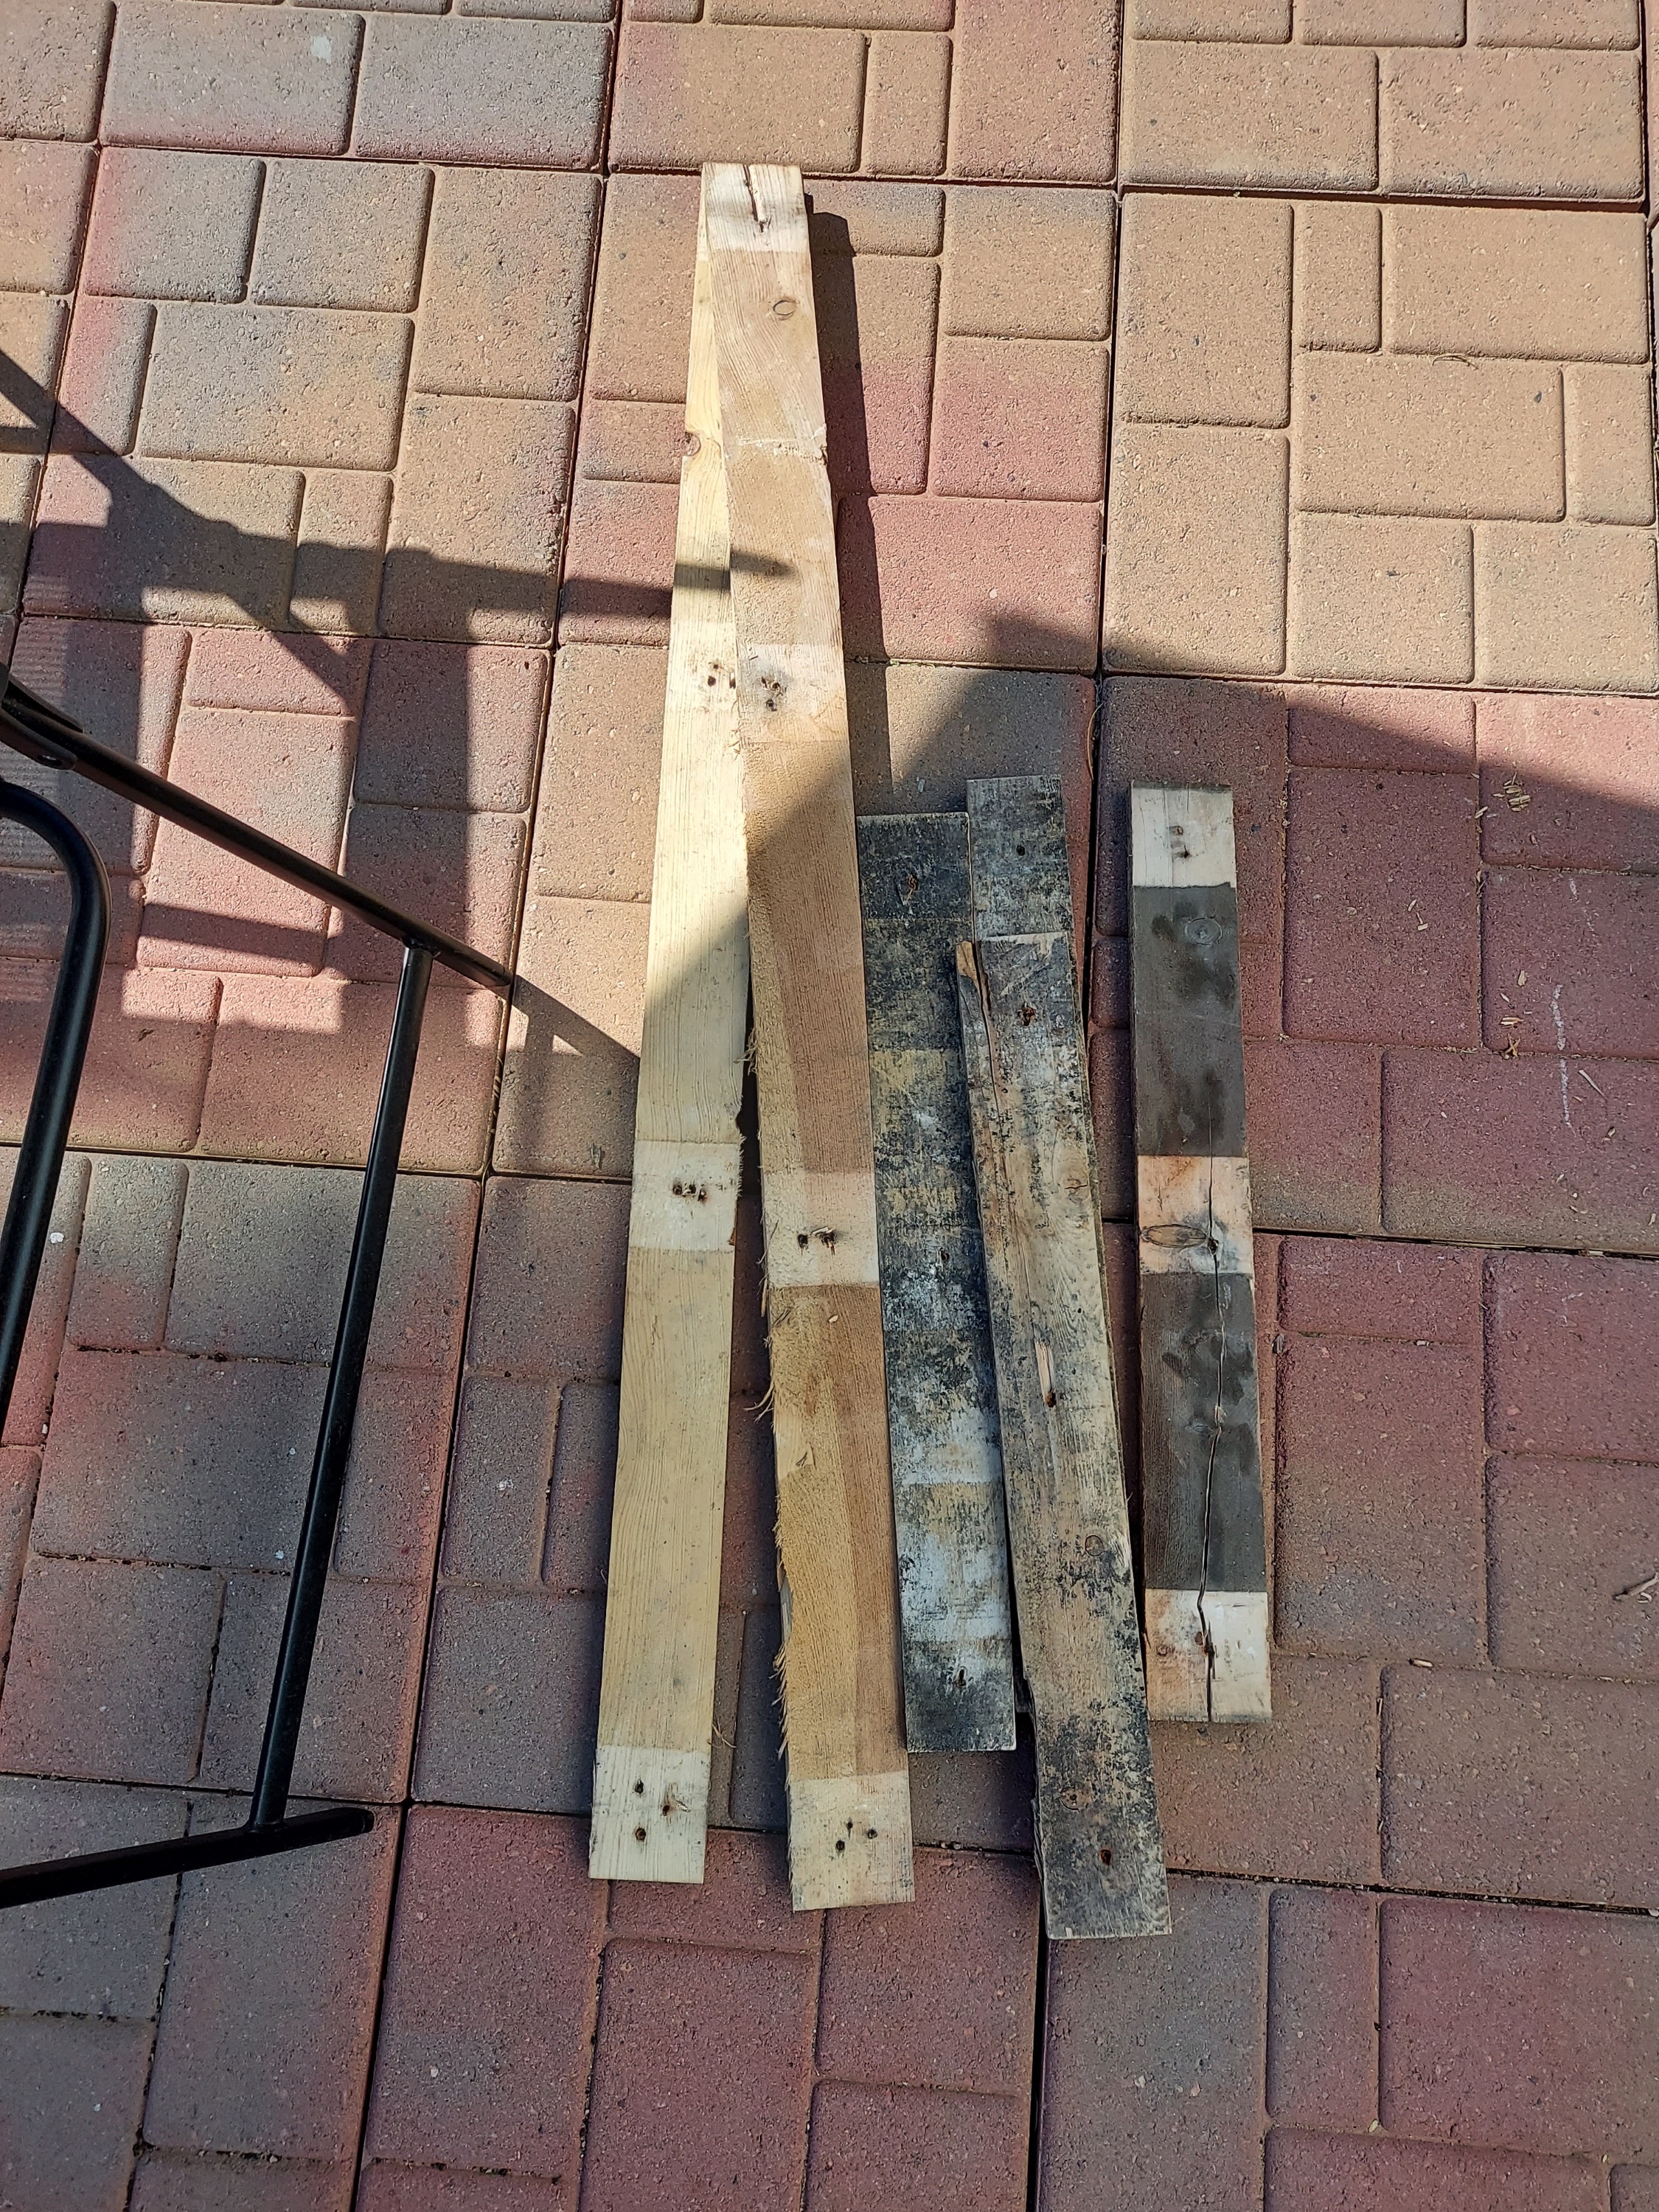
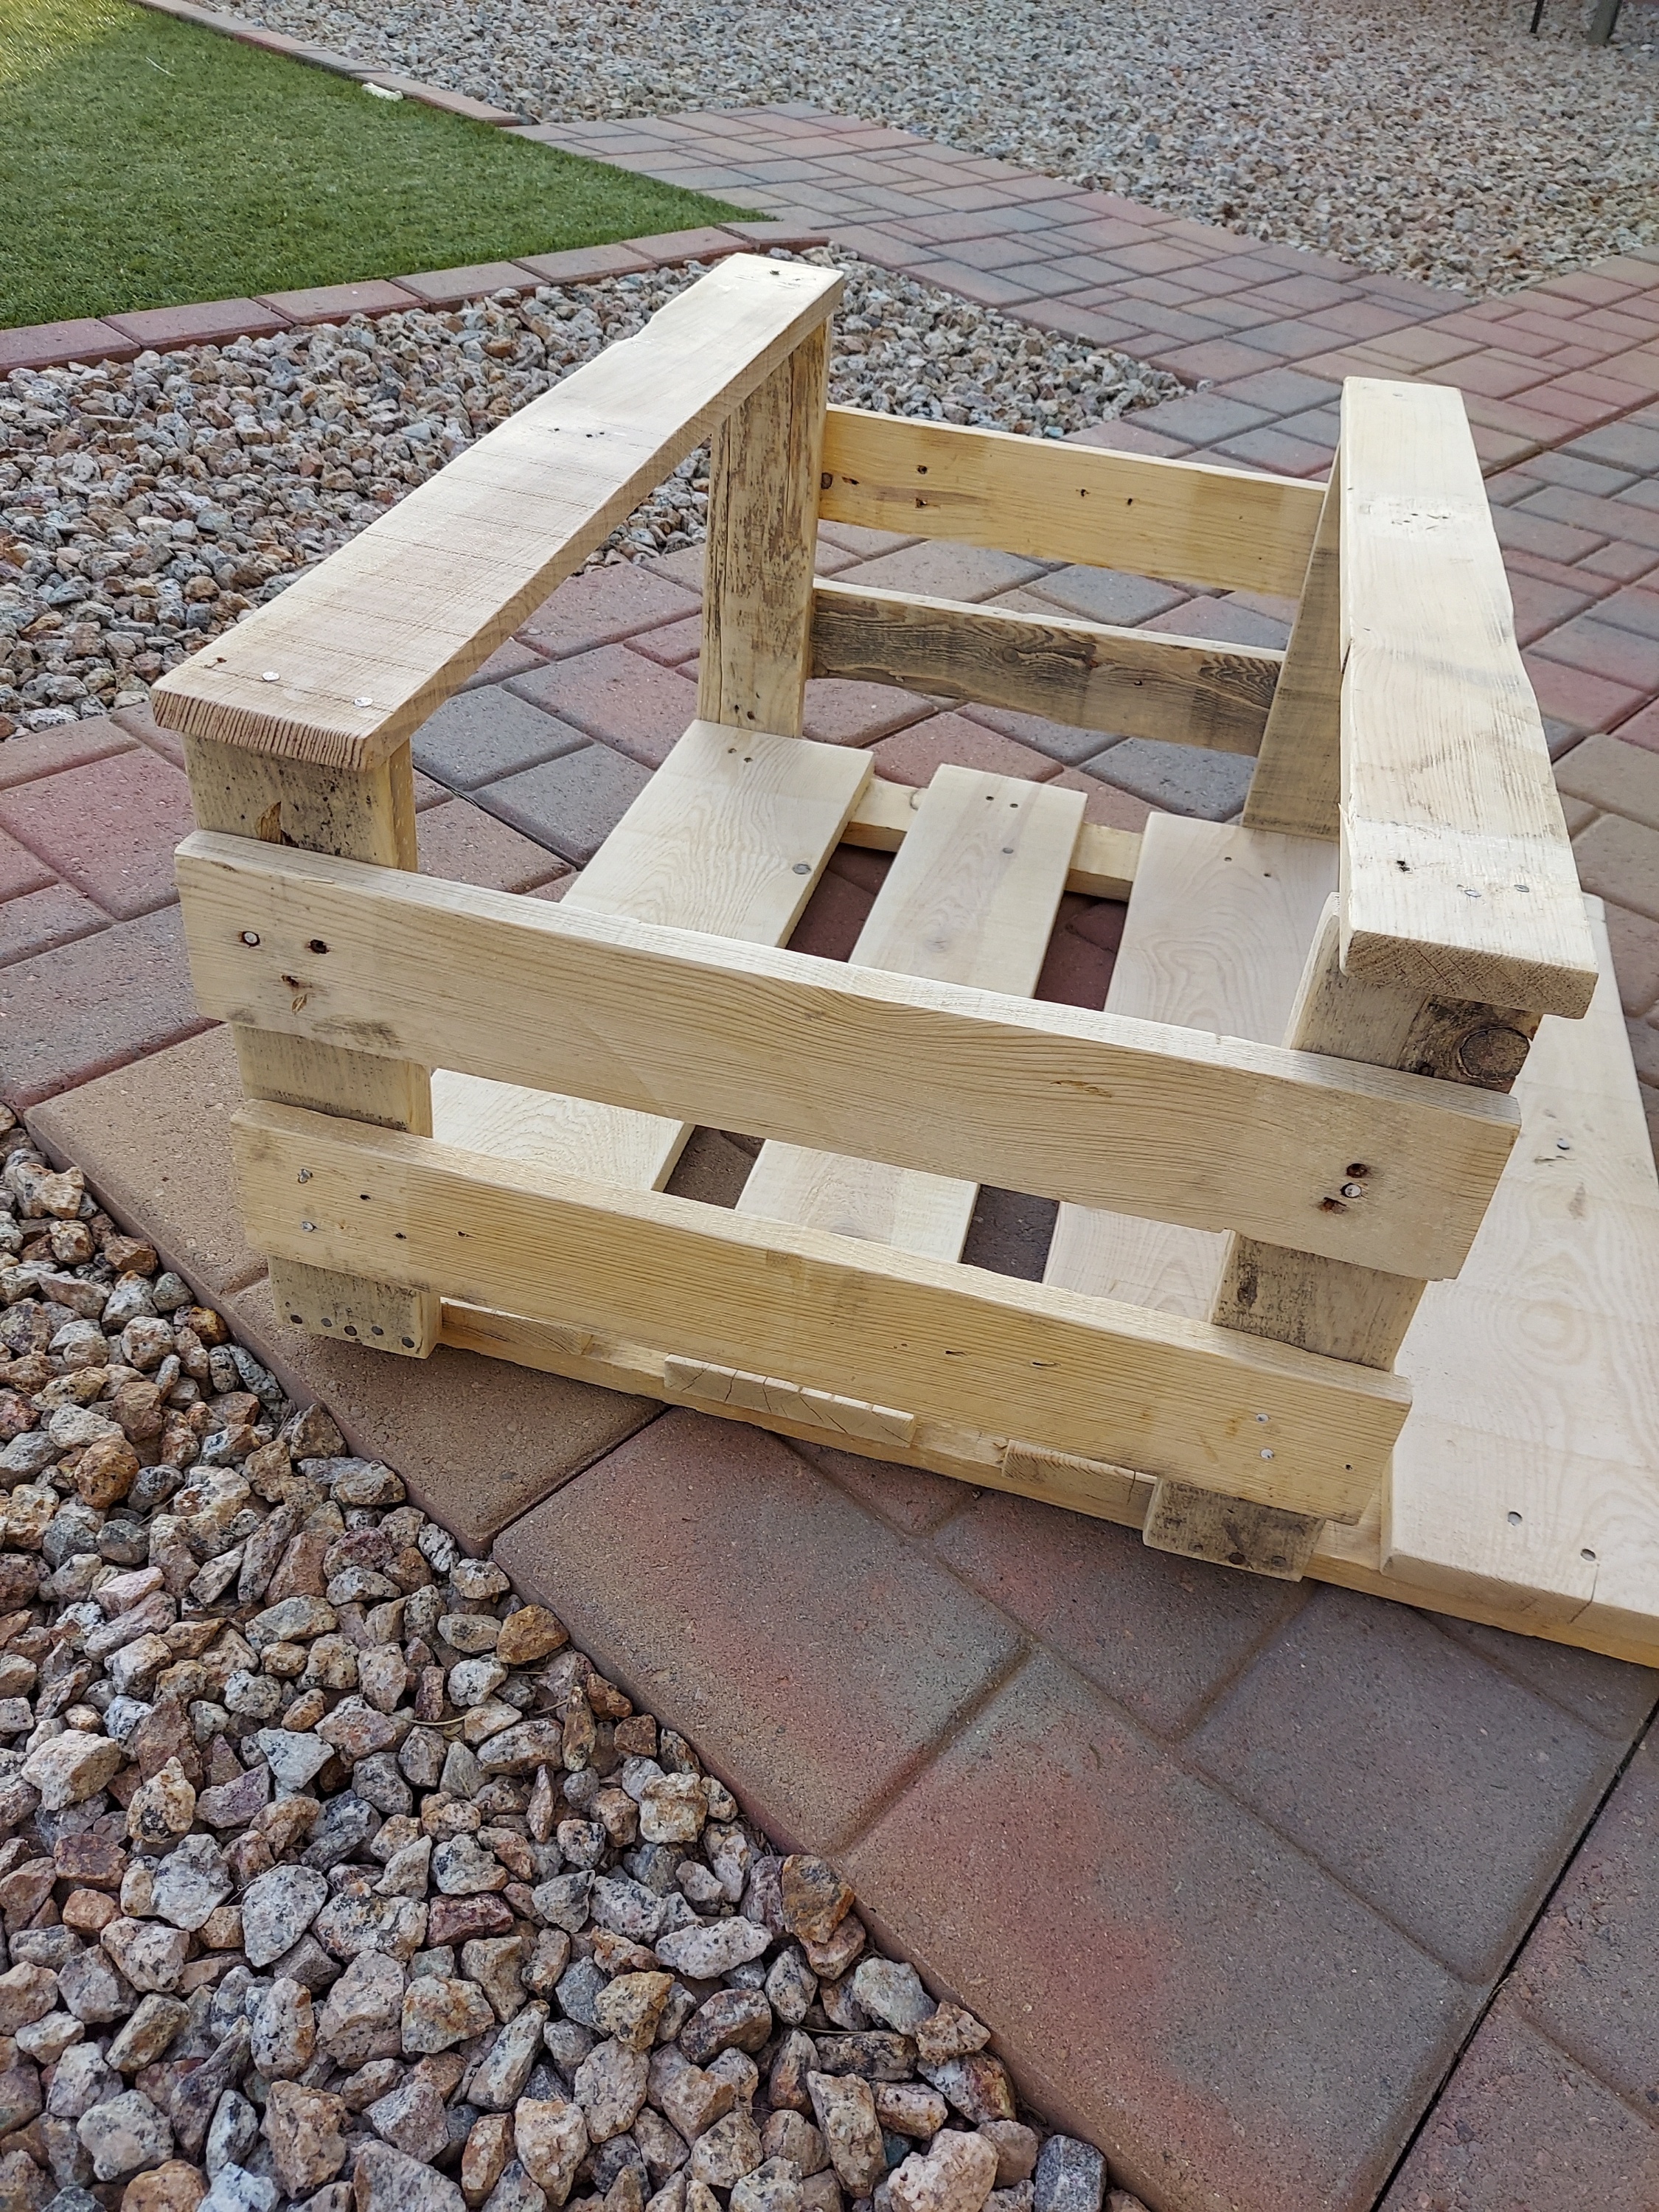
Start by designing your pallet and then taking it apart accordingly. Yours will be completely than mine as most pallets are not created equal. Use your prybar to pull the pieces apart and carefully start removing the nails. Come up with how you want it to look, get your dimensions and start making your cuts. I worked with the dimensions of my pallet to create a little cabana that would fit my pup as well as make for the least amount of sawing. ;)
Once you have your little dog cabana designed, the pallet pulled apart and cut into it's pieces, it's time to sand it down and then start reassembling it with screws.
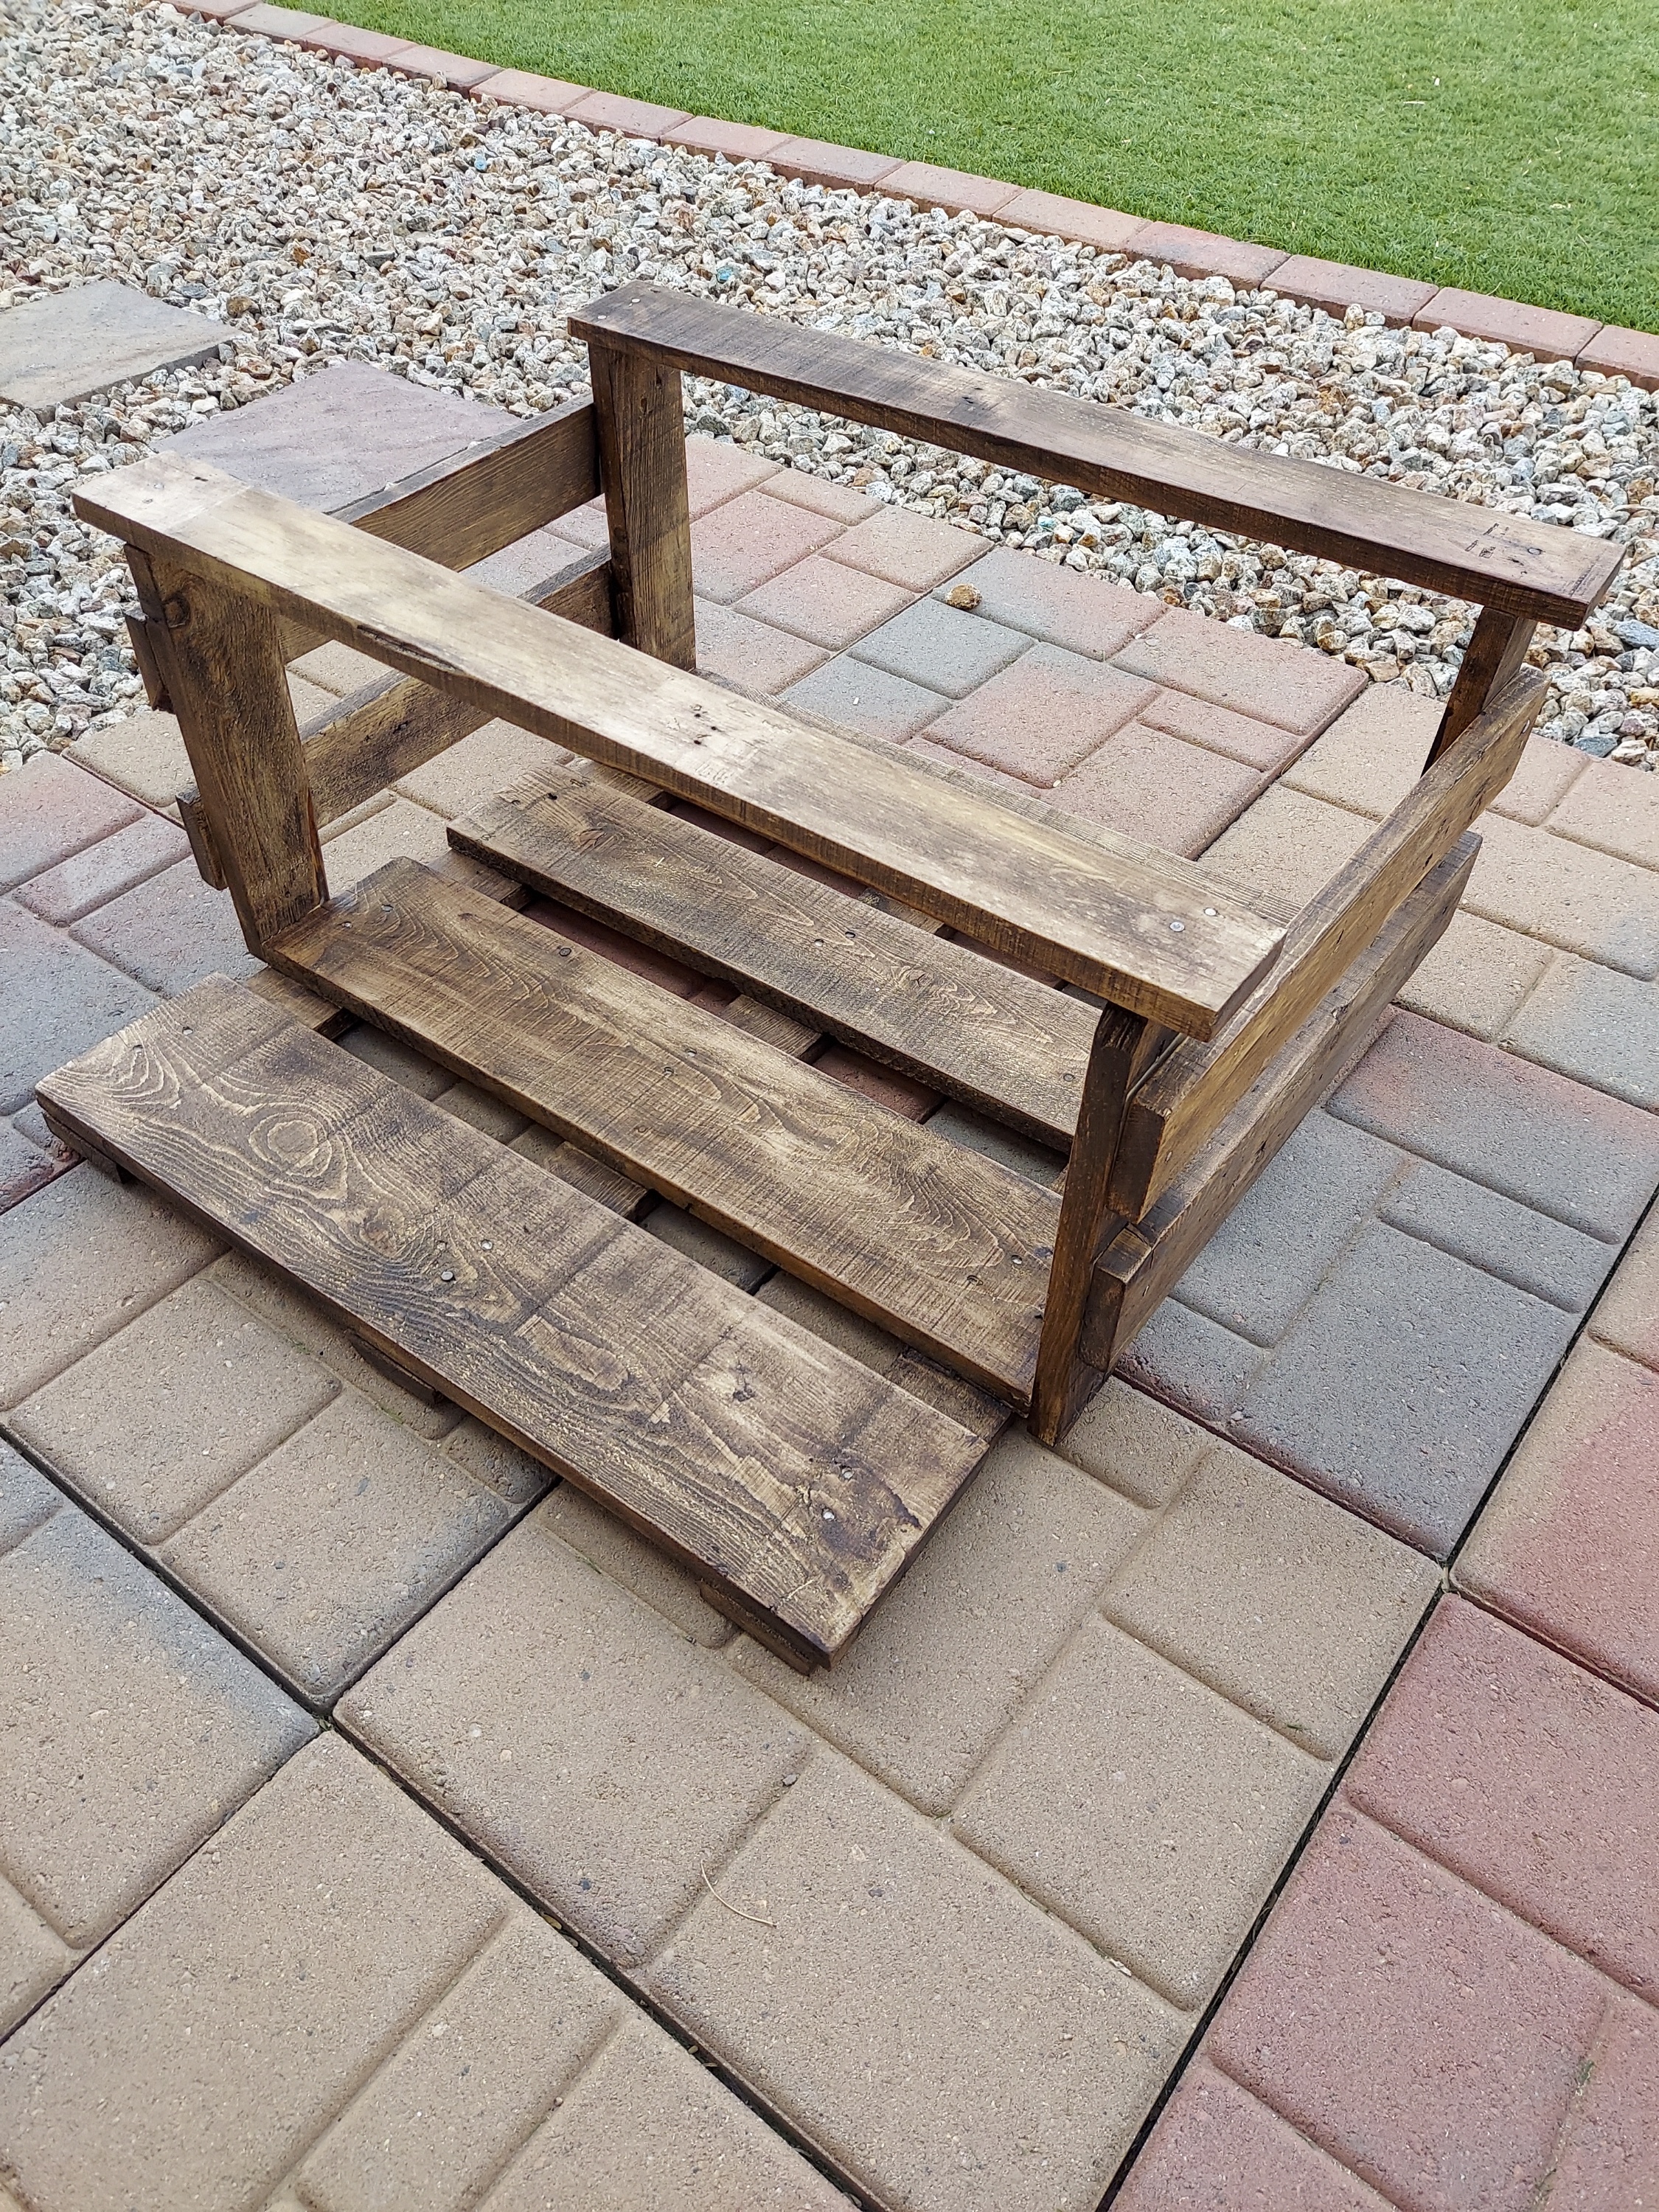
Next I stained my completely assembled cabana. I could have stained it before I screwed it all together but I was still debating if I wanted to stain it or not at that point. To give it some shade on the top, I added 2 layers of reed fencing to the top of it and used a staple gun to hold it in place.
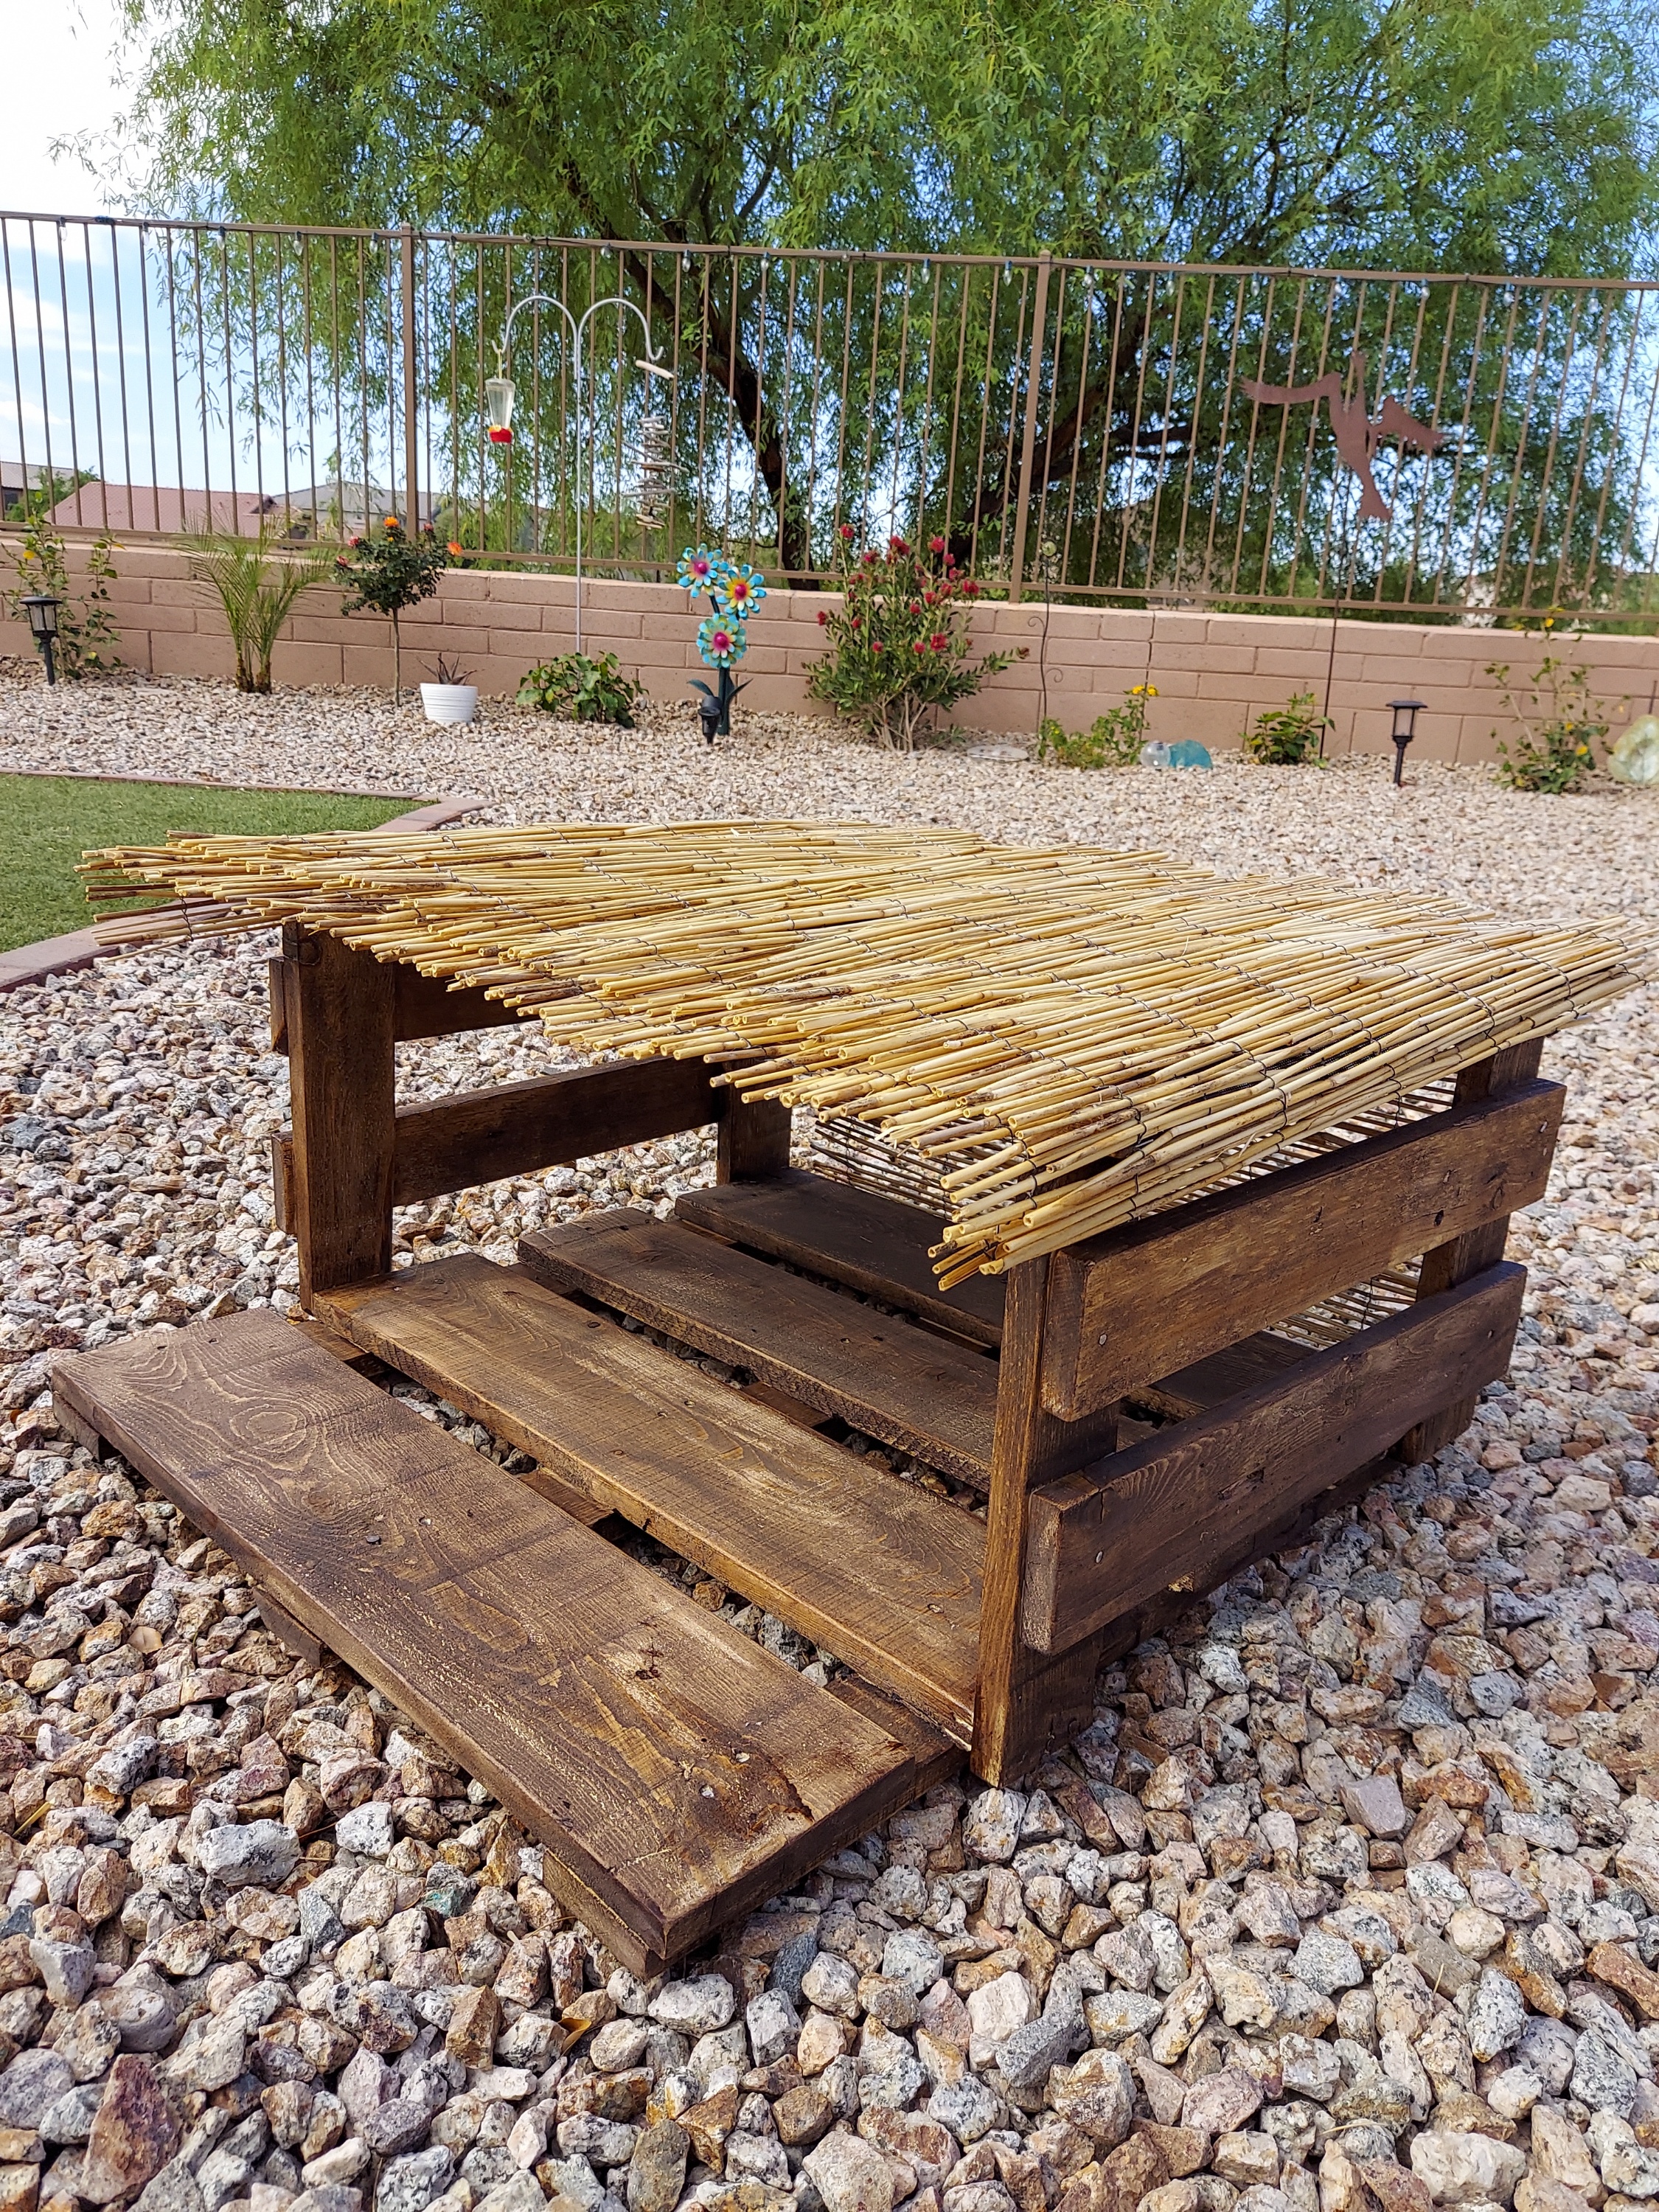
Then to finish it off, I added a little mat to the inside to make it more comforable for Hazel to lay down in. I think she likes it!
.jpg)
Want more DIY's?
CrazyDIYmom.com Contact Us Privacy Policy Disclaimer About me