
DIY home projects
Nautical beach inspired mailbox makeover
* This post may contain affiliate links
I have been wanting to fix up my mailbox since the day we moved in. I love having a fun, pretty mailbox for all of our visitors or neighbors to see, but hadn't come up with a plan for it yet. Being that we are just a few doors down from the beach I knew I wanted the mailbox it to have a nautical theme and after a year I finally settled on a design!

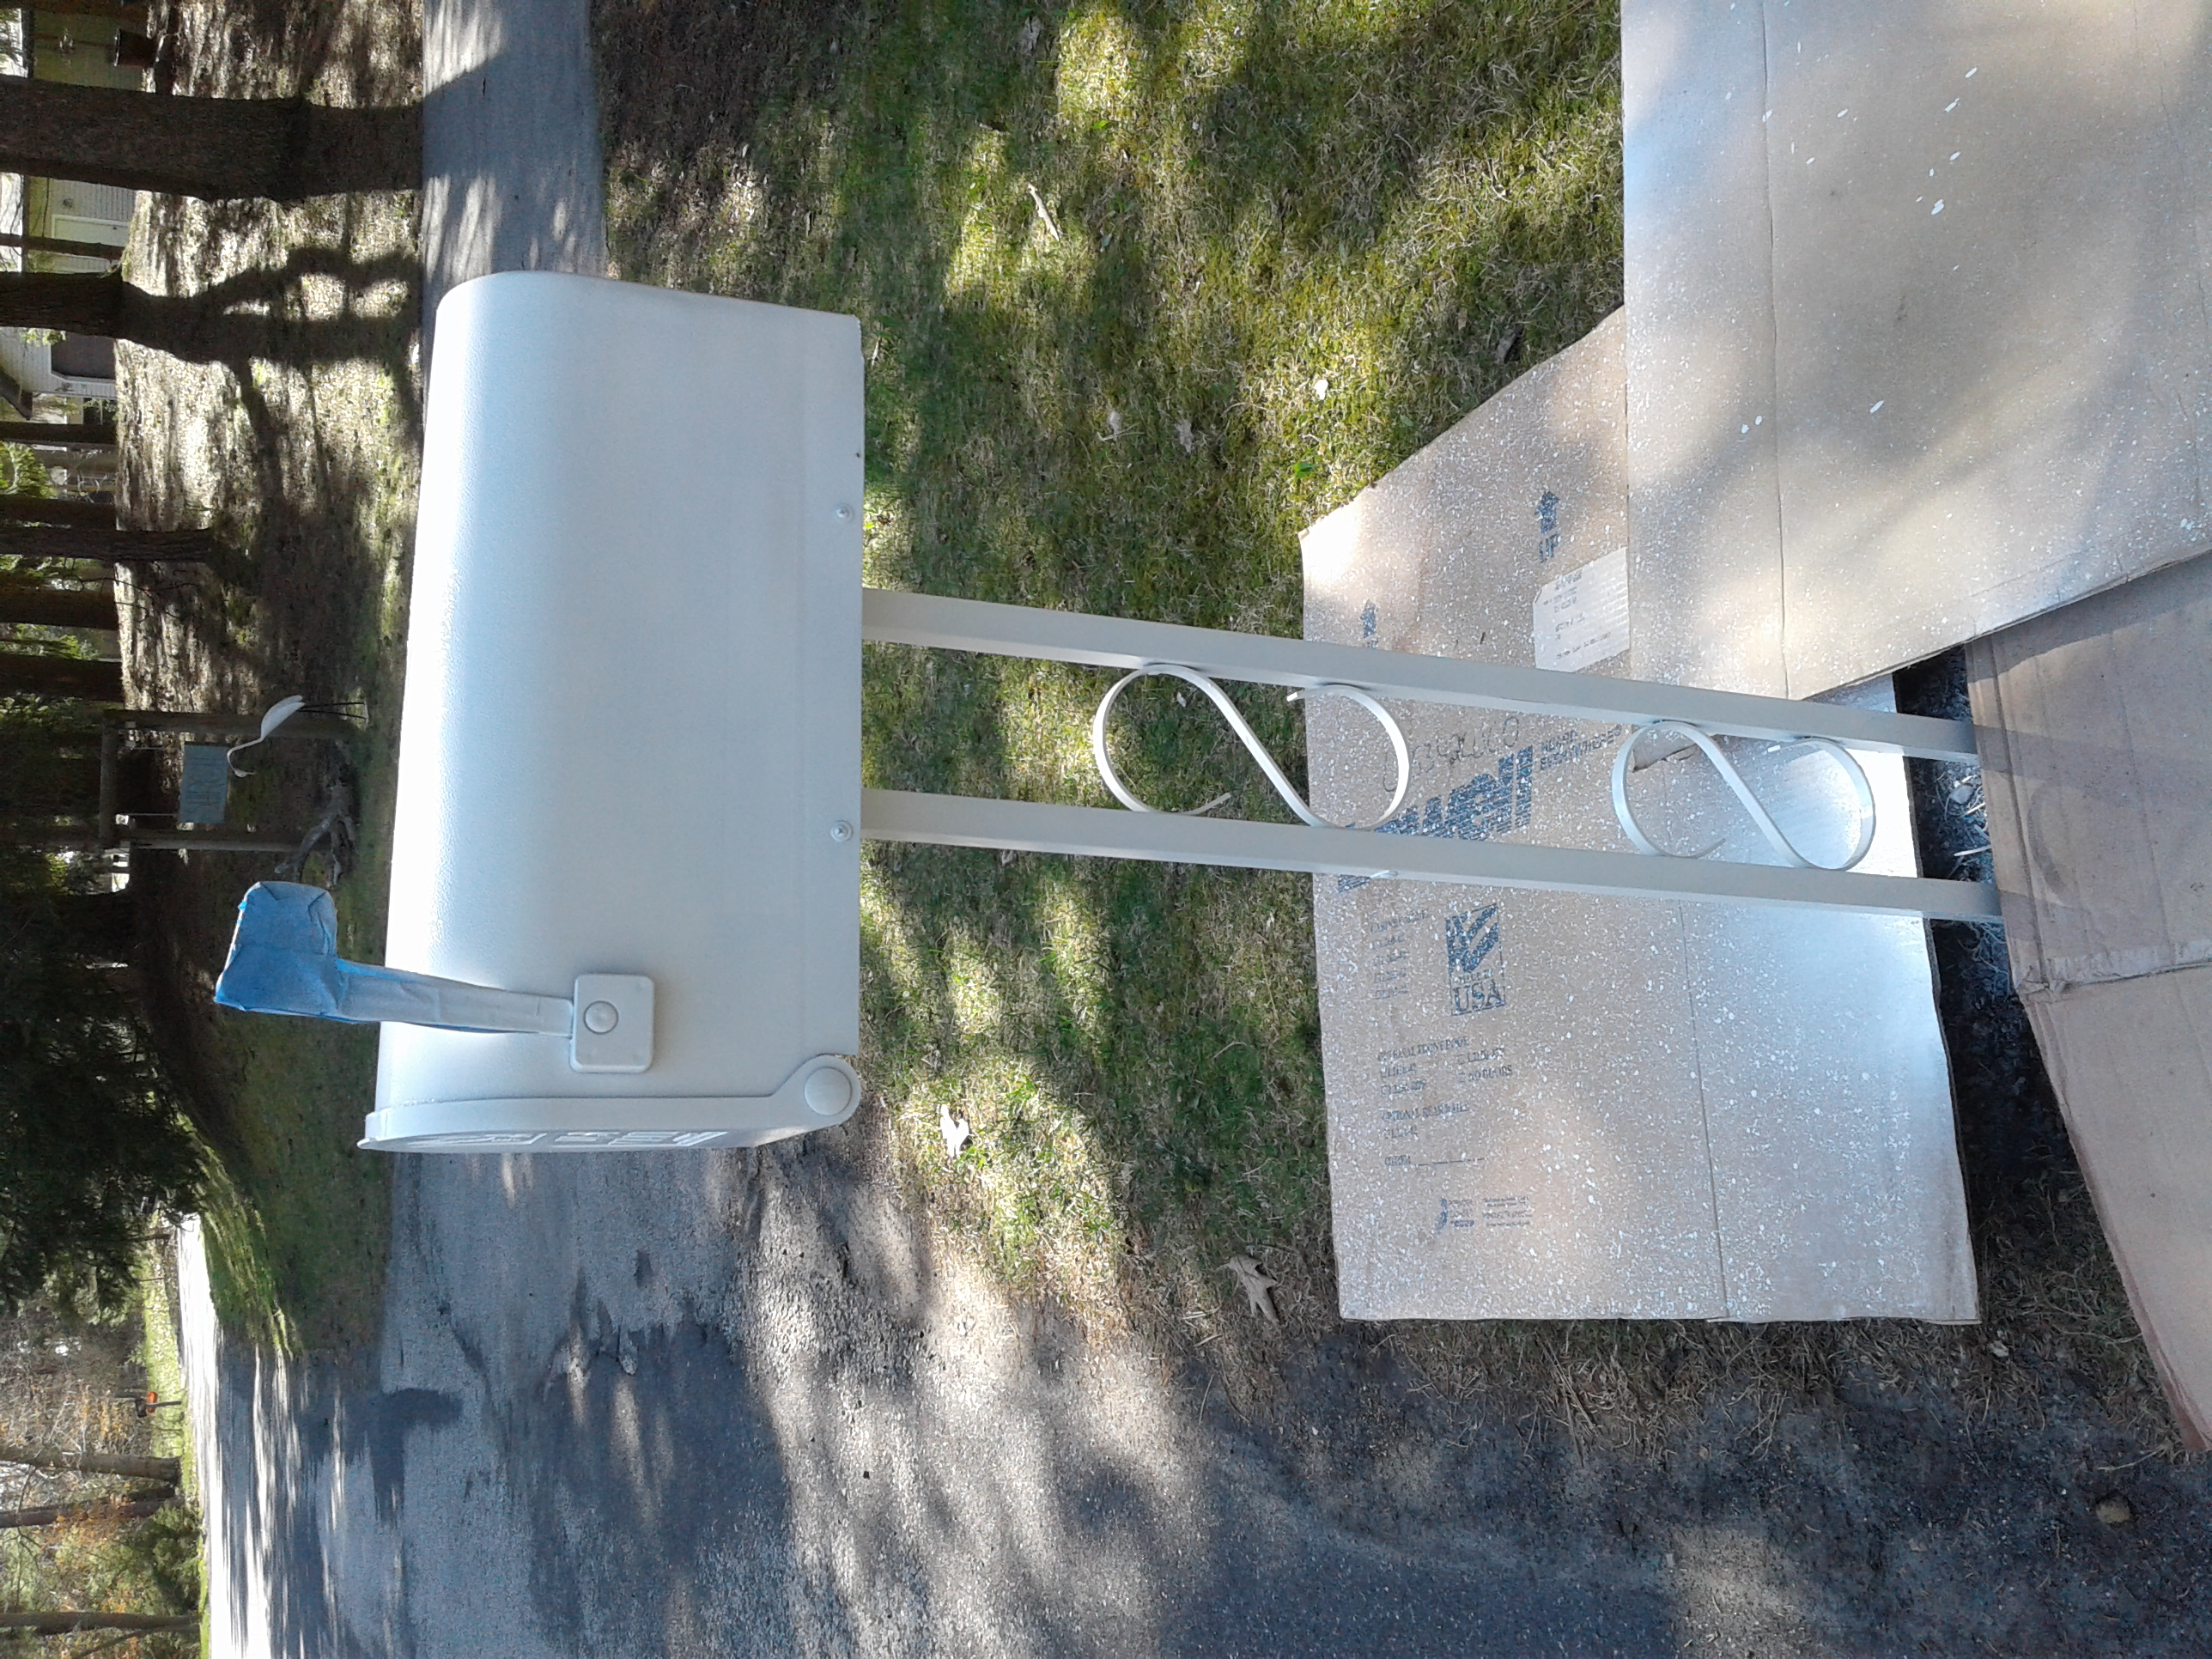
Typical mailbox. We did add the bricks around it, but that was as far as it got. We had also planted some flowers, but of course, the deer decided to mow them down so there it sat.
You will need:
your ugly mailbox
spray paint for plastic
wood
paint for your anchor/image
jig saw
sandpaper, screws and a drill to attach it
projector
some rope
wood sealer
I started by painting the entire mailbox and stand so that it had some time to start drying. Make sure you apply tape to your flag so that doesn't get painted.
While it was drying, I printed off an image of an anchor I found online and put it in my projector

Now, I used 3/4" plywood because it's what I had. Plywood doesn't usually hold up real good out in the elements, but I have some projects using plywood that have a good paint job and are sealed as well and they are going on 10 years of still looking good. I'm sure in 10 years I'll want to switch up my mailbox again ;) If you don't, look for wood that will hold up great outside.
Once it's drawn out, you are ready to cut it out with your jig saw
When you have your image cut out, give it a good sanding all over to remove the rough spots.
Then I painted my anchor. I used some leftover paint that we had at home that also had a primer in it. I gave it 2 coats on each side, let it dry good and then I applied this wood sealer
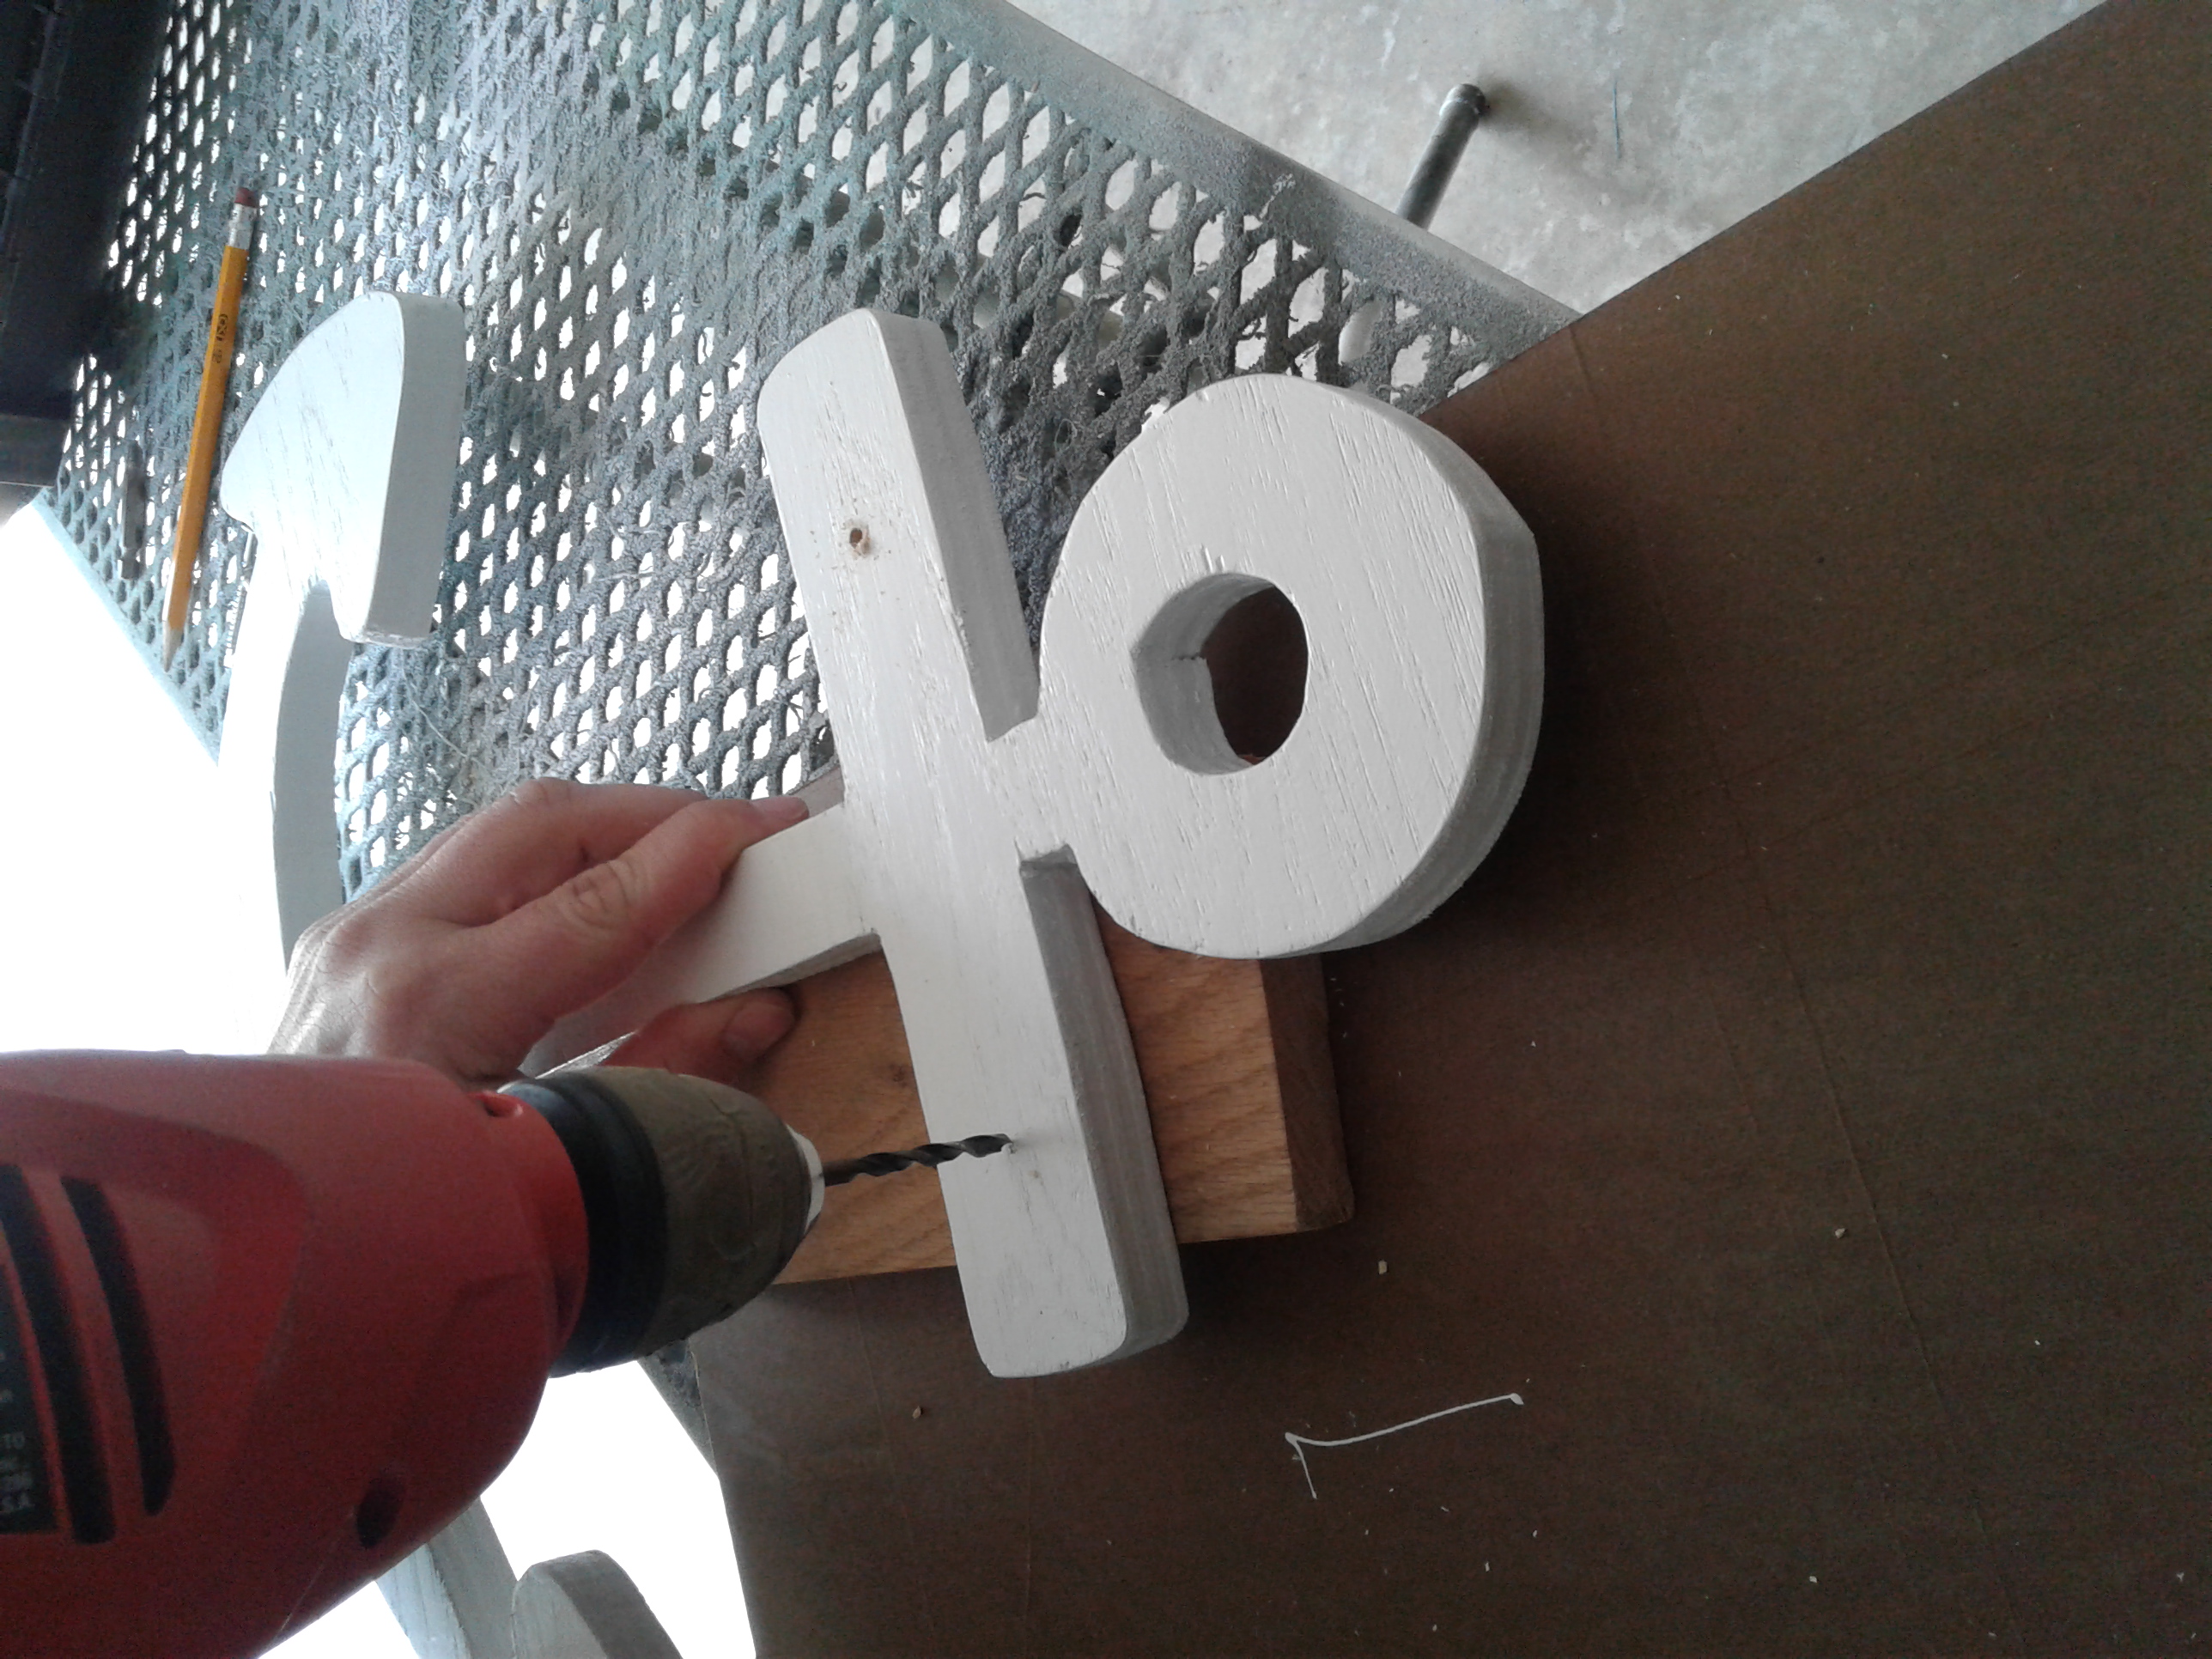
Then we measured the anchor with the mailbox post to decide where we were going to attach it. We marked those spots on the anchor and then predrilled the holes for it.
Now you're ready to take your screws and attach it to your mailbox.
Once I had my anchor attached I decided to add a final touch with some rope to make it look more "real". Don't ask me how I made the knots, I just wrapped and wrapped until it stayed put. ;)

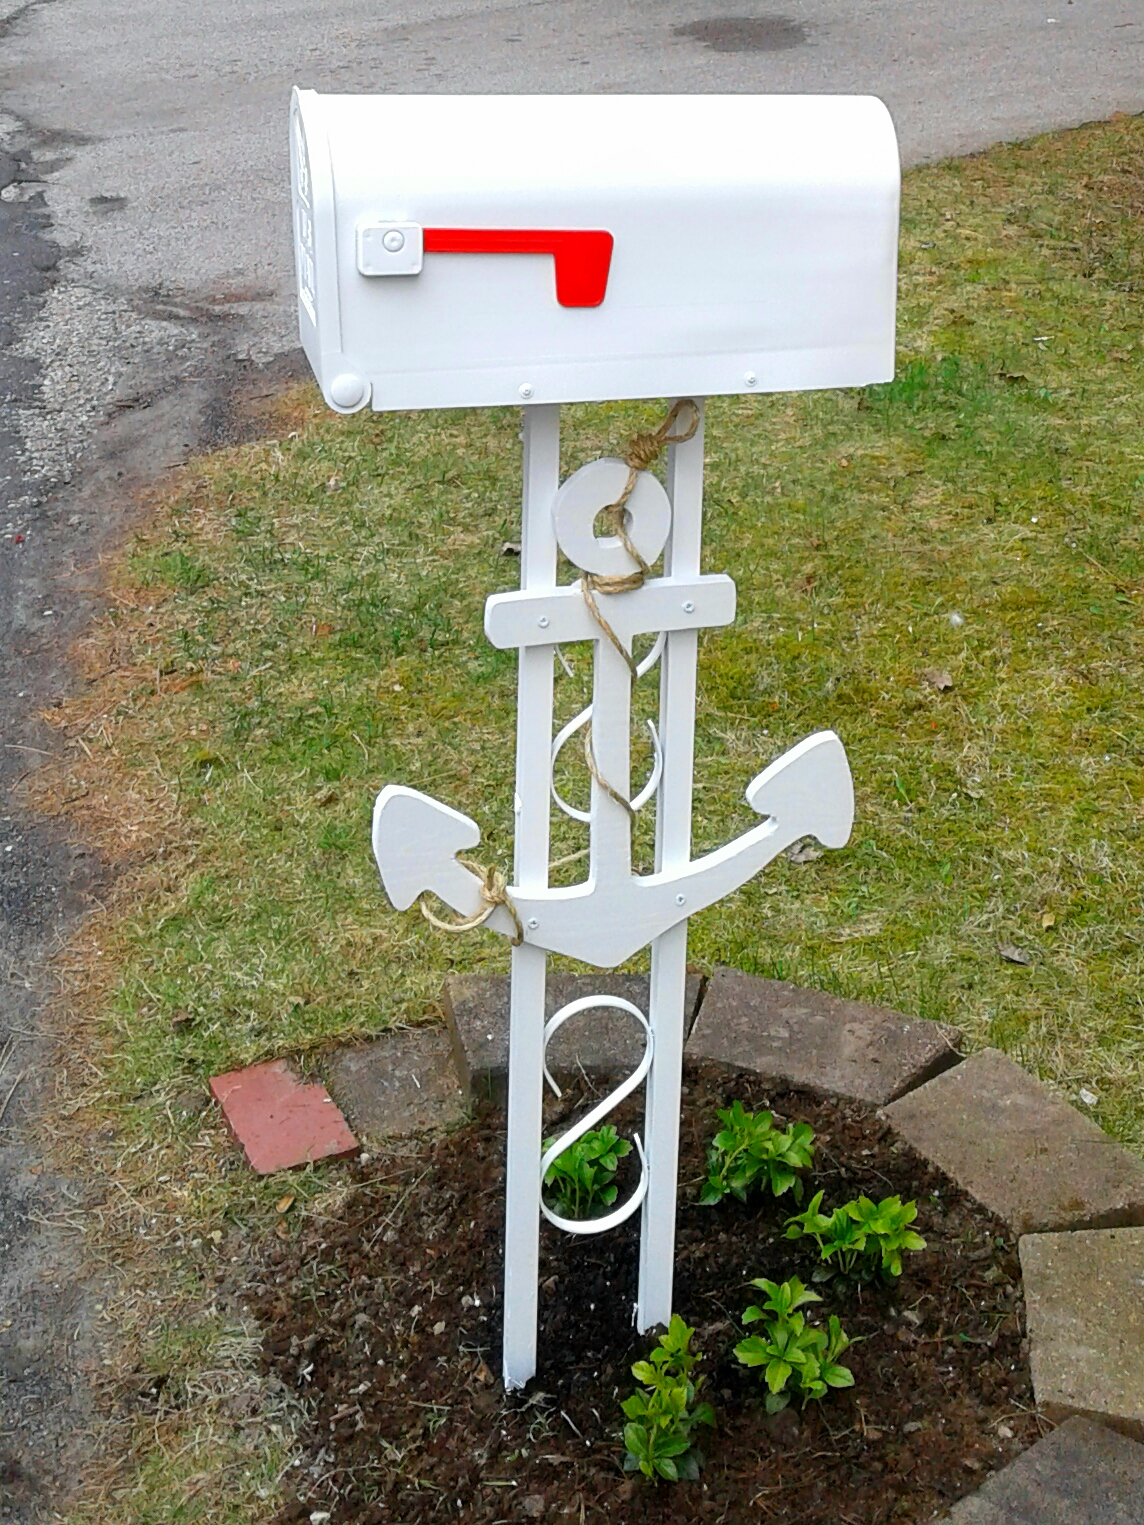
I decided on planting pachysandra
do it yourself
Want more DIY's?CrazyDIYmom.com Contact Us Privacy Policy Disclaimer About me