
DIY home projects
This post may contain affiliate links.
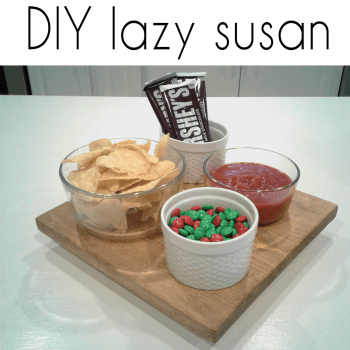
I love a lazy susan for so many reasons, but they can be pretty expensive to buy. And you can use them many different ways: for snack table, for board games, your spices in the back of your cupboard - anything!
What you will need:
4" lazy susan turn table bracket
chop saw or cut off saw
some wood (I used 1" pine boards)
drill and drill bit
stain or paint


Start by cutting your boards to the correct size with your cut off or chop saw. Cut your smaller board to 4 1/4" square. You want this piece to be just a touch bigger than your 4" lazy susan bracket. Your top, larger piece of wood can be whatever size you want - I went with 11" square.
Then it's time to attach your lazy susan bracket to your smaller piece of wood first. This is pretty simple. Line up your bracket, mark your screw holes and predrill your holes. Then use the screws included with the bracket to attach it to the wood.

After you have the bracket attached to the smaller board you are ready to attach it to your larger board. Start by finding the center of your larger board and positioning the bracket in place so that you can mark the spots where you will attach it. Then again, predrill the holes.

Doing this piece is a little trickier because now you have a chunk of wood in the way of your drill. I ended up using a screw driver to tighten up all of my screws when my drill wouldn't go down all the way.

Then all you need to do is stain it, paint it or leave it the way it is. I used a golden stain I had leftover and love how it turned it!

diy lazy susan
Want more DIY's?CrazyDIYmom.com Contact Us Privacy Policy Disclaimer About me