
DIY projects
This post may contain affiliate links.
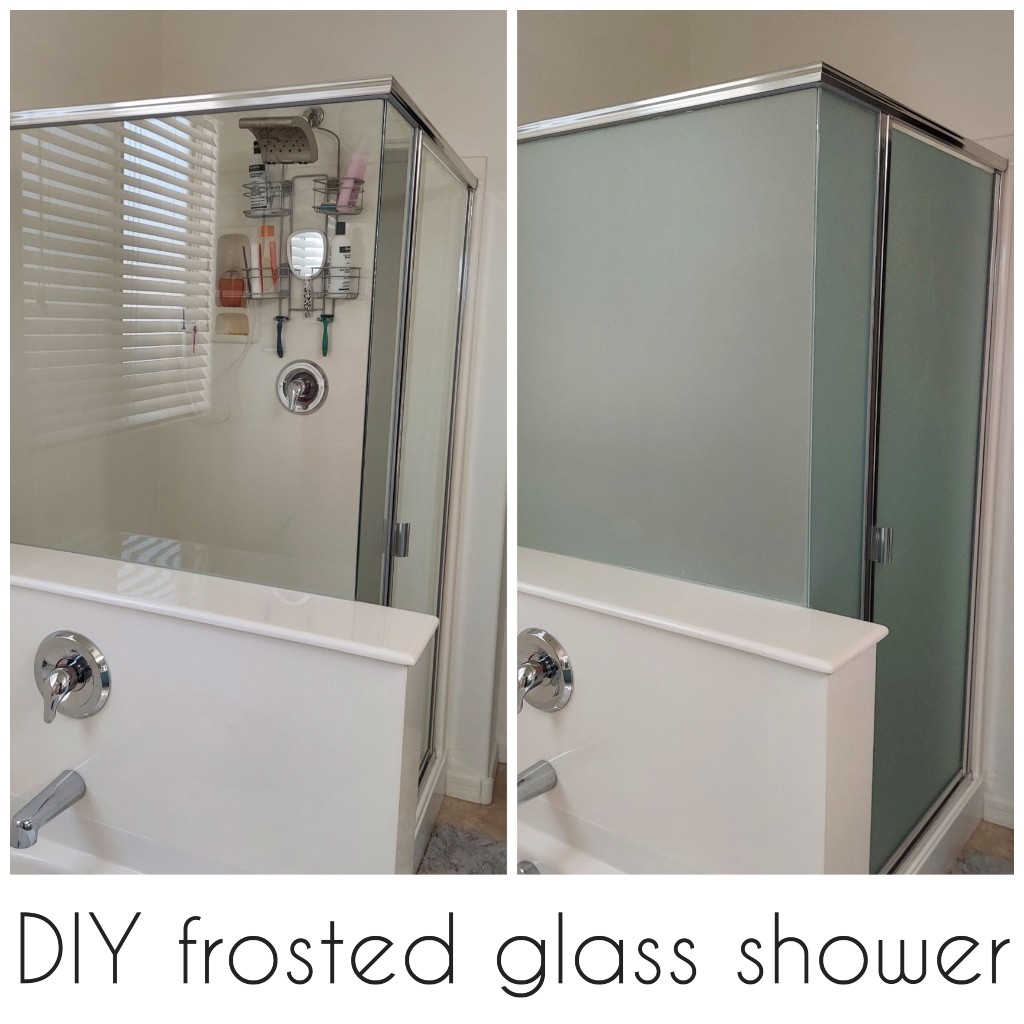
For some reason, many home builders in my area thought it was a great idea to build primary bedrooms with an attached bathroom, but no door between the two. Then, to make it a bit more fun, they put in showers that were all glass. I mean, yes, it is the primary bedroom, however if you have kids like me that just come into your bedroom in the mornings, this can get awkward as the kids get a bit older. Besides that, I hate being able to see into the shower and see all the bottles, sponges, etc as well as all those nasty water marks that are nearly impossible to get rid of.
We are planning to add a barn door to the entire bathroom, but I still wanted something done about the shower door. This was fairly easy to do and only cost about $60. I was able to keep the price down because of the window film I chose, but if cost is not much of an issue there are some AMAZING window film designs and patterns. You can find some window films that show a stained glass appearance and some have a beautiful scene on them. There really are a ton of options, just double check the dimensions of your shower and the film.
What you'll need:
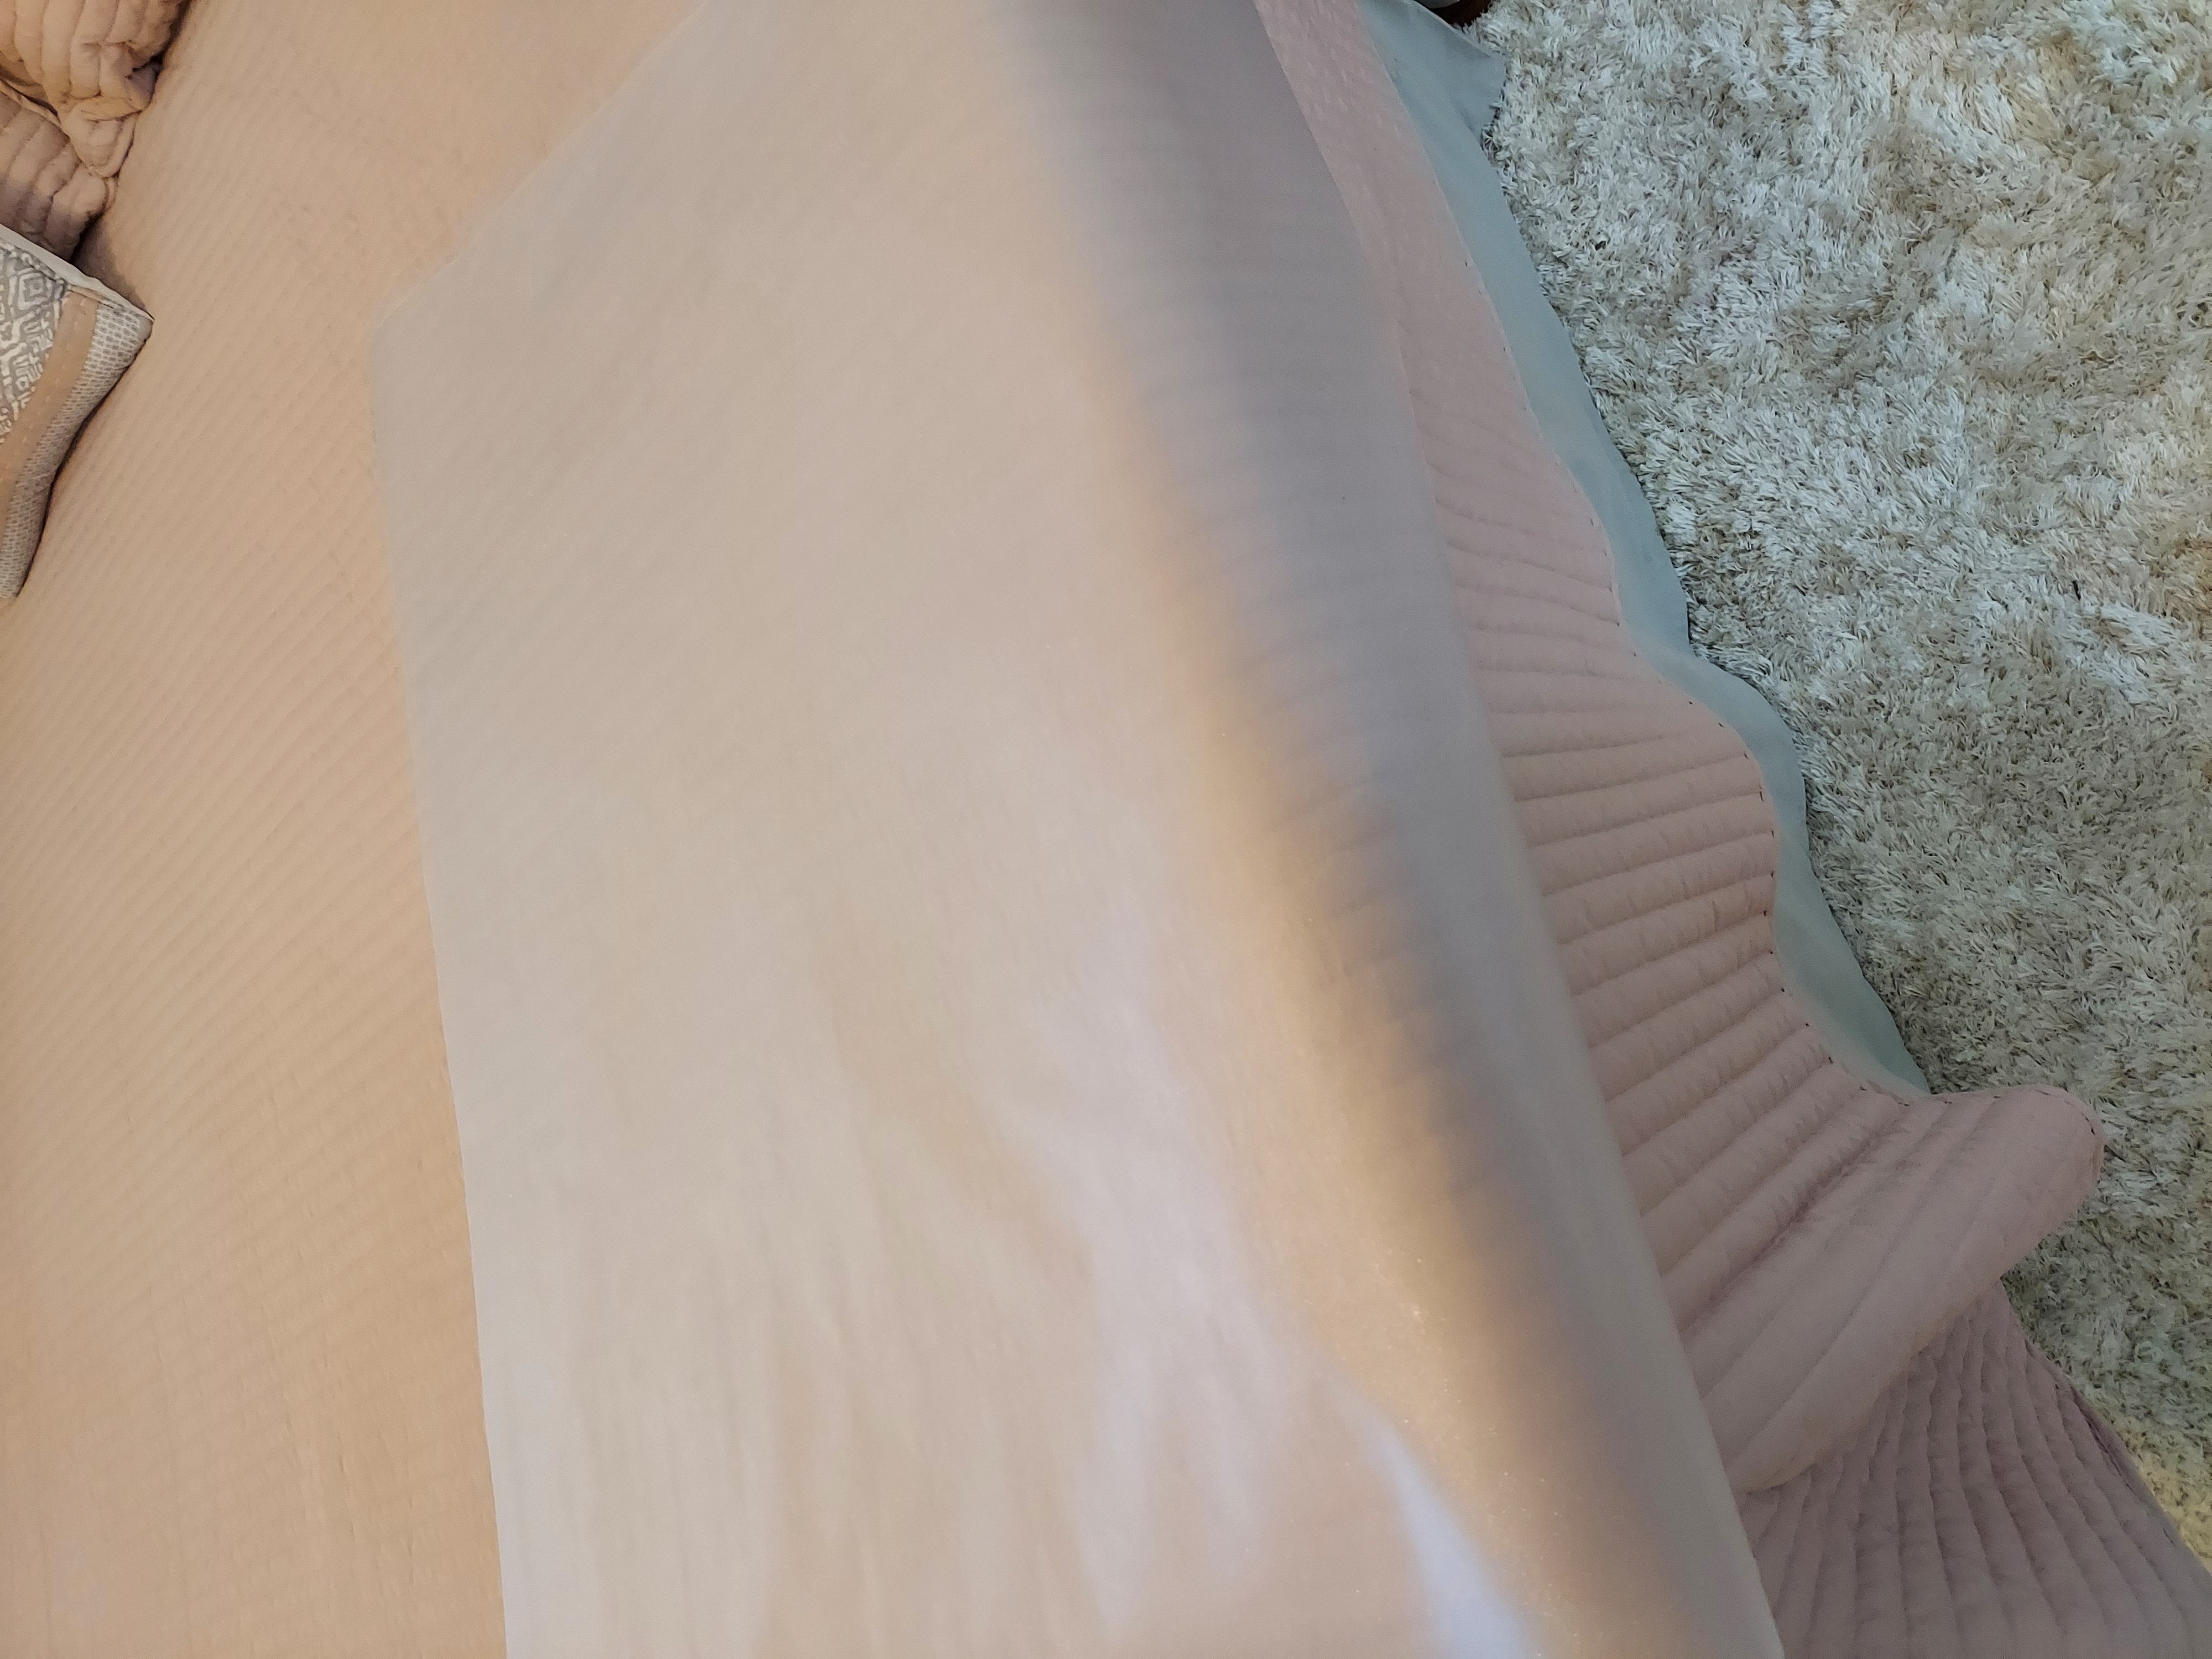
frosted glass film
tape measure
utility knife or scissors
squirt bottle of water and a few drops of dish soap
squeegee
Your window film will come with complete instructions for you to follow, but I will share what I did. They all seem to have the same instructions so mine will likely be similiar to yours.
I started with the square window on the side of my shower. I figured it was a nice size for me to get accustomed to how this works. Measure out your window and then cut your window film, but add on a few centimeters to a half inch and then cut it out using a scissors or utility knife.
Once you have it cut, remove the backing from the film. Then take your squirt bottle and completely saturate your window. Wetting down the glass makes it easy to move your film into place. I lined mine up with the top and left side of my wall so that I wouldn't have to cut the excess off all 4 sides. When you have it in place, use your squeegee and, starting at the top middle of the film, begin to start to push out the water to the sides and down. Just keep working your way out and down until you have all of the air bubbles out. Don't worry, if it isn't laying right, you can always pull back the film, add more water and start again. On the door of my shower, I'm pretty sure I started and restarted over a dozen times. Once you have it all done, use your utility knife to trim up the excess film. I ended up using a metal square to help guide my knife because I am not good when it comes to free handing something like that. You can use anything that is sturdy and straight to help guide your cut line.

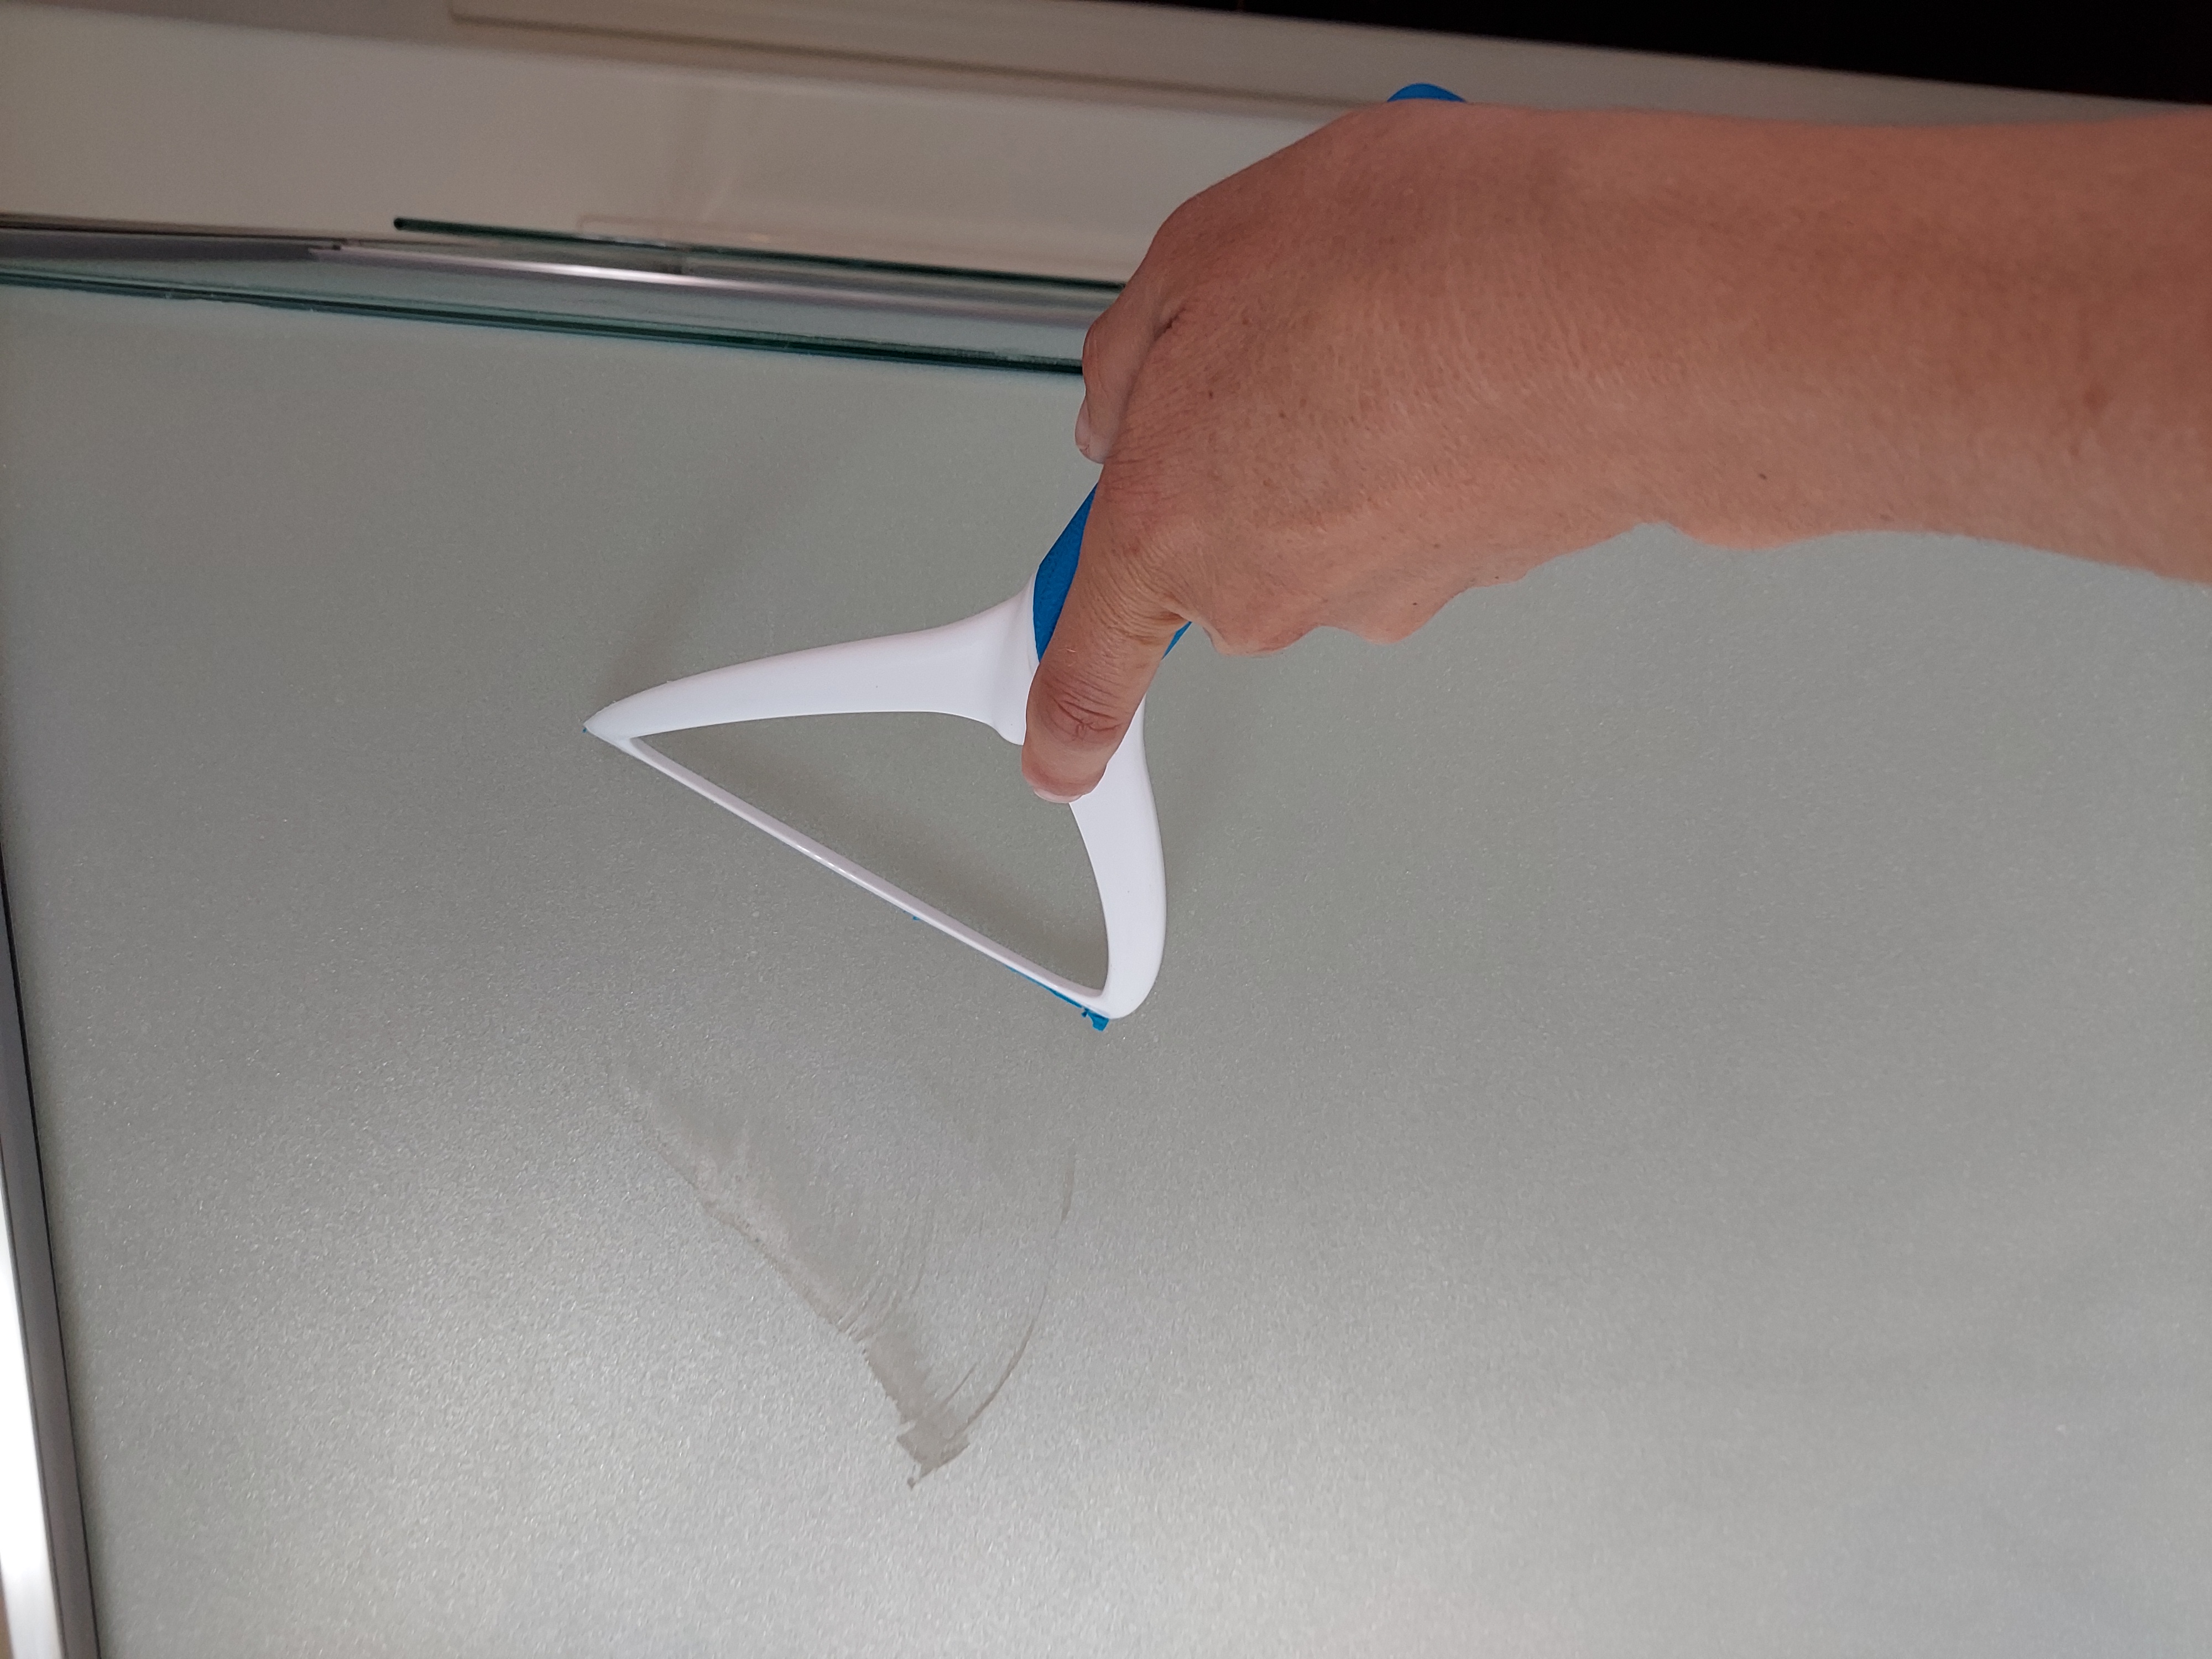
Another thing that I didn't realize (or didn't read in the instructions) is that it can take over 24 hours for it to completely dry underneath. So just make sure that you remove the air bubbles, but don't worry about all the other "lines" that you see. I kept mistaking them for air bubbles, except that they didn't really move. When the bubbles are out, leave it alone and let it dry - trust me. :)
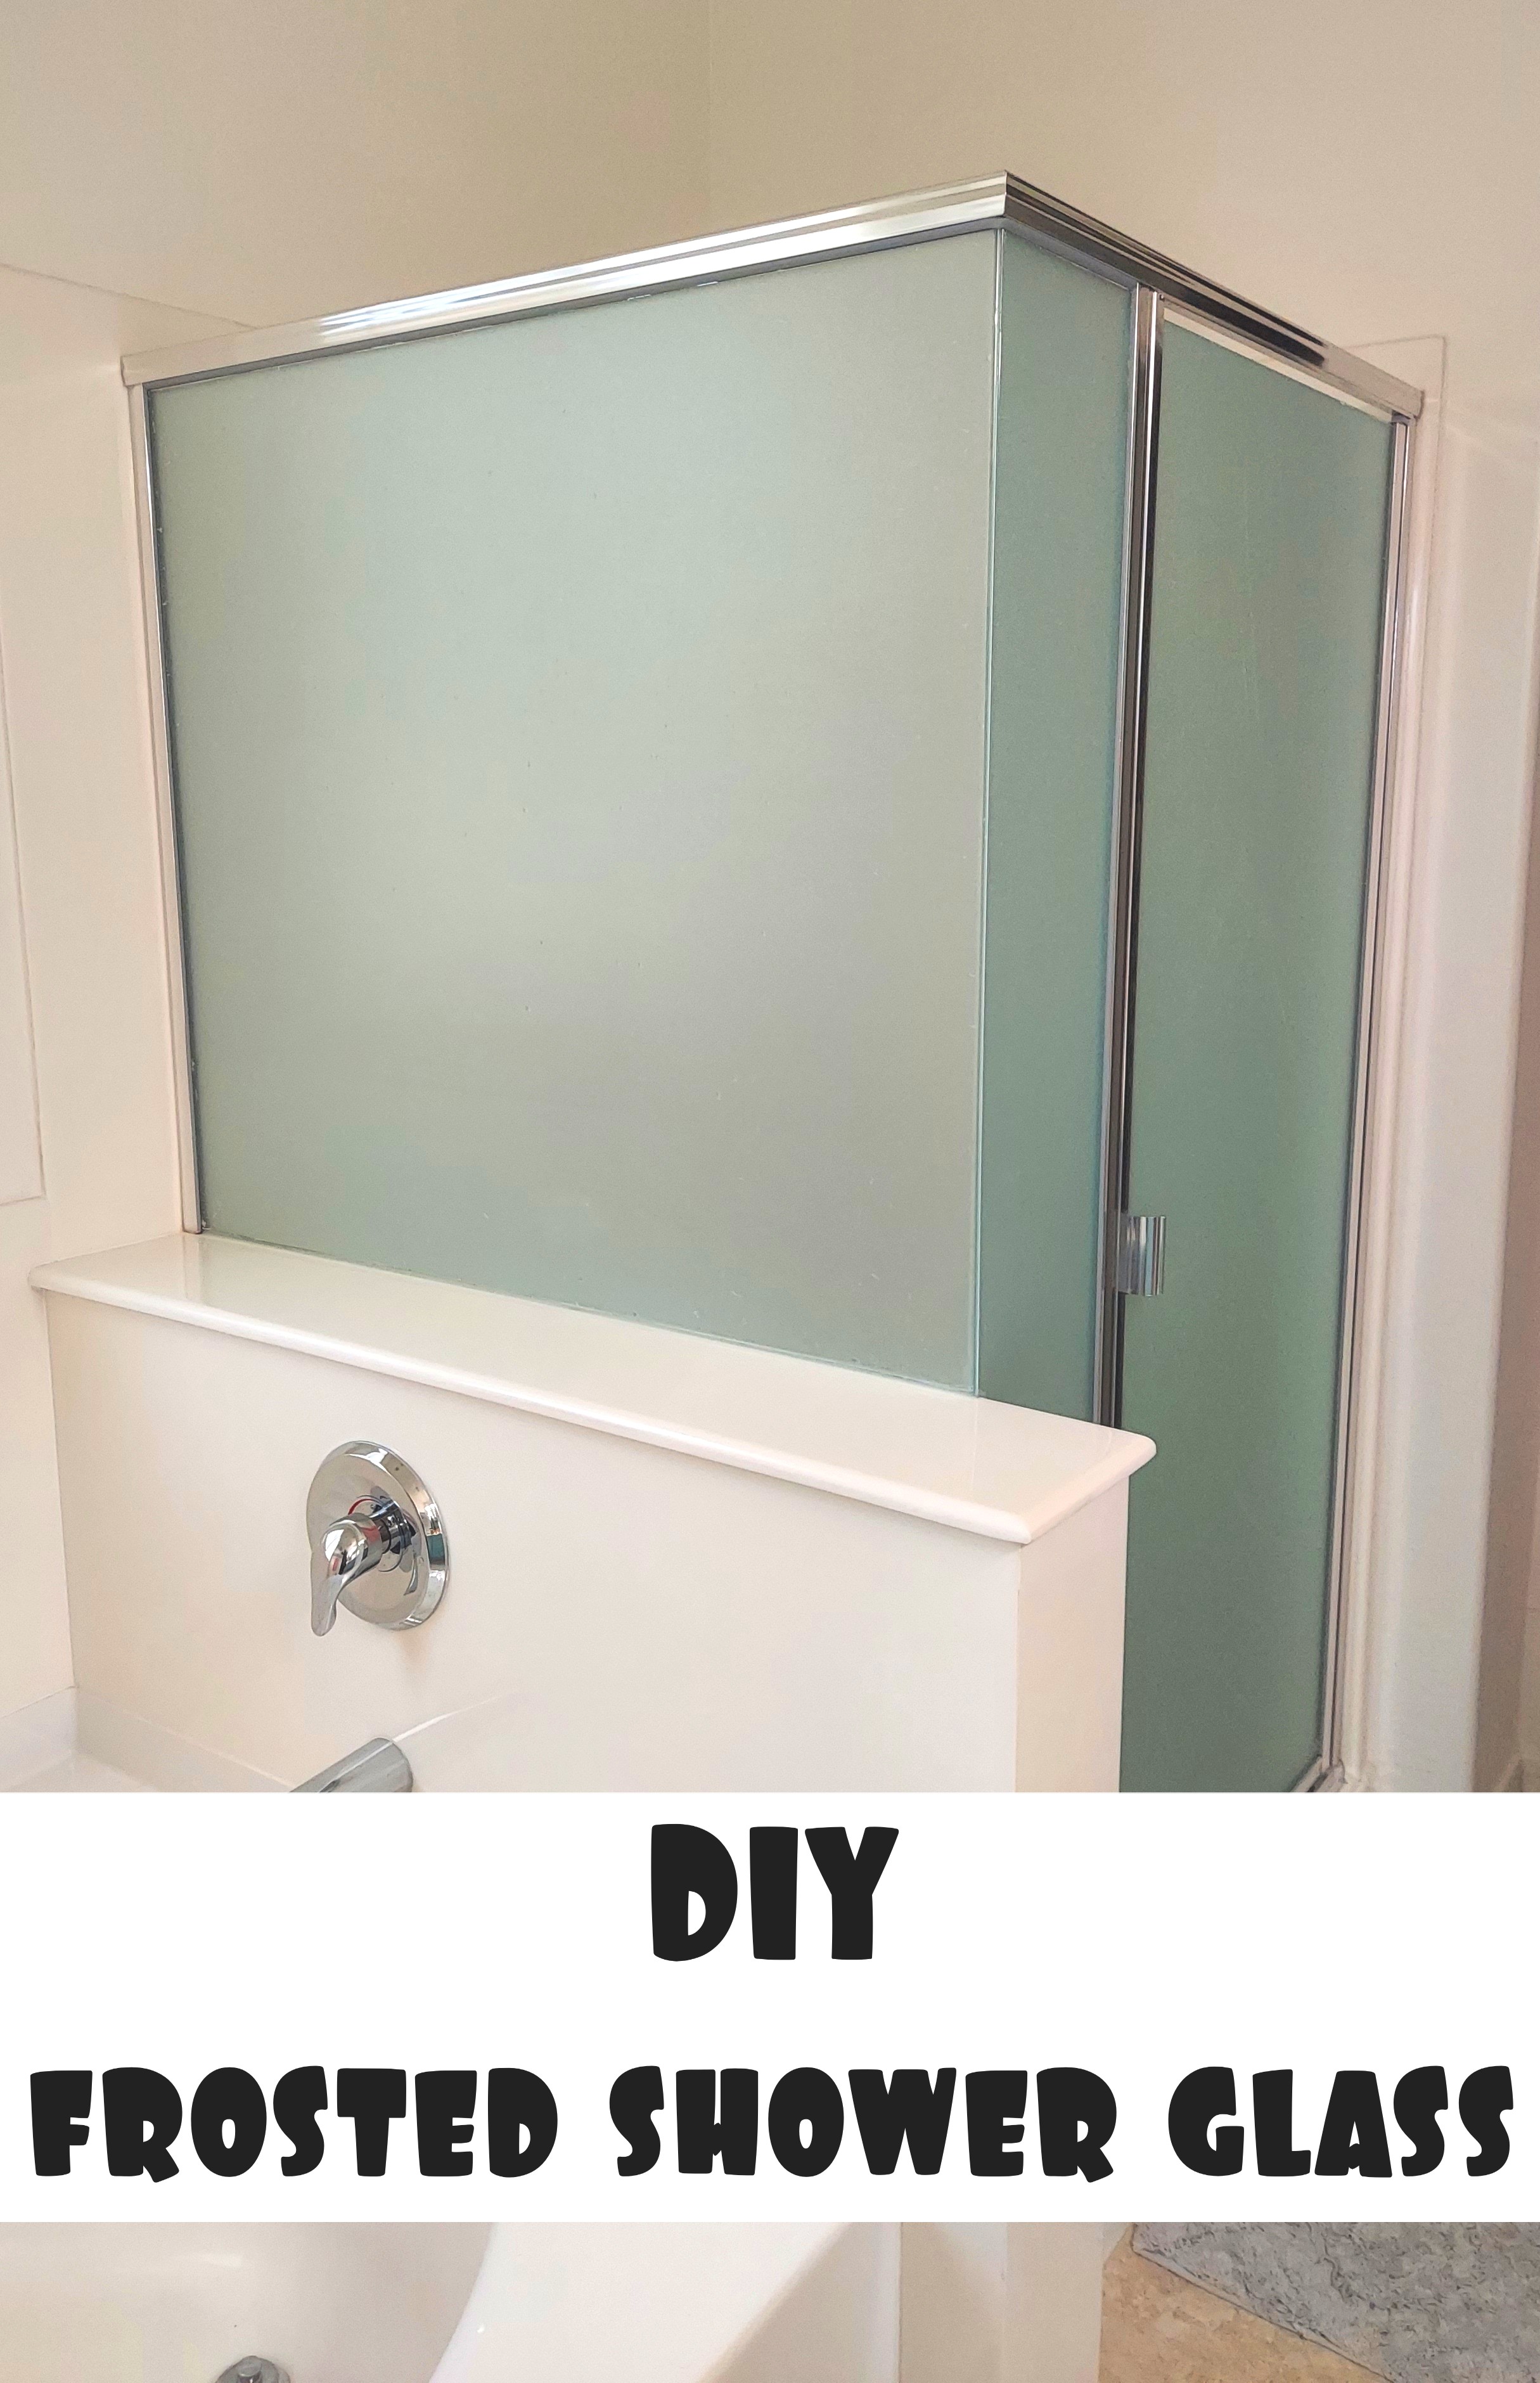
Continue the same steps over the entire shower or wherever you plan to put the film. The entire project took me about 2-3 hours from start to finish and I absolutely love how it turned out. It gives the entire bathroom a more clean and finished look - it's awesome!
diy projects
Want more DIY's?CrazyDIYmom.com Contact Us Privacy Policy Disclaimer About me