
DIY projects
This post may contain affiliate links.
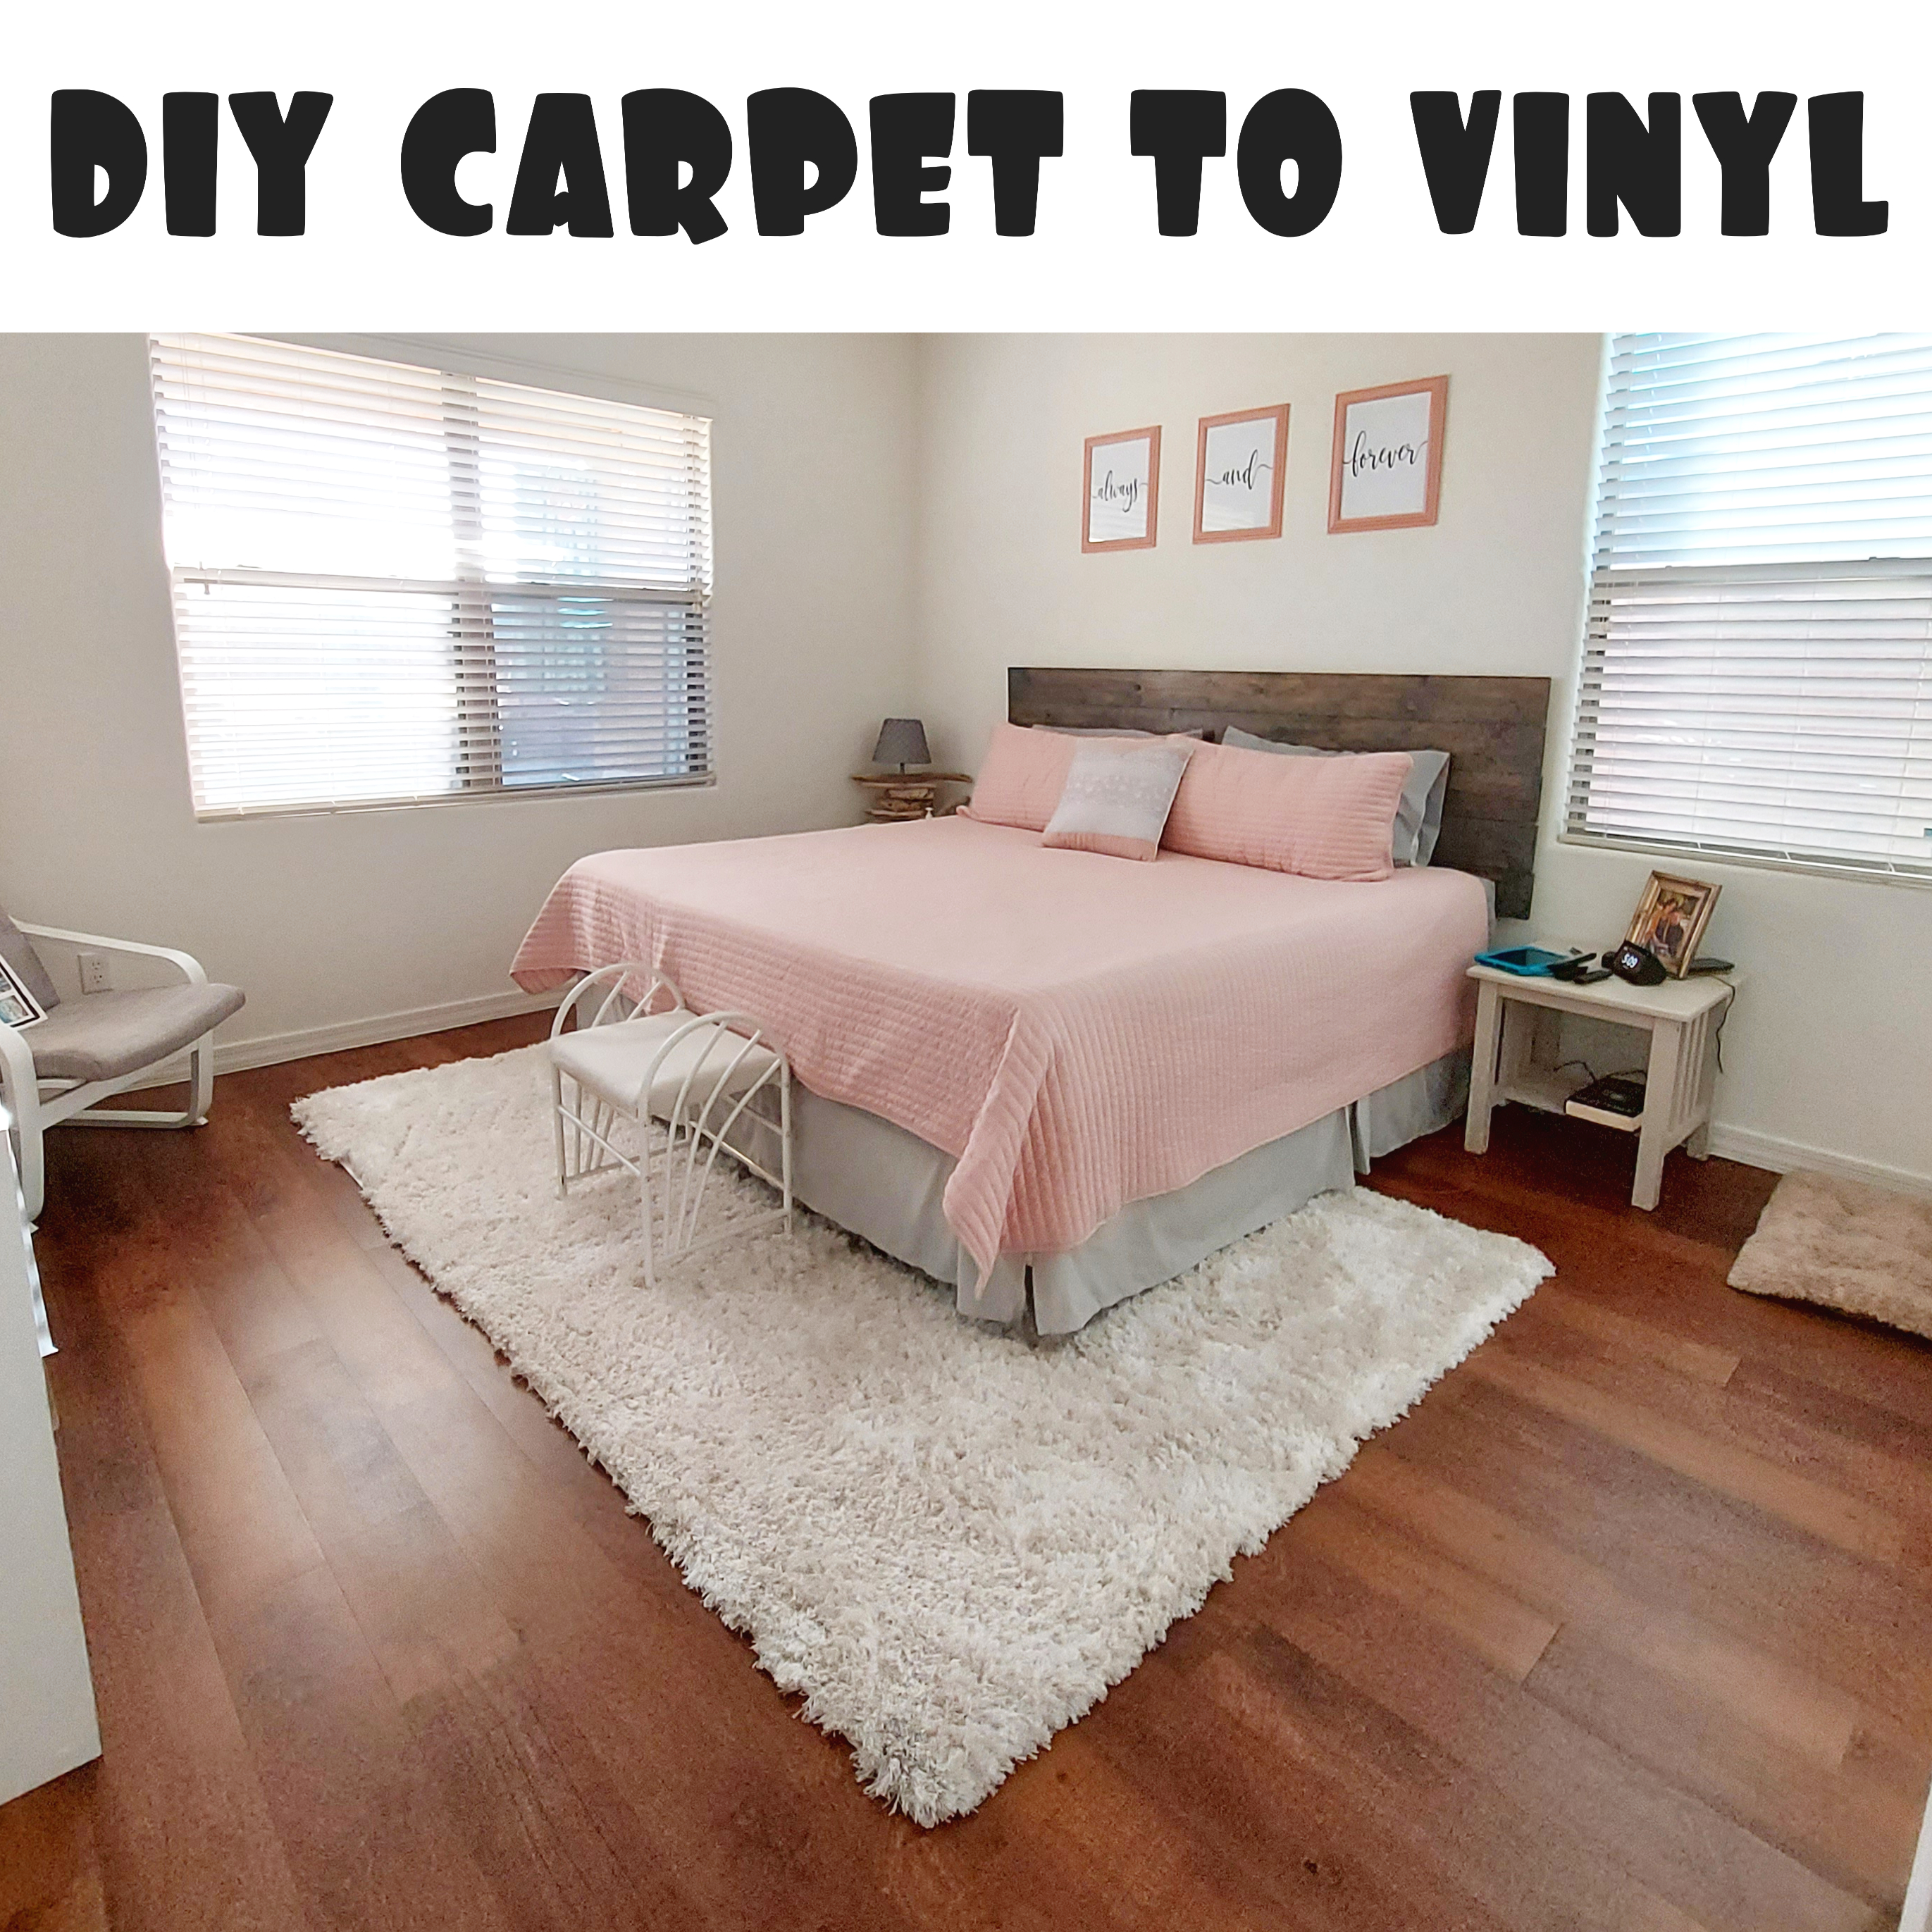
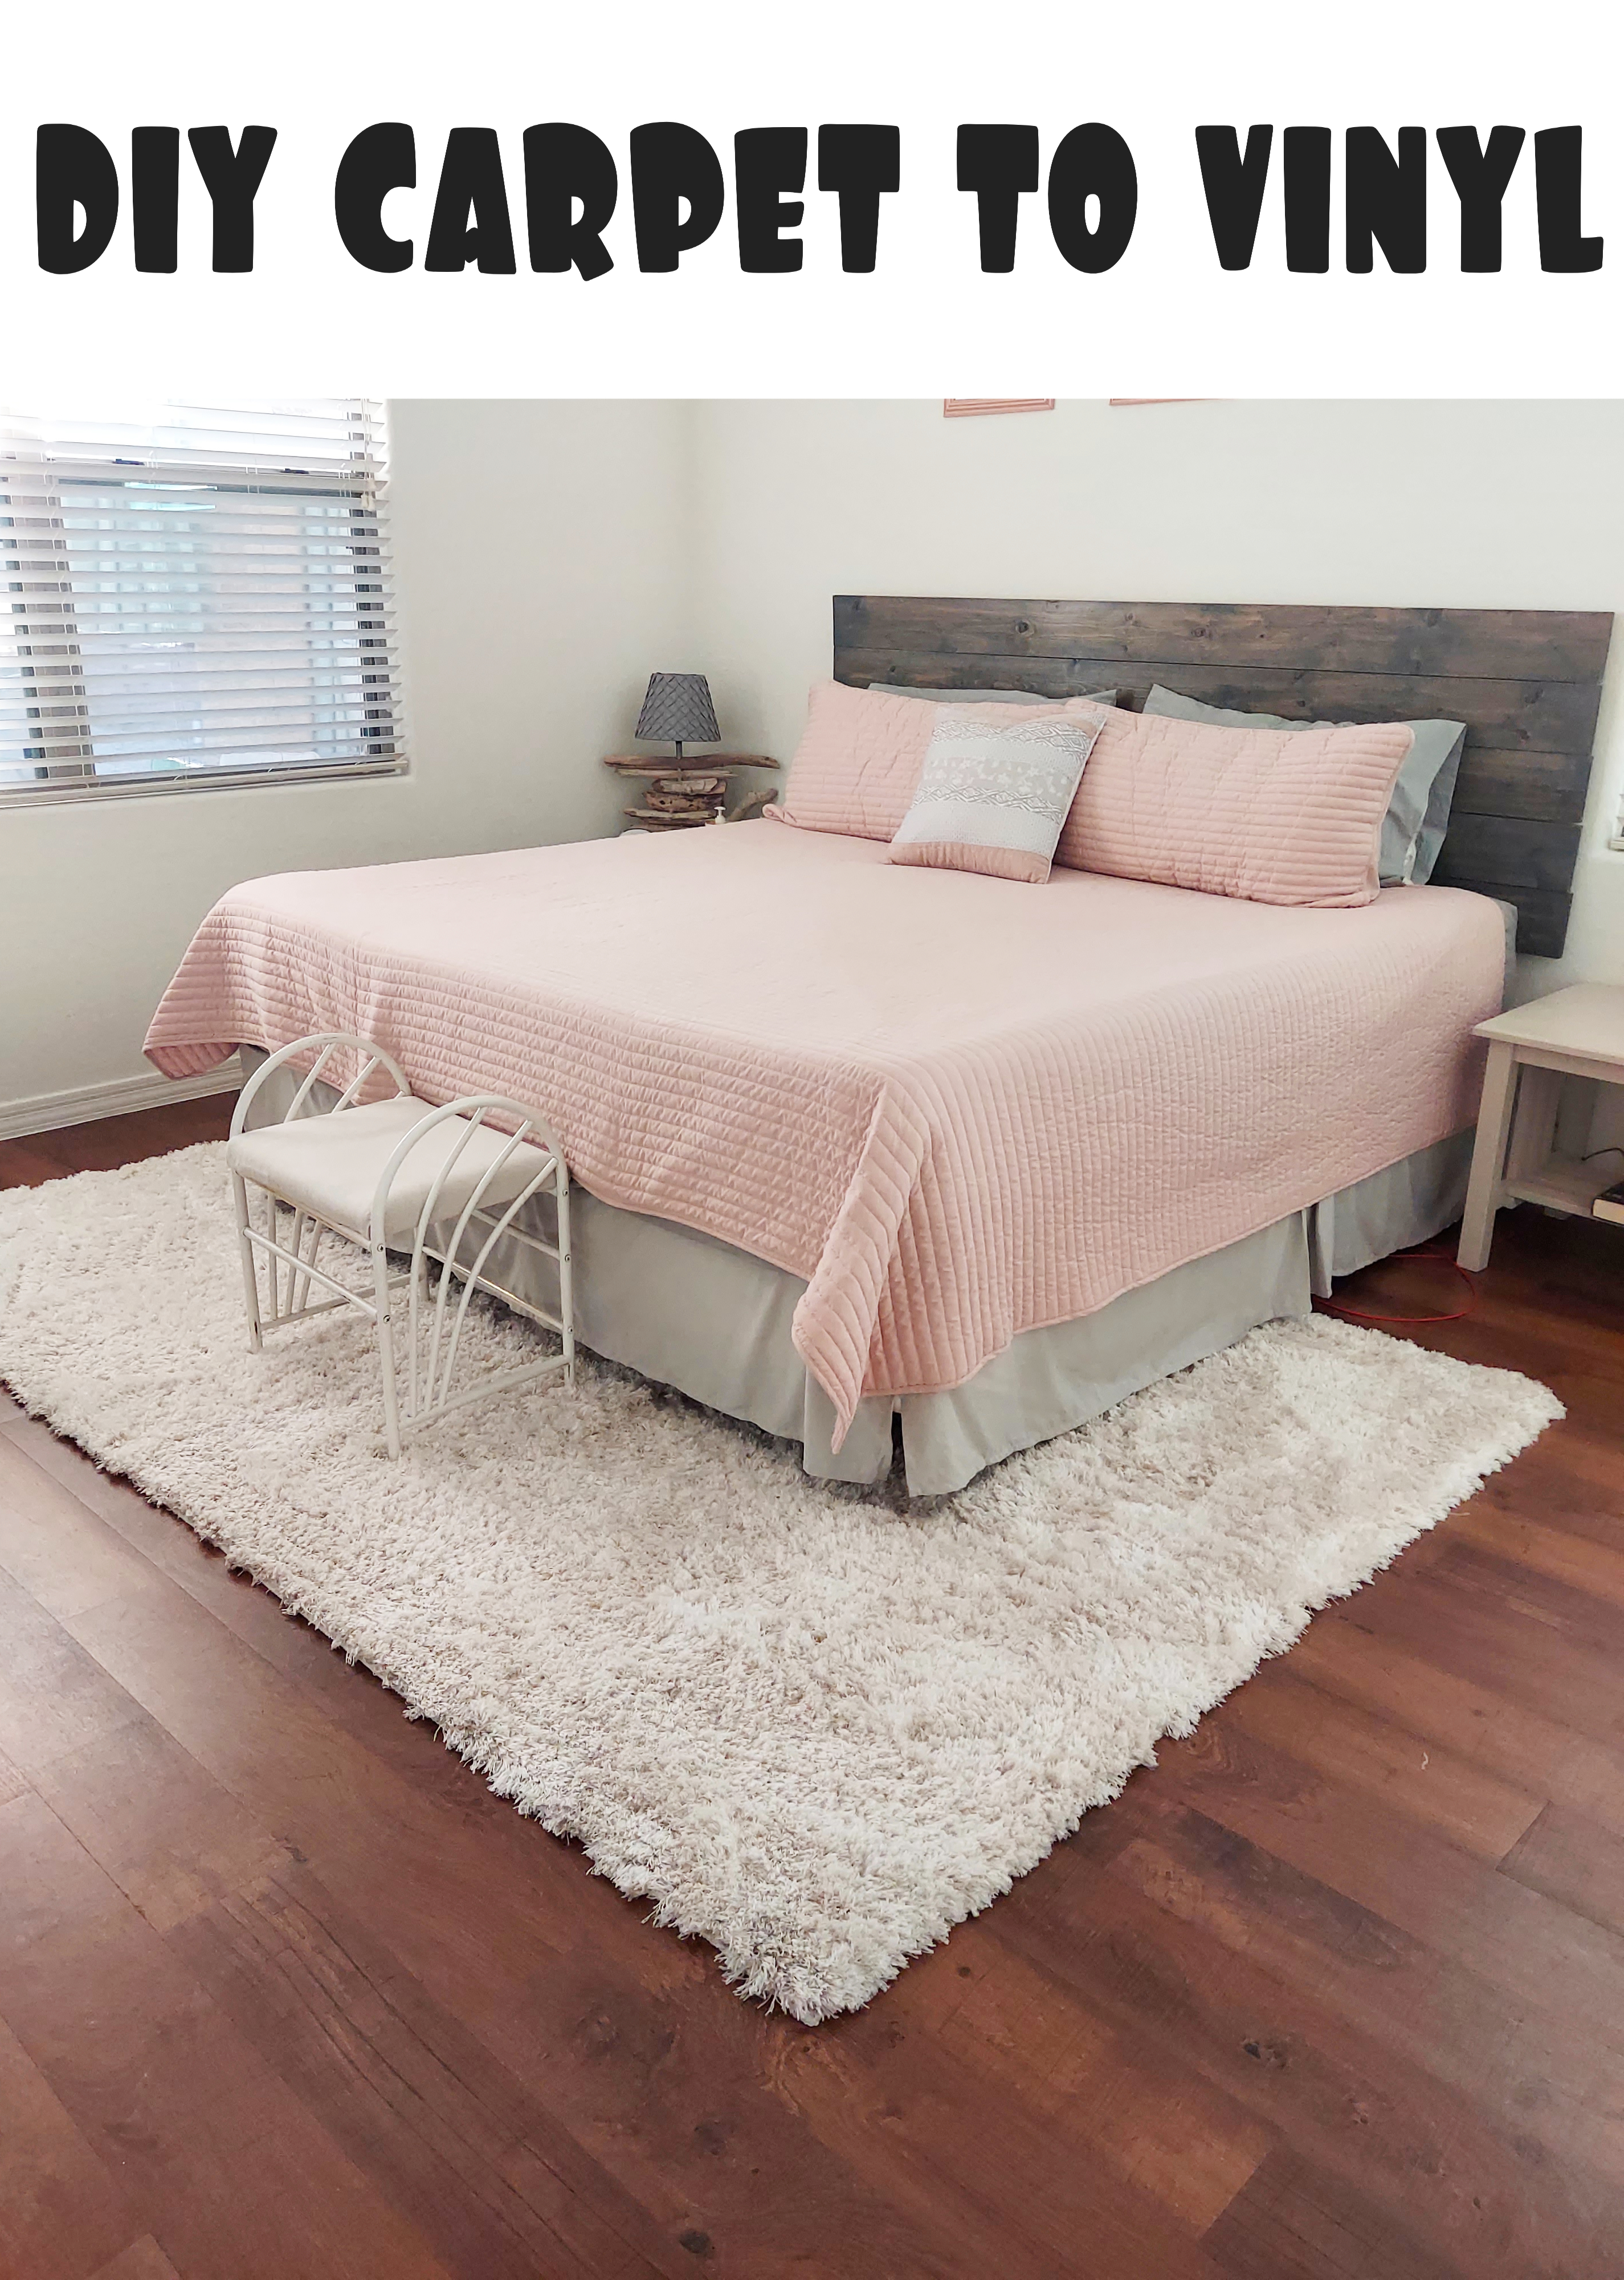
I was so excited to get rid of the bedroom carpet at the new home. It was heavily trafficked and no matter how many times it was cleaned, it never looked nice. I didn't want tile in the bedroom - I'm not a big fan of all the "stone" as it feels too "cold" to me. We have laminate flooring in our living room and I hate it. It already had some knicks out of it and it always has footprints on it making it look dirty. We had a friend who did peel-n-stick vinyl planks and we loved how they looked and how much more durable they were than the laminate surface. It was also just our bedroom and closet and you can't beat the price, so we decided on peel-n-stick and I would do it all over again too.

This was probably my most nerve wracking DIY's I've done so far. Why? I was just scared because I had never tackled anything like this before and for some reason it just terrified me. We bought the planks and they sat there. We opened the box, pulled a few out and looked at them....and they still sat there.
But then I got so sick of looking at the carpeting so we ripped it out and now we HAD to do something about it. LOL
What you will need:
(This will vary depending on how and what your carpeting was put down on. Ours was down on concrete so I'm going to tell you what we had to do based on that)
gloves and safety glasses
utility knife
hammer
crowbar
self leveling concrete
sponge and a pail of water
chalk line
floor primer
paint brush and roller
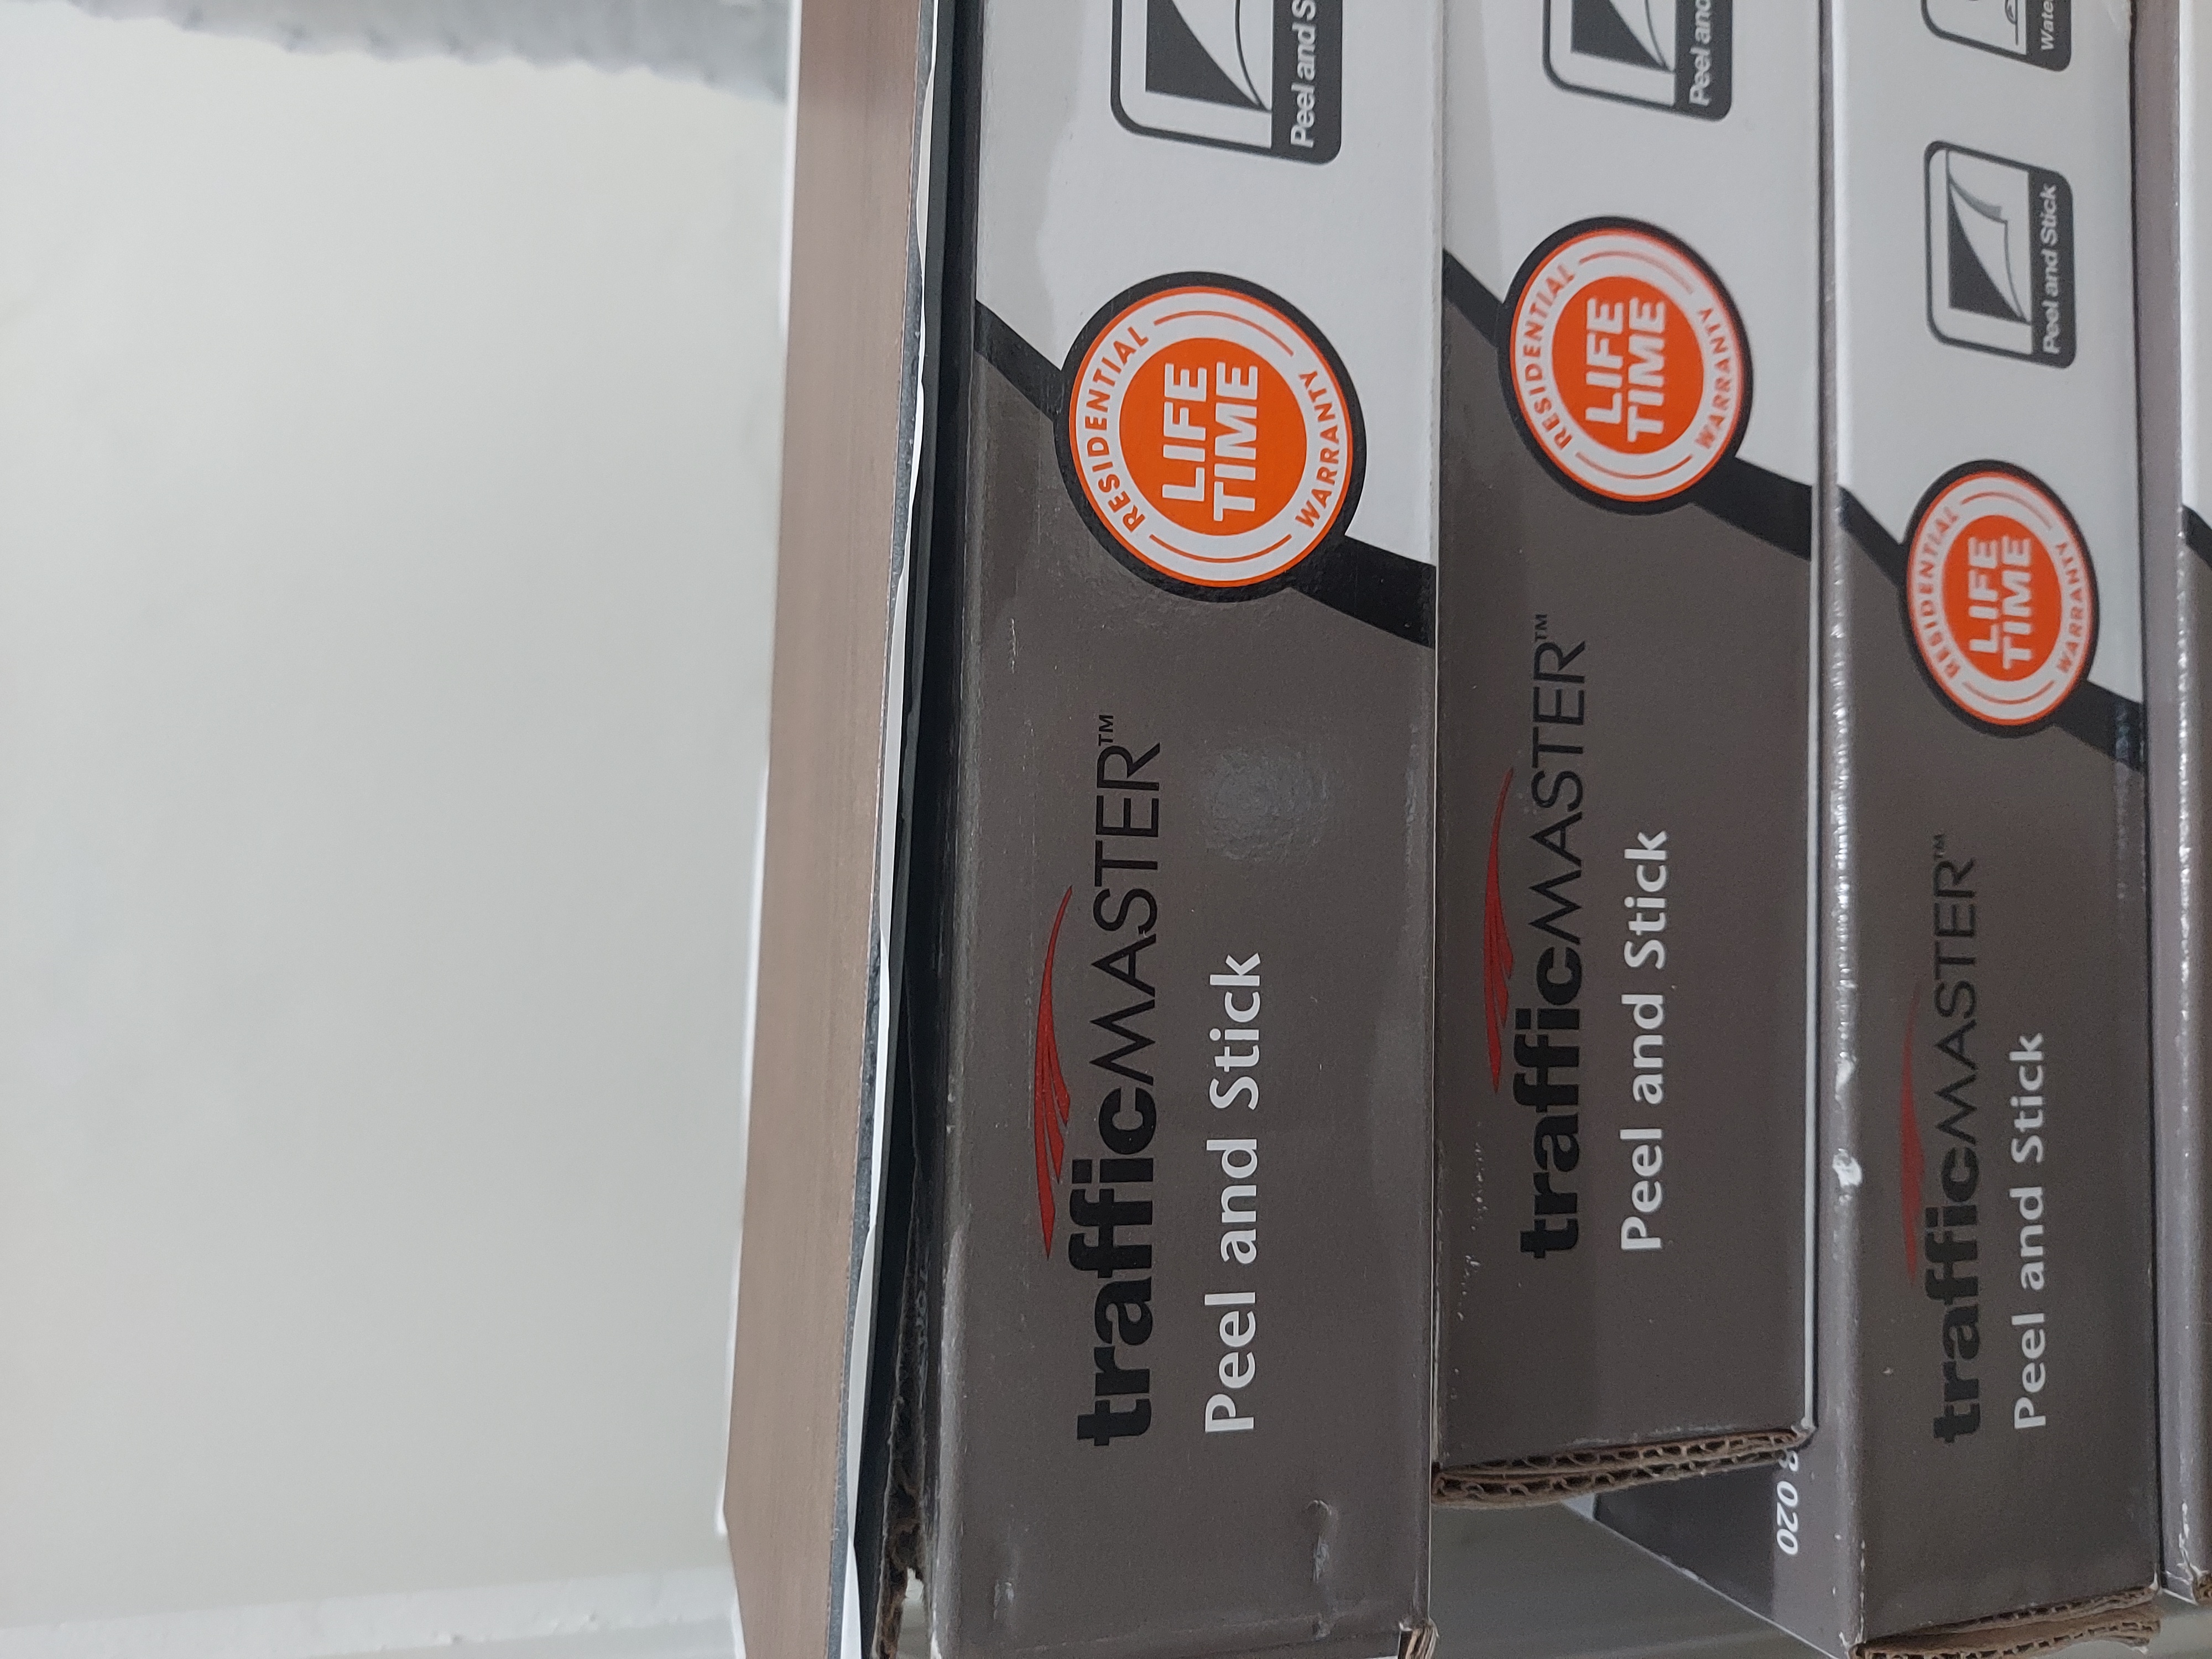
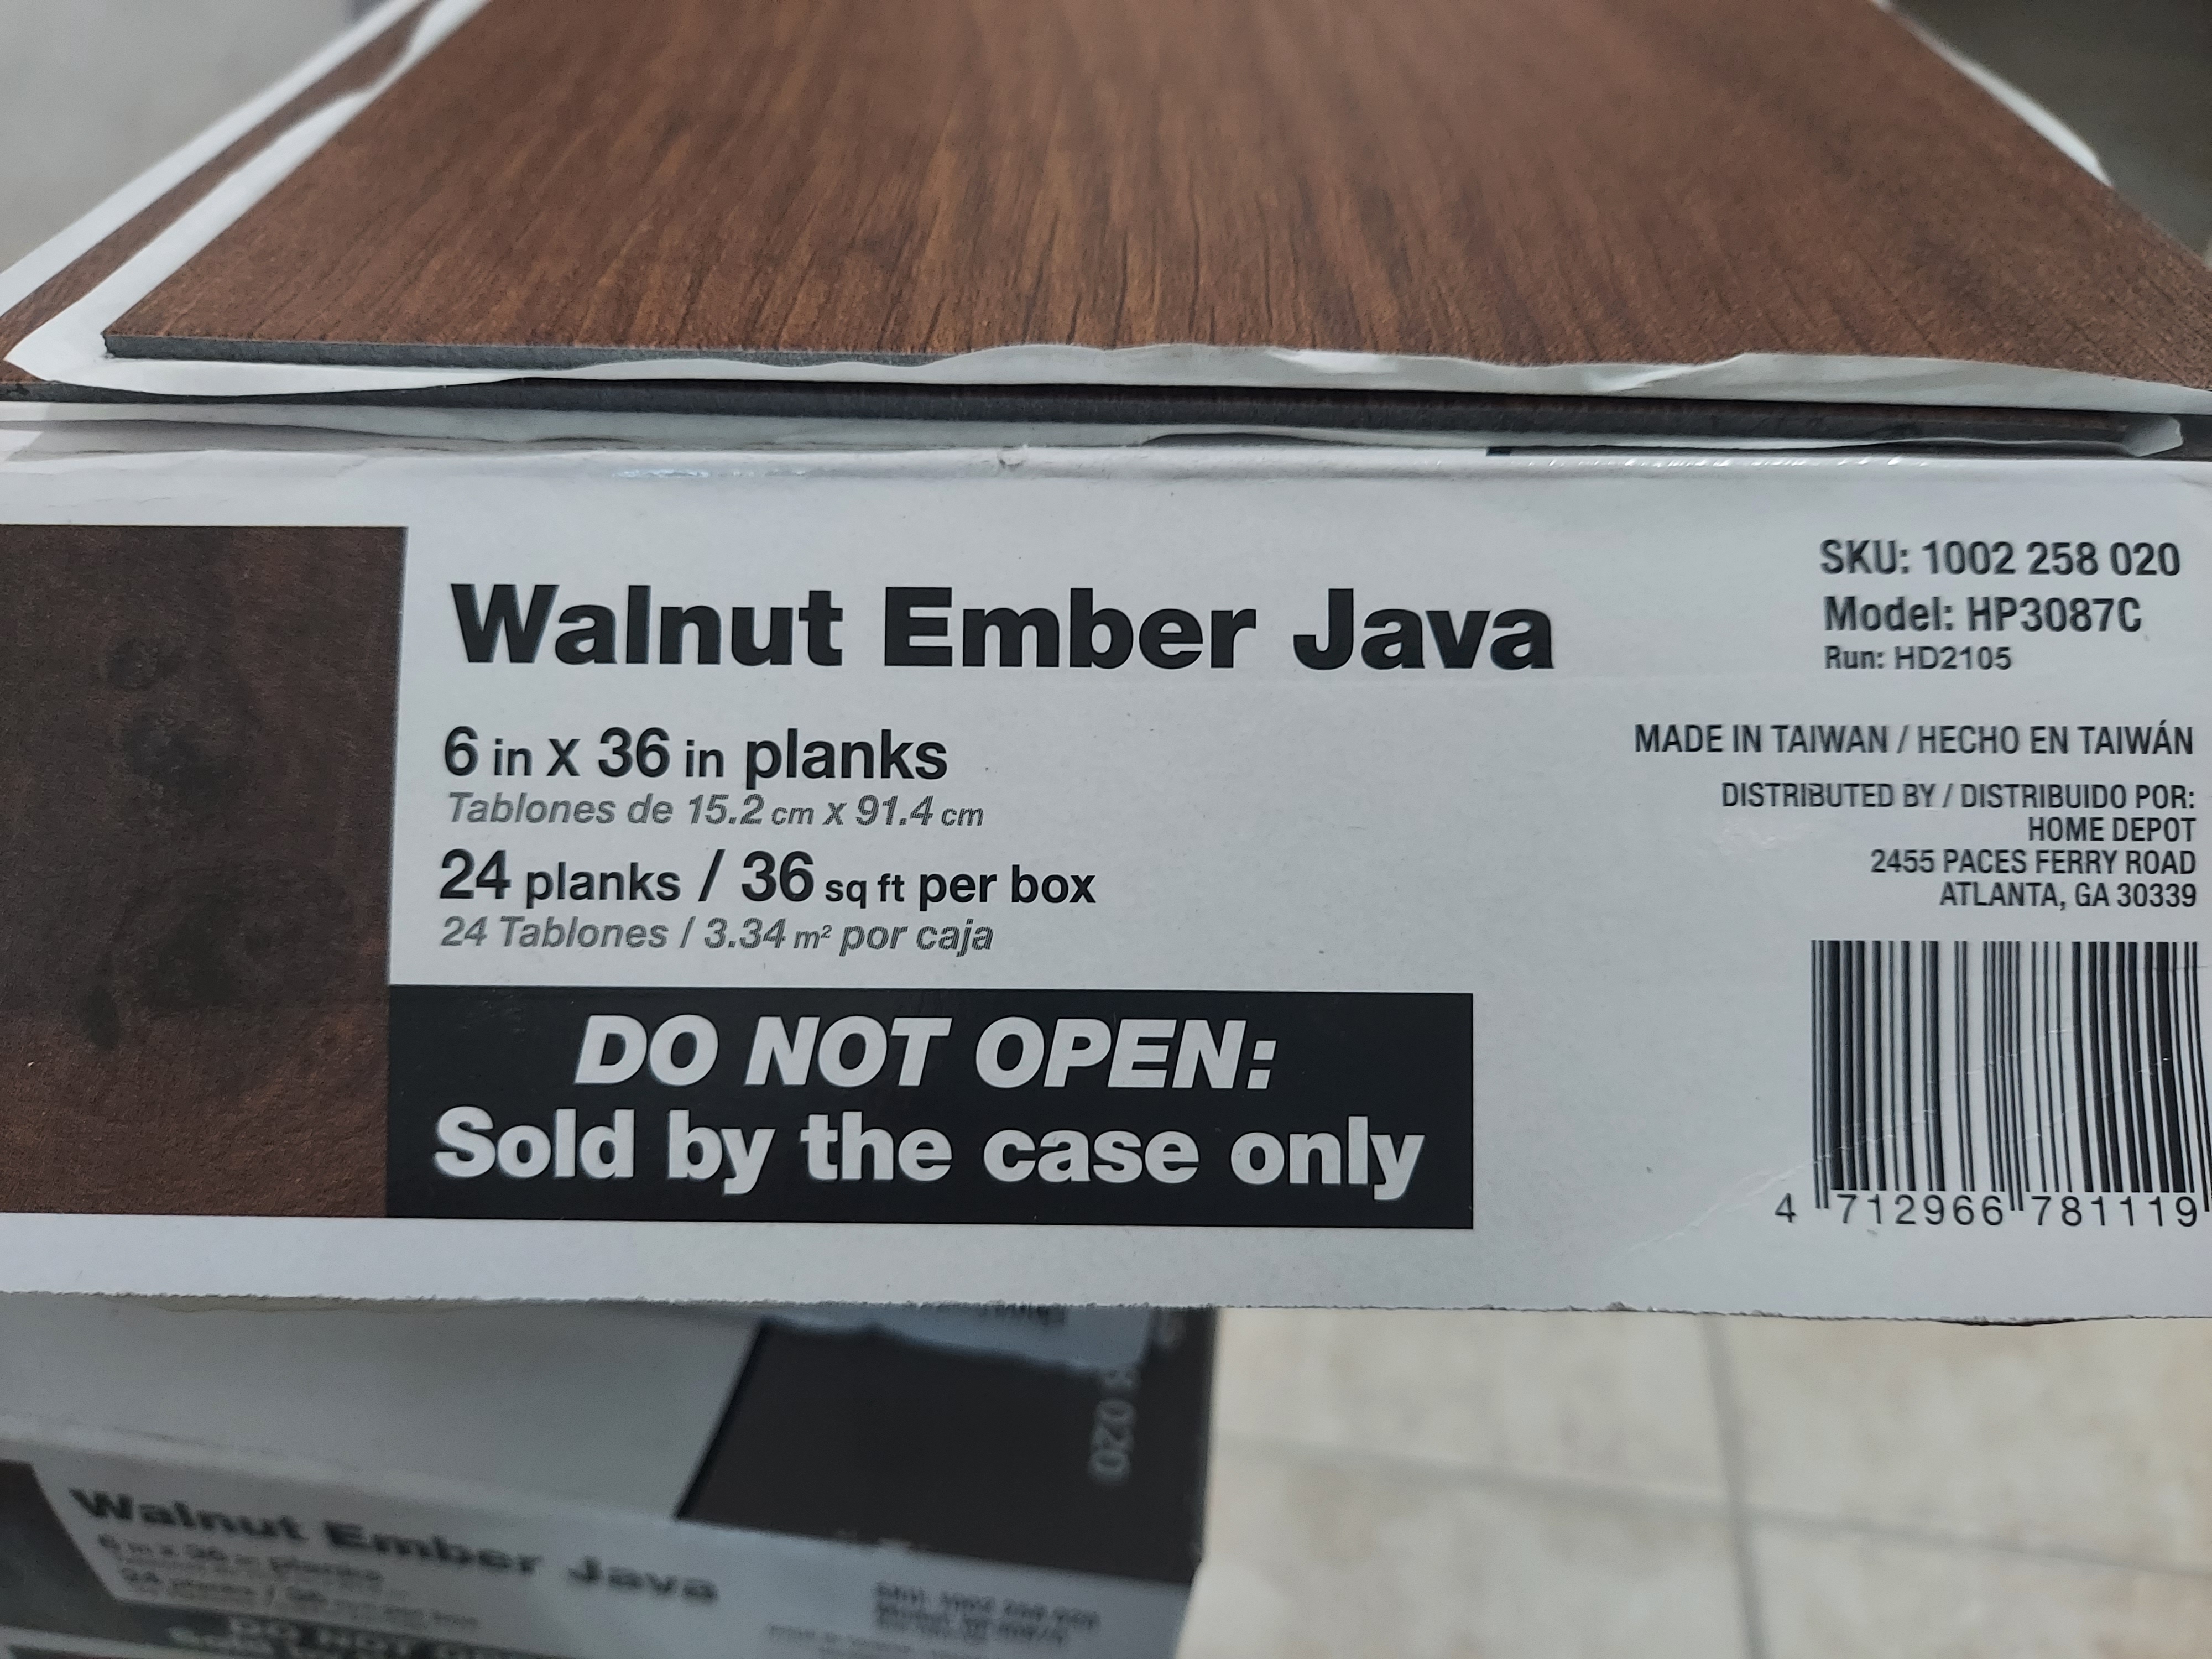
peel-and-stick flooring
transition strip to match flooring
square
shop vac
Start by ripping our your carpet and padding. We started by using a utility knife and cutting the carpeting into 3 sections and then pulled out each section, rolled it up and tossed it outside.
Once out, we had tack strips around the edges of the room and they were nailed into the concrete. So we had to use a hammer and crowbar to pop all the nails out of the concrete. Yeah....not fun. After the first 10 nails or so we sort of learned ways to minimize the amount of concrete we were pulling out. Trial and error I guess.
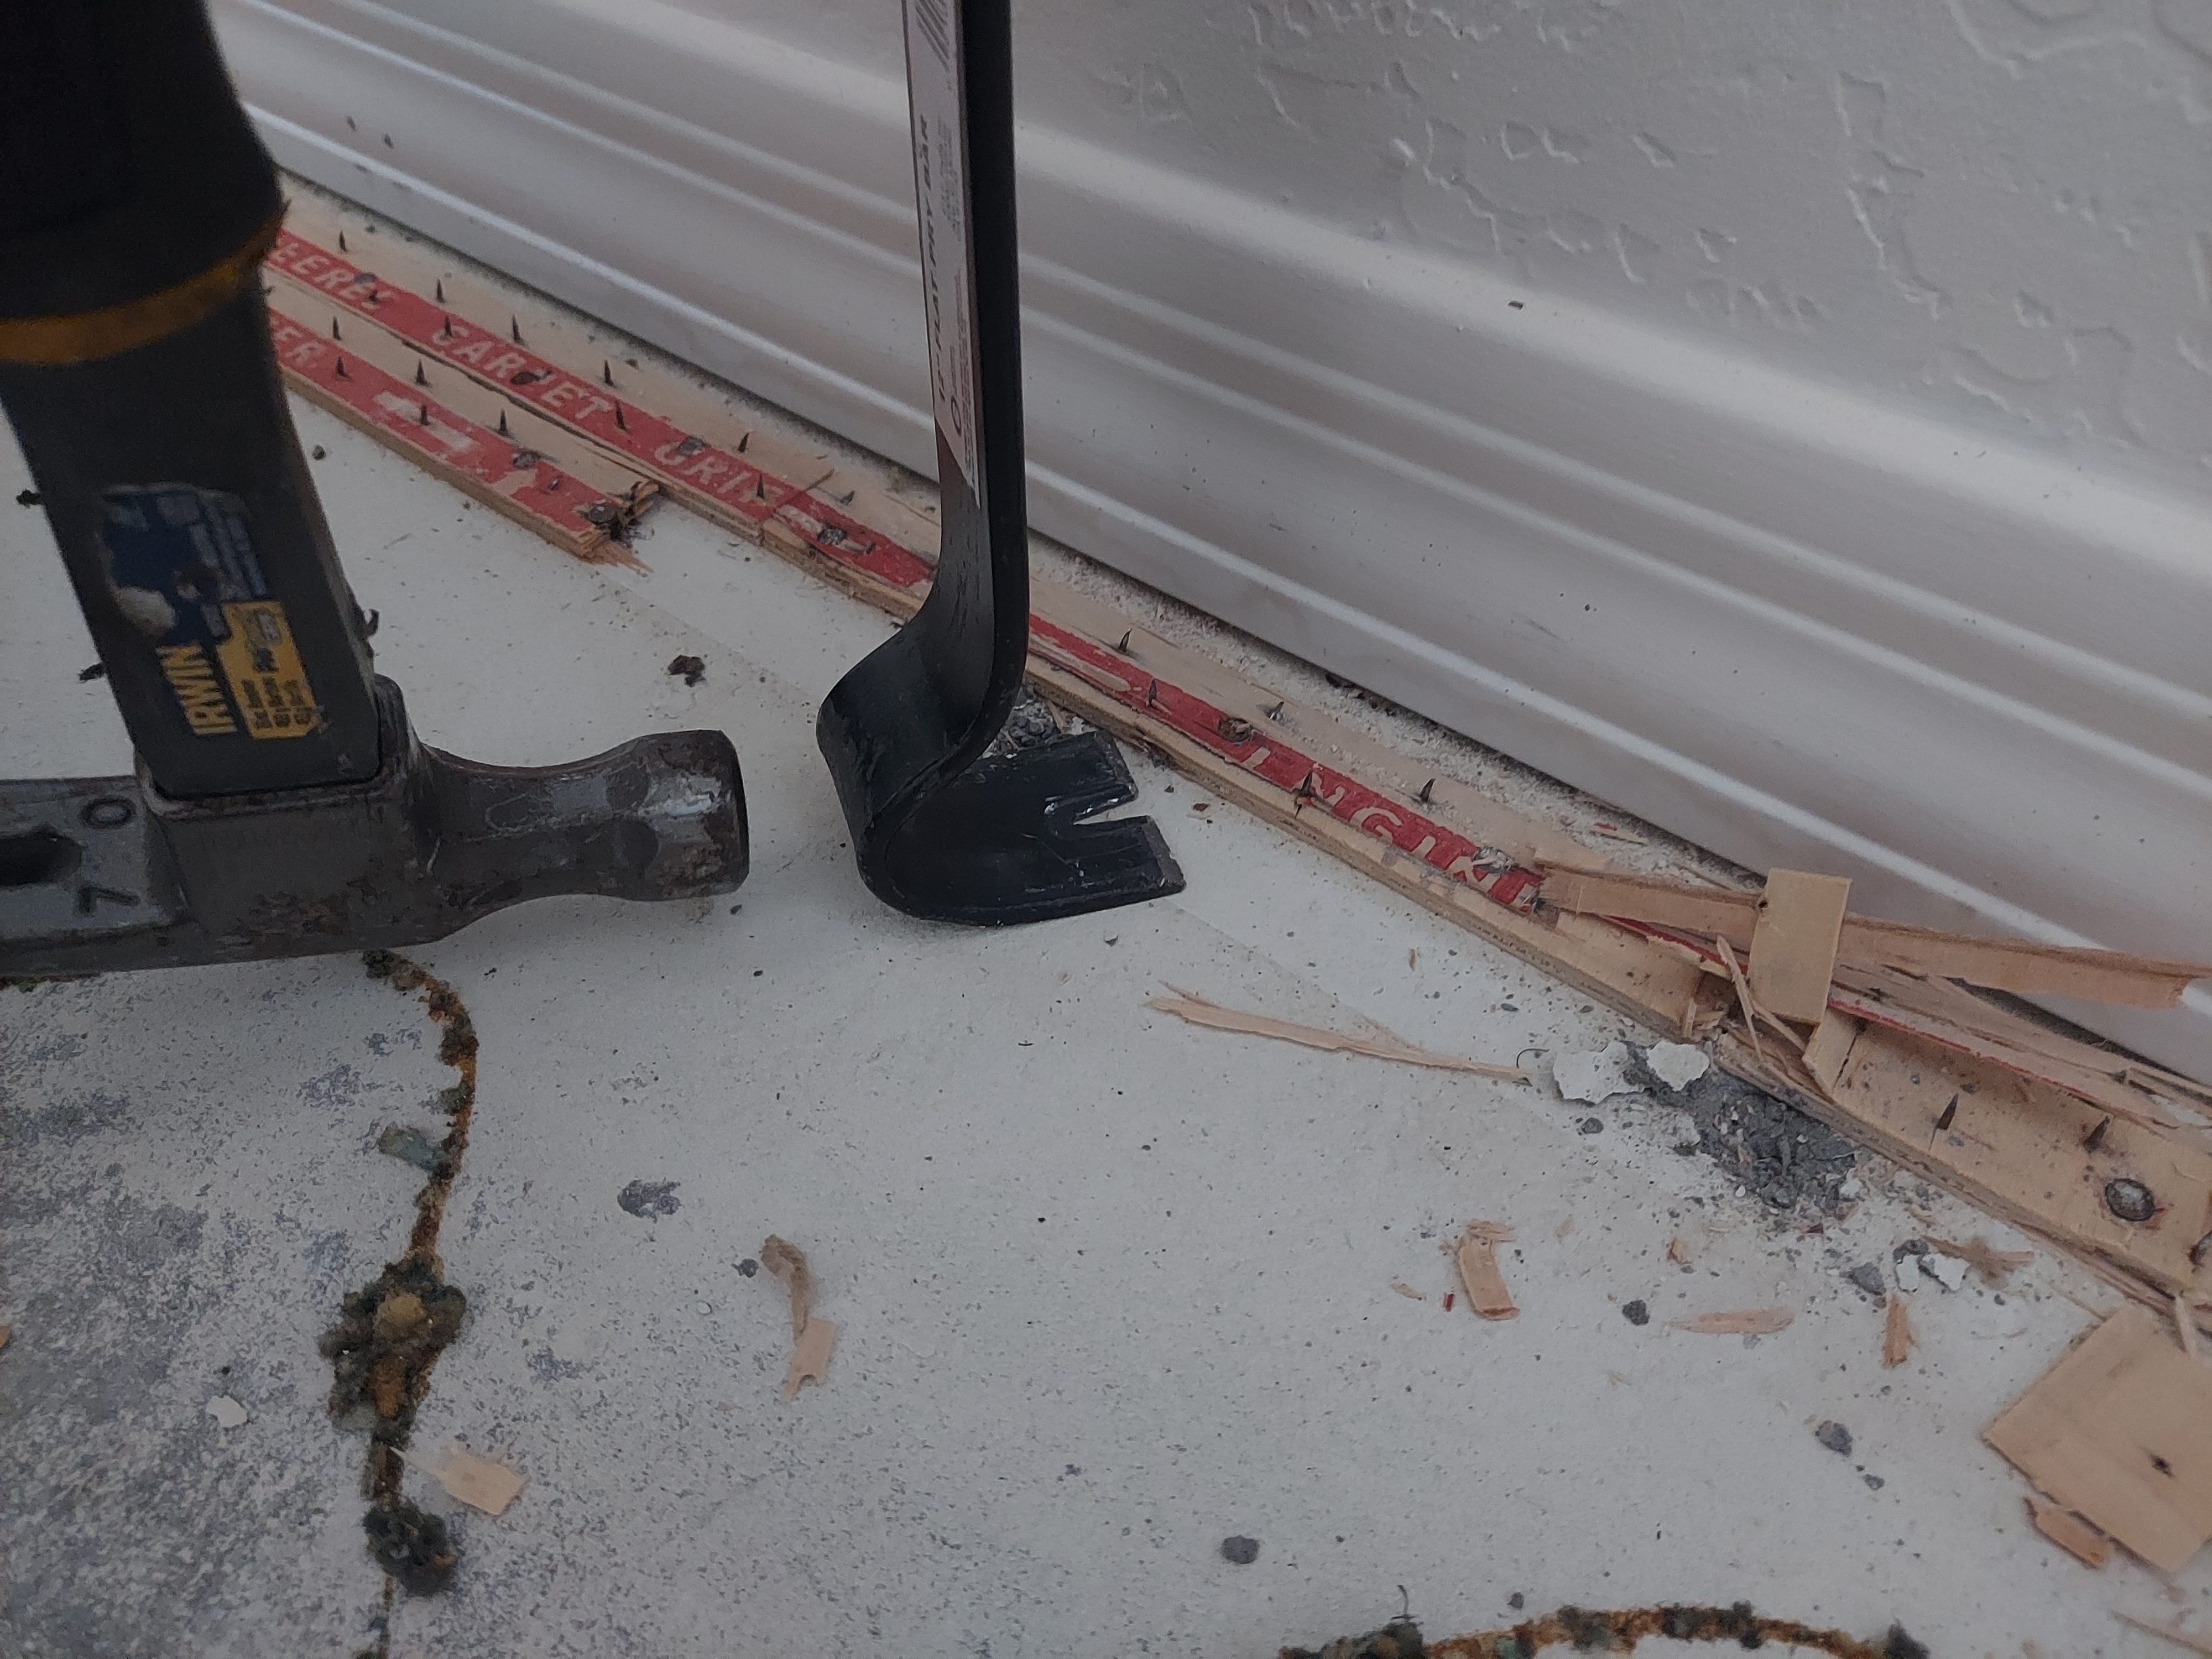
When you get all of the nails out, go back and double check that you got all the nails out. I swear we got them all, but there were always a few that somehow got missed. Then go around the room with a shop vac to get up all of the dust that was left behind.
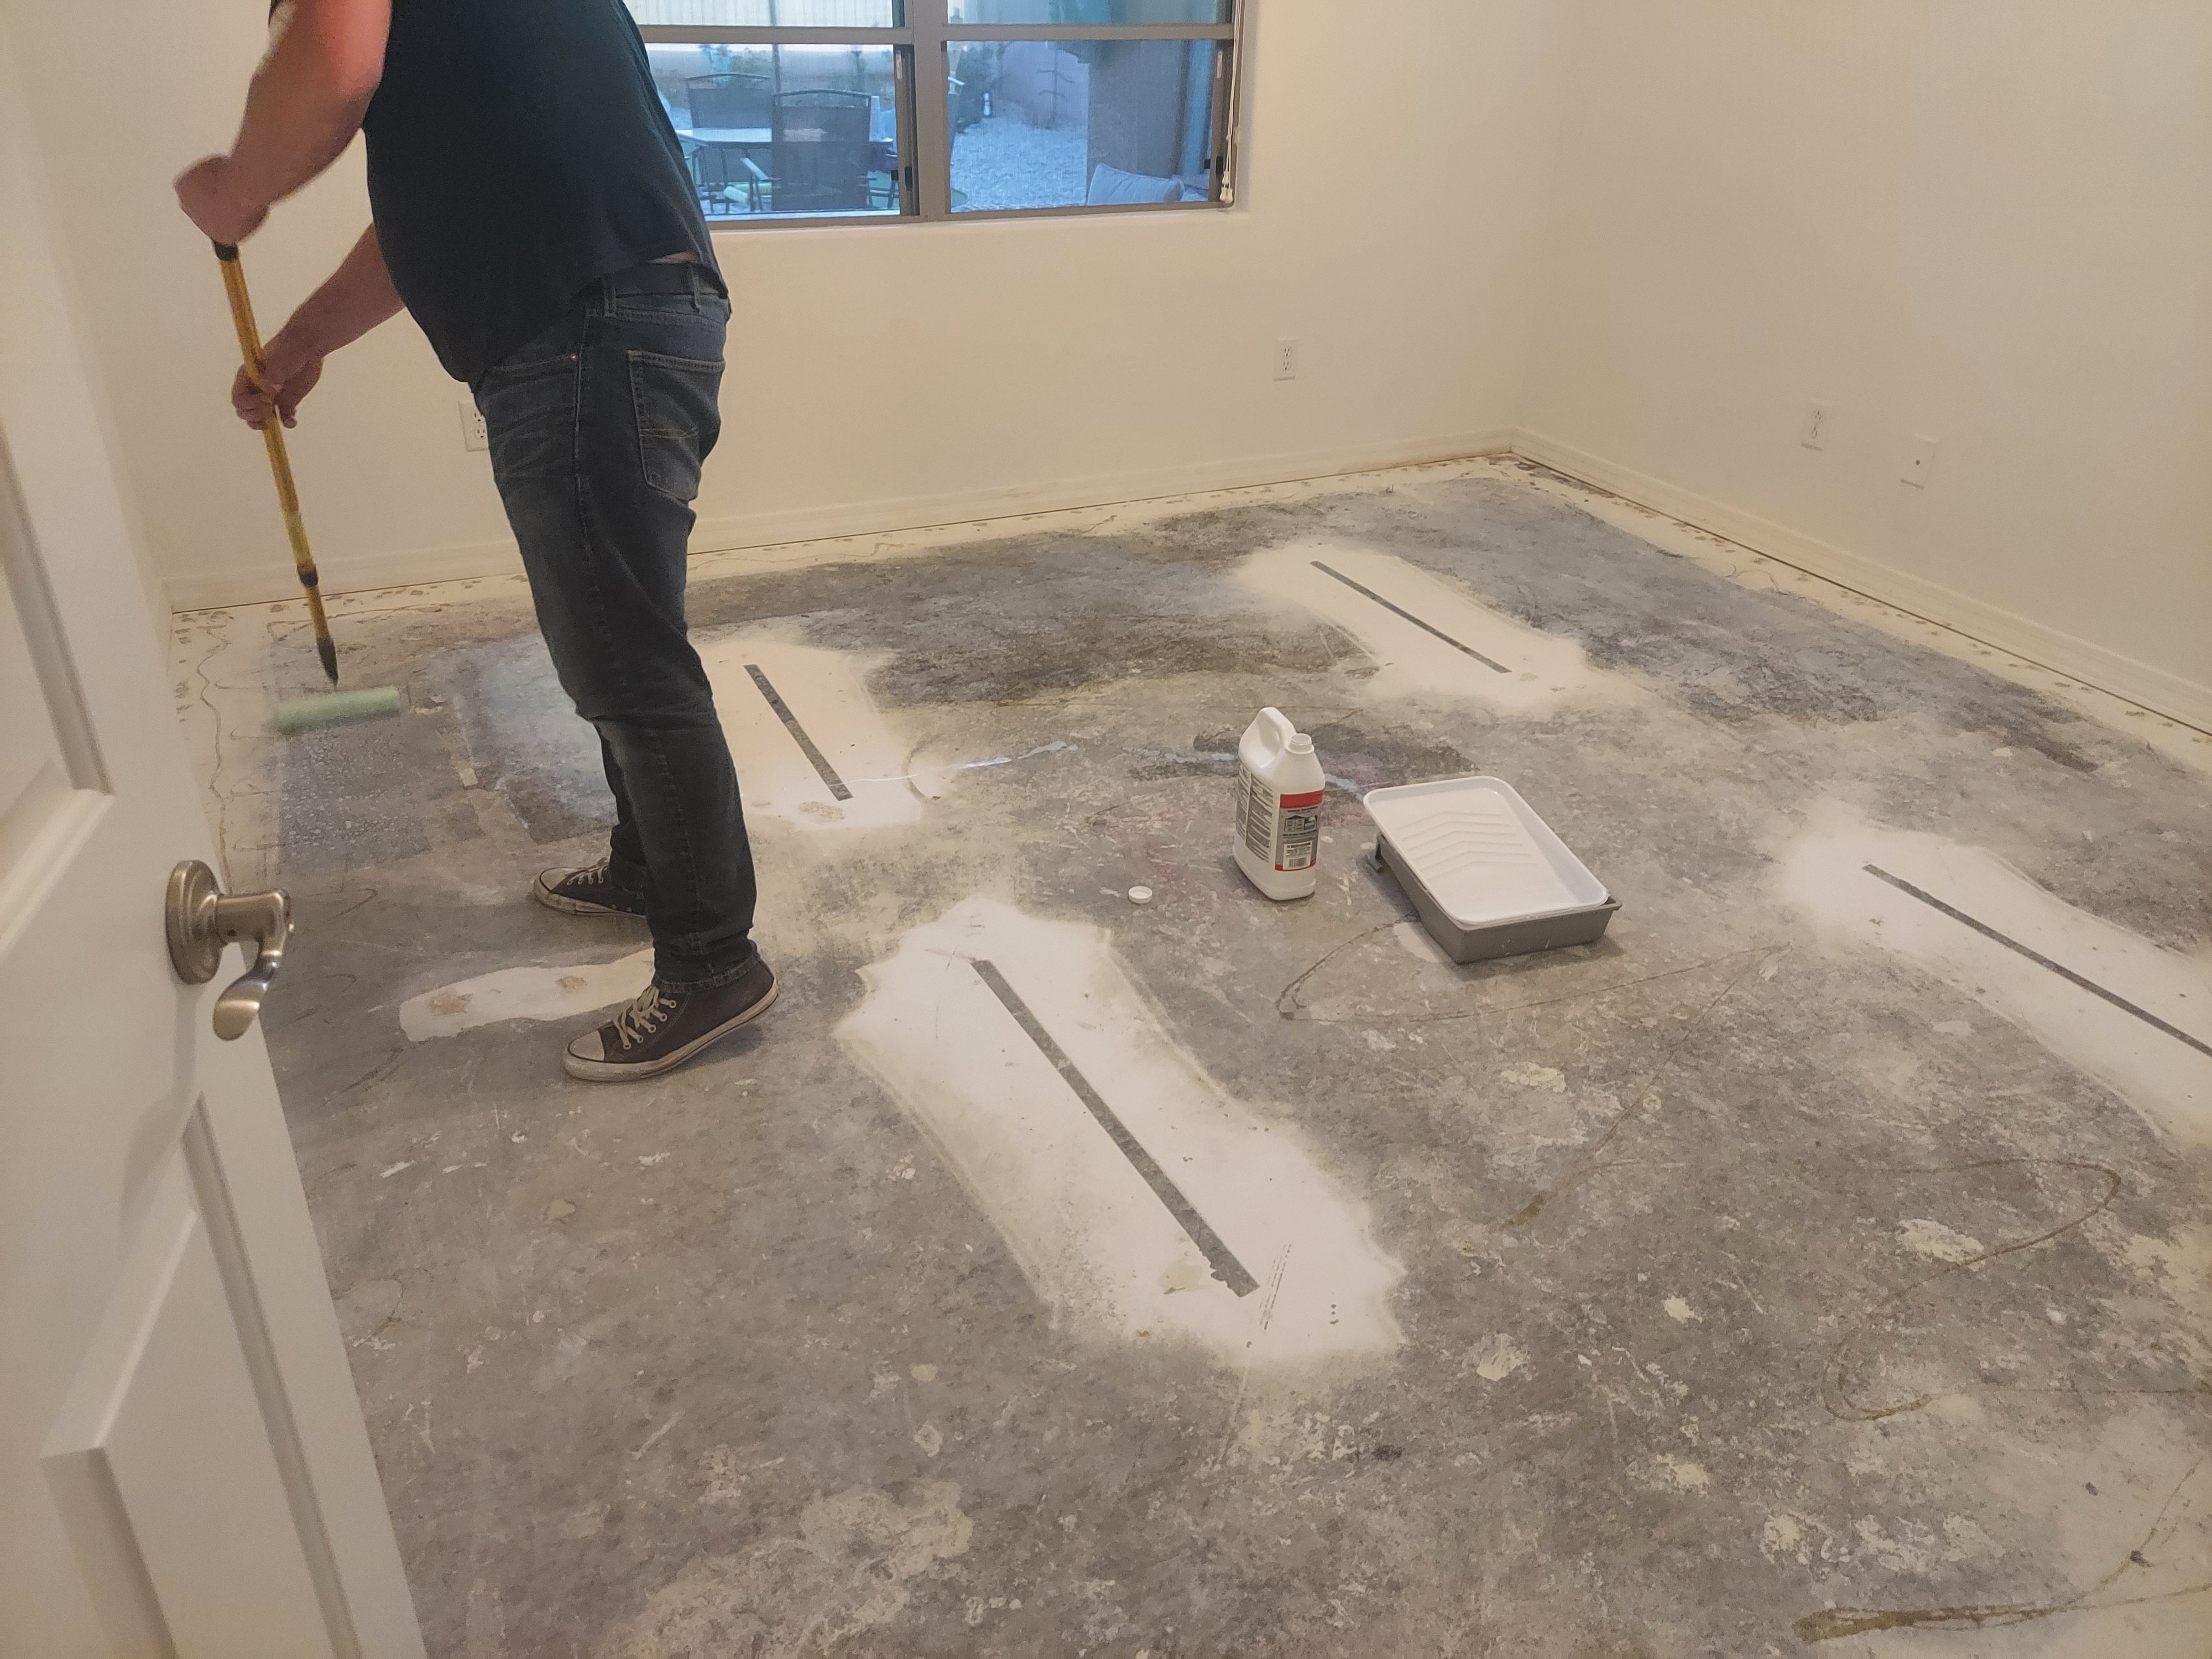
Next step was to fill in all the concrete that got busted out from removing the nails. Follow the directions on your self leveling concrete bucket. For ours, we had to use a sponge to damped the area and then apply the concrete and then leave it to dry according to directions.
When it's all dry, use your shop vac to clean up the floors again and then you're ready to apply your primer. This step is very important because it is how the floors will bond to the surface. Depending on which surface you are applying your peel and stick planks to, you may not even have to use a primer. Again, just follow the manufacturers directions and don't skip any recommended steps.
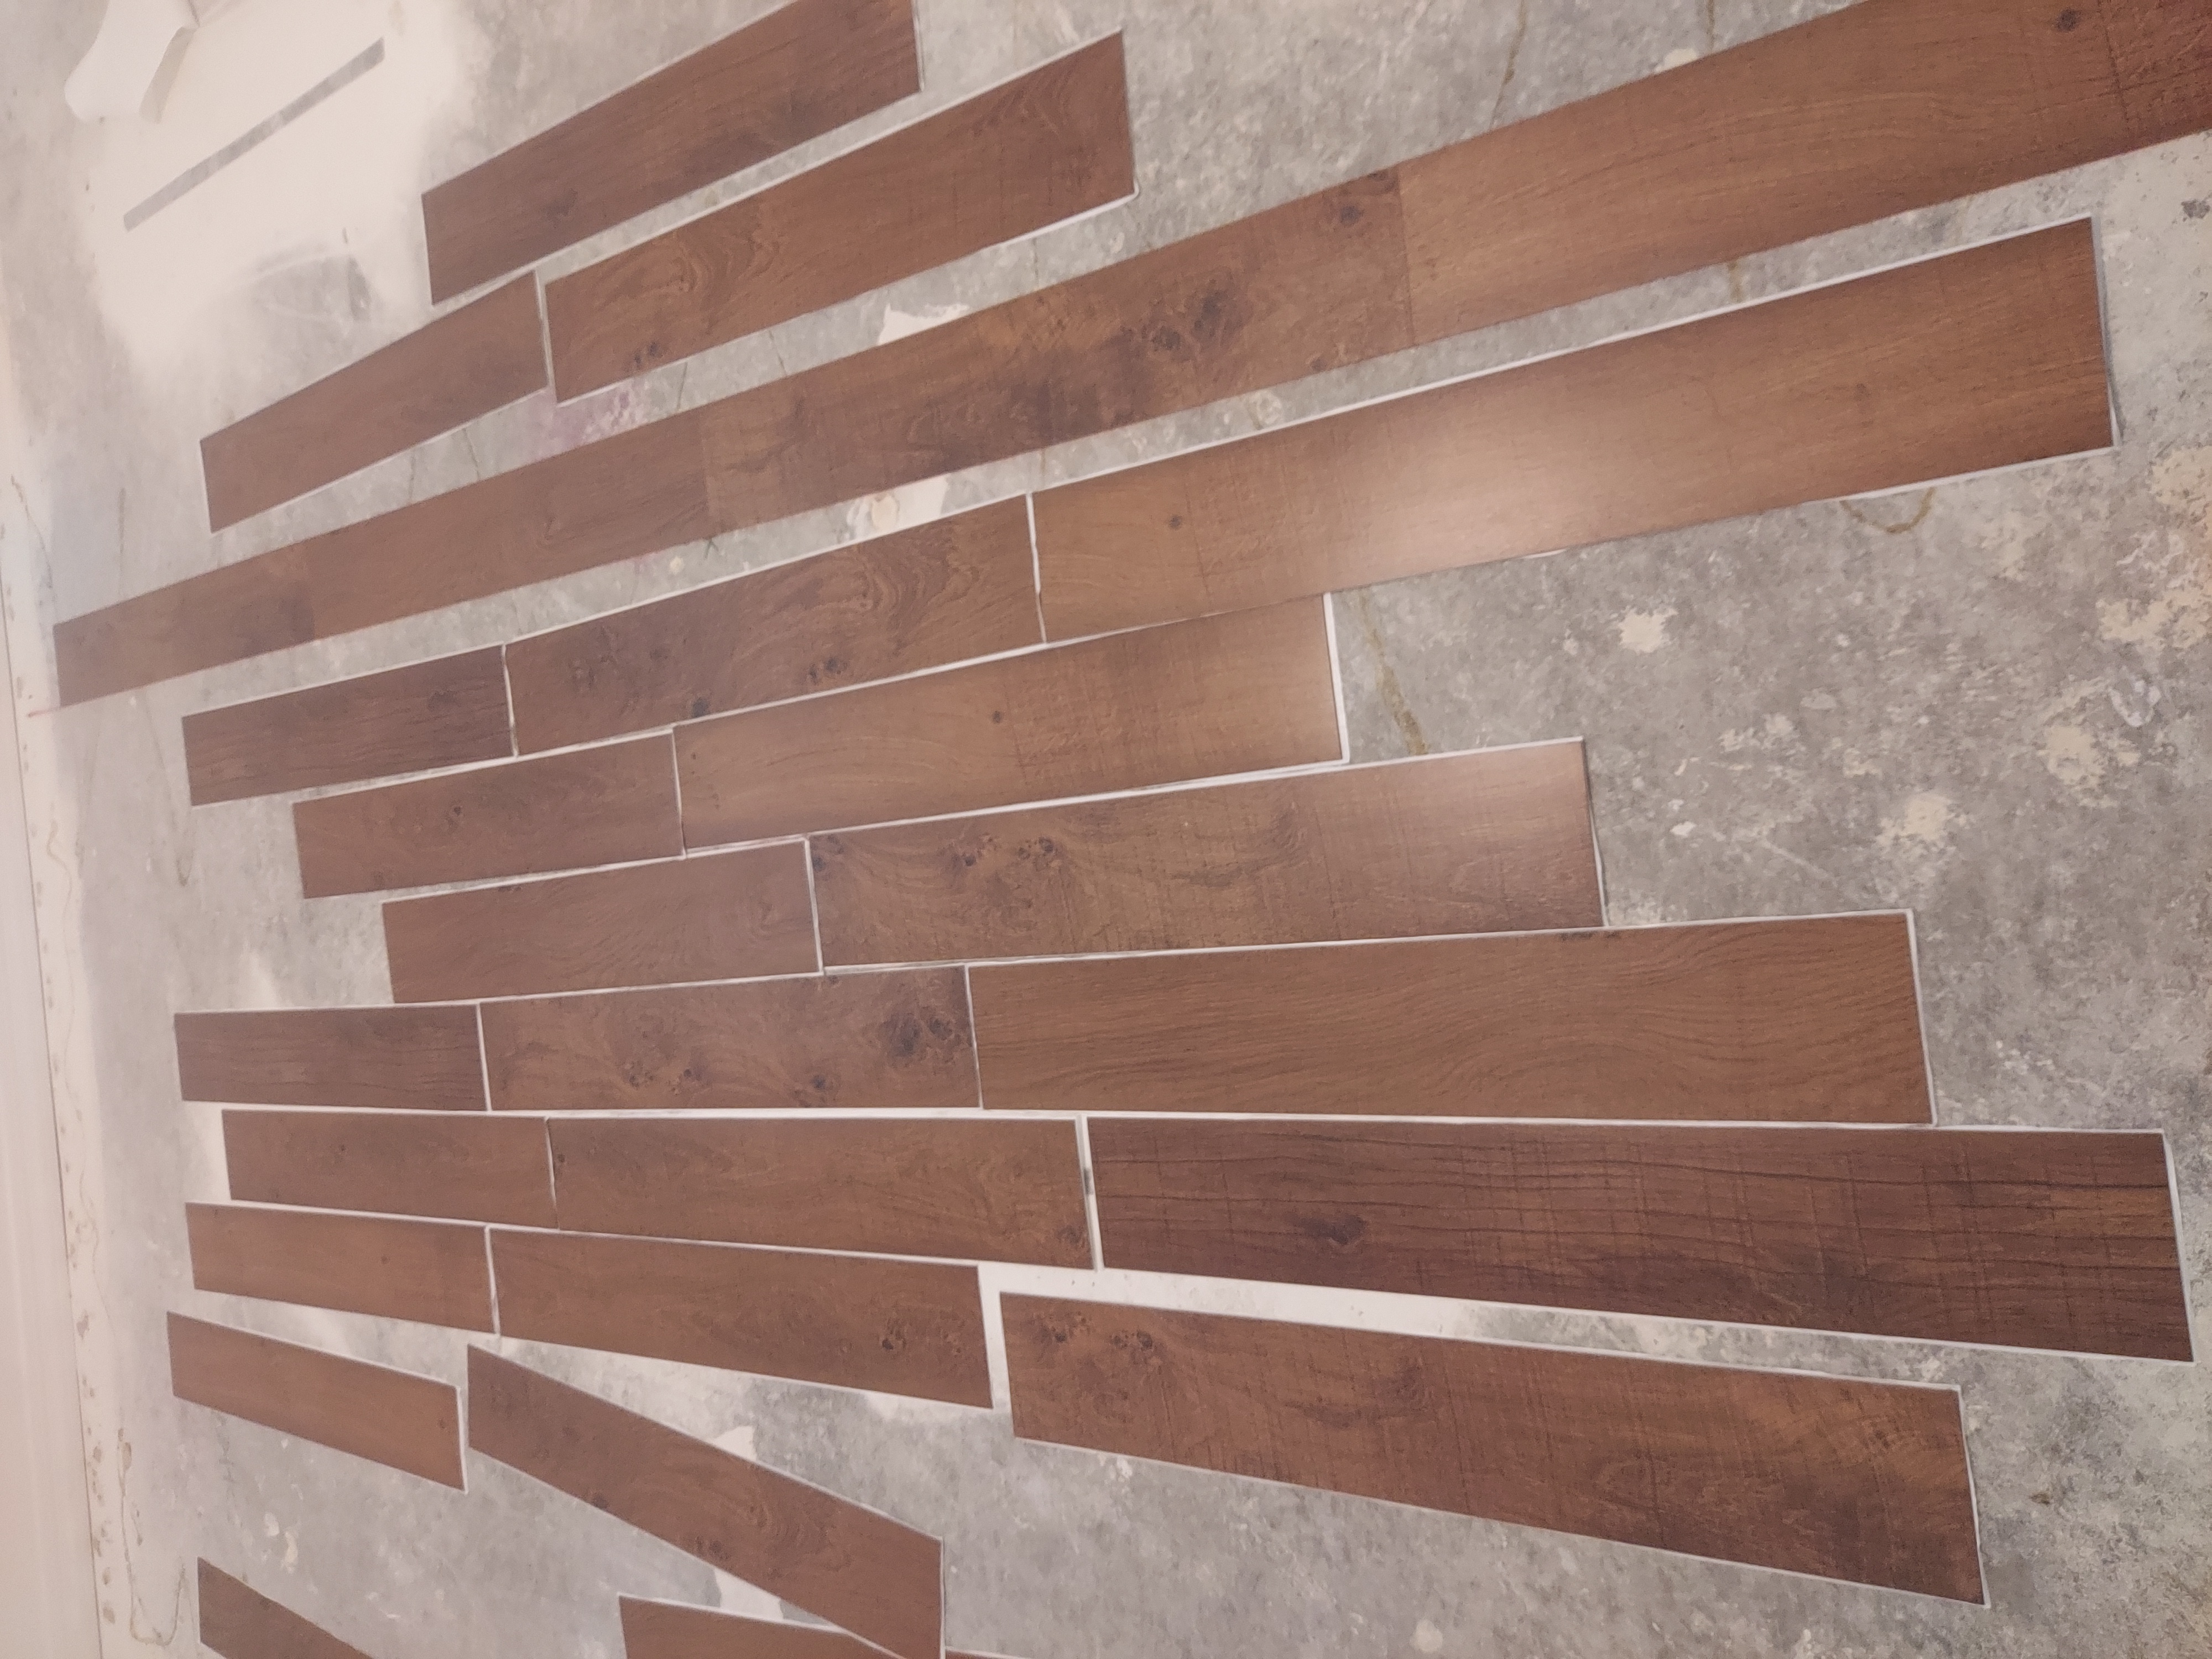
Next the fun (not so much fun, but...) part - putting down the new flooring! We took all of the planks out of the boxes and then sort of organized them according to their patterns. This way it was easier to sort them and not put matchy planks next to matchy planks...if that makes sense. We laid them out how we liked them and that way we could just put them down right away.
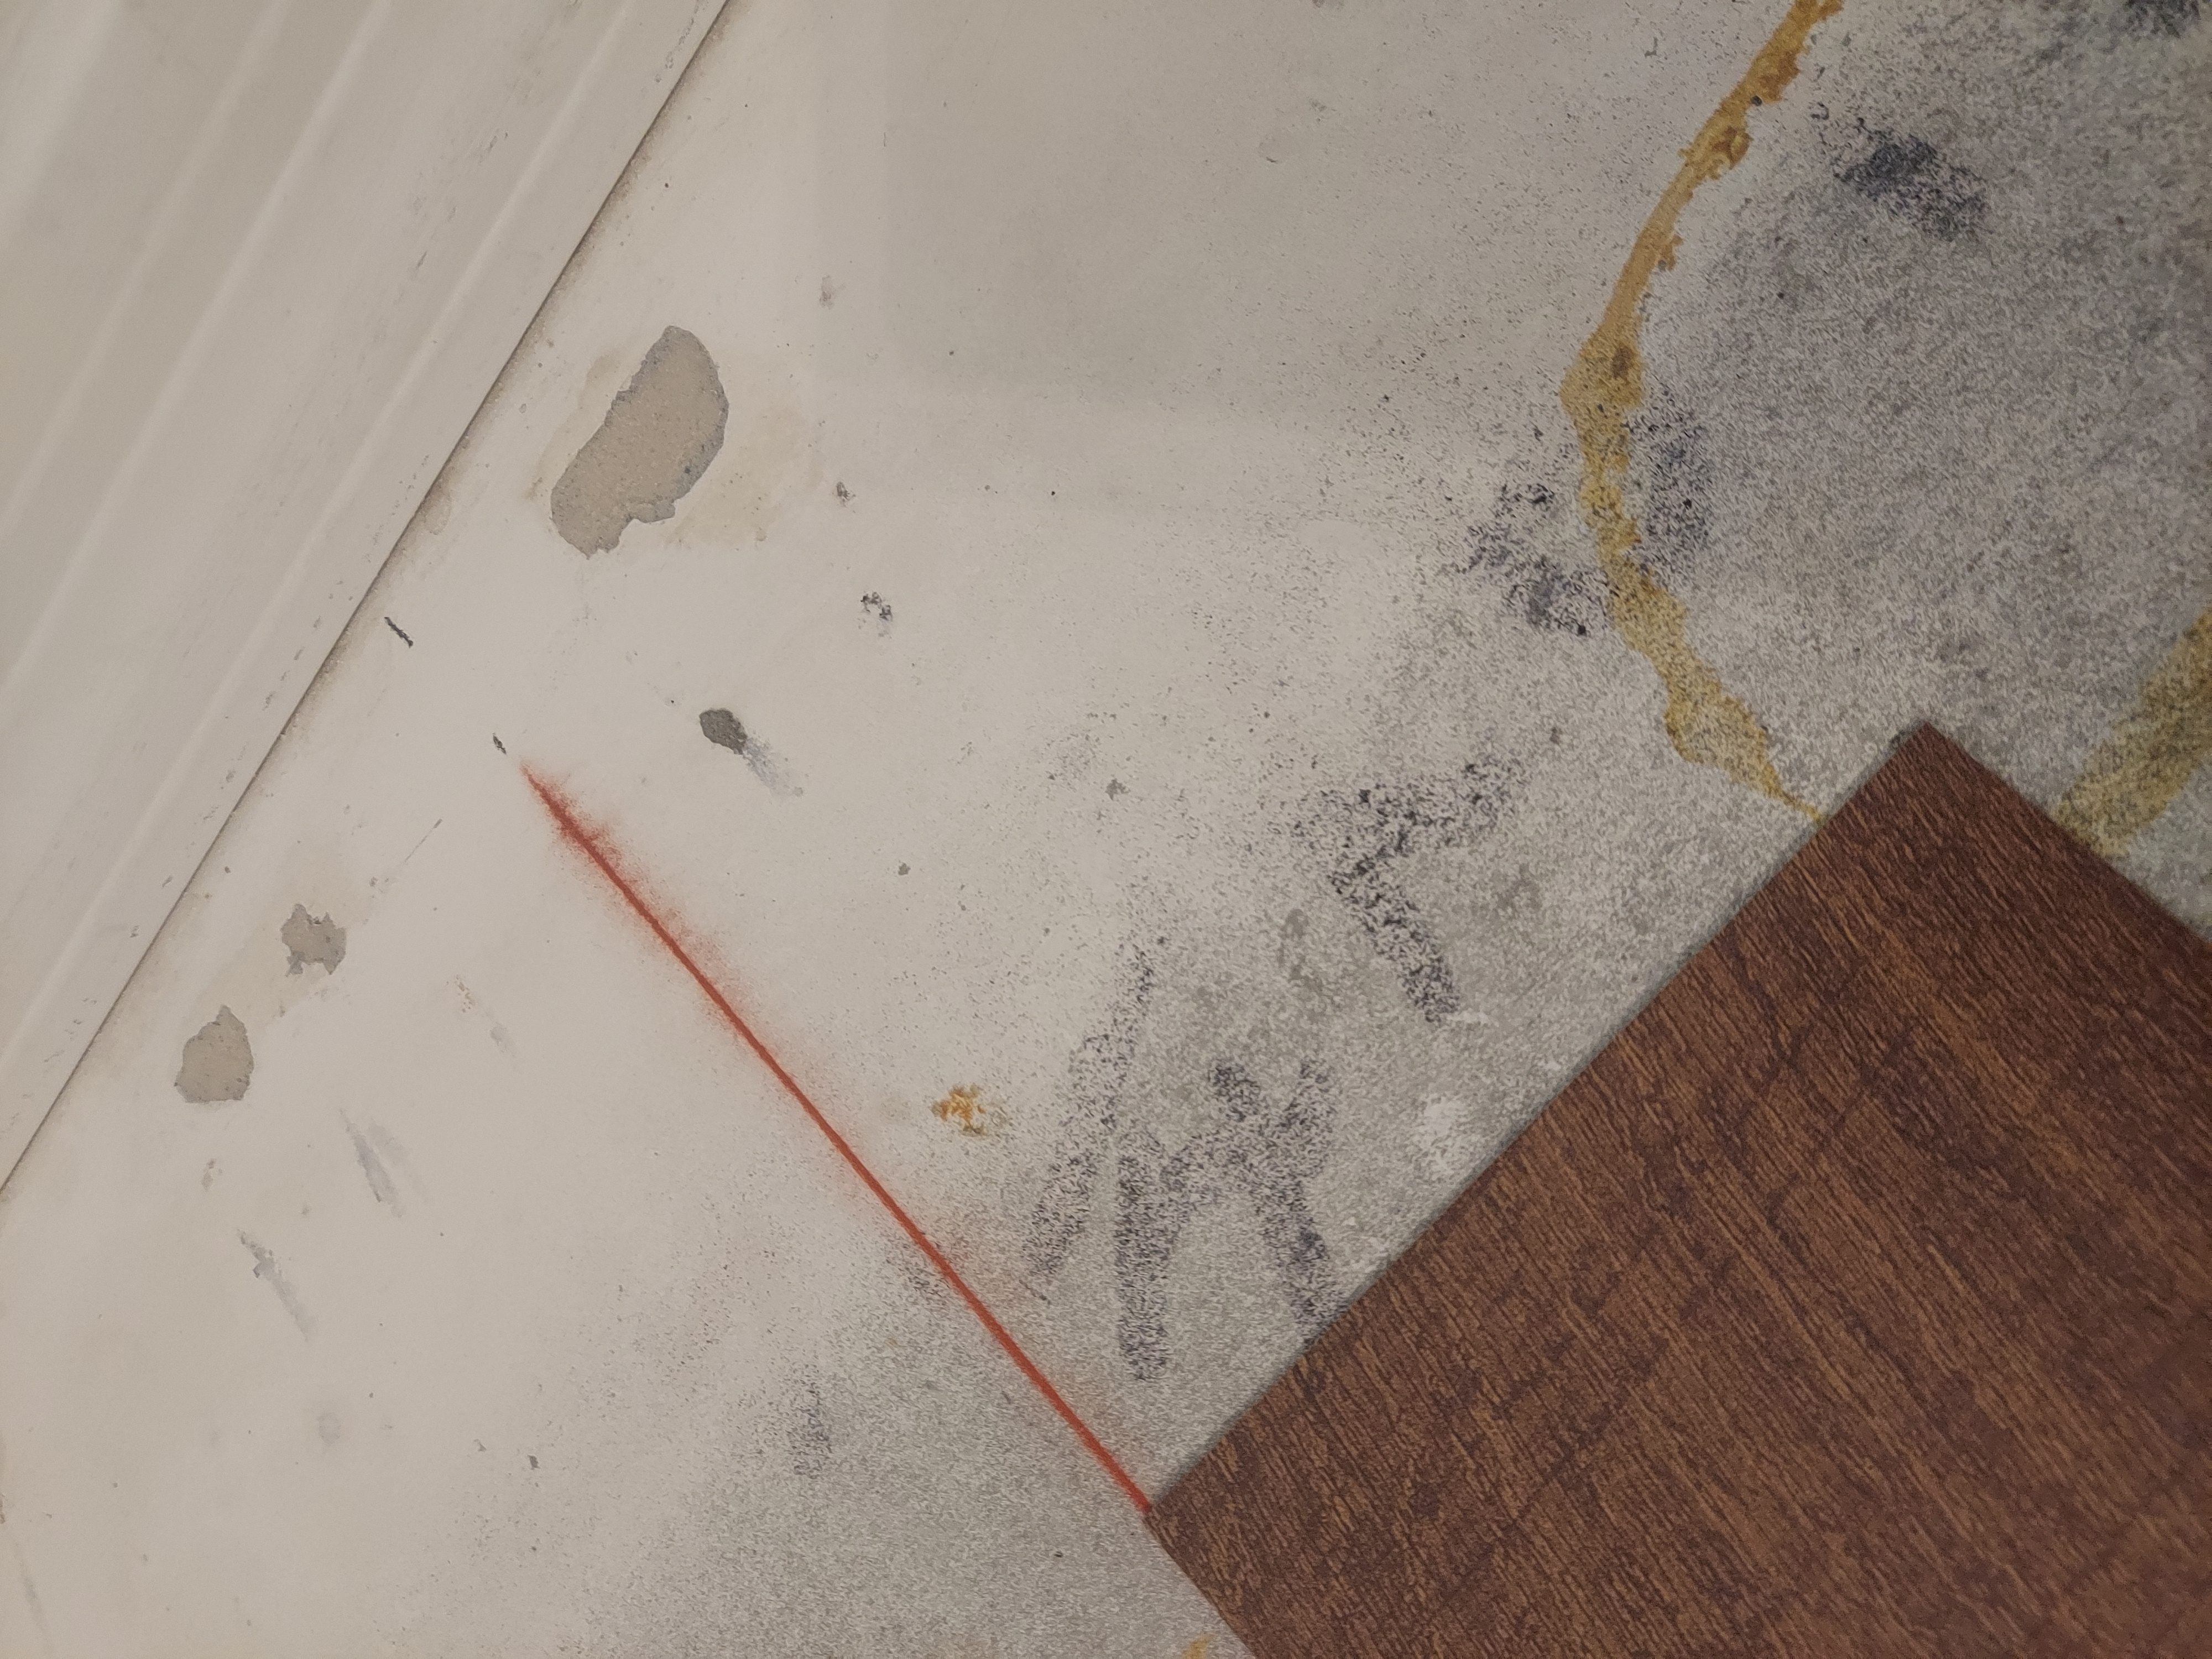
Then you will need to find the middle of the room. If you are using planks you will need to determine which direction you would like your planks to run. Use your tape measure to find the middle of the opposite walls and then use your chalk line to make a line straight across the room. This is very important because you want to make sure the flooring is straight since mostly likely, your walls are not straight. When have your line down, find the middle of that line and that is where you will put your first plank down. Remove the paper backing and carefully set down the plank, following the chalk line. Take your time and follow the line. Once it sticks to the floor it really starts to stick and you don't want to pull it off and have to restick it. For each new plank you will need to follow the chalk line and the edge of the previous plank when sticking it down. When you get to the next rows you will follow the edges of all the previous planks and continue that way throughout the entire room. To make cuts all you will need is some sort of straight edge (we used a carpenters square) and a utility knife. We cut right on the concrete until we ran out of room and then just used a piece of plywood to cut on.
Then just...keep...going....LOL. Just take your time, measure twice and cut once. :) When you get everything done then you can add your transition strip, depending on what other floor type you are meeting up with.
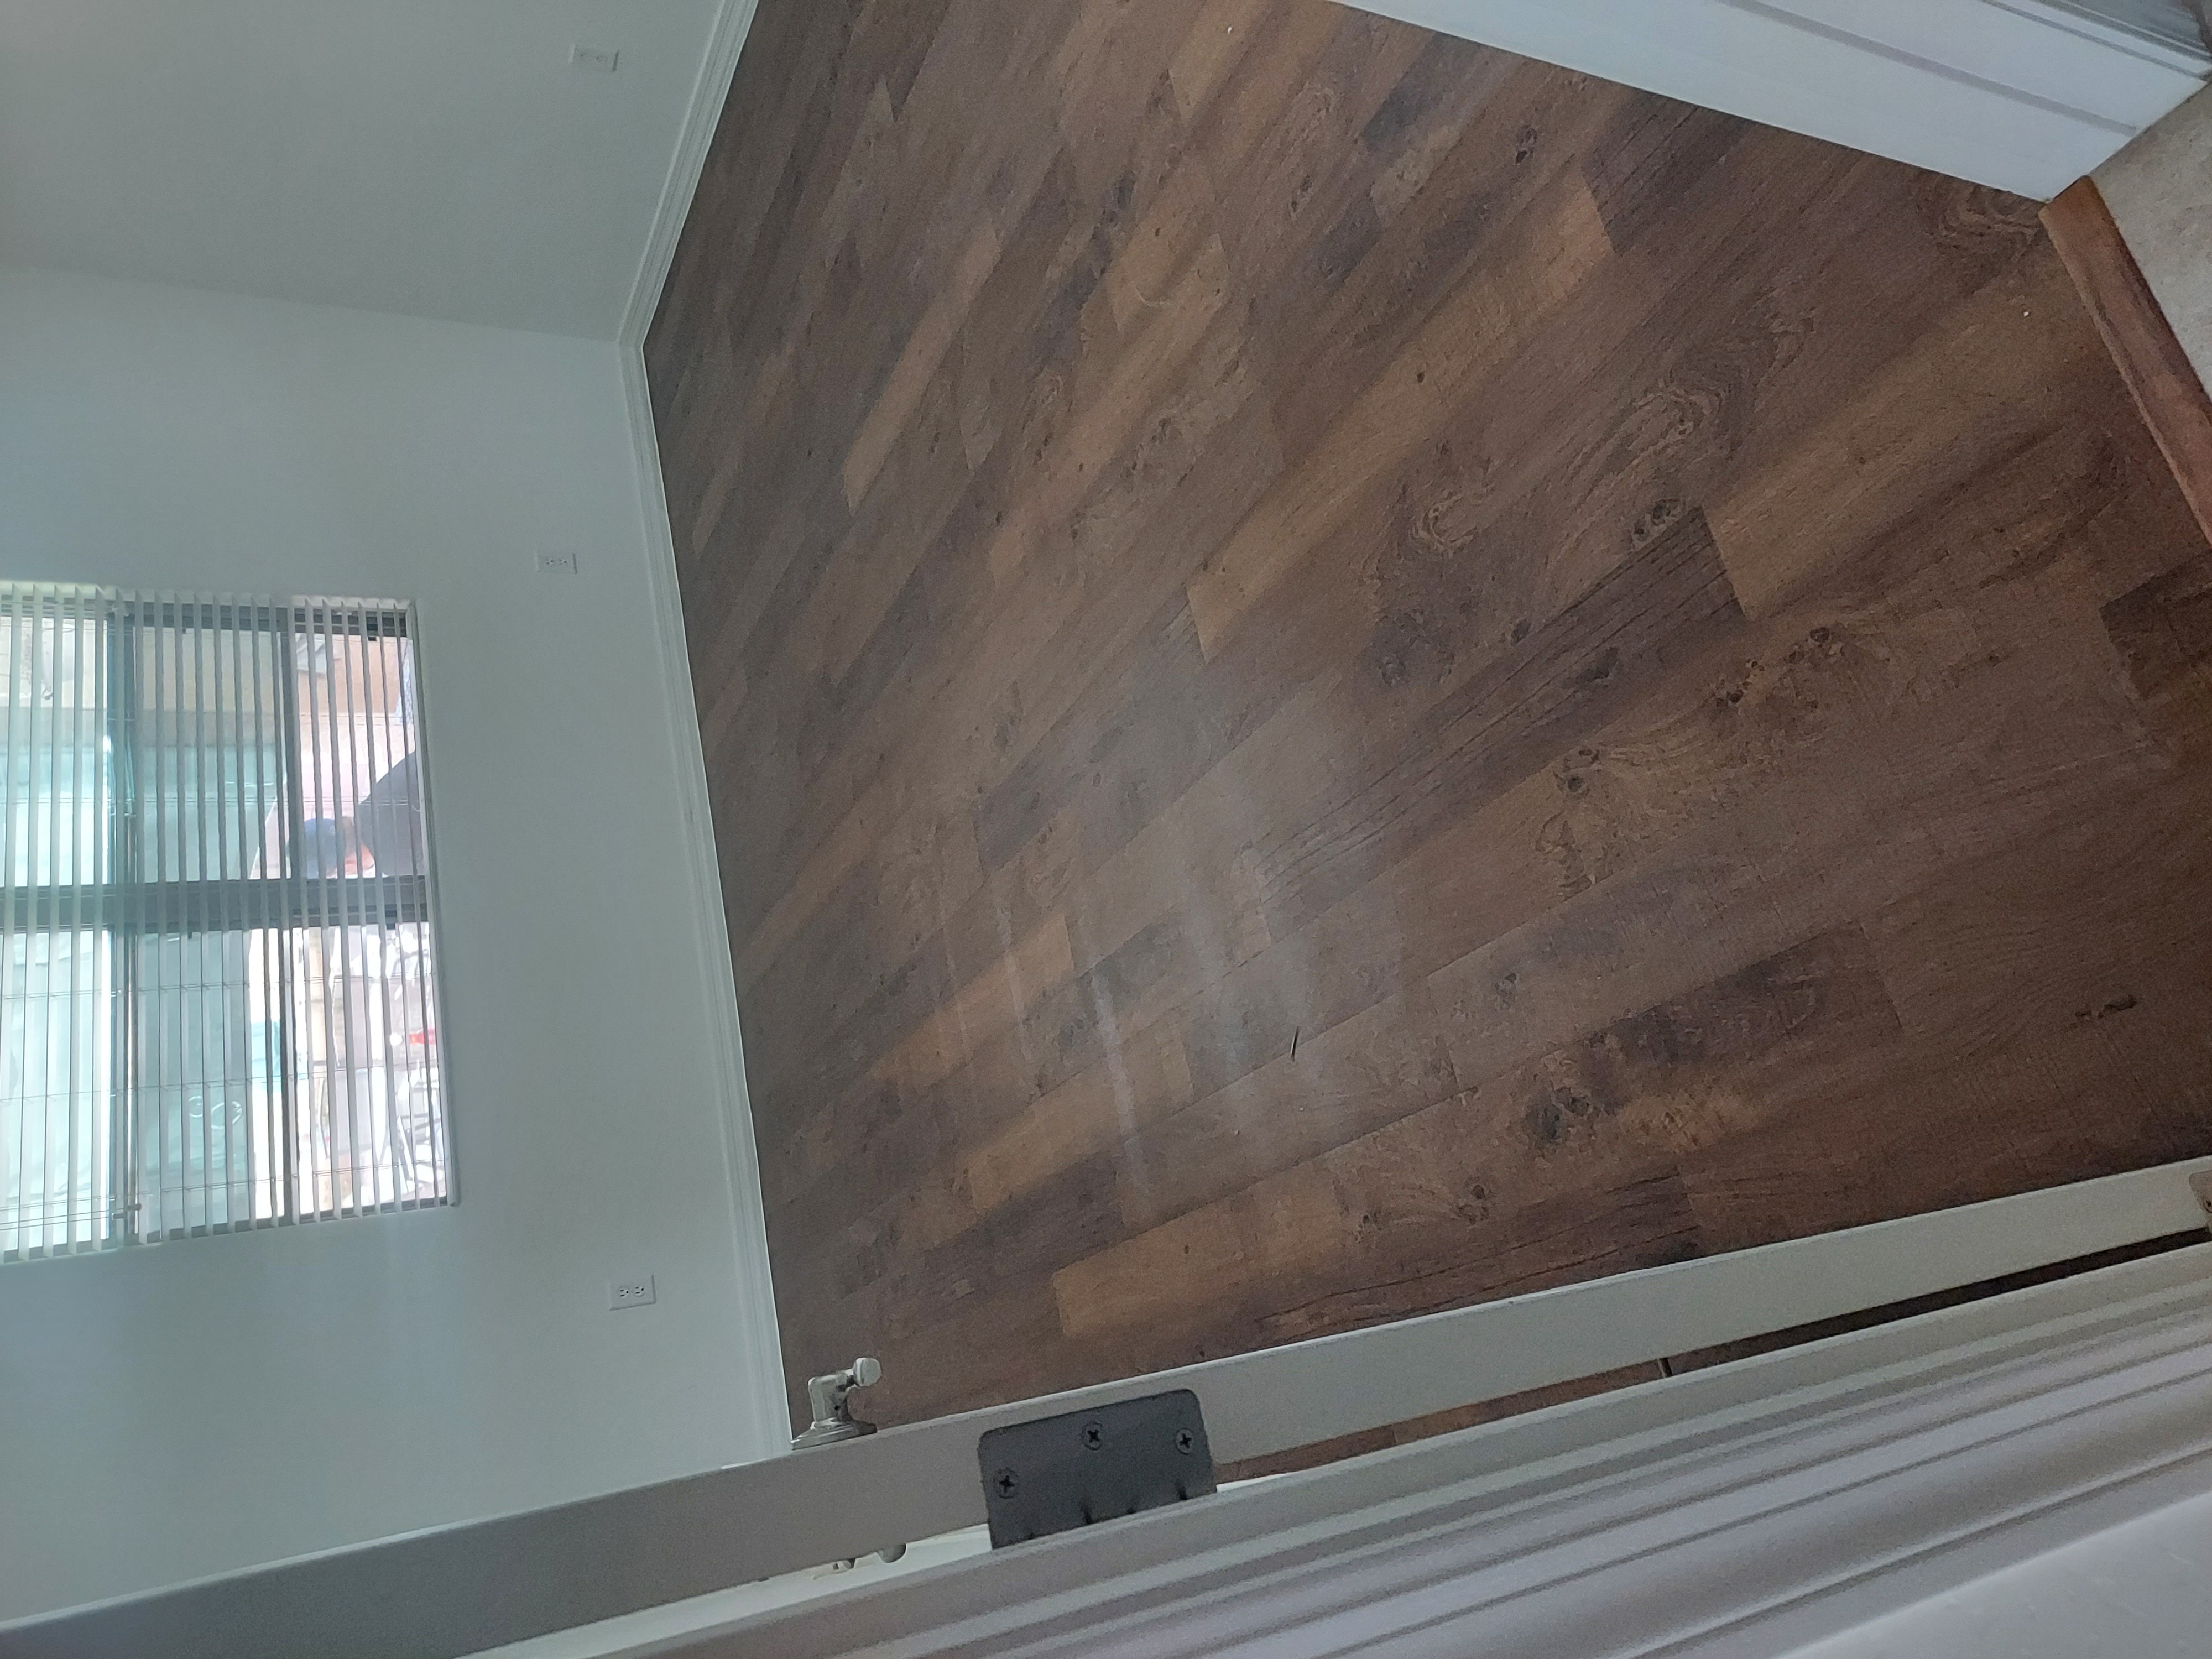
It turned out amazing and I absolutely love it! If you're thinking about doing vinyl peel-n-stick planks - do it. Don't let it intimidate you. Take your time, make your cuts and put them down at your own pace. You'll be so glad that you did!
diy projects
Want more DIY's?CrazyDIYmom.com Contact Us Privacy Policy Disclaimer About me