
DIY home projects
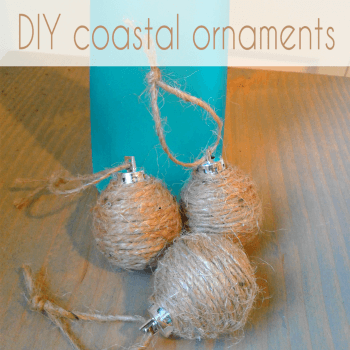
DIY coastal ornaments
* This post may contain affiliate links
I'm so excited to decorate our tree this year because we are doing something new. For the last 10+ years we've been decorating our tree with painted wooden peg dolls. Since my third child (a daughter) was born I started painting peg dolls for her to play with in her doll house. My boys eventually started asking me to paint peg dolls for them in their favorite super heroes. One year they suggested we put the dolls on the tree, so I decided to paint some more peg dolls. Each year I painted about 10 new dolls in their current favorite characters or some fun, favorites for my husband and I. You name it, we have everything from Elmo to Elvis. And it's so neat to look through all the peg dolls every year.
But this year, we made our first trip ever down to the Gulf of Mexico. We had so much fun and collected SO many sea shells that we thought it would be fun to turn them into ornaments and do a beach theme this year to change things up. We have plenty of shells, but I needed some other ornaments to break up all the shells and these are perfect.
The best part about these? You can buy everything from the DollarTree.com!
What you'll need:
set of mini ball ornaments
sisal twine
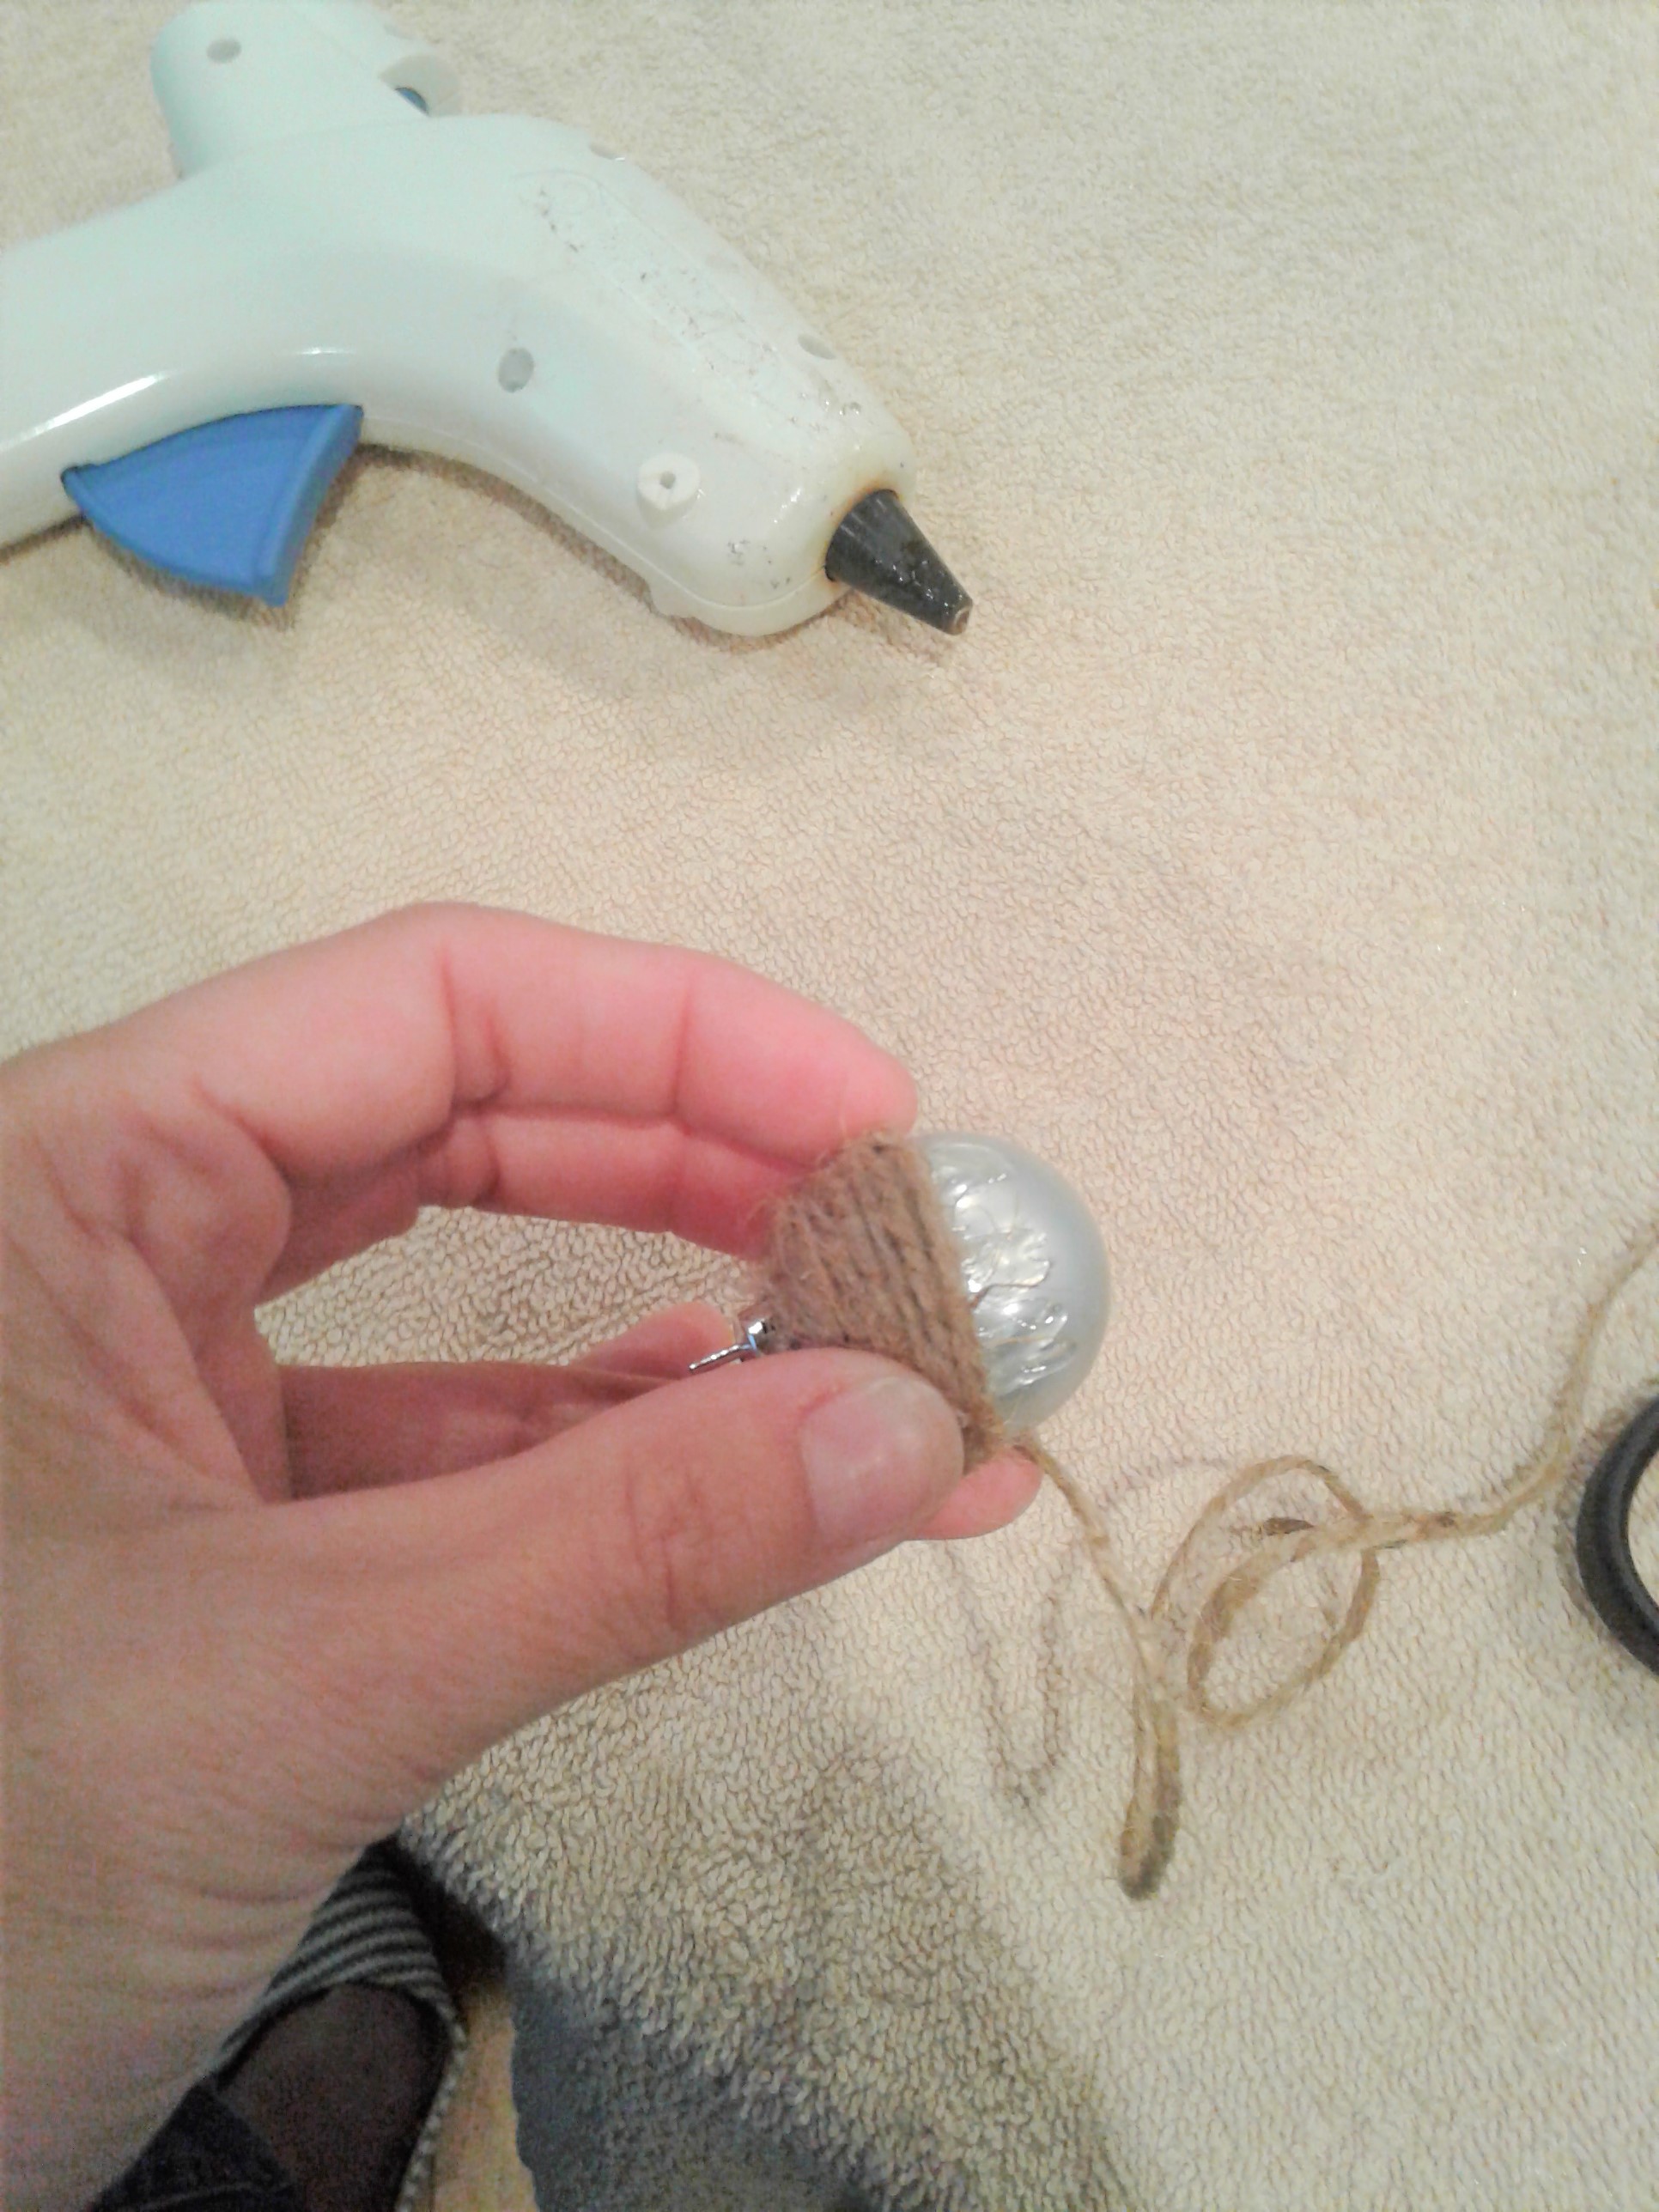
hot glue gun and glue
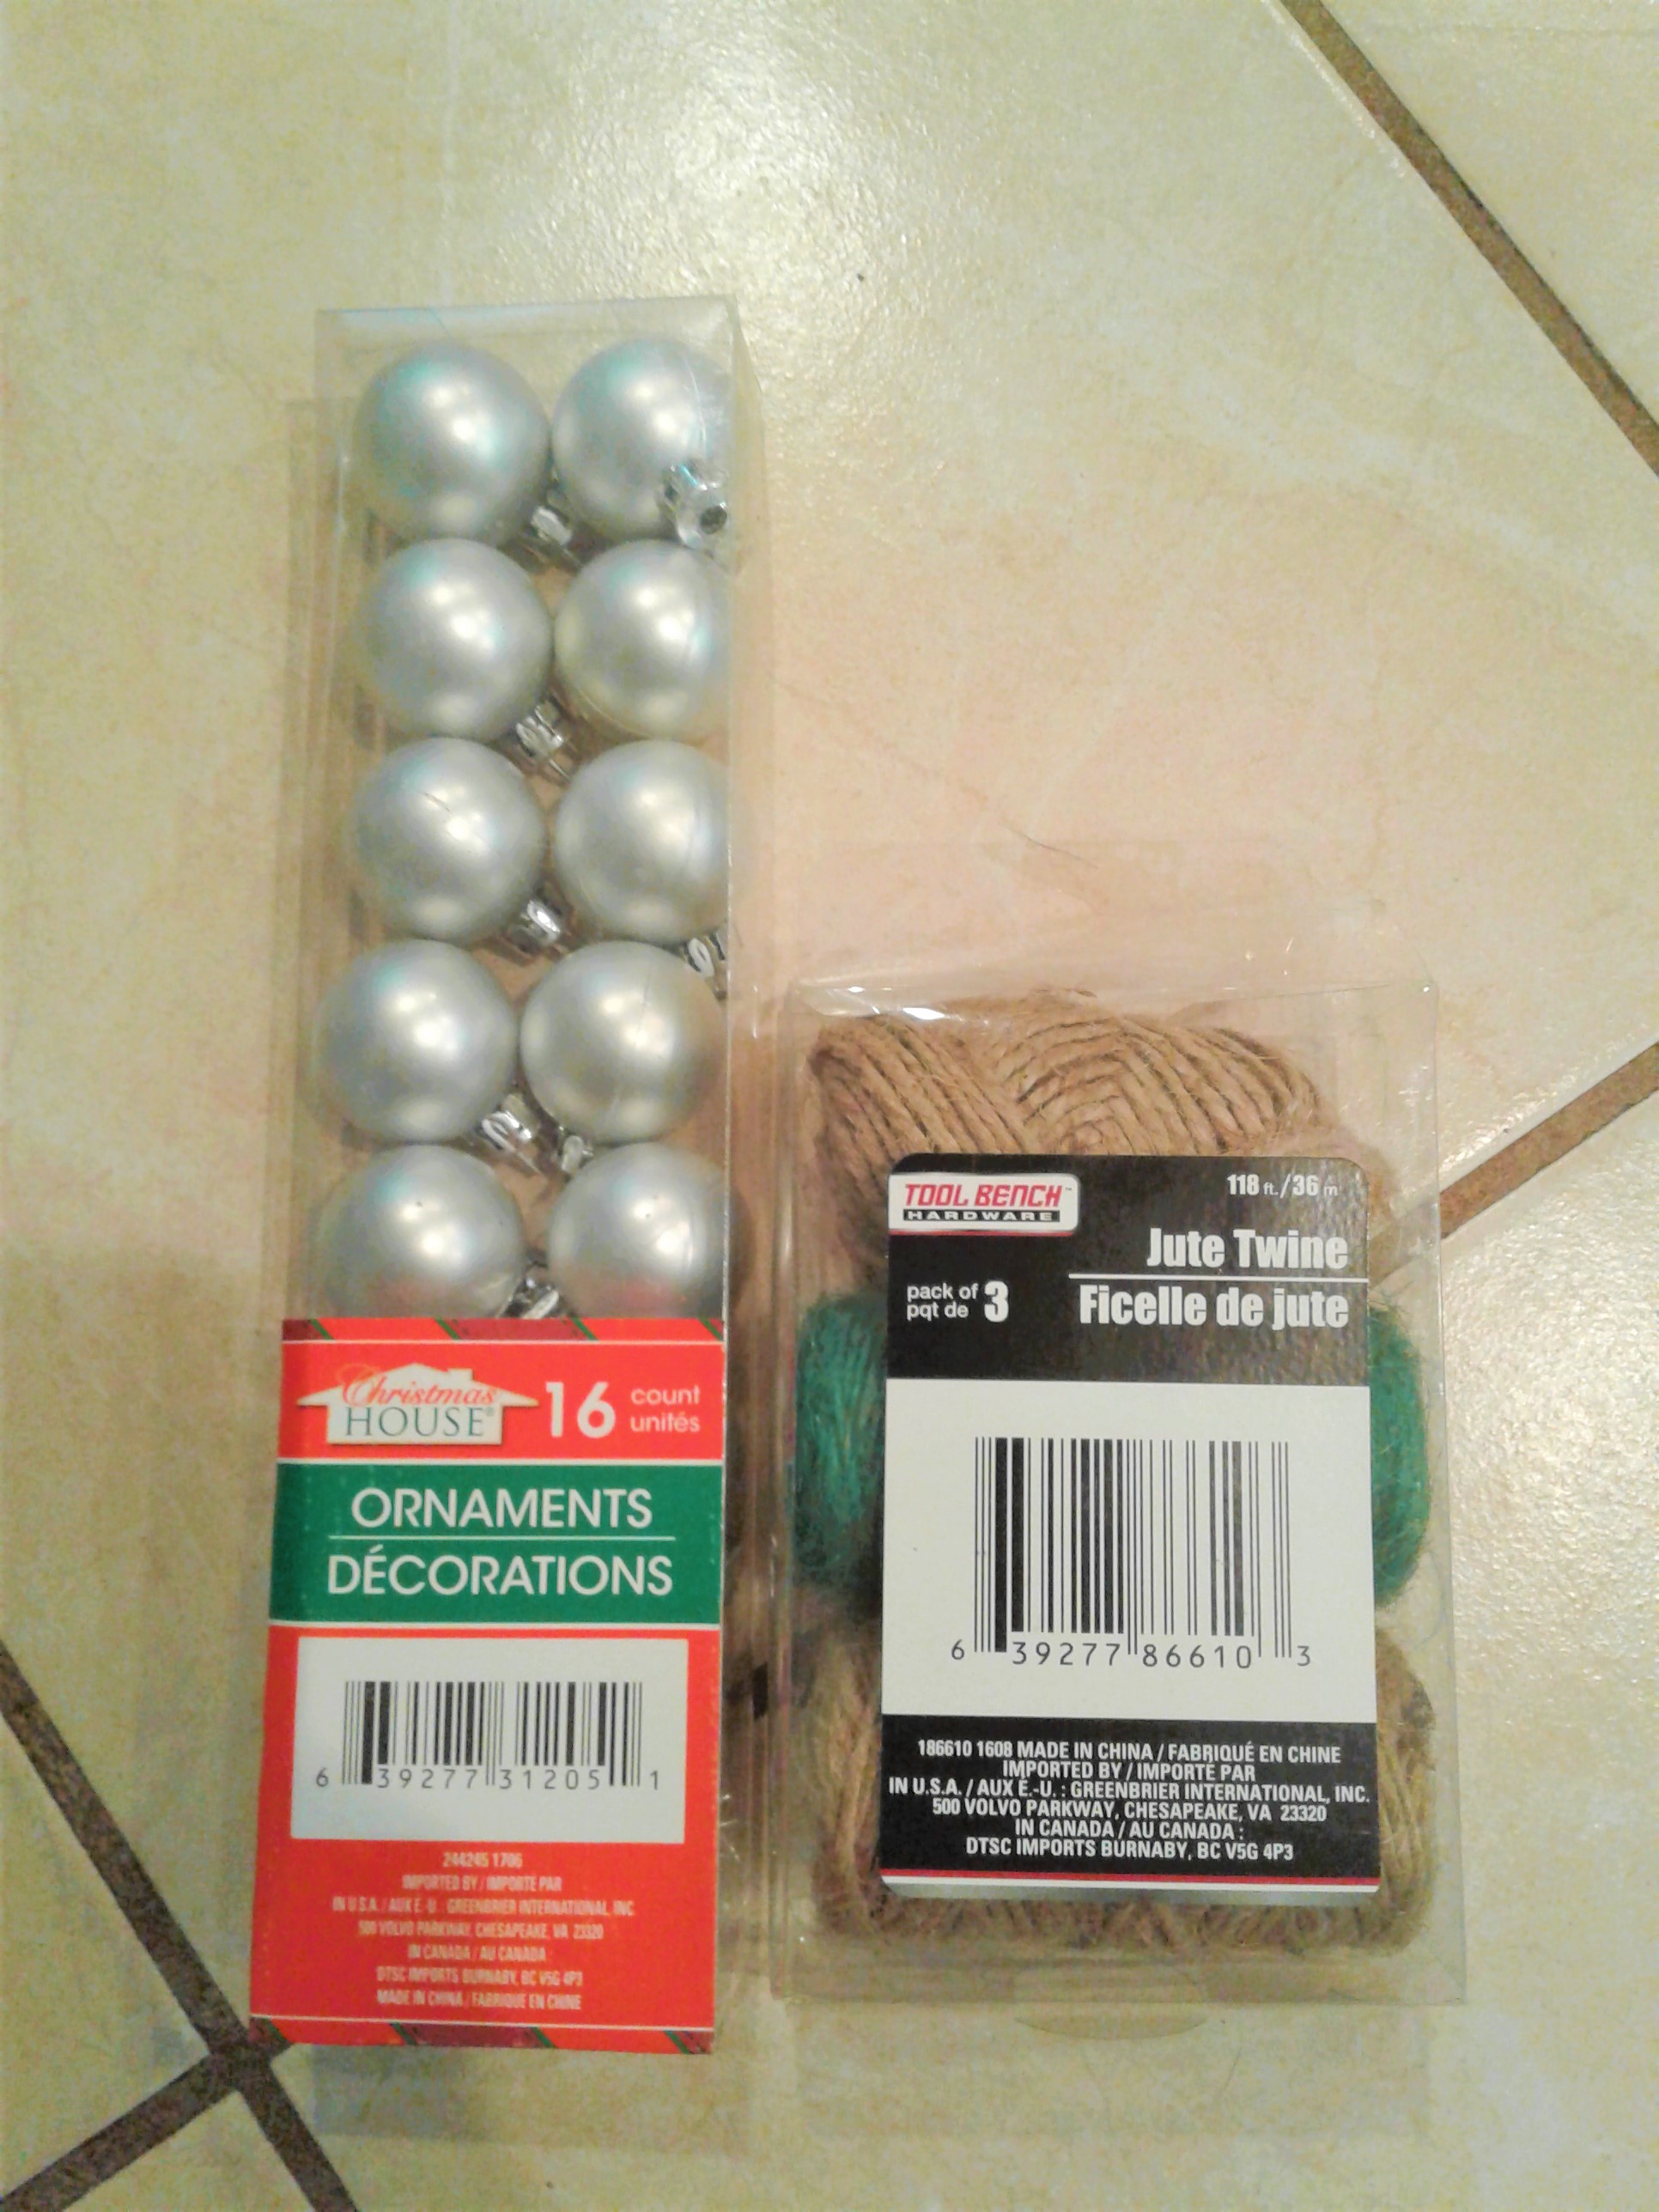
I got some cheap little ball ornaments at our local dollar store, but you can also find some here.
Get out your sisal twine
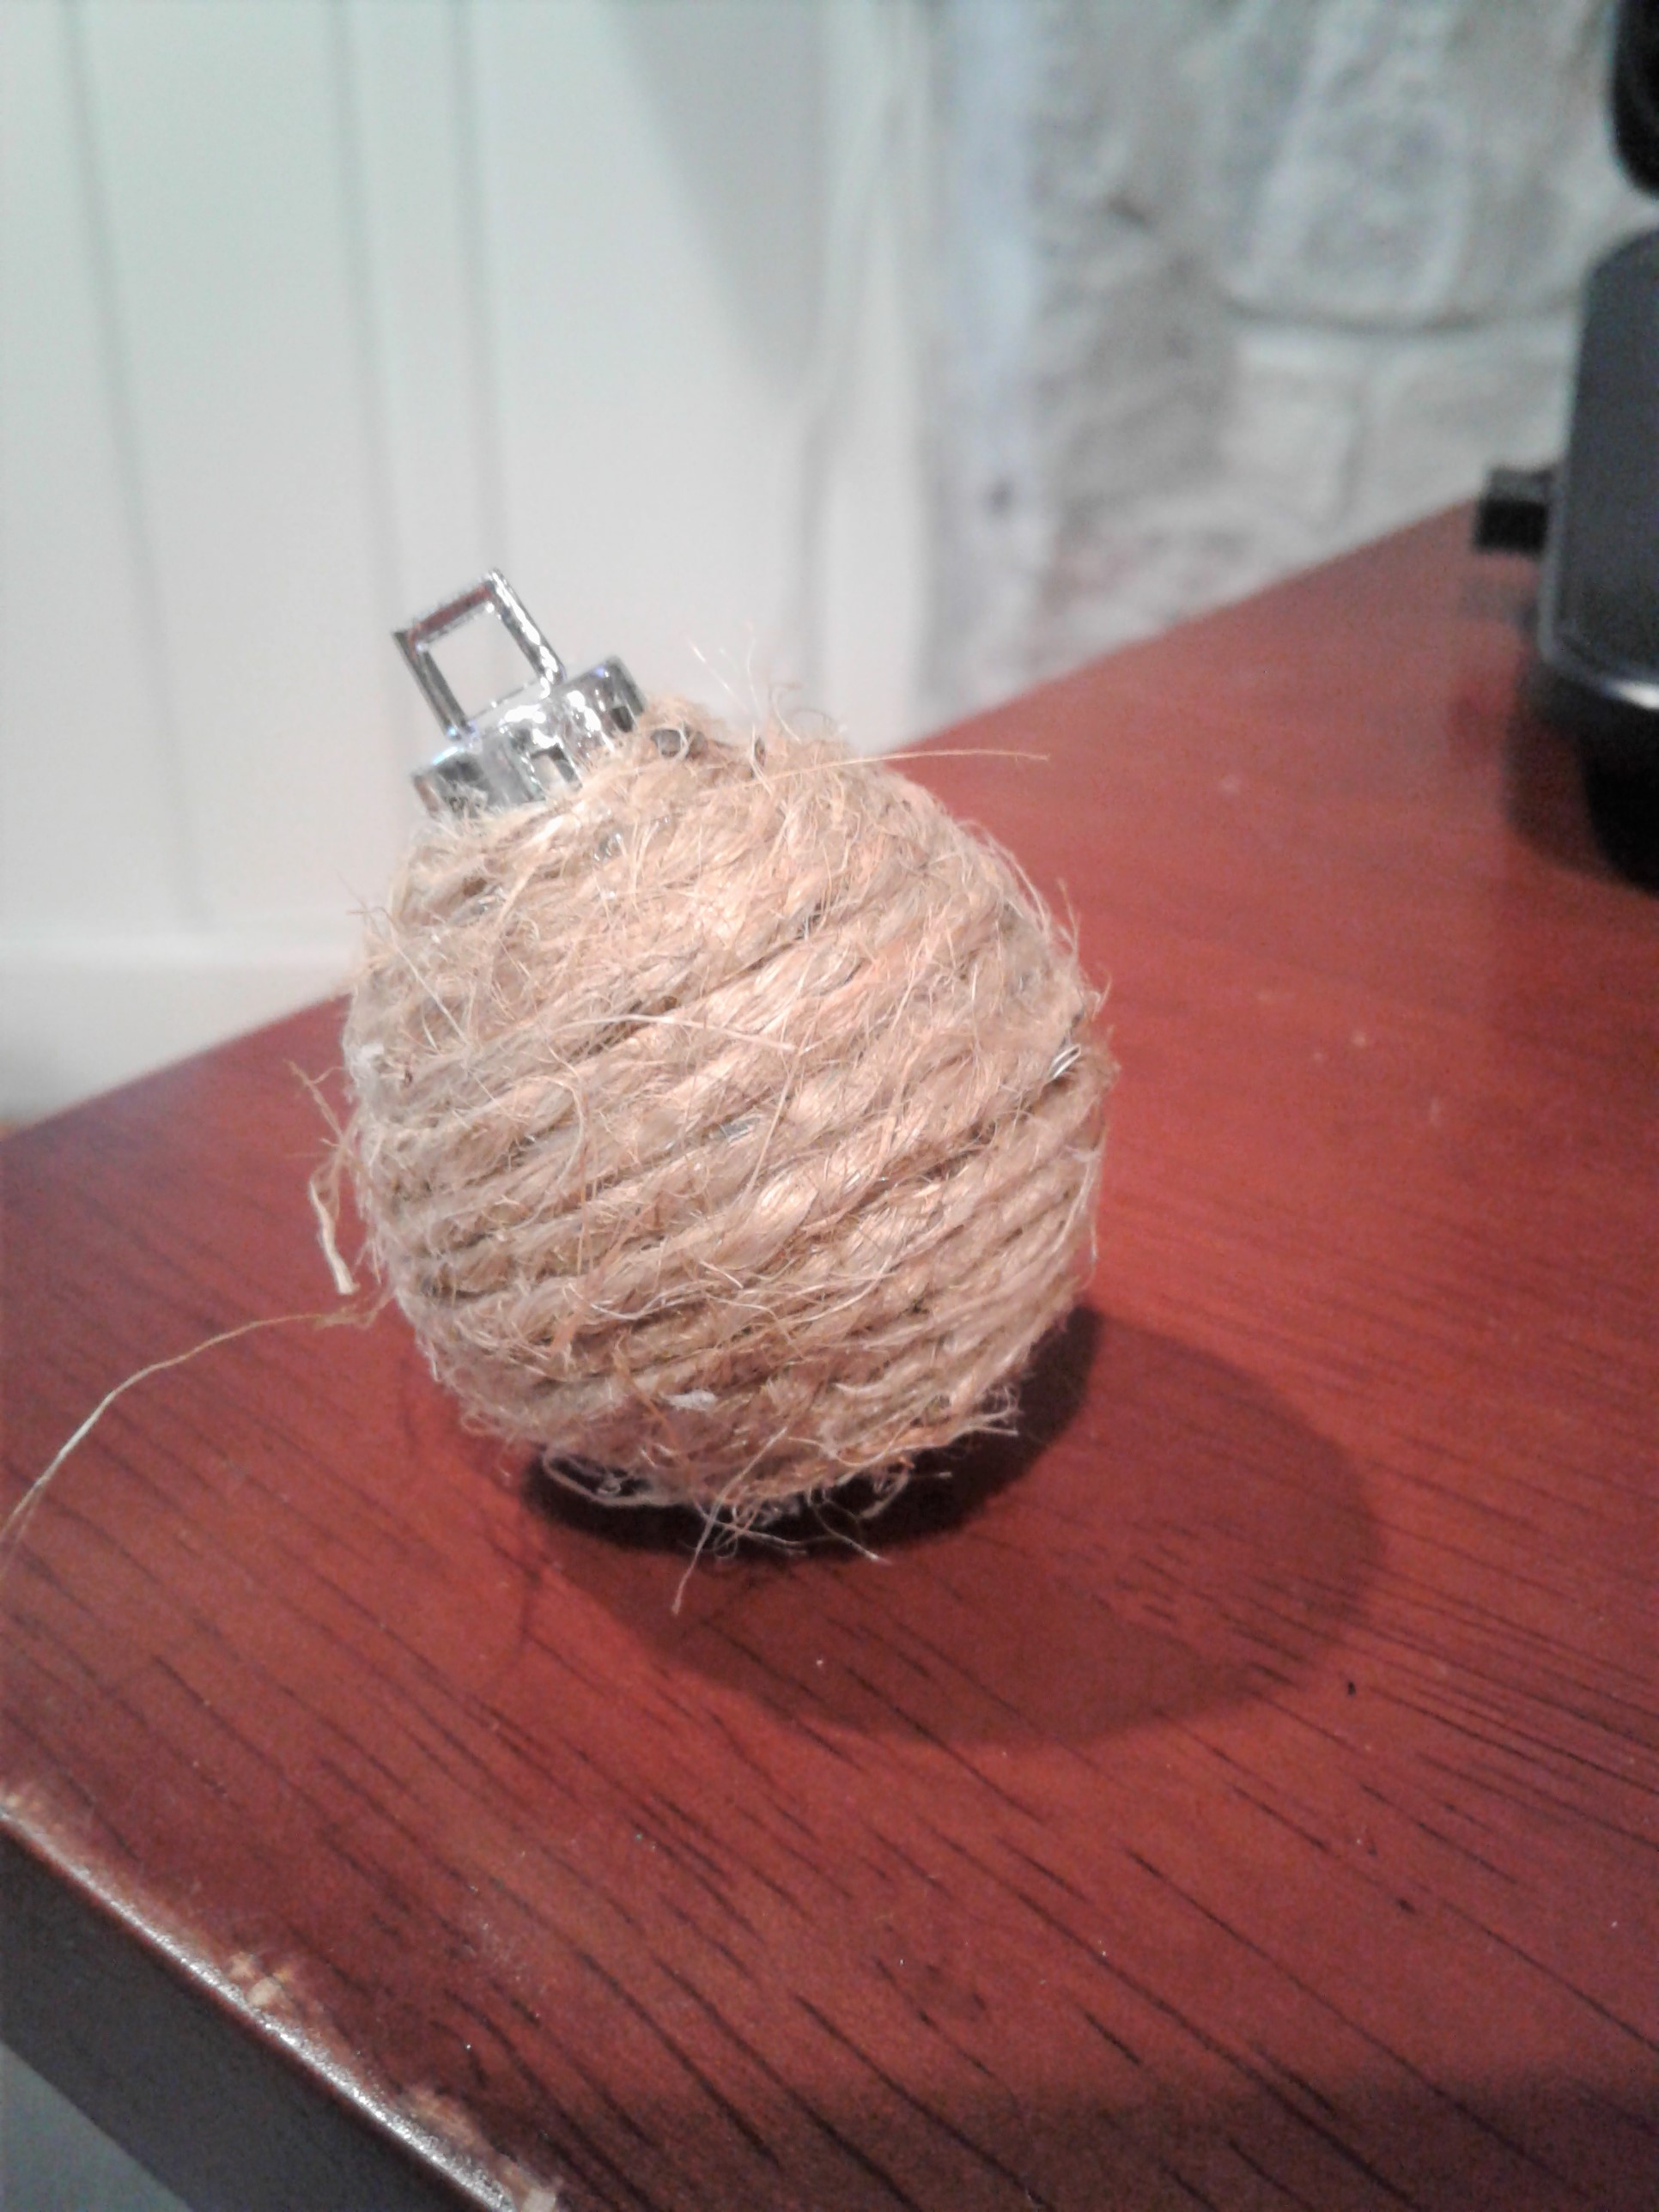
When all your ornaments are done they are ready to be hung. You can hang them however you want, but I chose to take a smaller piece of twine of looped it through the hole at the top of the ornament in place of the little metal hanger.
do it yourself
CrazyDIYmom.com Contact Us Privacy Policy Disclaimer About me