
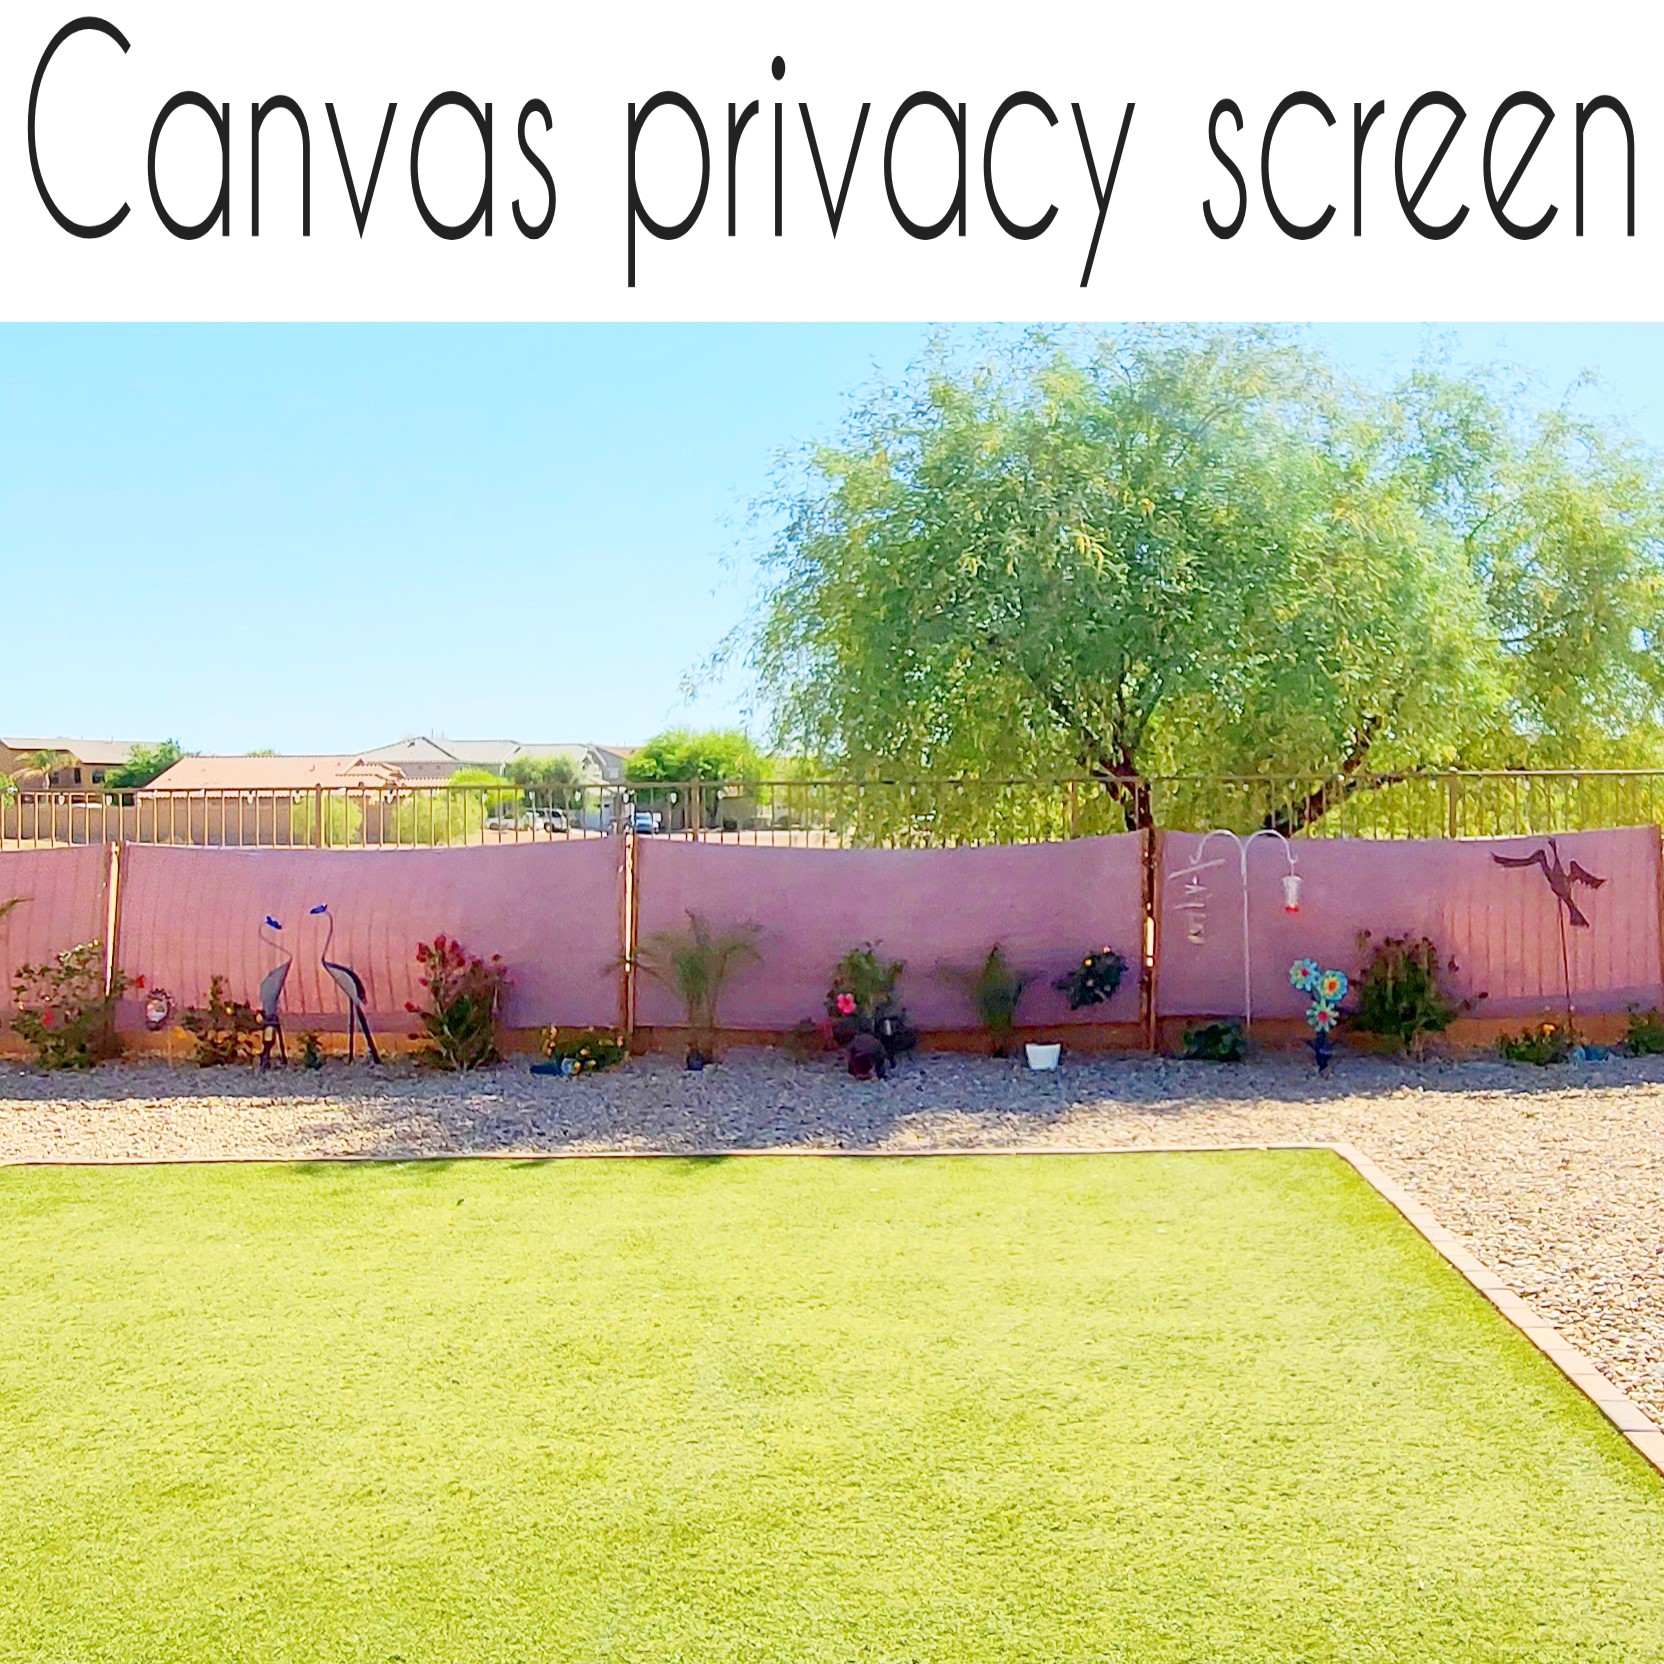
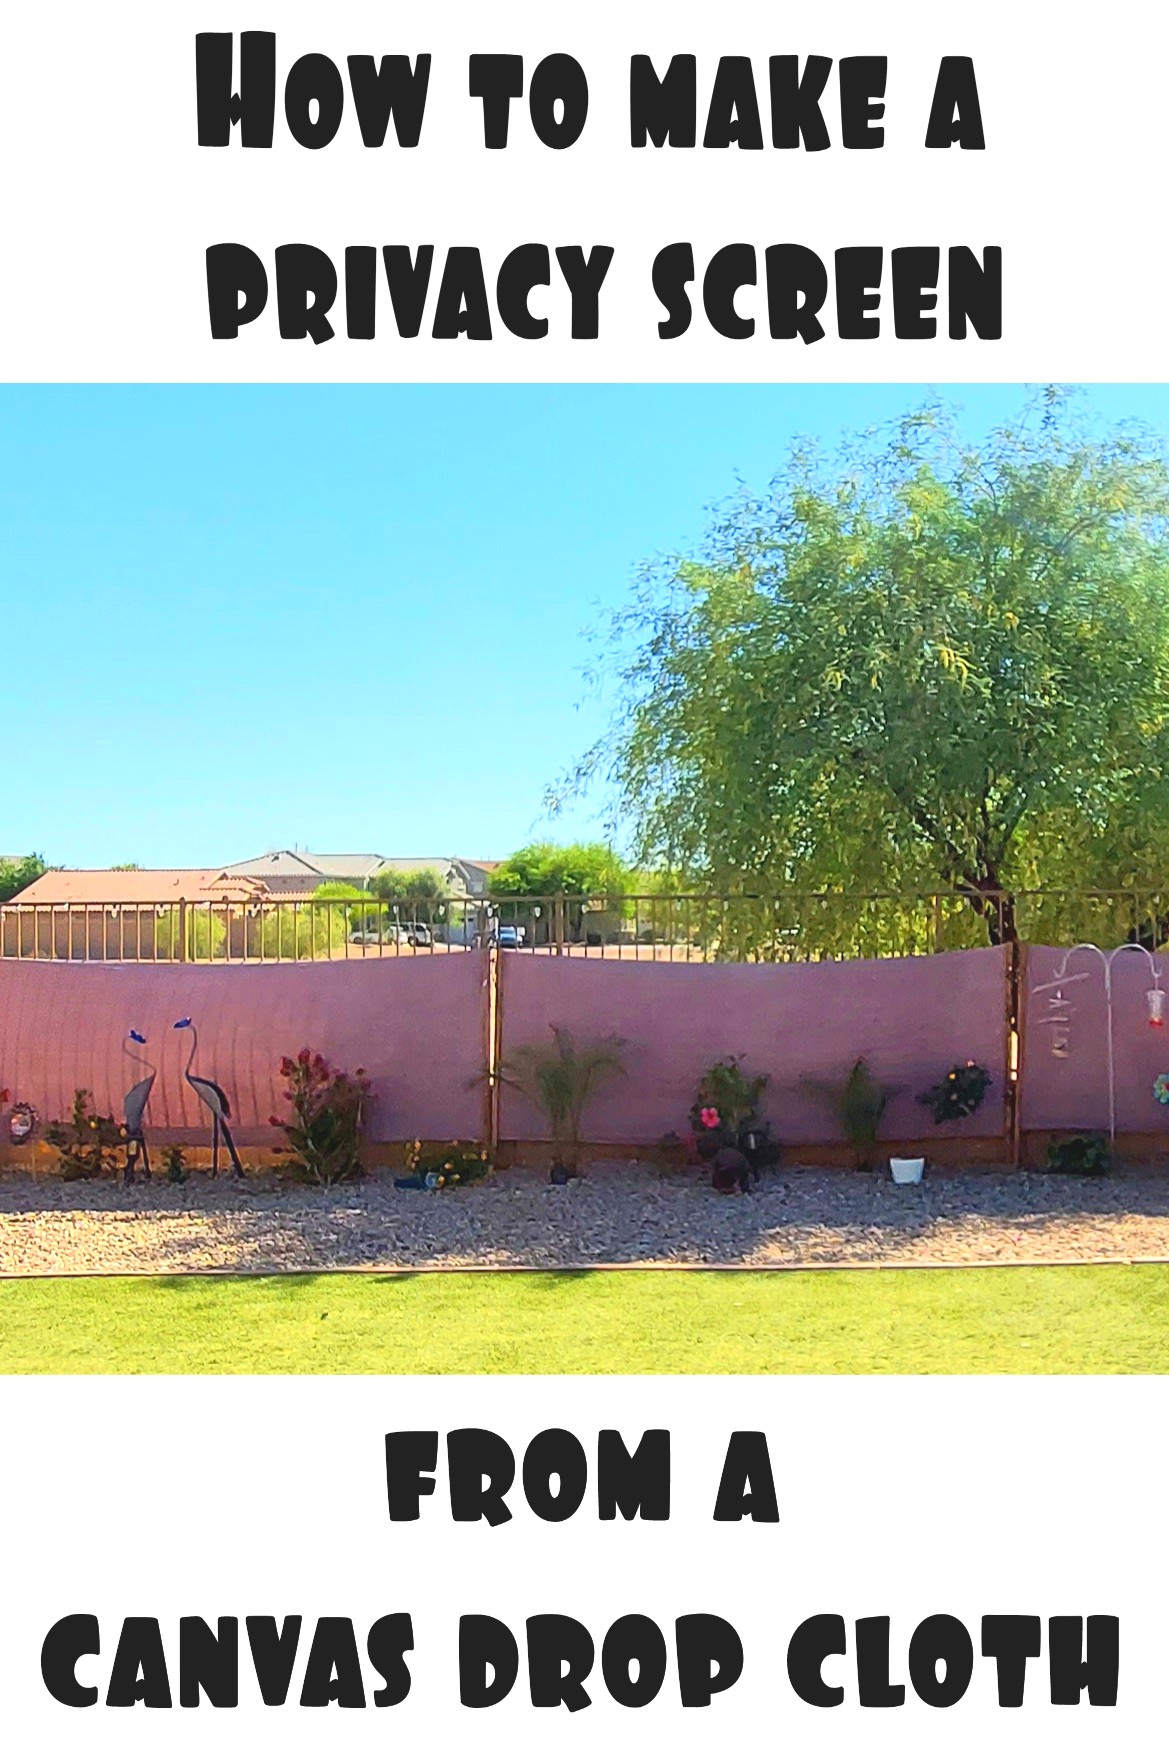
DIY privacy screen
This post may contain affiliate links.
We have a partial view fence on our lot and while I love being able to watch the people and their dogs walk by and catch the coyotes early in the morning, I do not enjoy the random weirdos that walk right up against the wall and stare inside.
I didn't want the typical privacy screen material that usually comes in green or blue because I wanted it to look "prettier". :)
** I live in the desert in Phoenix, AZ. I do not have to worry much about outdoor elements such as rain and snow so this may not work as well for you. This is how I put together my privacy screen.
What I used:
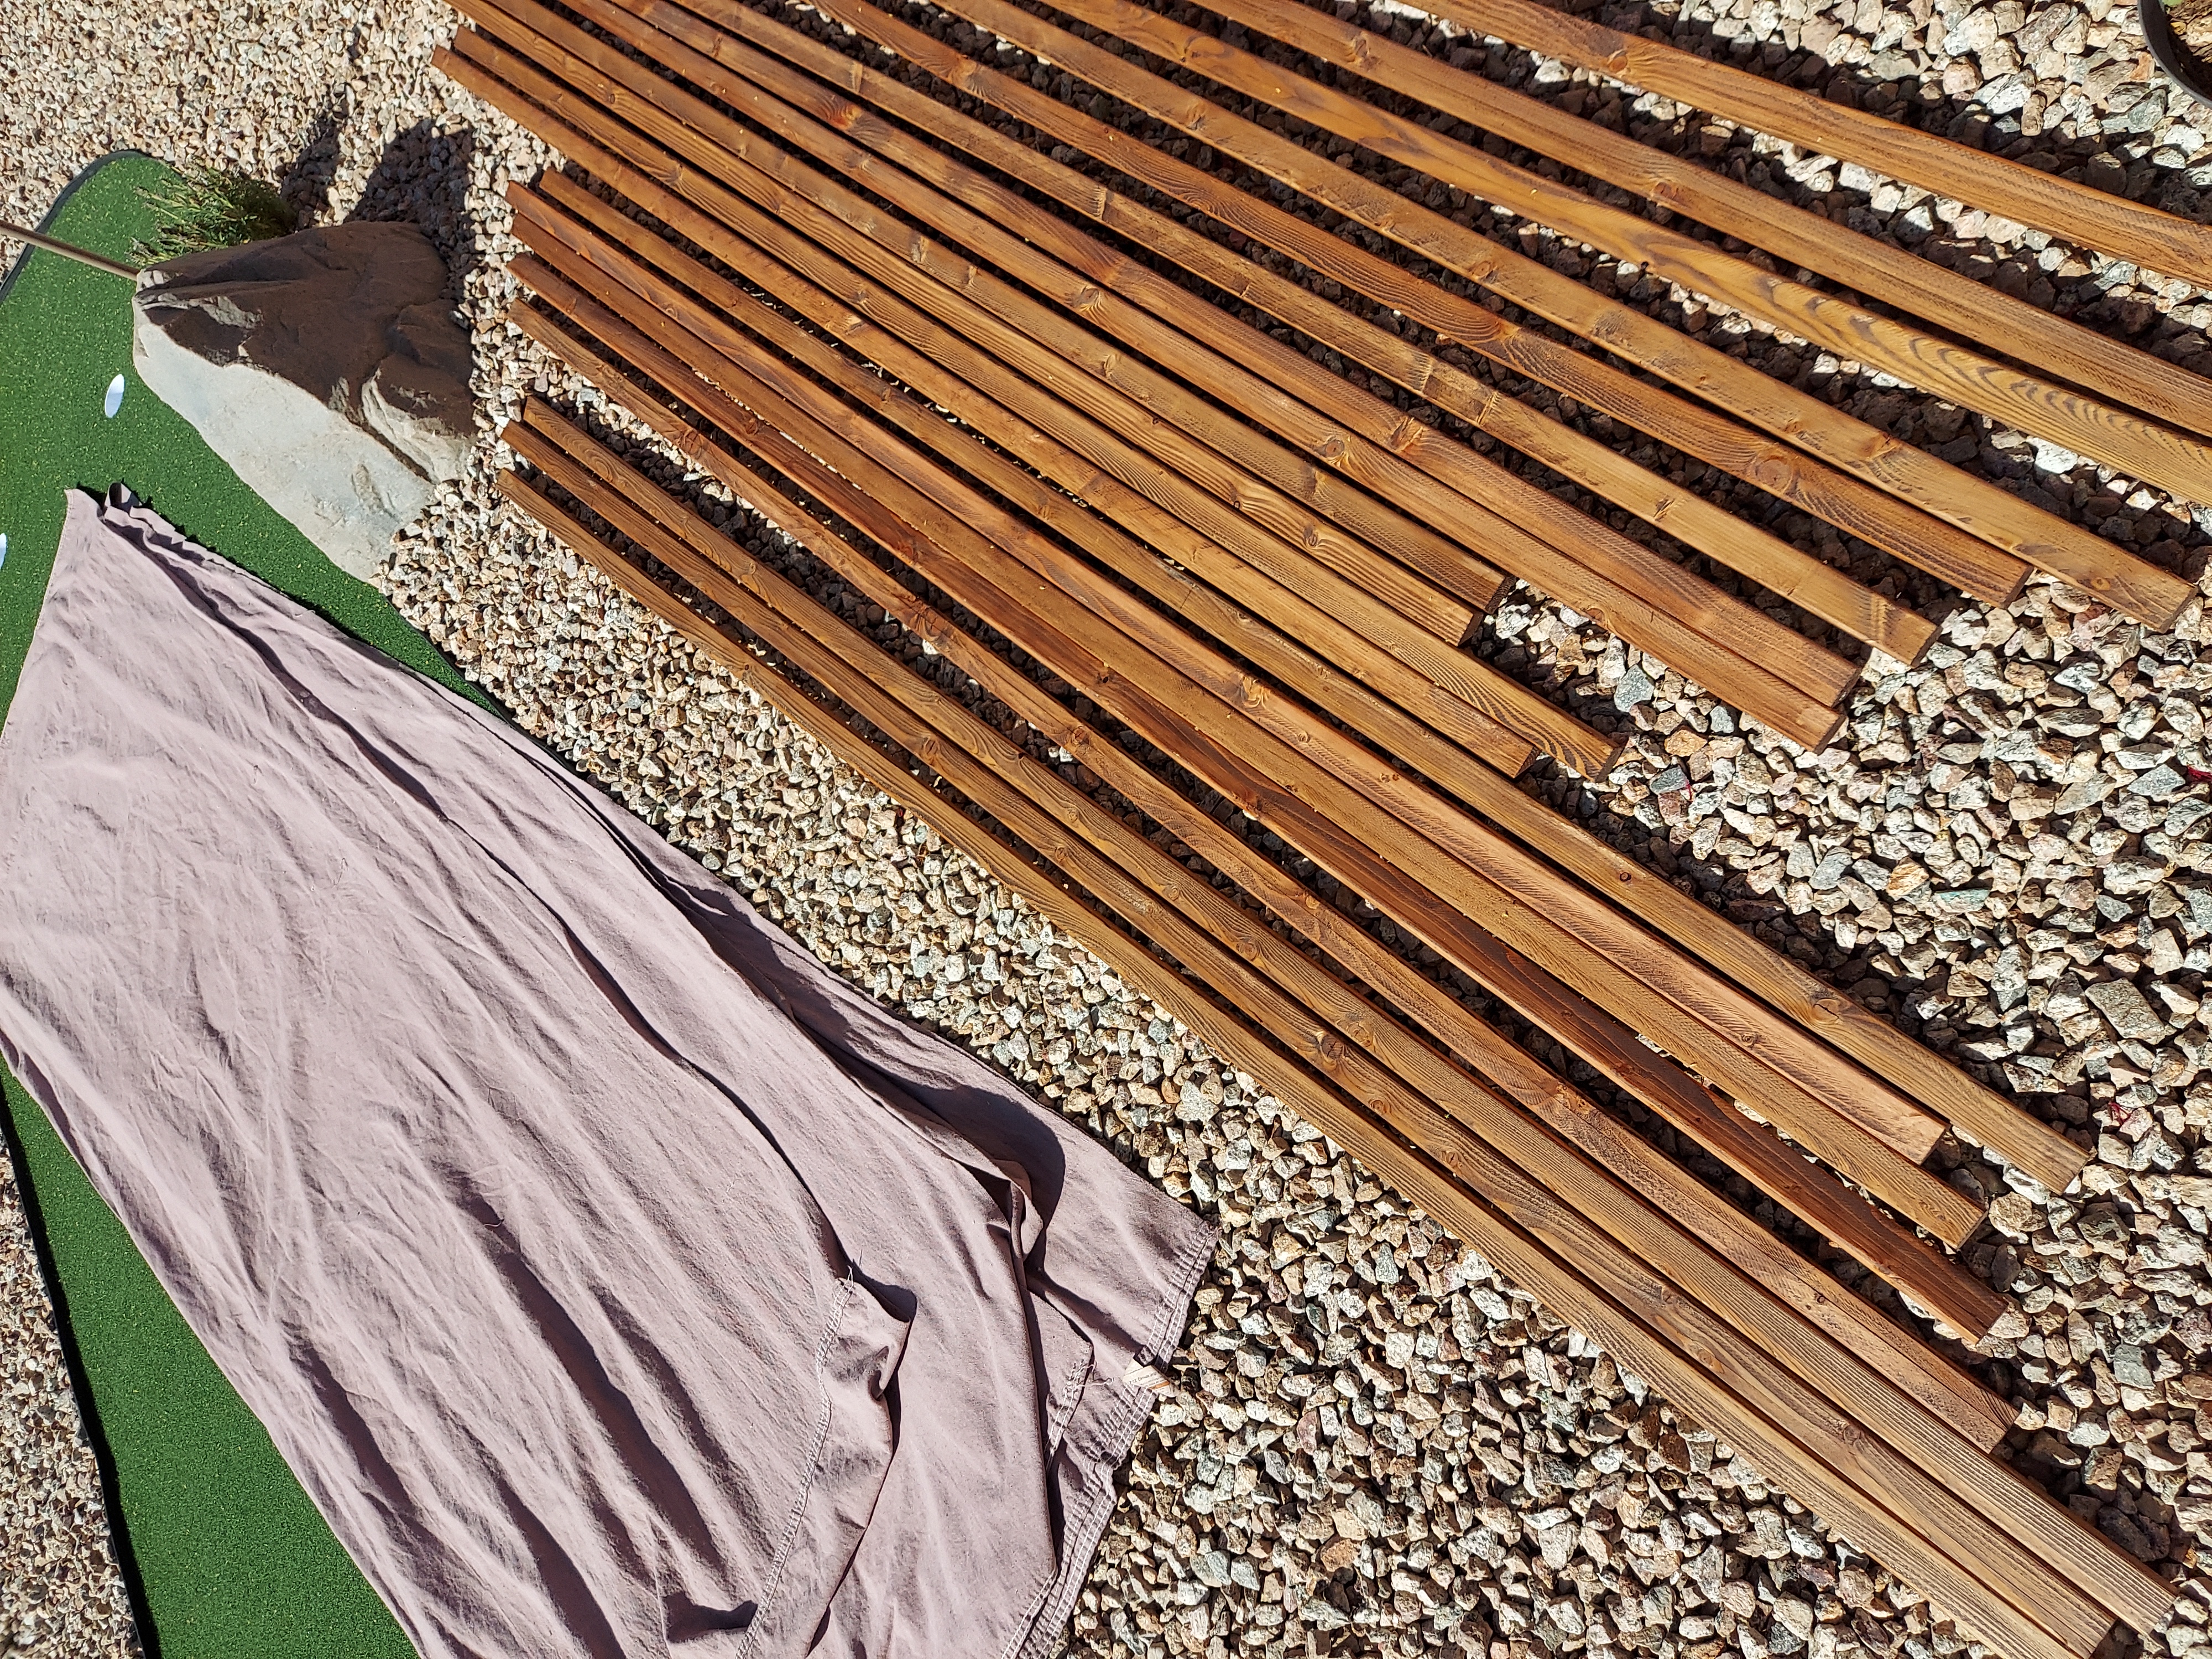
4x12 canvas drop cloths
1x2x8 furring strips (4 per panel)
Rit dye in chocolate brown
wood stain
2' piece of 1/2" rebar
2' pieces of 3/4" conduit
1/2" pipe strap hangers
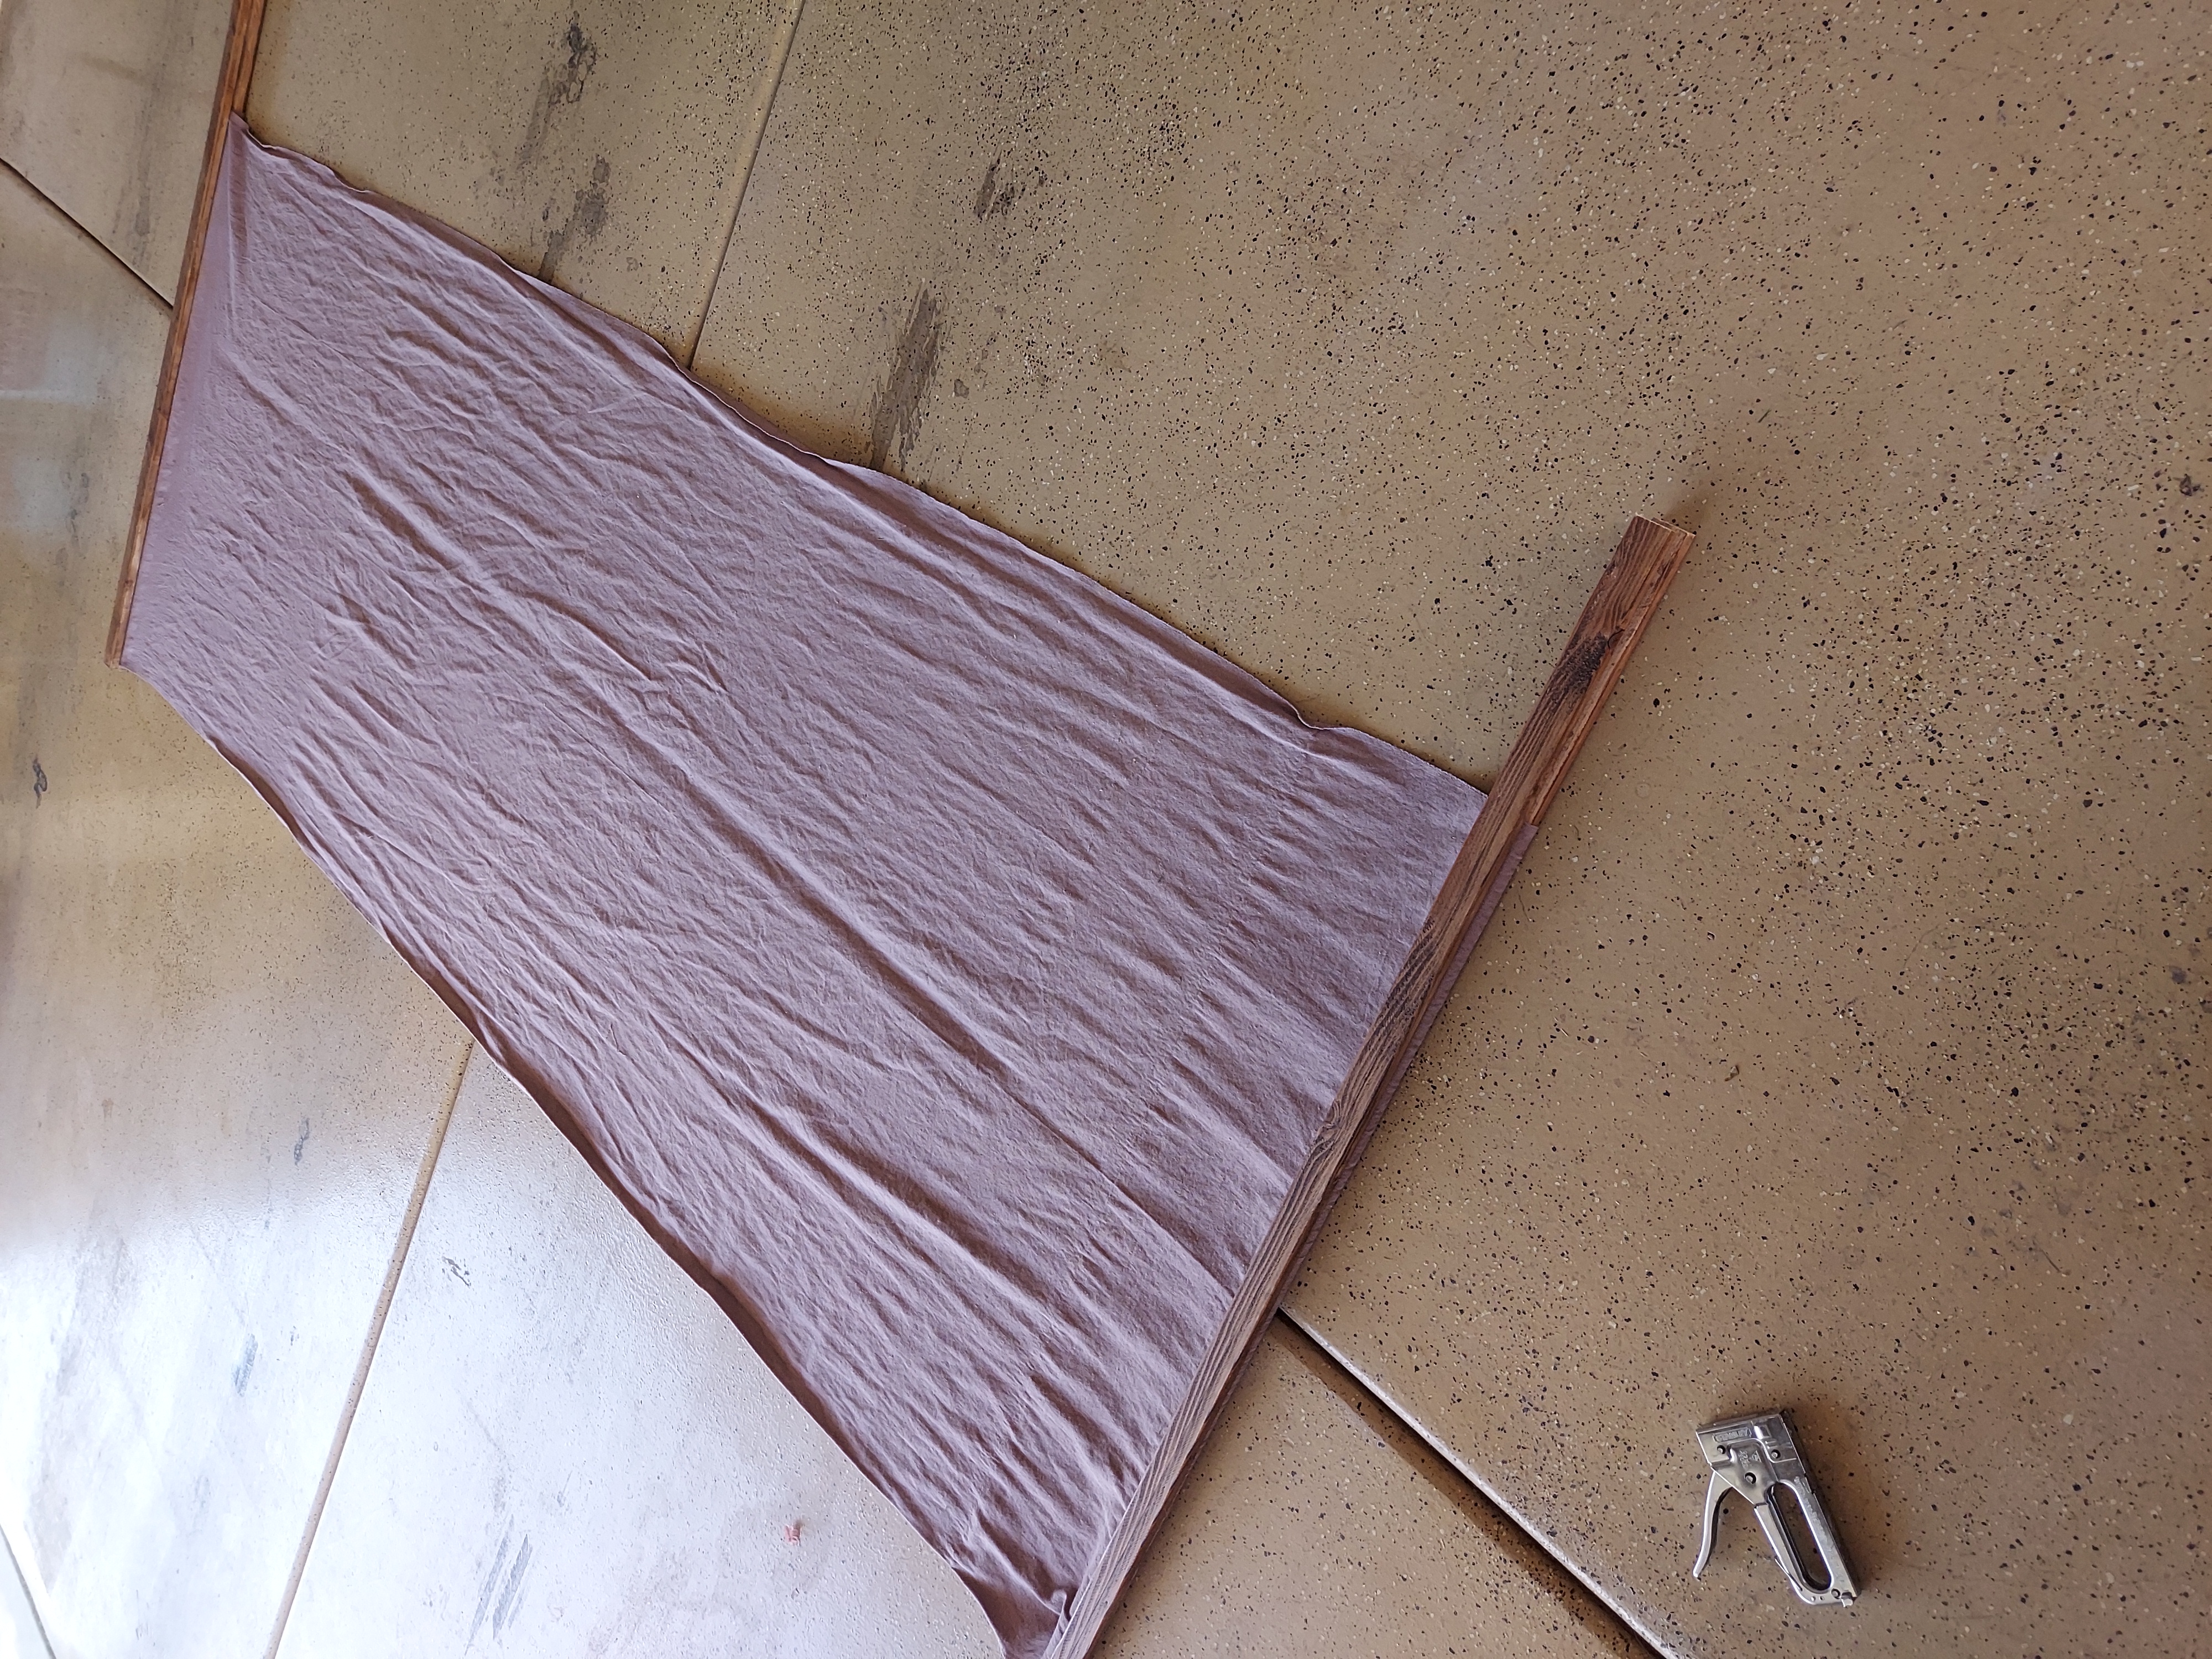
nail gun and nails
power drill and screws
Now there are many variations to this and you can adjust by how many panels you want or where you want them to stand. This is how I did and what worked for me!
I started by staining my drop cloths and my furring strips and waiting for them to dry.
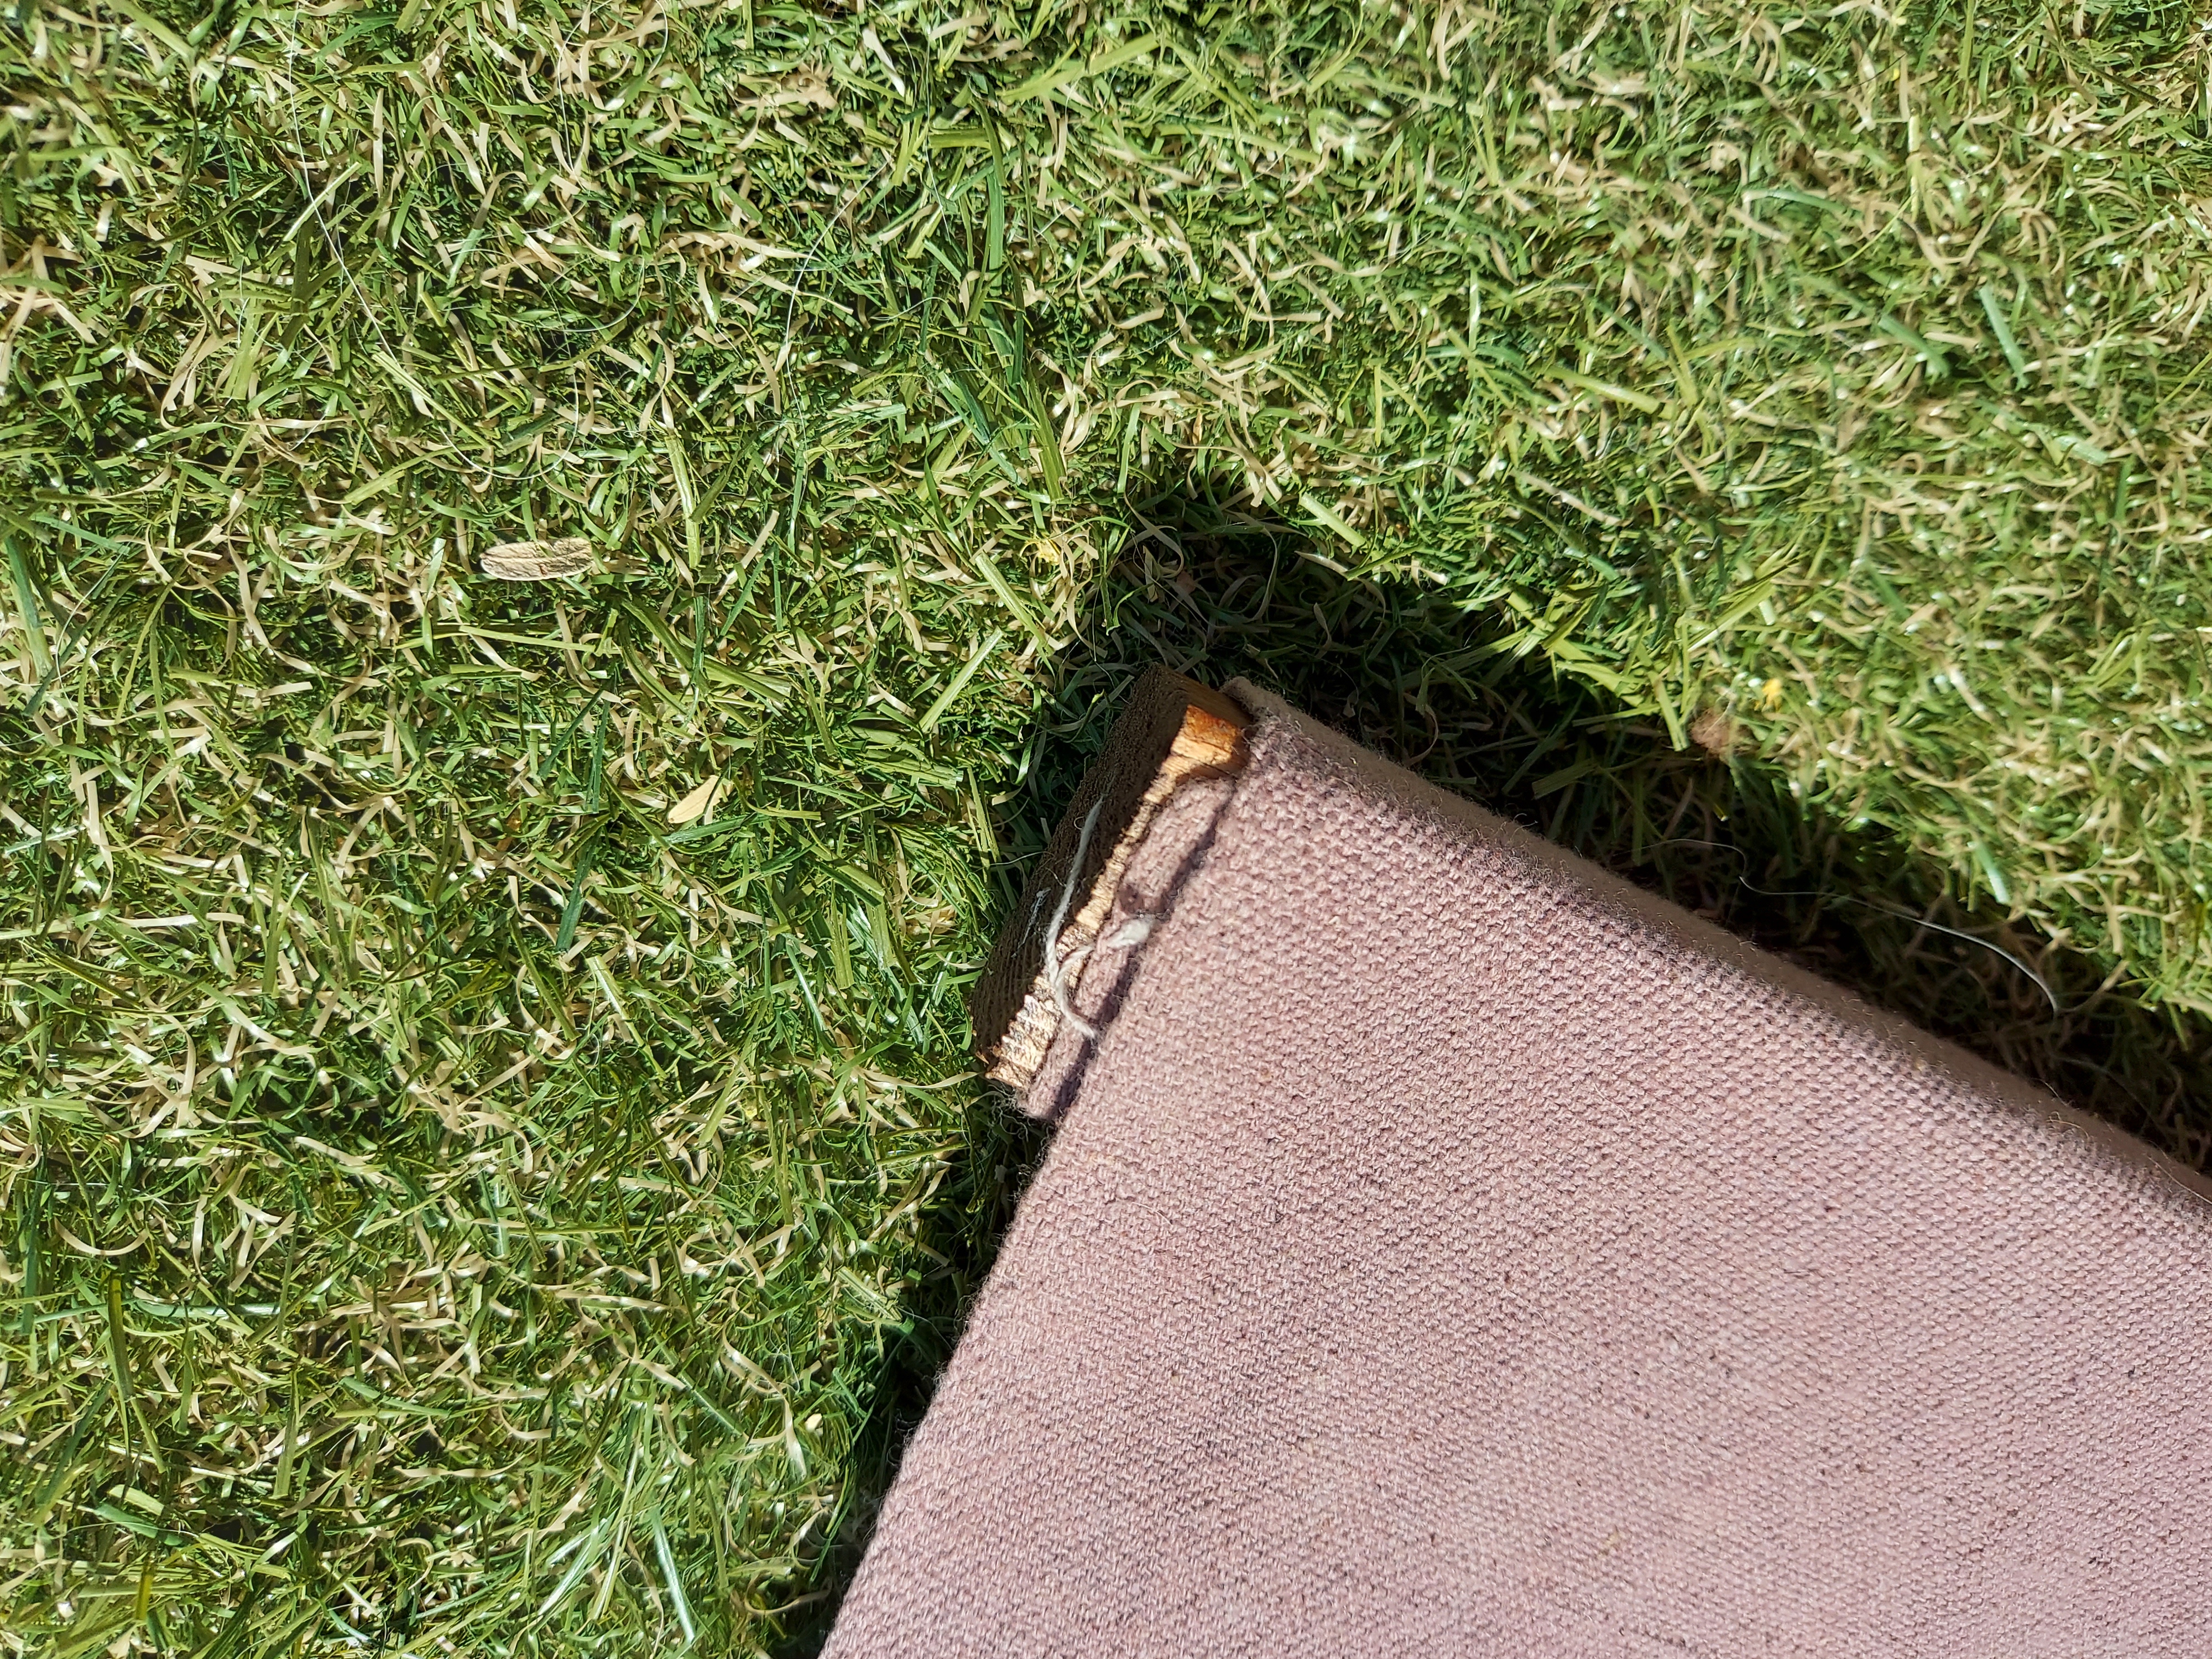
We took a bunch of measurements of how wide we wanted each panel to be and then started to put them together. We laid out a furring strip and used a staple gun to staple the cloth to the wood. Then we did the same on the other side. To keep the drop cloth tight we turn the furring strip to allow the fabric to wrap around it a few times in order to make it more secure. Then we used a second furring strip and nail gunned it in place over top of the fabric to give it a more finished look. We also added 2 screws to each side just to give it a bit more strength.
diy projects
Then we added our clamps to the back side of each drop cloth panel. We did one closer to the bottom and then one about 1/3 of the way up from the bottom. Just be sure that where you attach your clamp that your conduit pipe will be tall enough to fit through it. To stand them up, we pounded our rebar about 10" into the ground, placed the conduit pipe over top of that and then slipped these clamps over and around the conduit clamps to hold everything upright.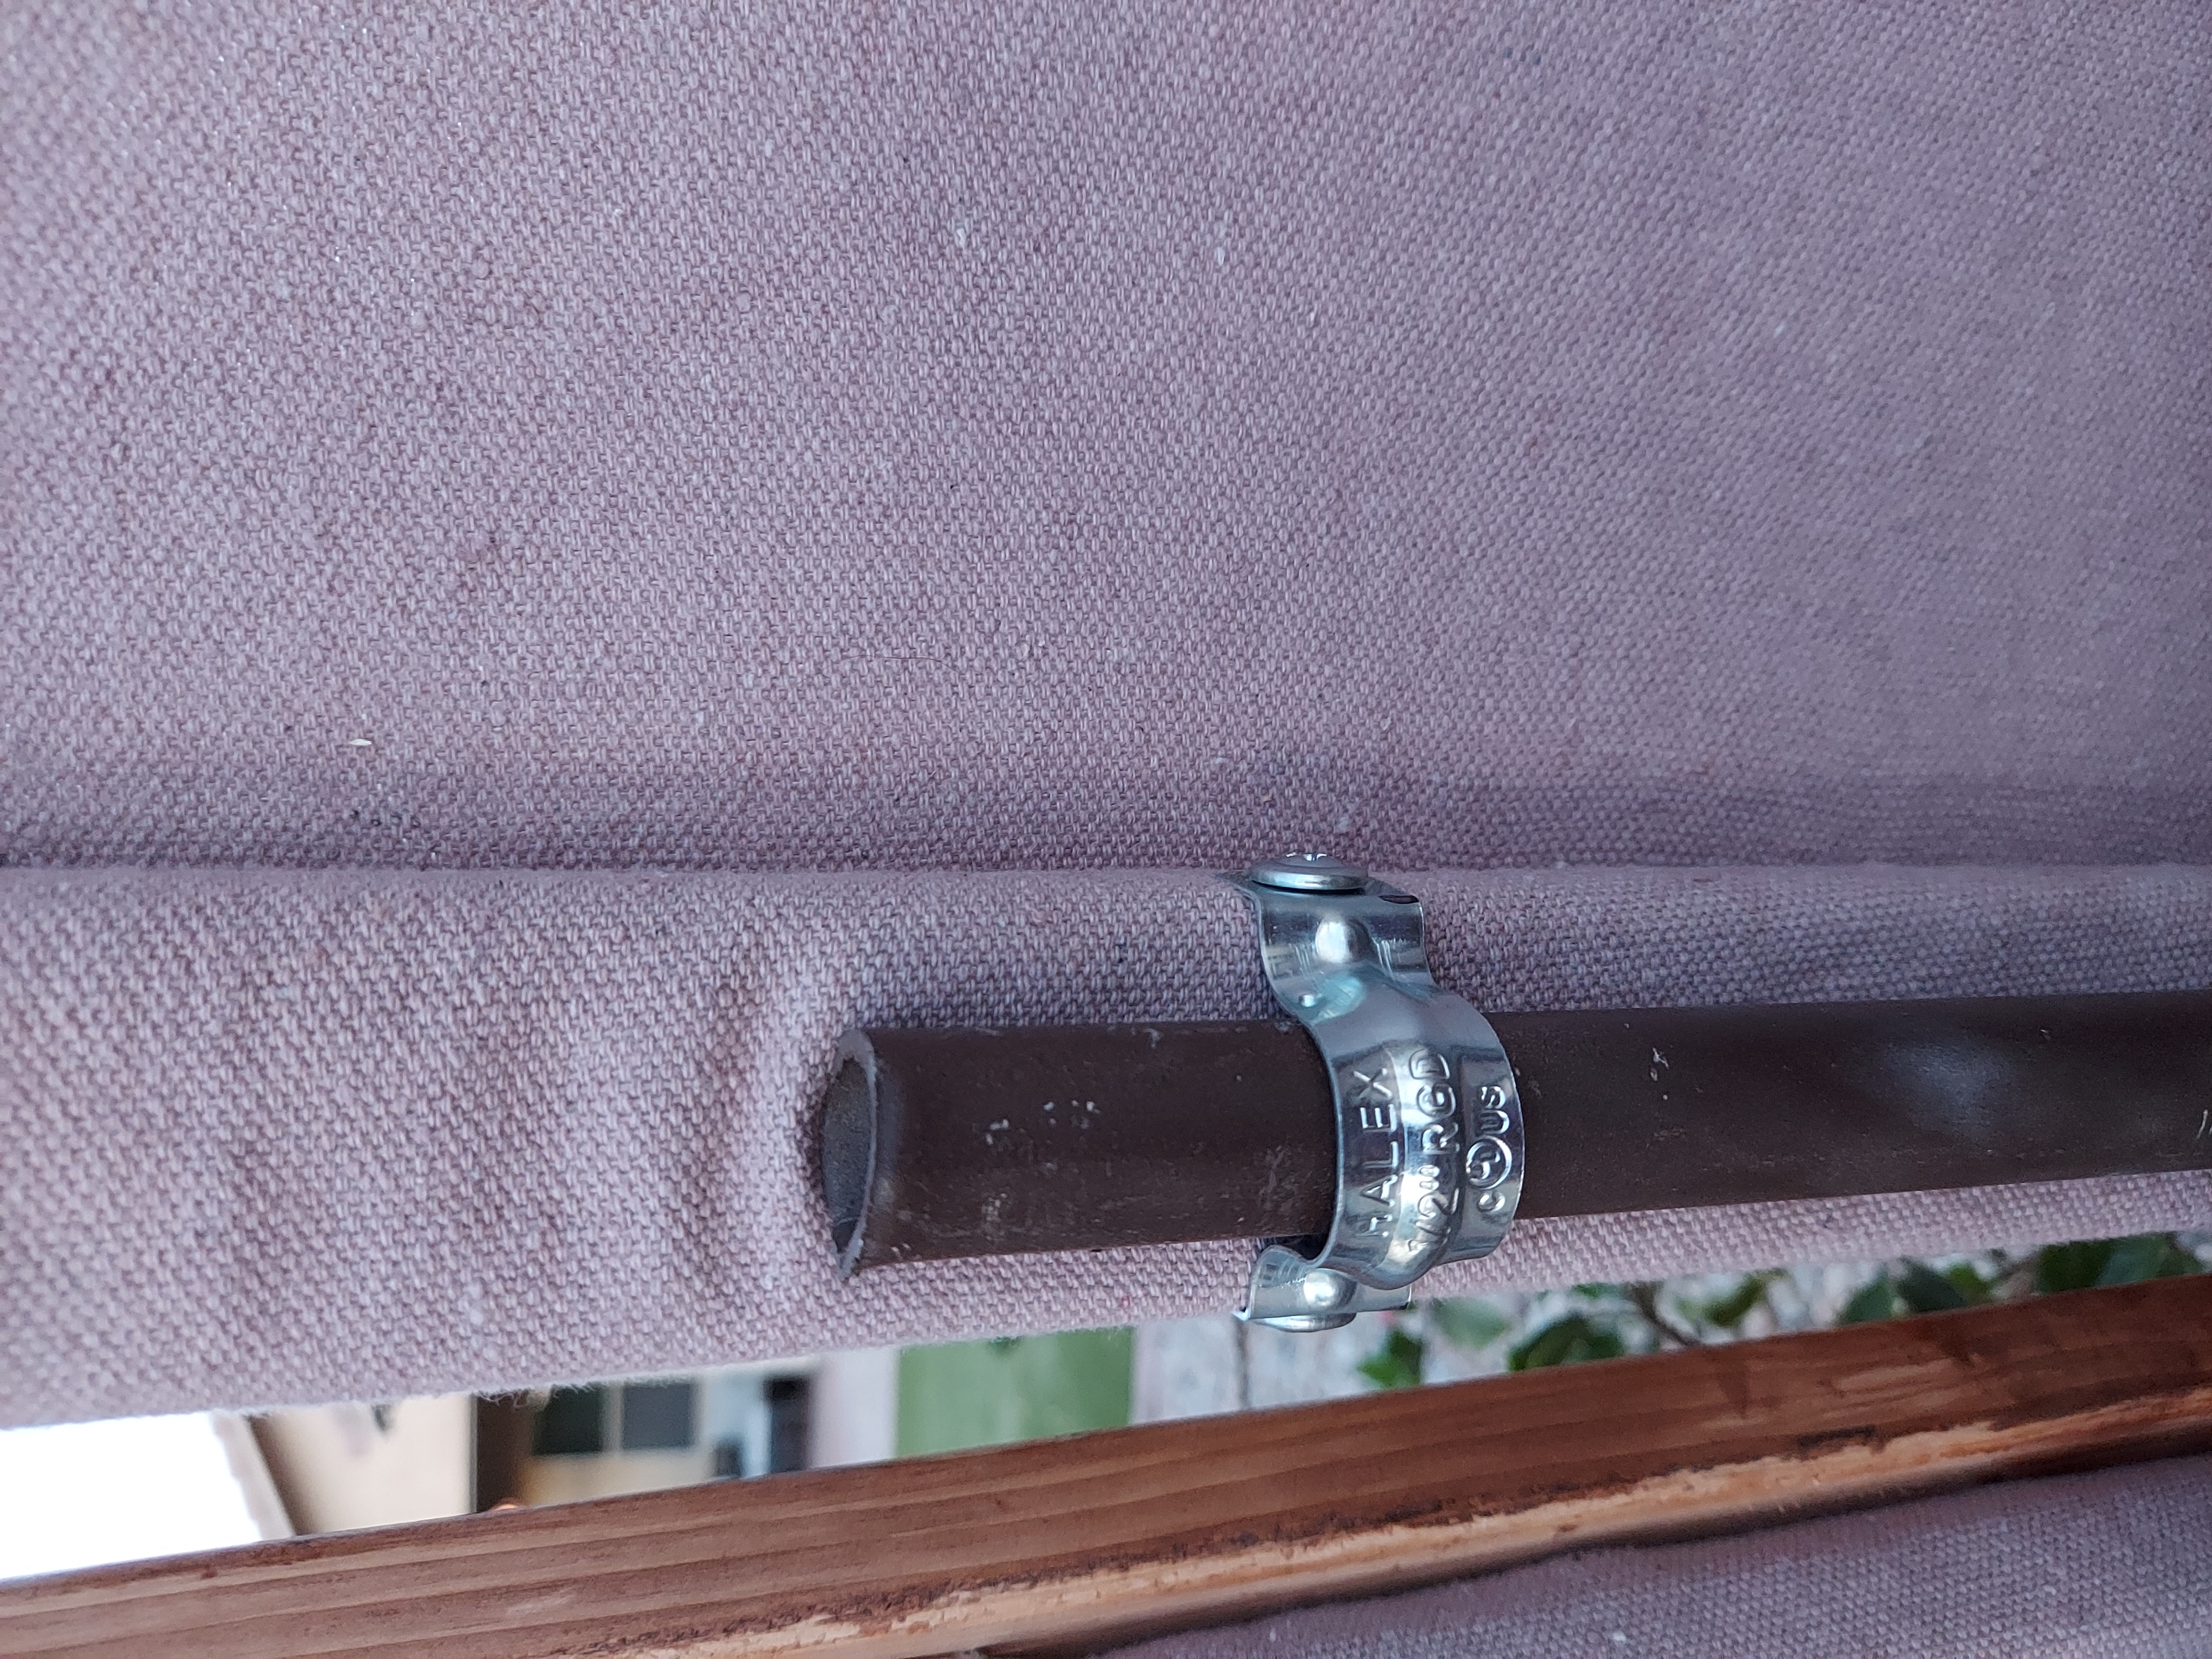
To give our privacy screen a big more stabililty, we ended up attaching eye hooks to the side so that we could use zip ties to attach one panel to the one next to it. We also used paracord in 2 places to tie them to our back fence so that during monsoon season our panels don't get blown away in the wind.
What would I do differently after a year?
Don't bother with the dye - the AZ sun faded it completely during our hot summer. I figured it would, but didn't think it would that fast.
The canvas seem to sag a bit. I'm not sure if I should have wrapped it tighter or if it would sag a bit either way. My husband didn't notice the sag, but the OCD part of me did. So maybe it depends on how picky you are ;) It also took quite a beating in our 50-60MPH winds and since we back to a wash, we are wide open back there so I'm sure that was a big part of it.
Other than that, I love my drop cloth privacy screen!
Want more DIY's?
CrazyDIYmom.com Contact Us Privacy Policy Disclaimer About me