
DIY home projects
This post may contain affiliate links.
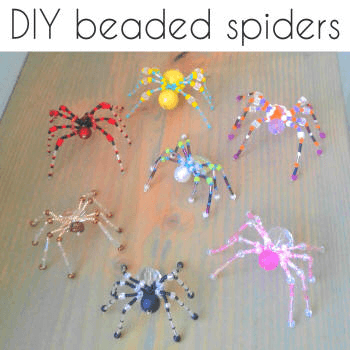
Have you heard the old story of the Christmas spider? It's a sweet story that you can google and read how the Christmas spider came about. But these little beaded spiders are so adorable that many people like to keep them out all year long!
They are quite easy to make, can be made in any color and they don't require many supplies, which makes them a quick and easy craft that anyone can do.
What you will need:
a variety of beads in different sizes
crafting wire - I used 22 gauge for my spiders
Round nose pliers
wire cutter
jewelry flat head pins
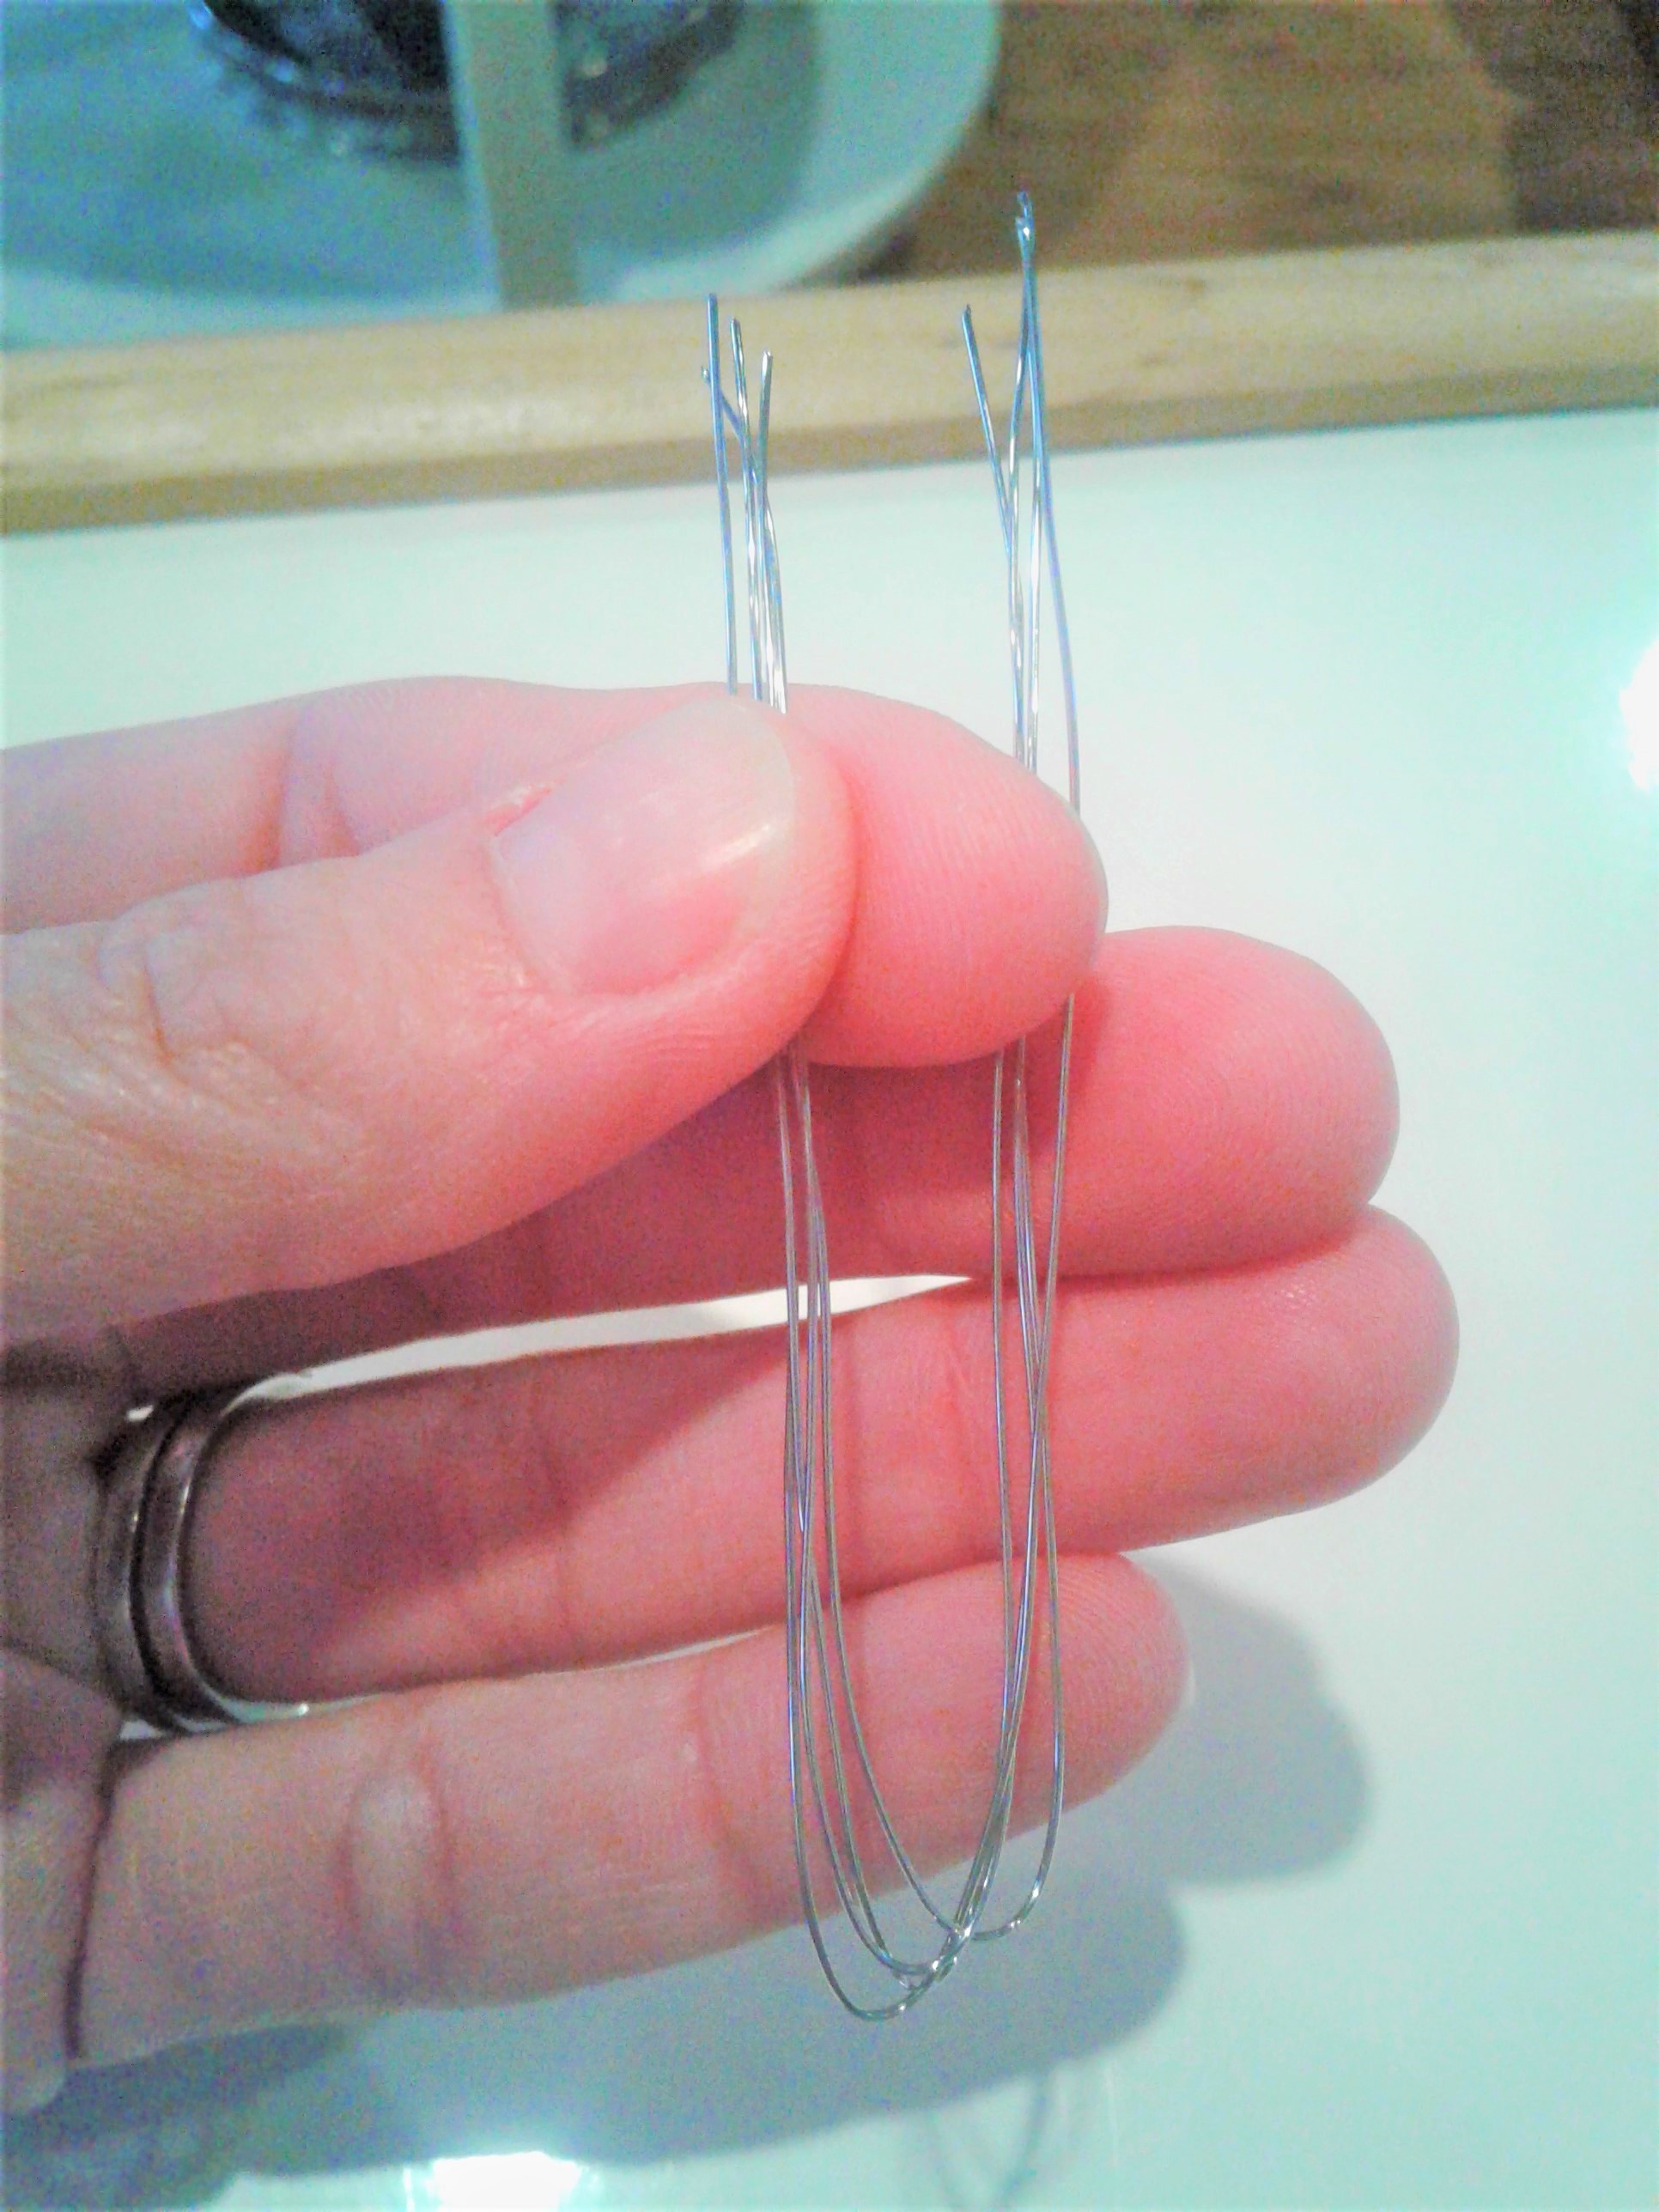
You're going to start by cutting your jewelry wire. You will need 4 pieces for 1 spider. Cut each piece to about 4" long.
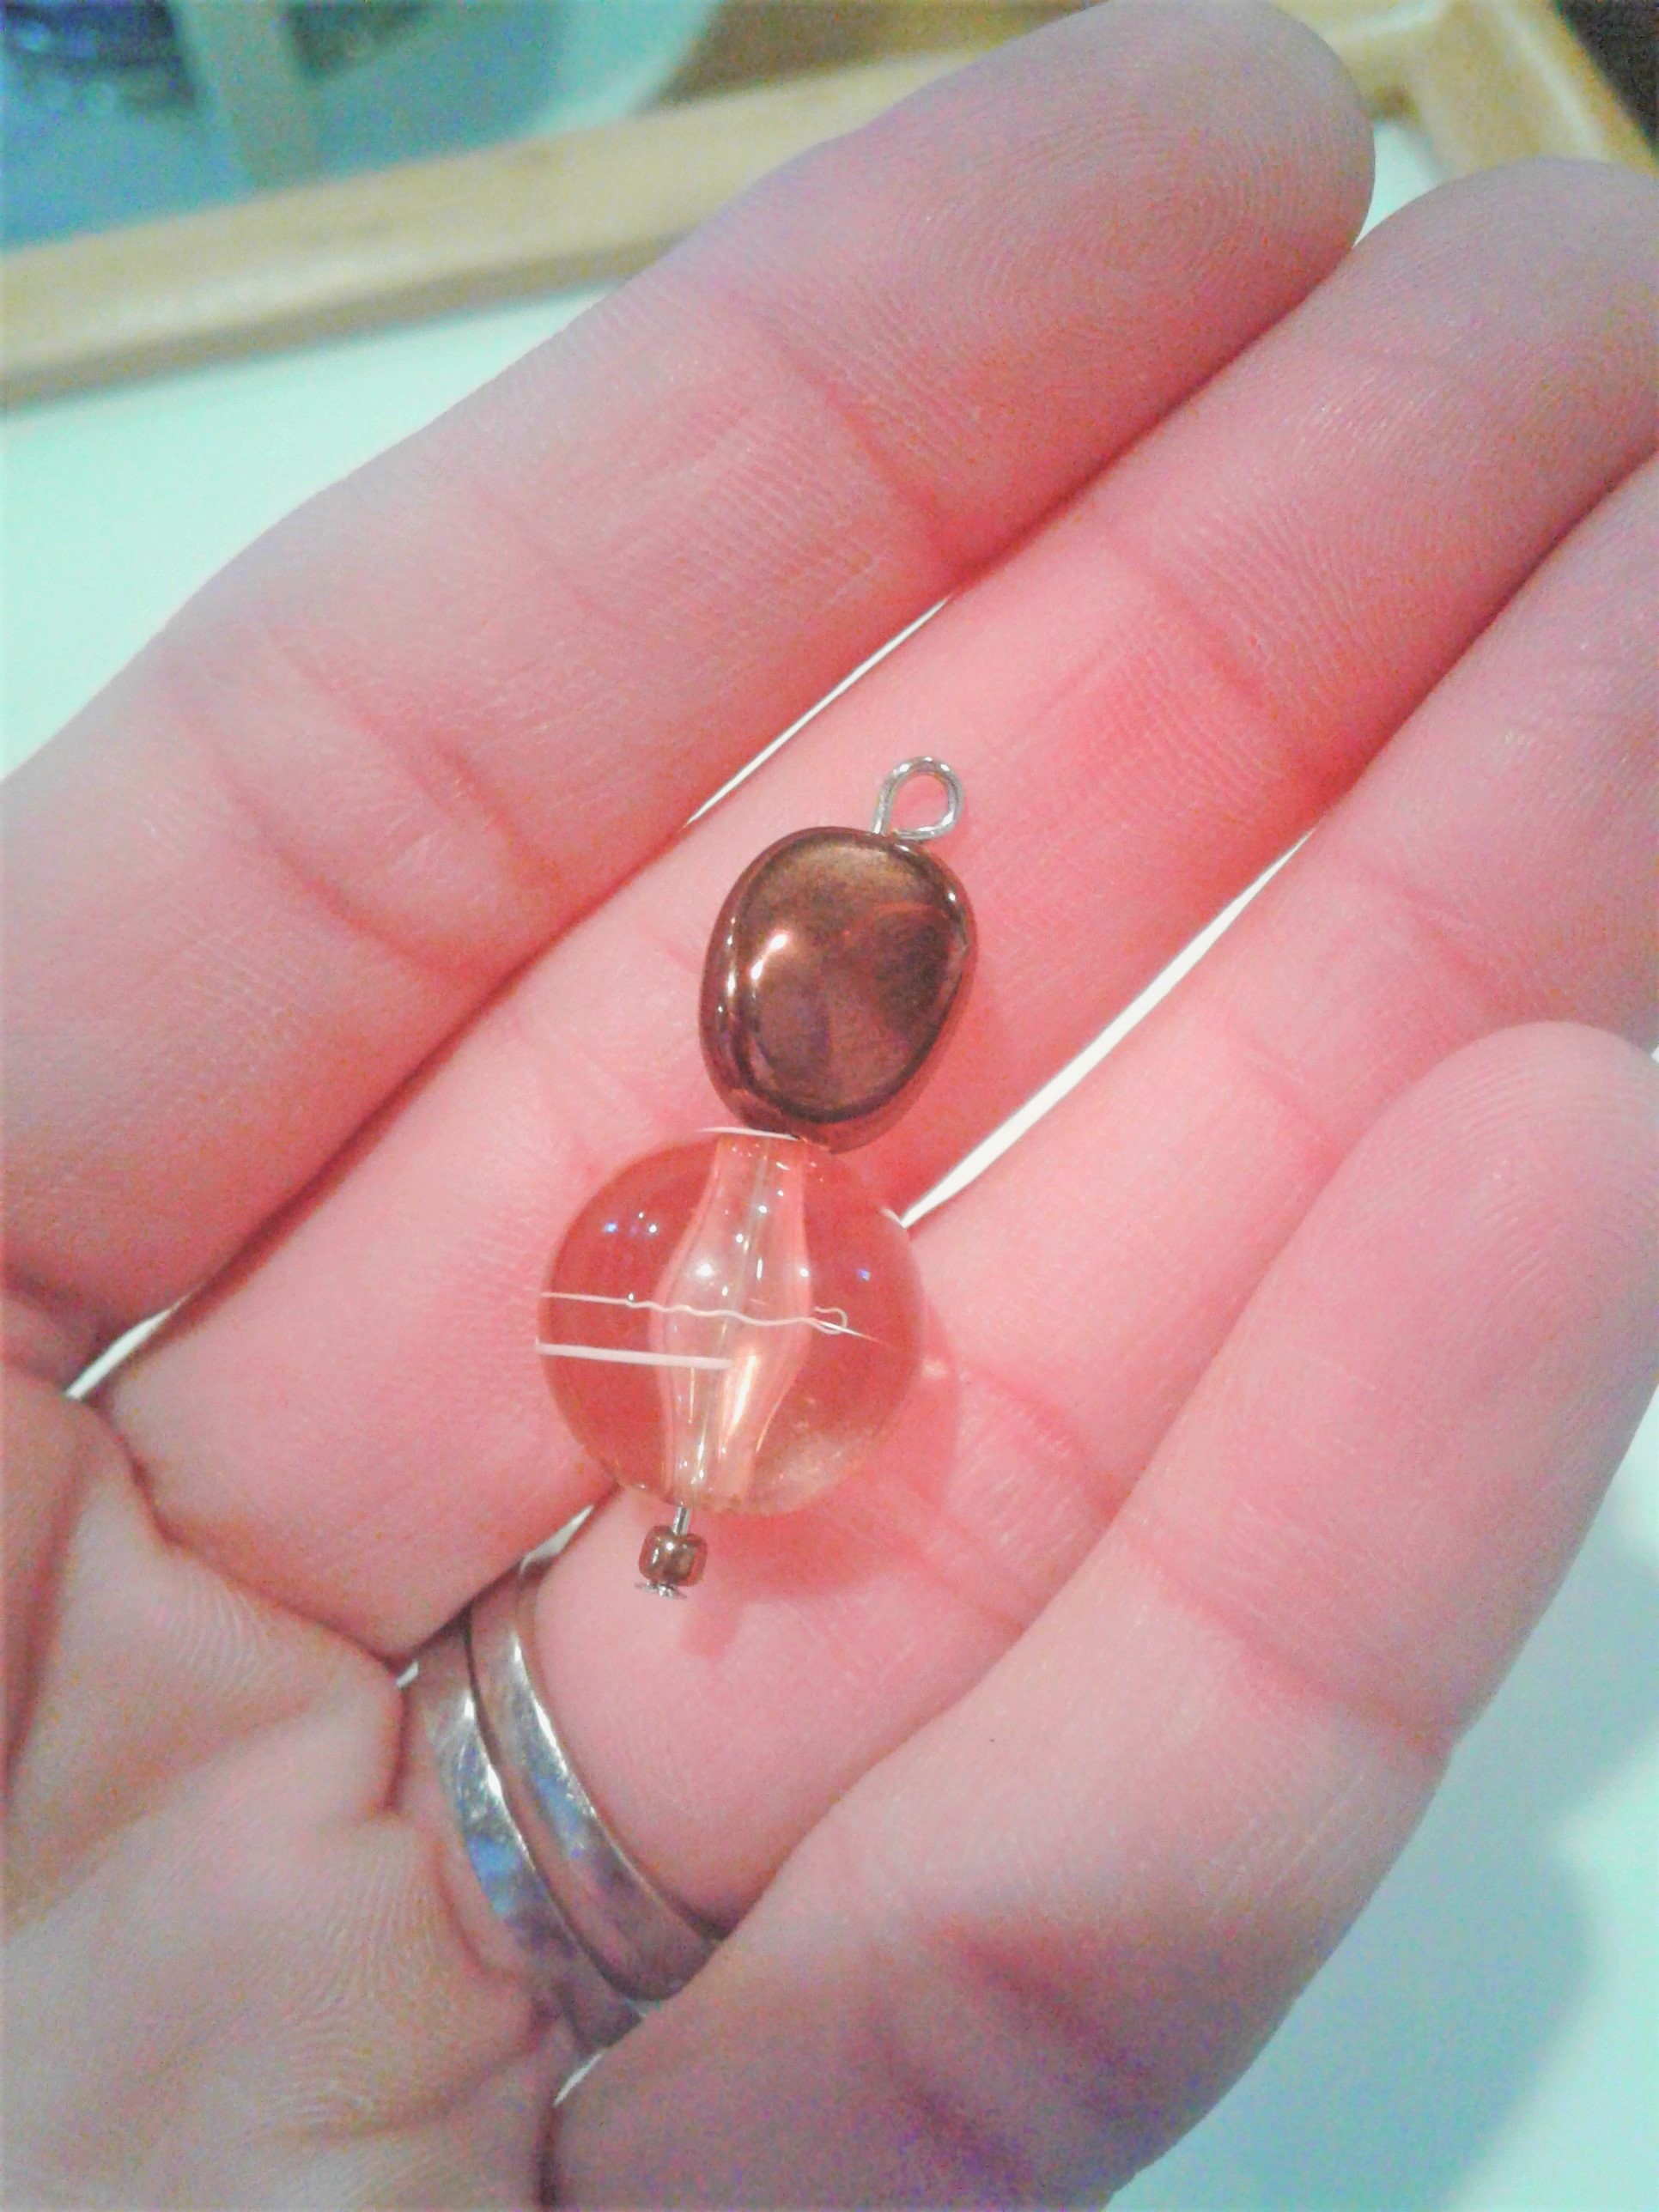
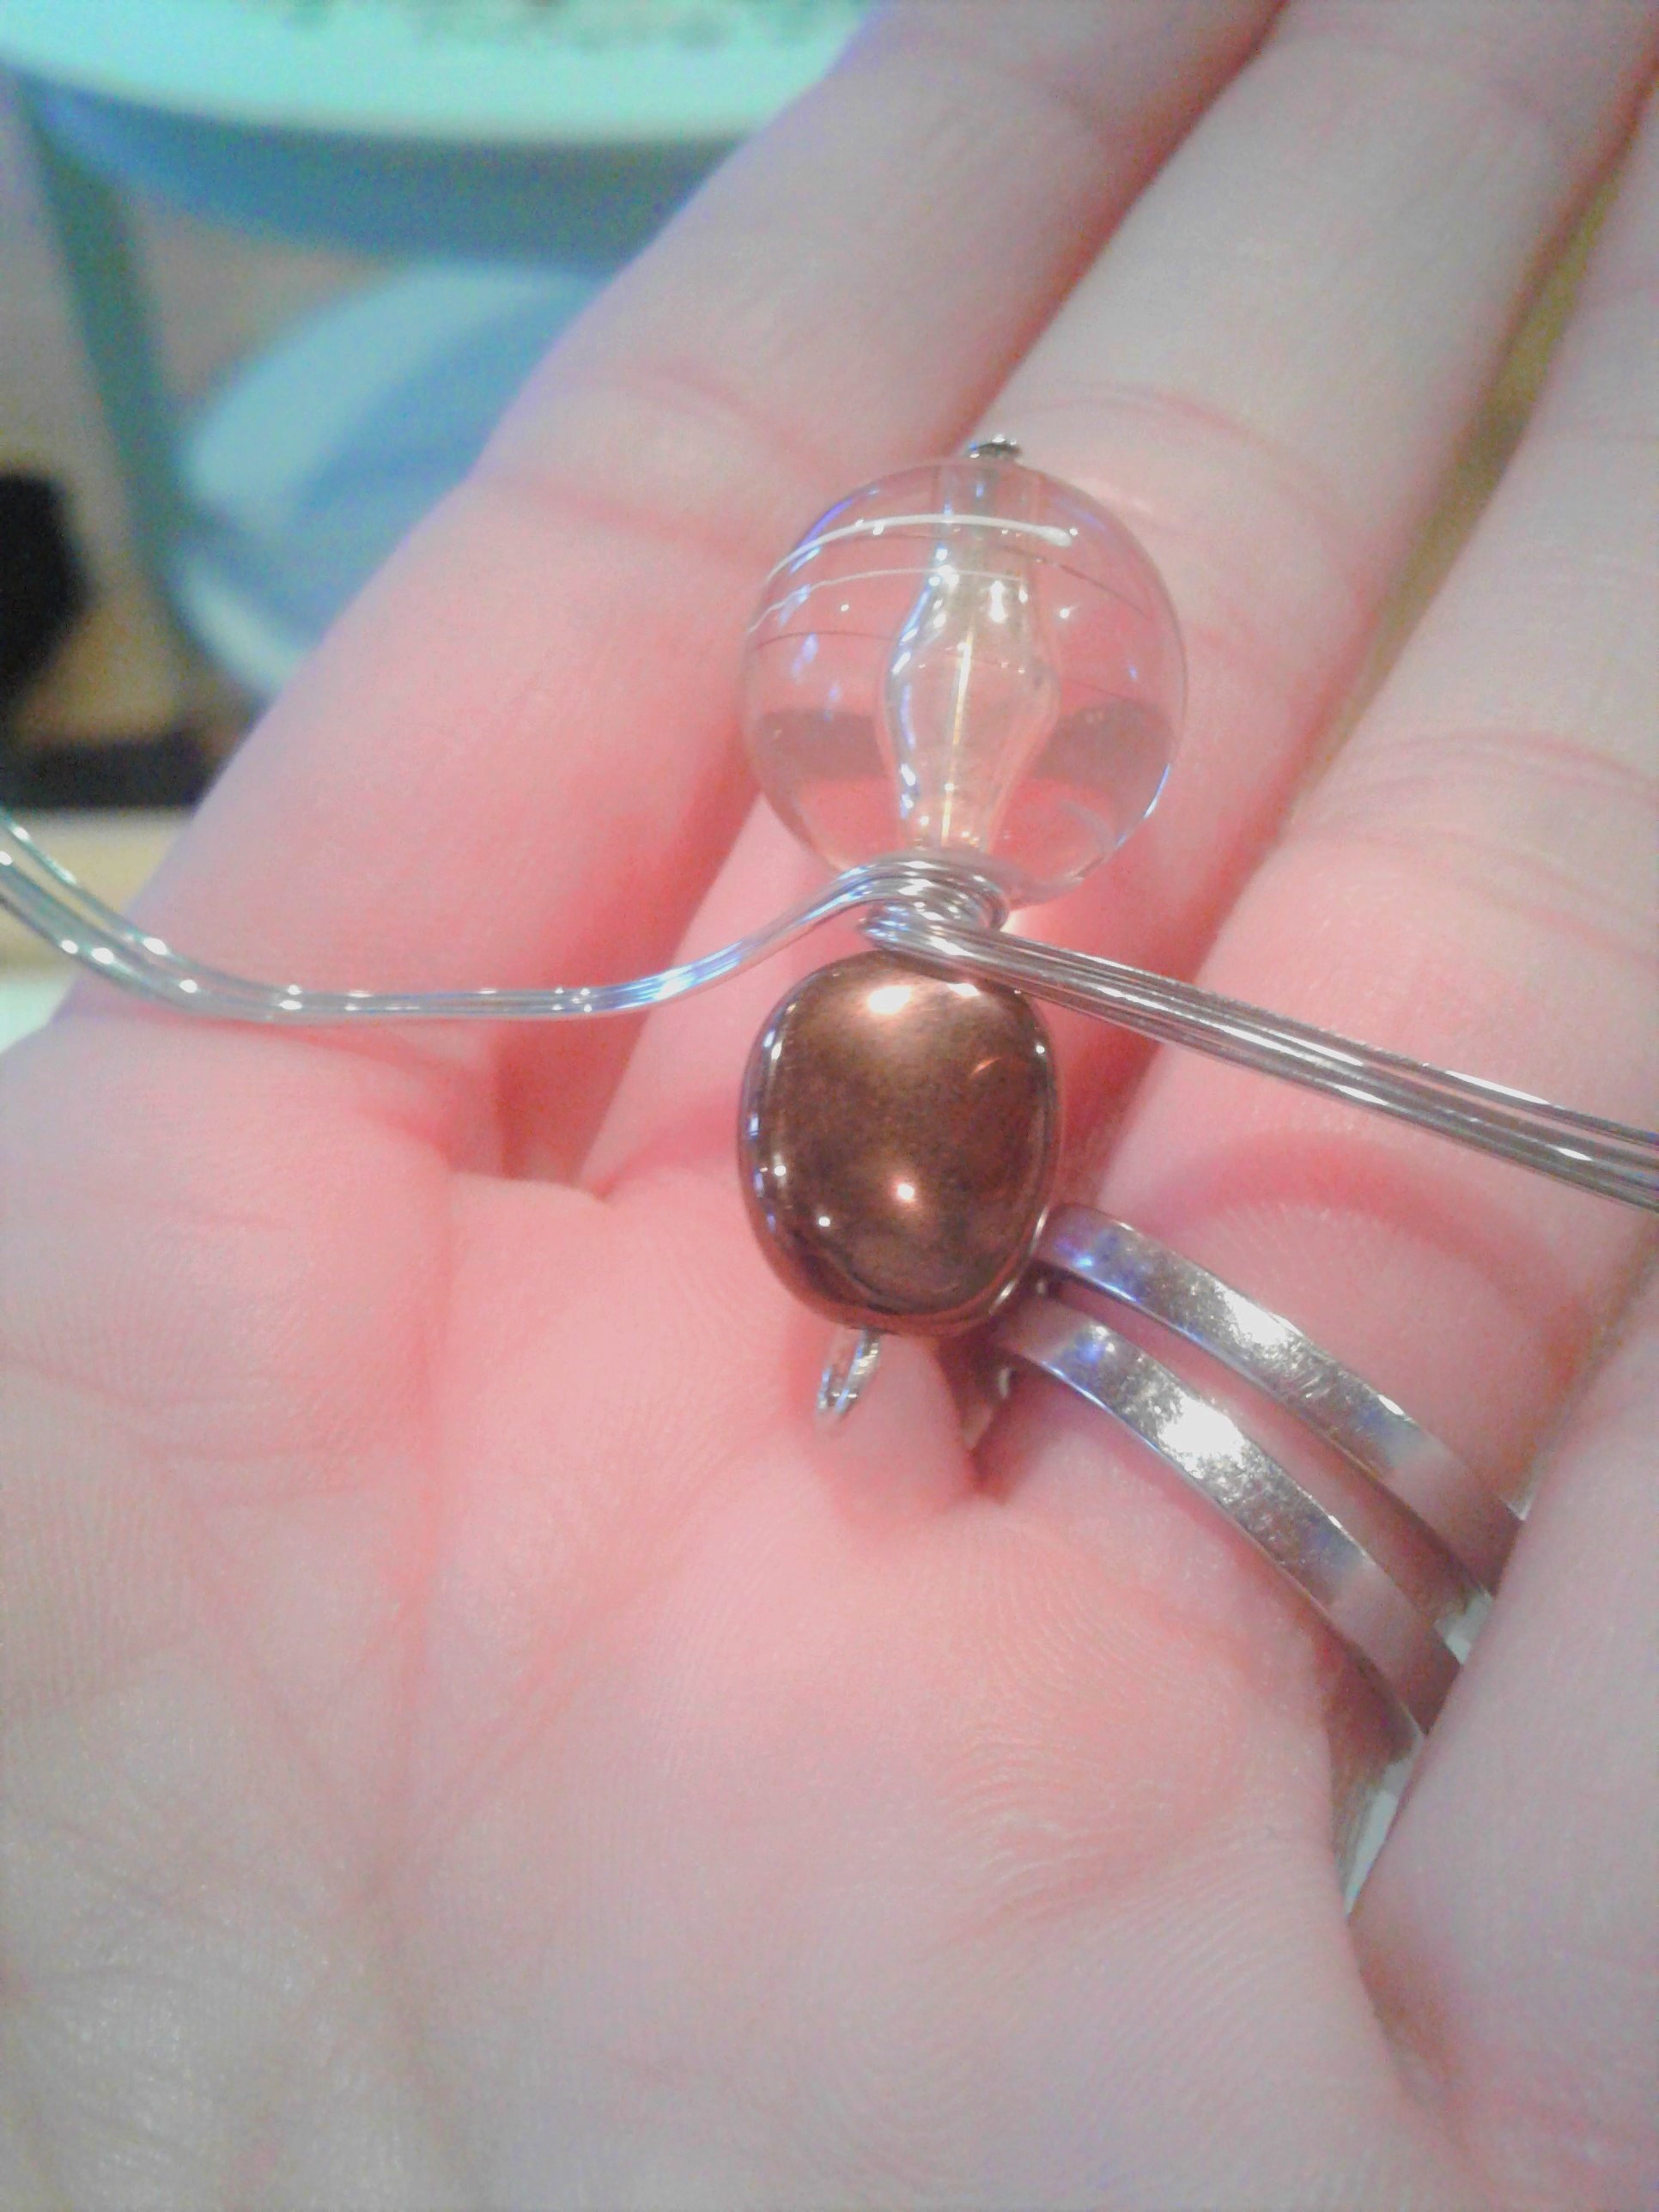
Then decide on the beads you would like to use for your spider head and body. Try to find 2 different sized beads so that his body will be larger then his head.
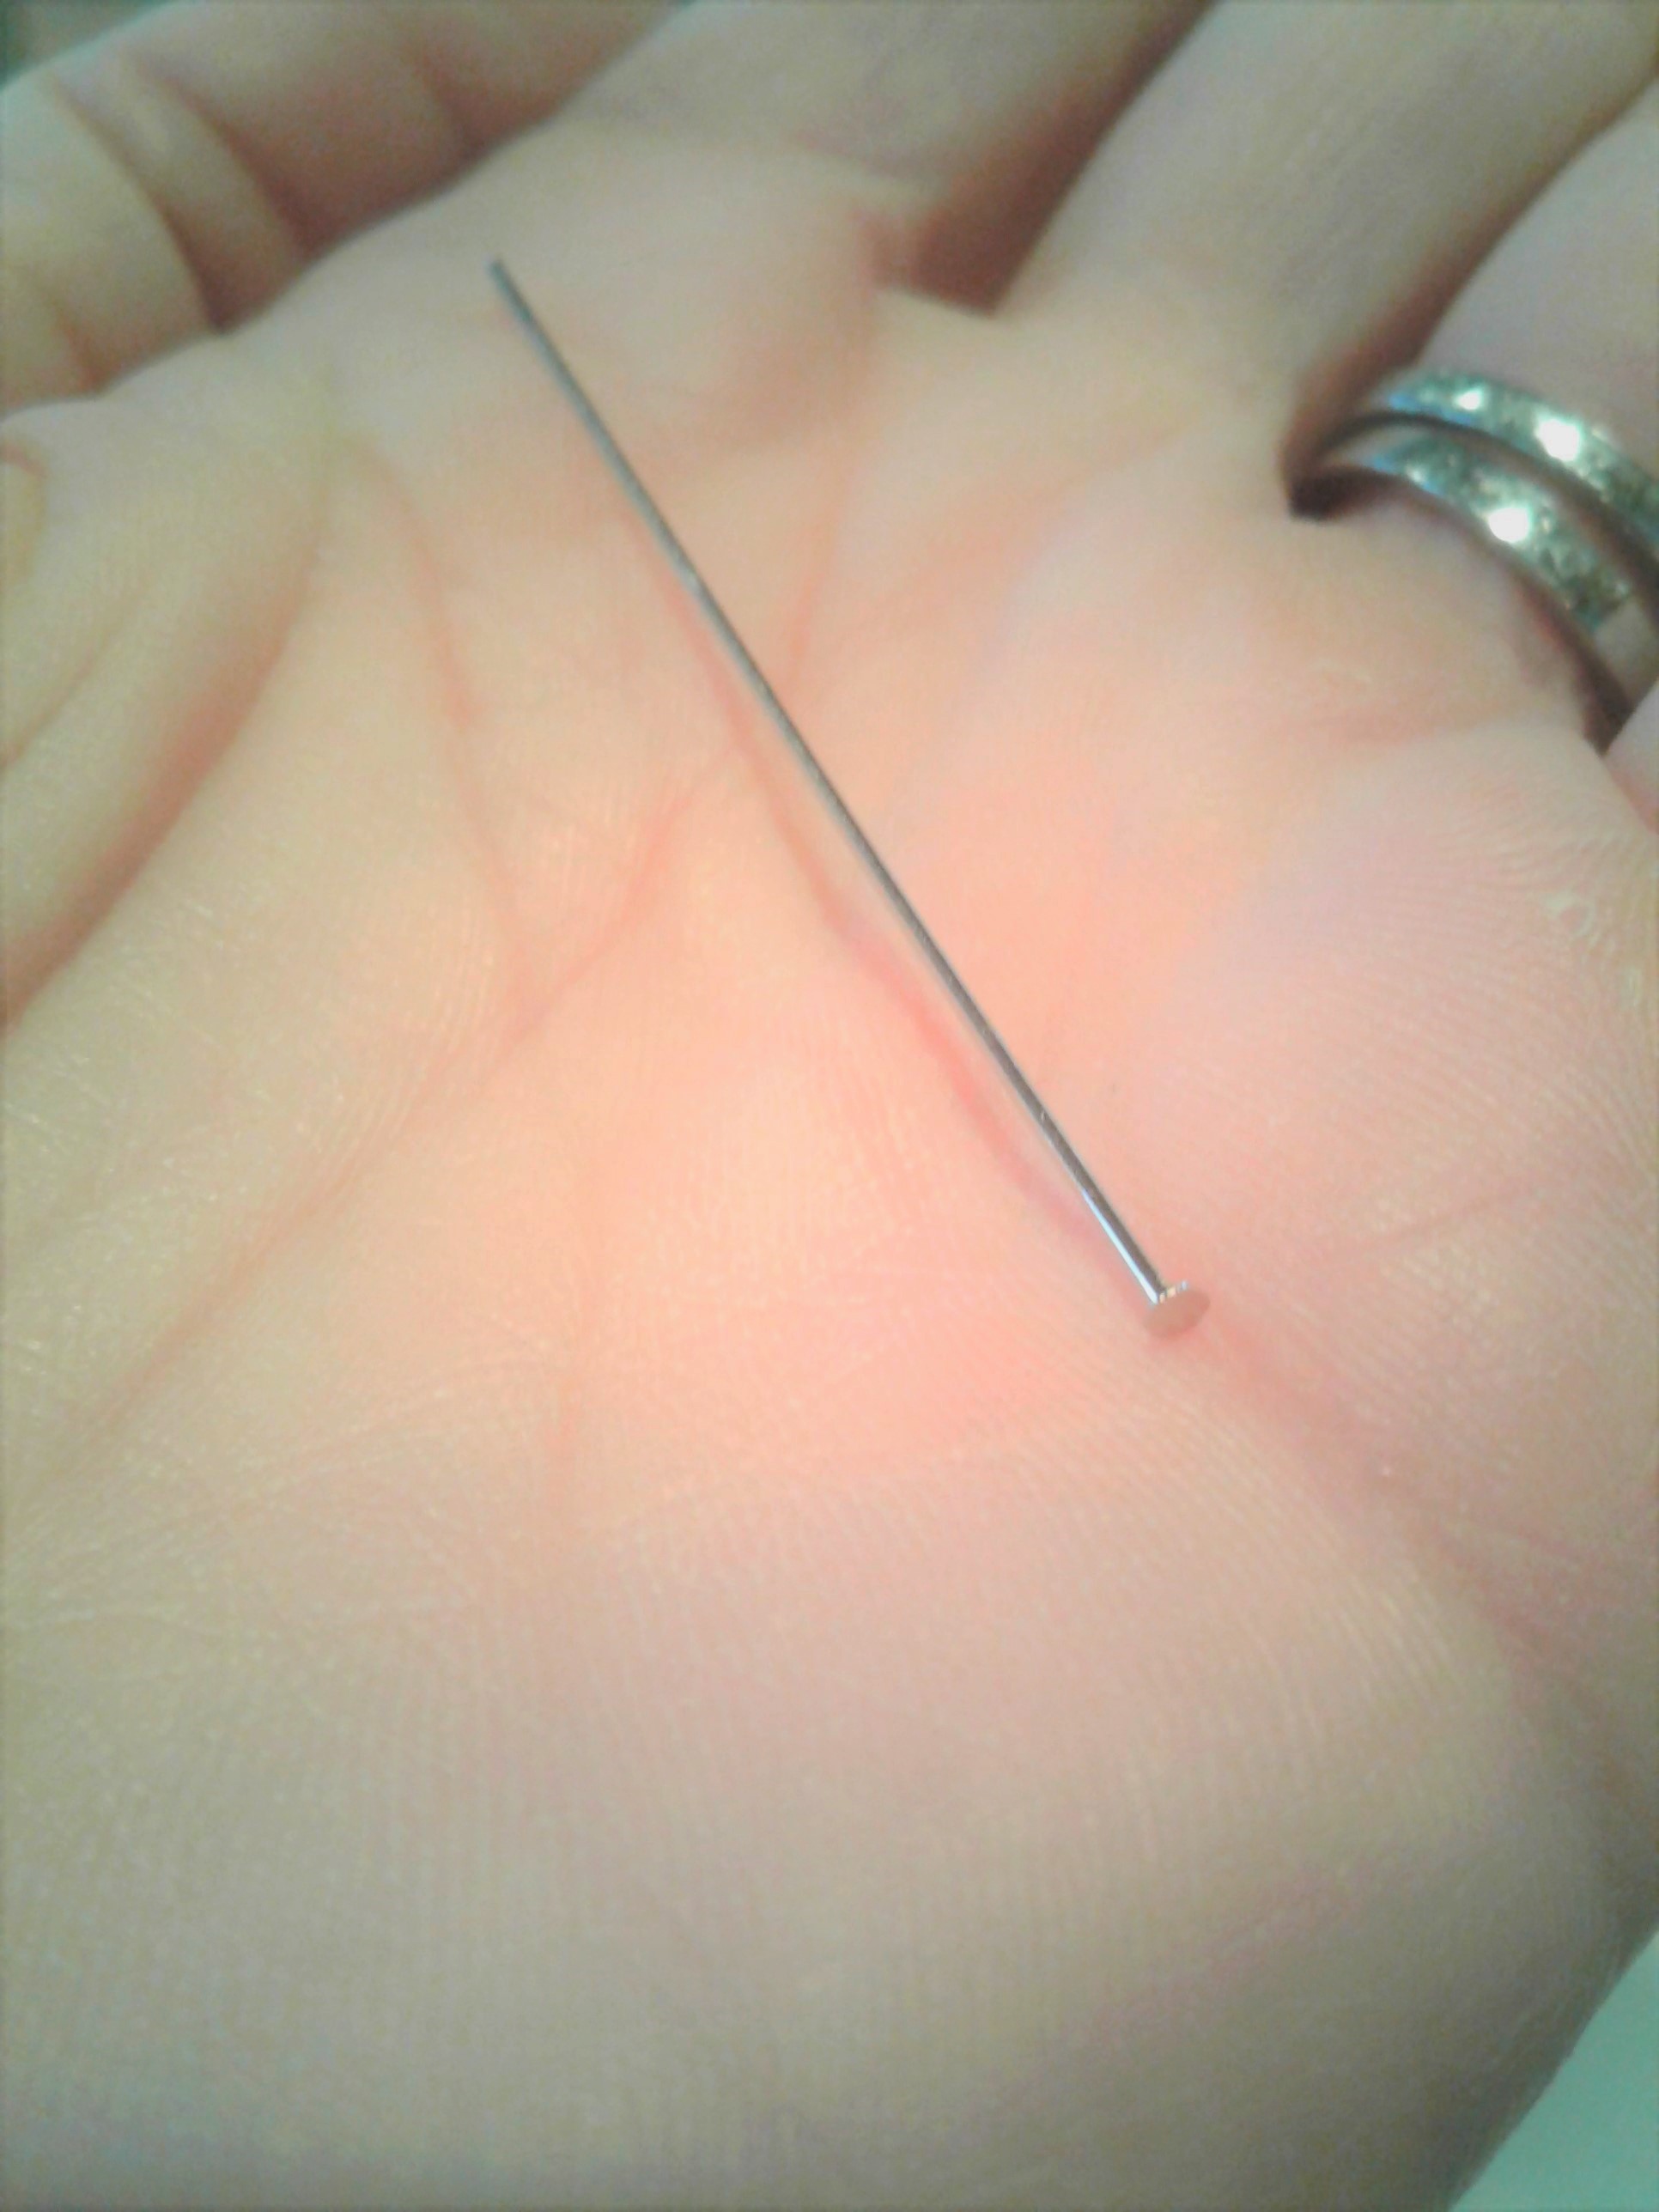
Take out your head pin. This will hold your head and body. If your body bead is too large to slip over the head of the pin, first put on a seed bead (smaller bead) to keep your body pin from falling off. Then add your body bead and last, your head bead. Once you have those beads on, trim your head pin so that about 1/4"-1/2" is extended from the top of your head bead. Bend your pin so that it is at a 90* angle and laying across the top of your head pin. Then using your round pliers, grab the tip of the wire and wrap the pin into a circle.
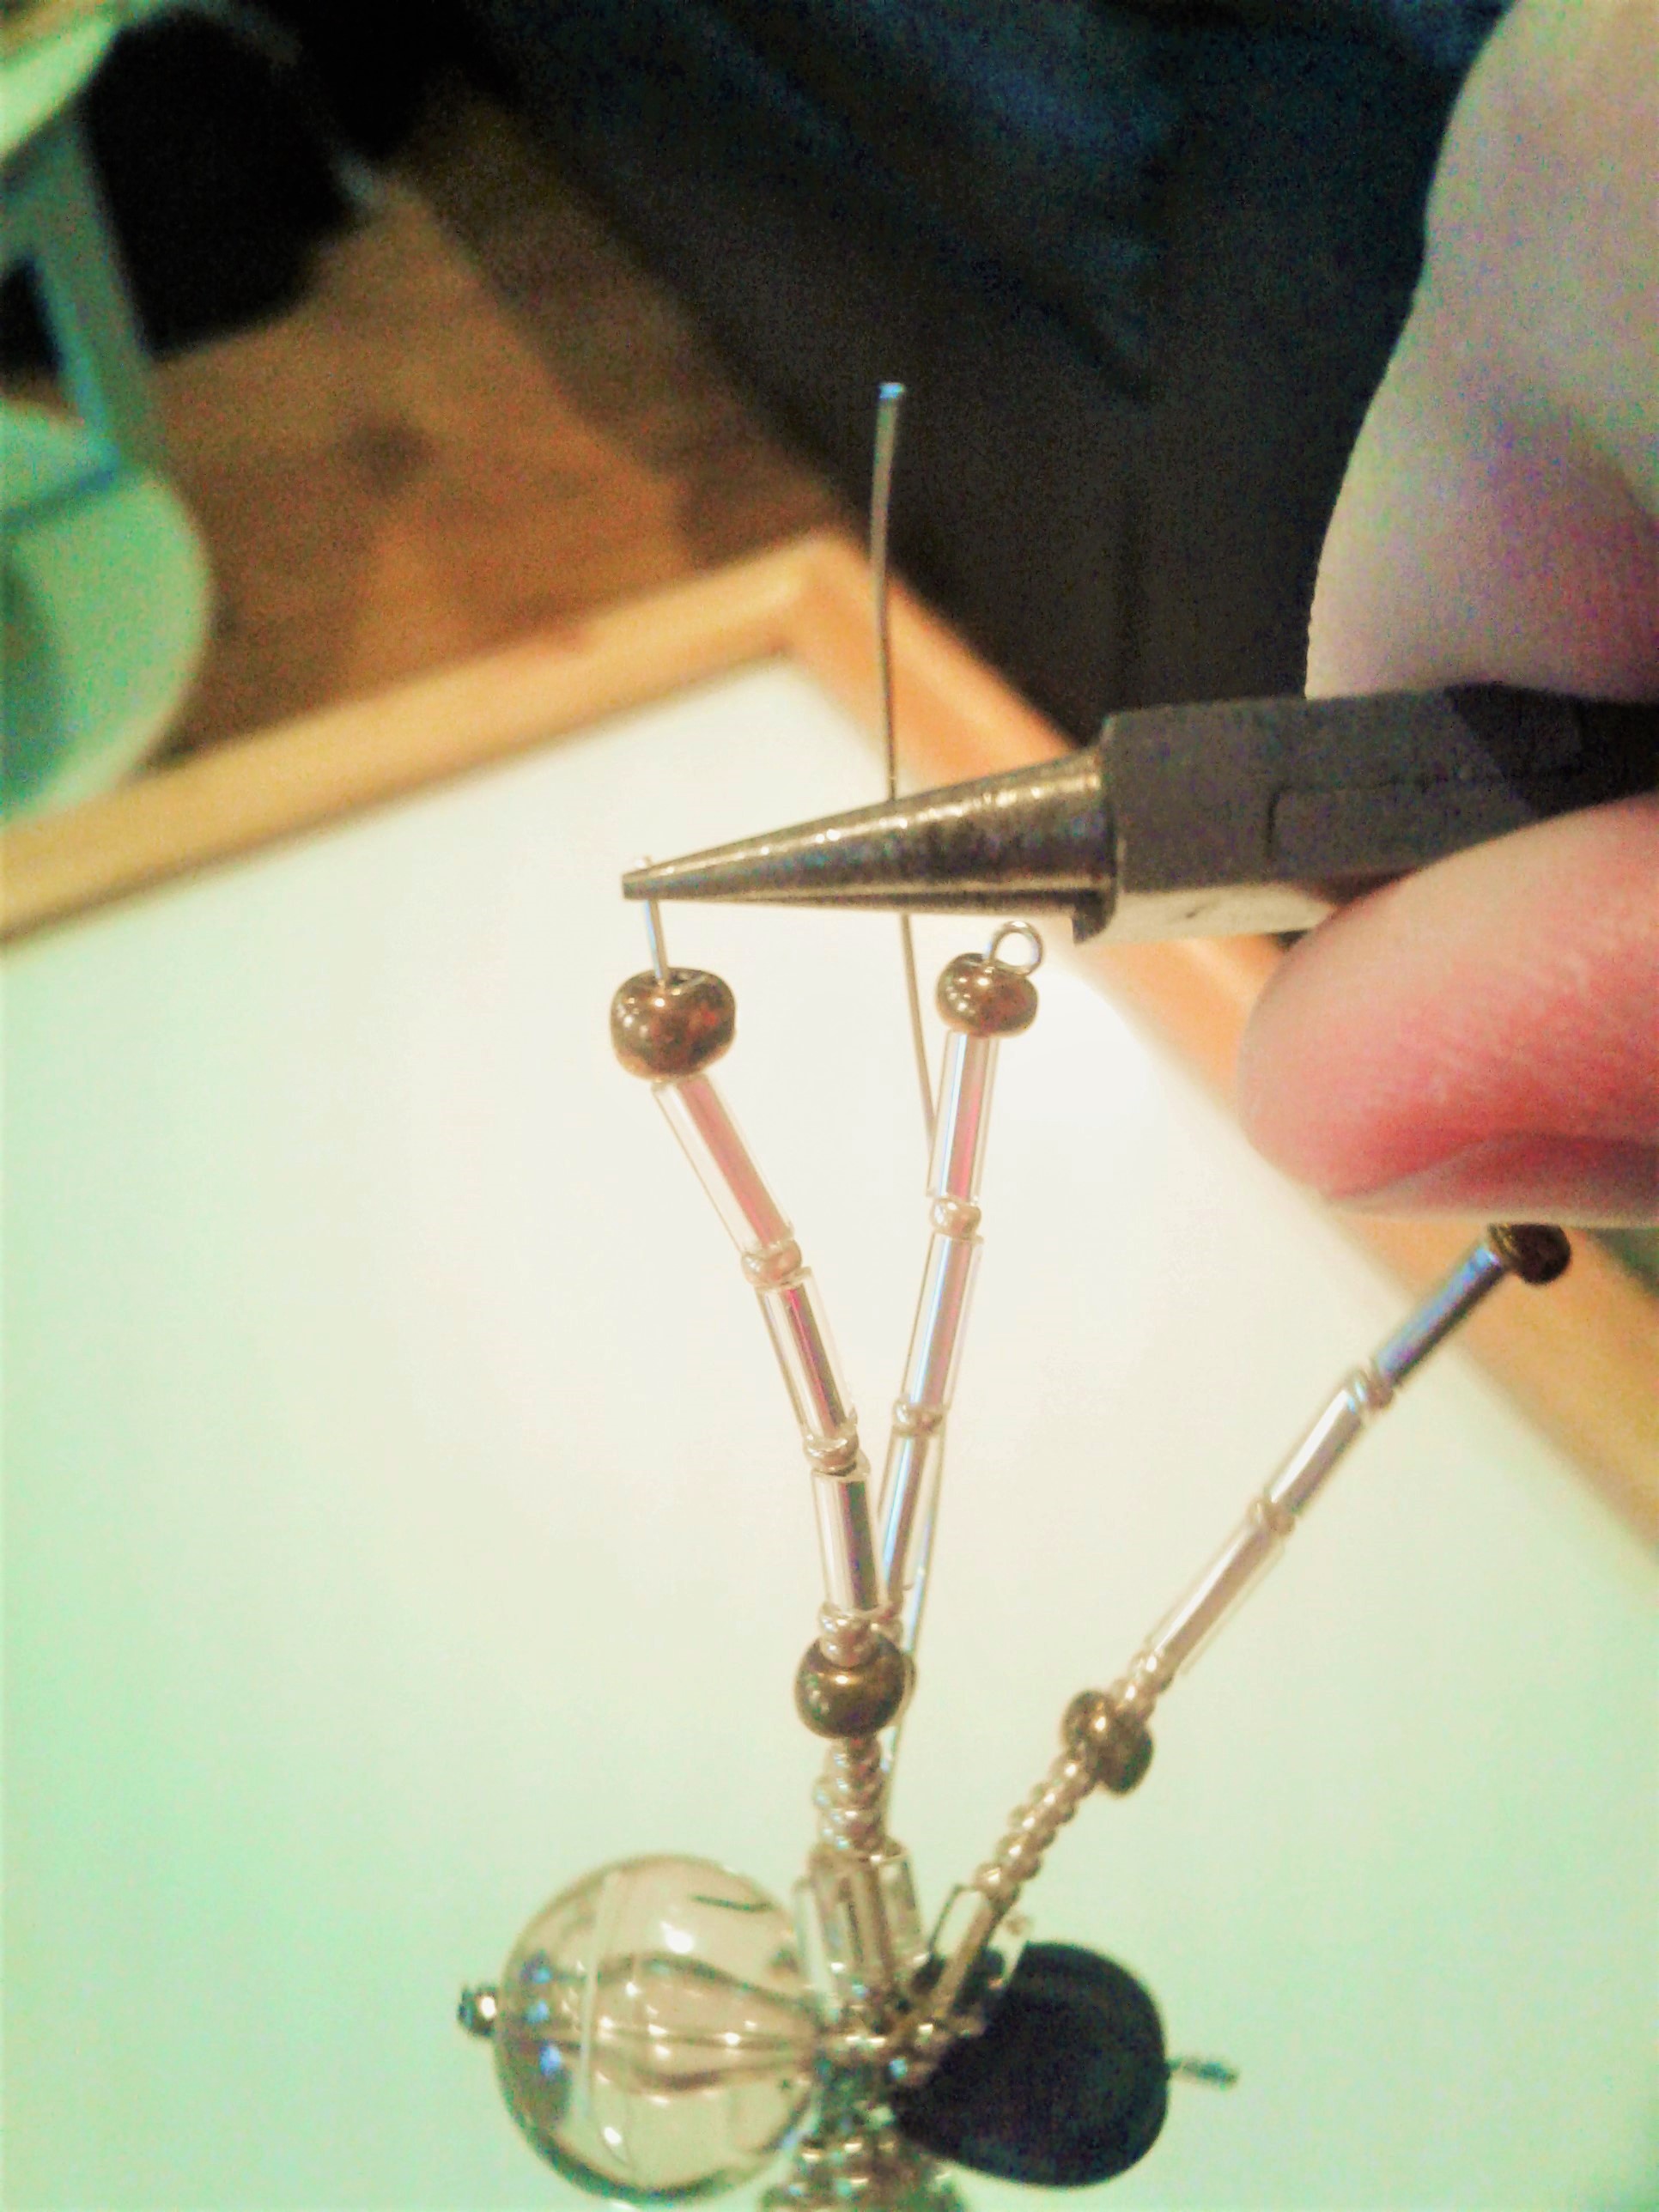
Then take your 4 pieces of wire and bend them in half. These will be the legs of your spider - 4 on each side. Place the middle bent area between the body and head of your spider and wrap them around the head pin 2 times to nicely secure them in place.
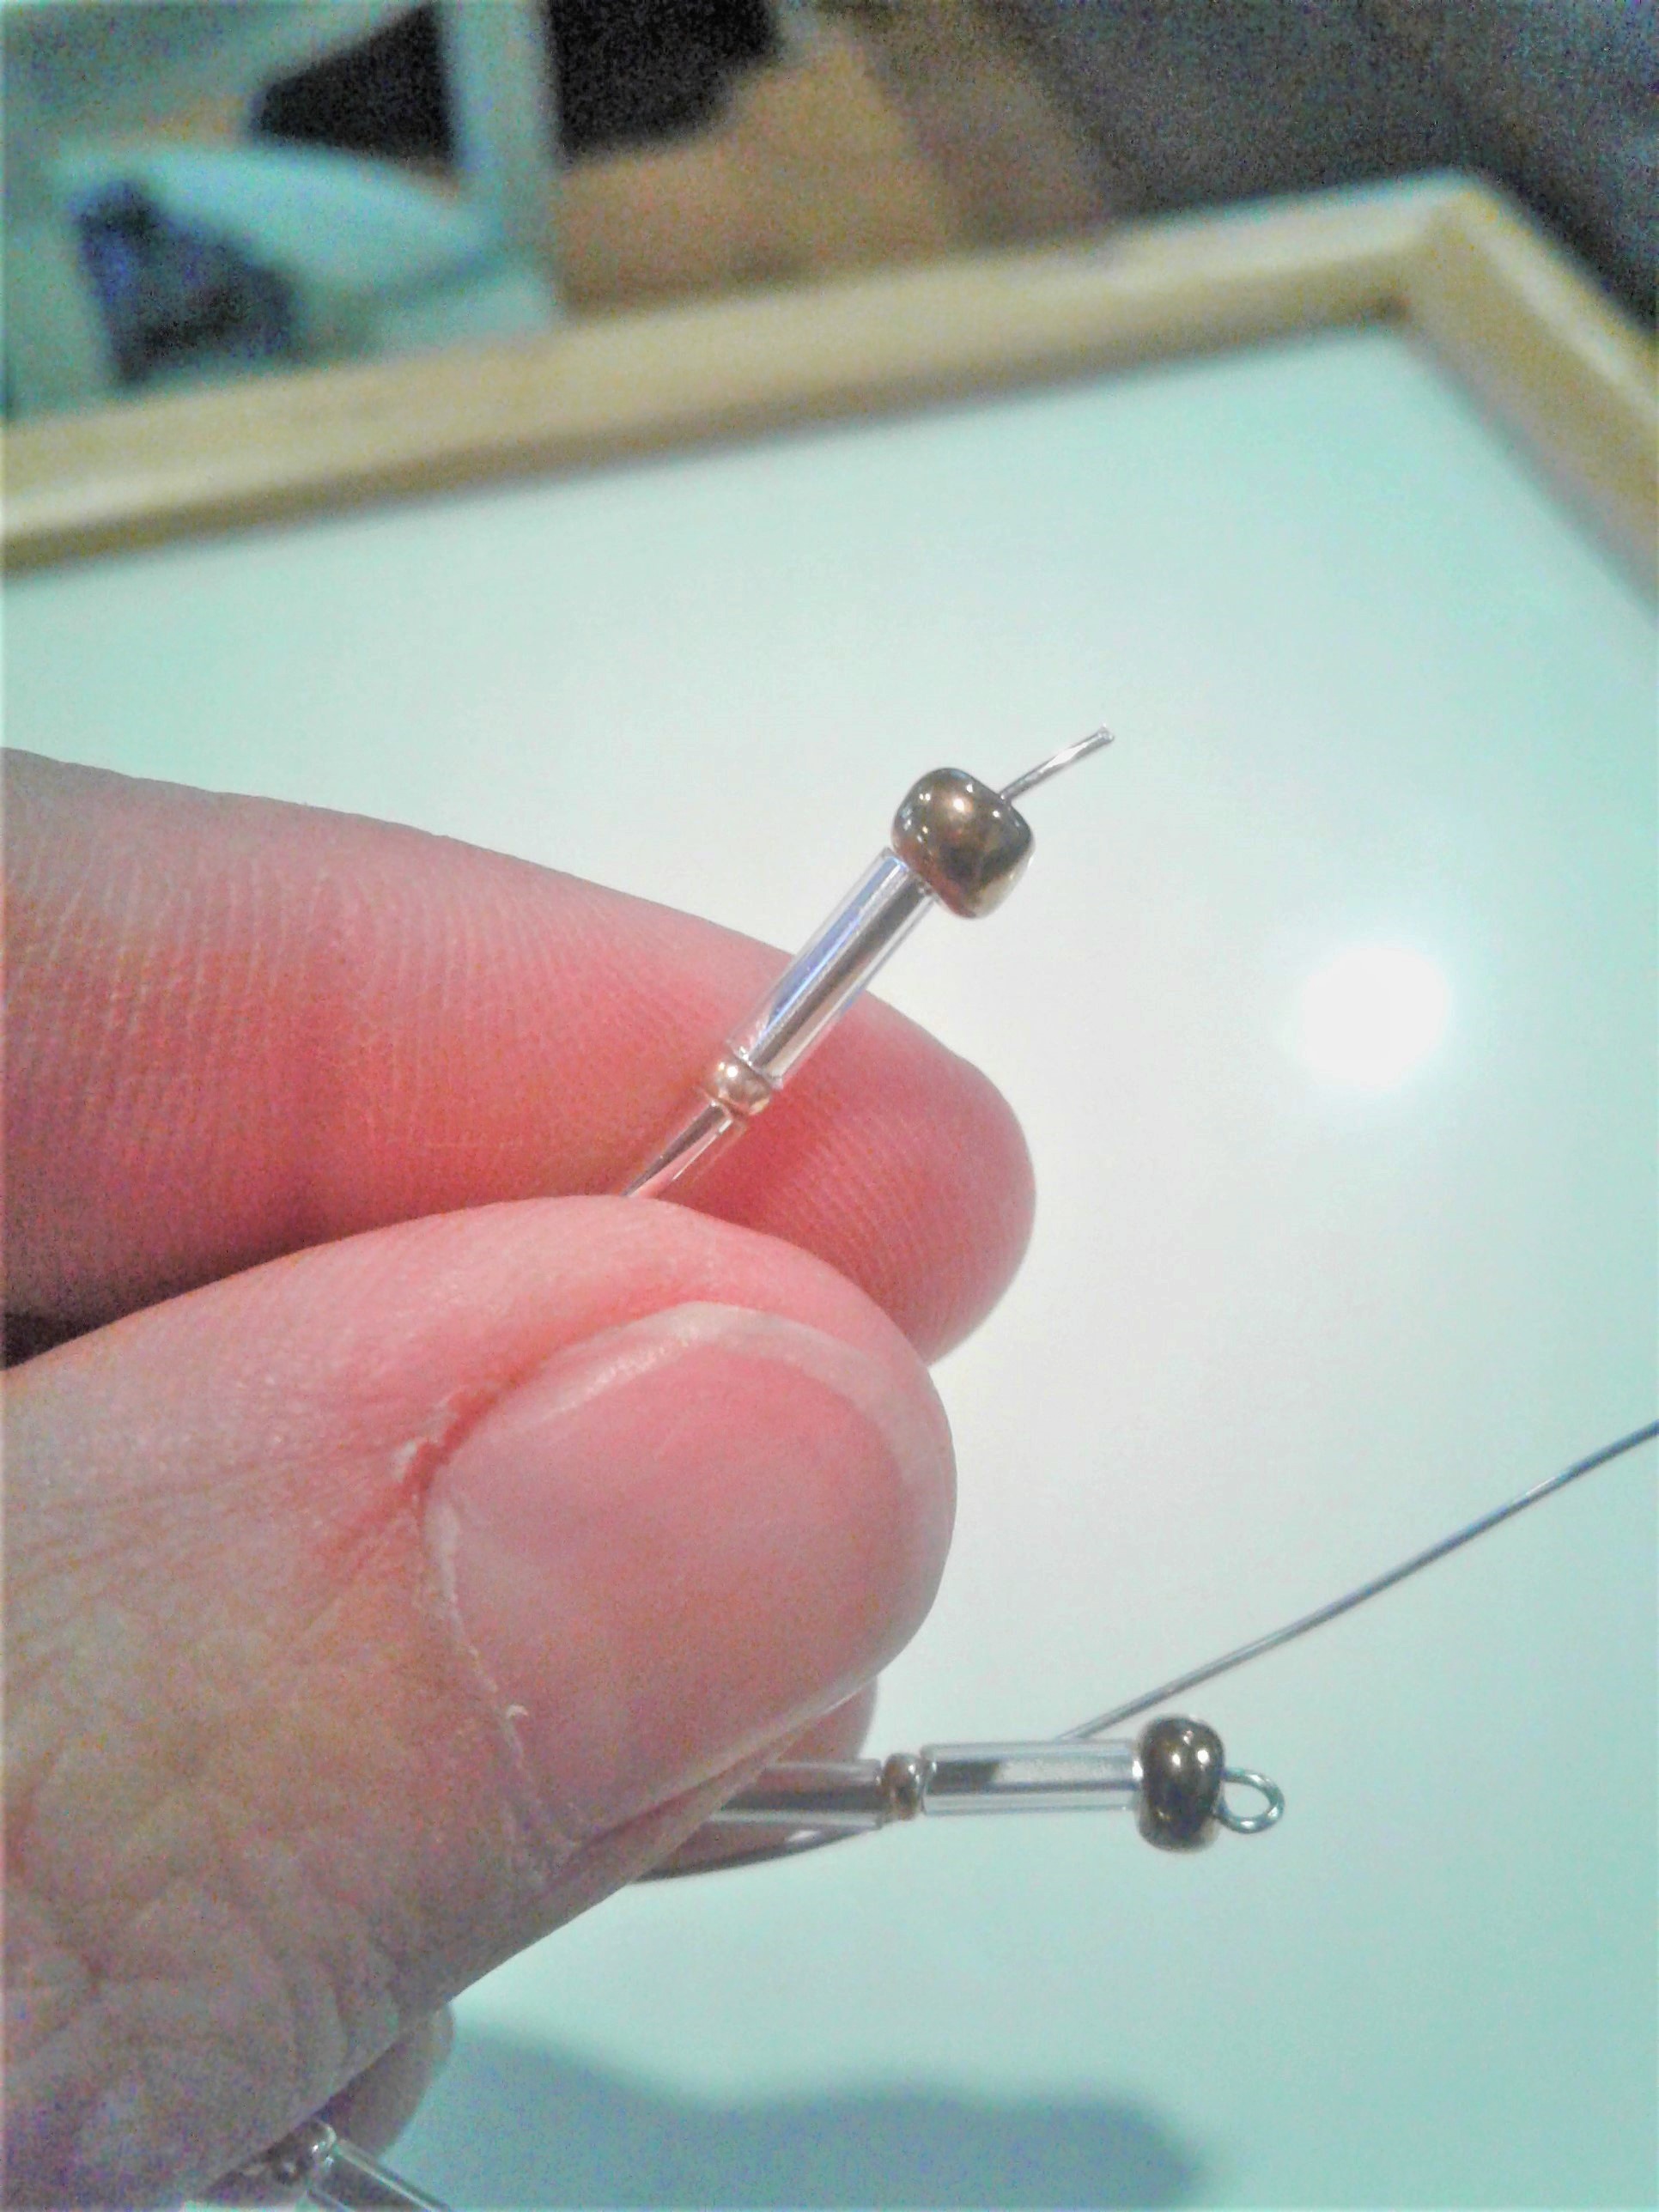
Then it's time to start adding the beads to your spiders legs. You can do these however you would like. I like to use a little bit bigger beads in the "join" area of the legs. Once you get each of your legs do, similiar to how you finished off your head pin, trim down your wire and wrap the end into a circle.
Continue beading your spiders legs until you have them all complete. Then all you need to do is rearrange your spiders legs and pose him into a more life-like position.
Then display him anywhere you want! I love putting some of mine on my window sill so that the sunlight catches some of the beads to create rainbows and sparkles. :)
do it yourself
Want more DIY's?CrazyDIYmom.com Contact Us Privacy Policy Disclaimer About me