
DIY projects
This post may contain affiliate links.
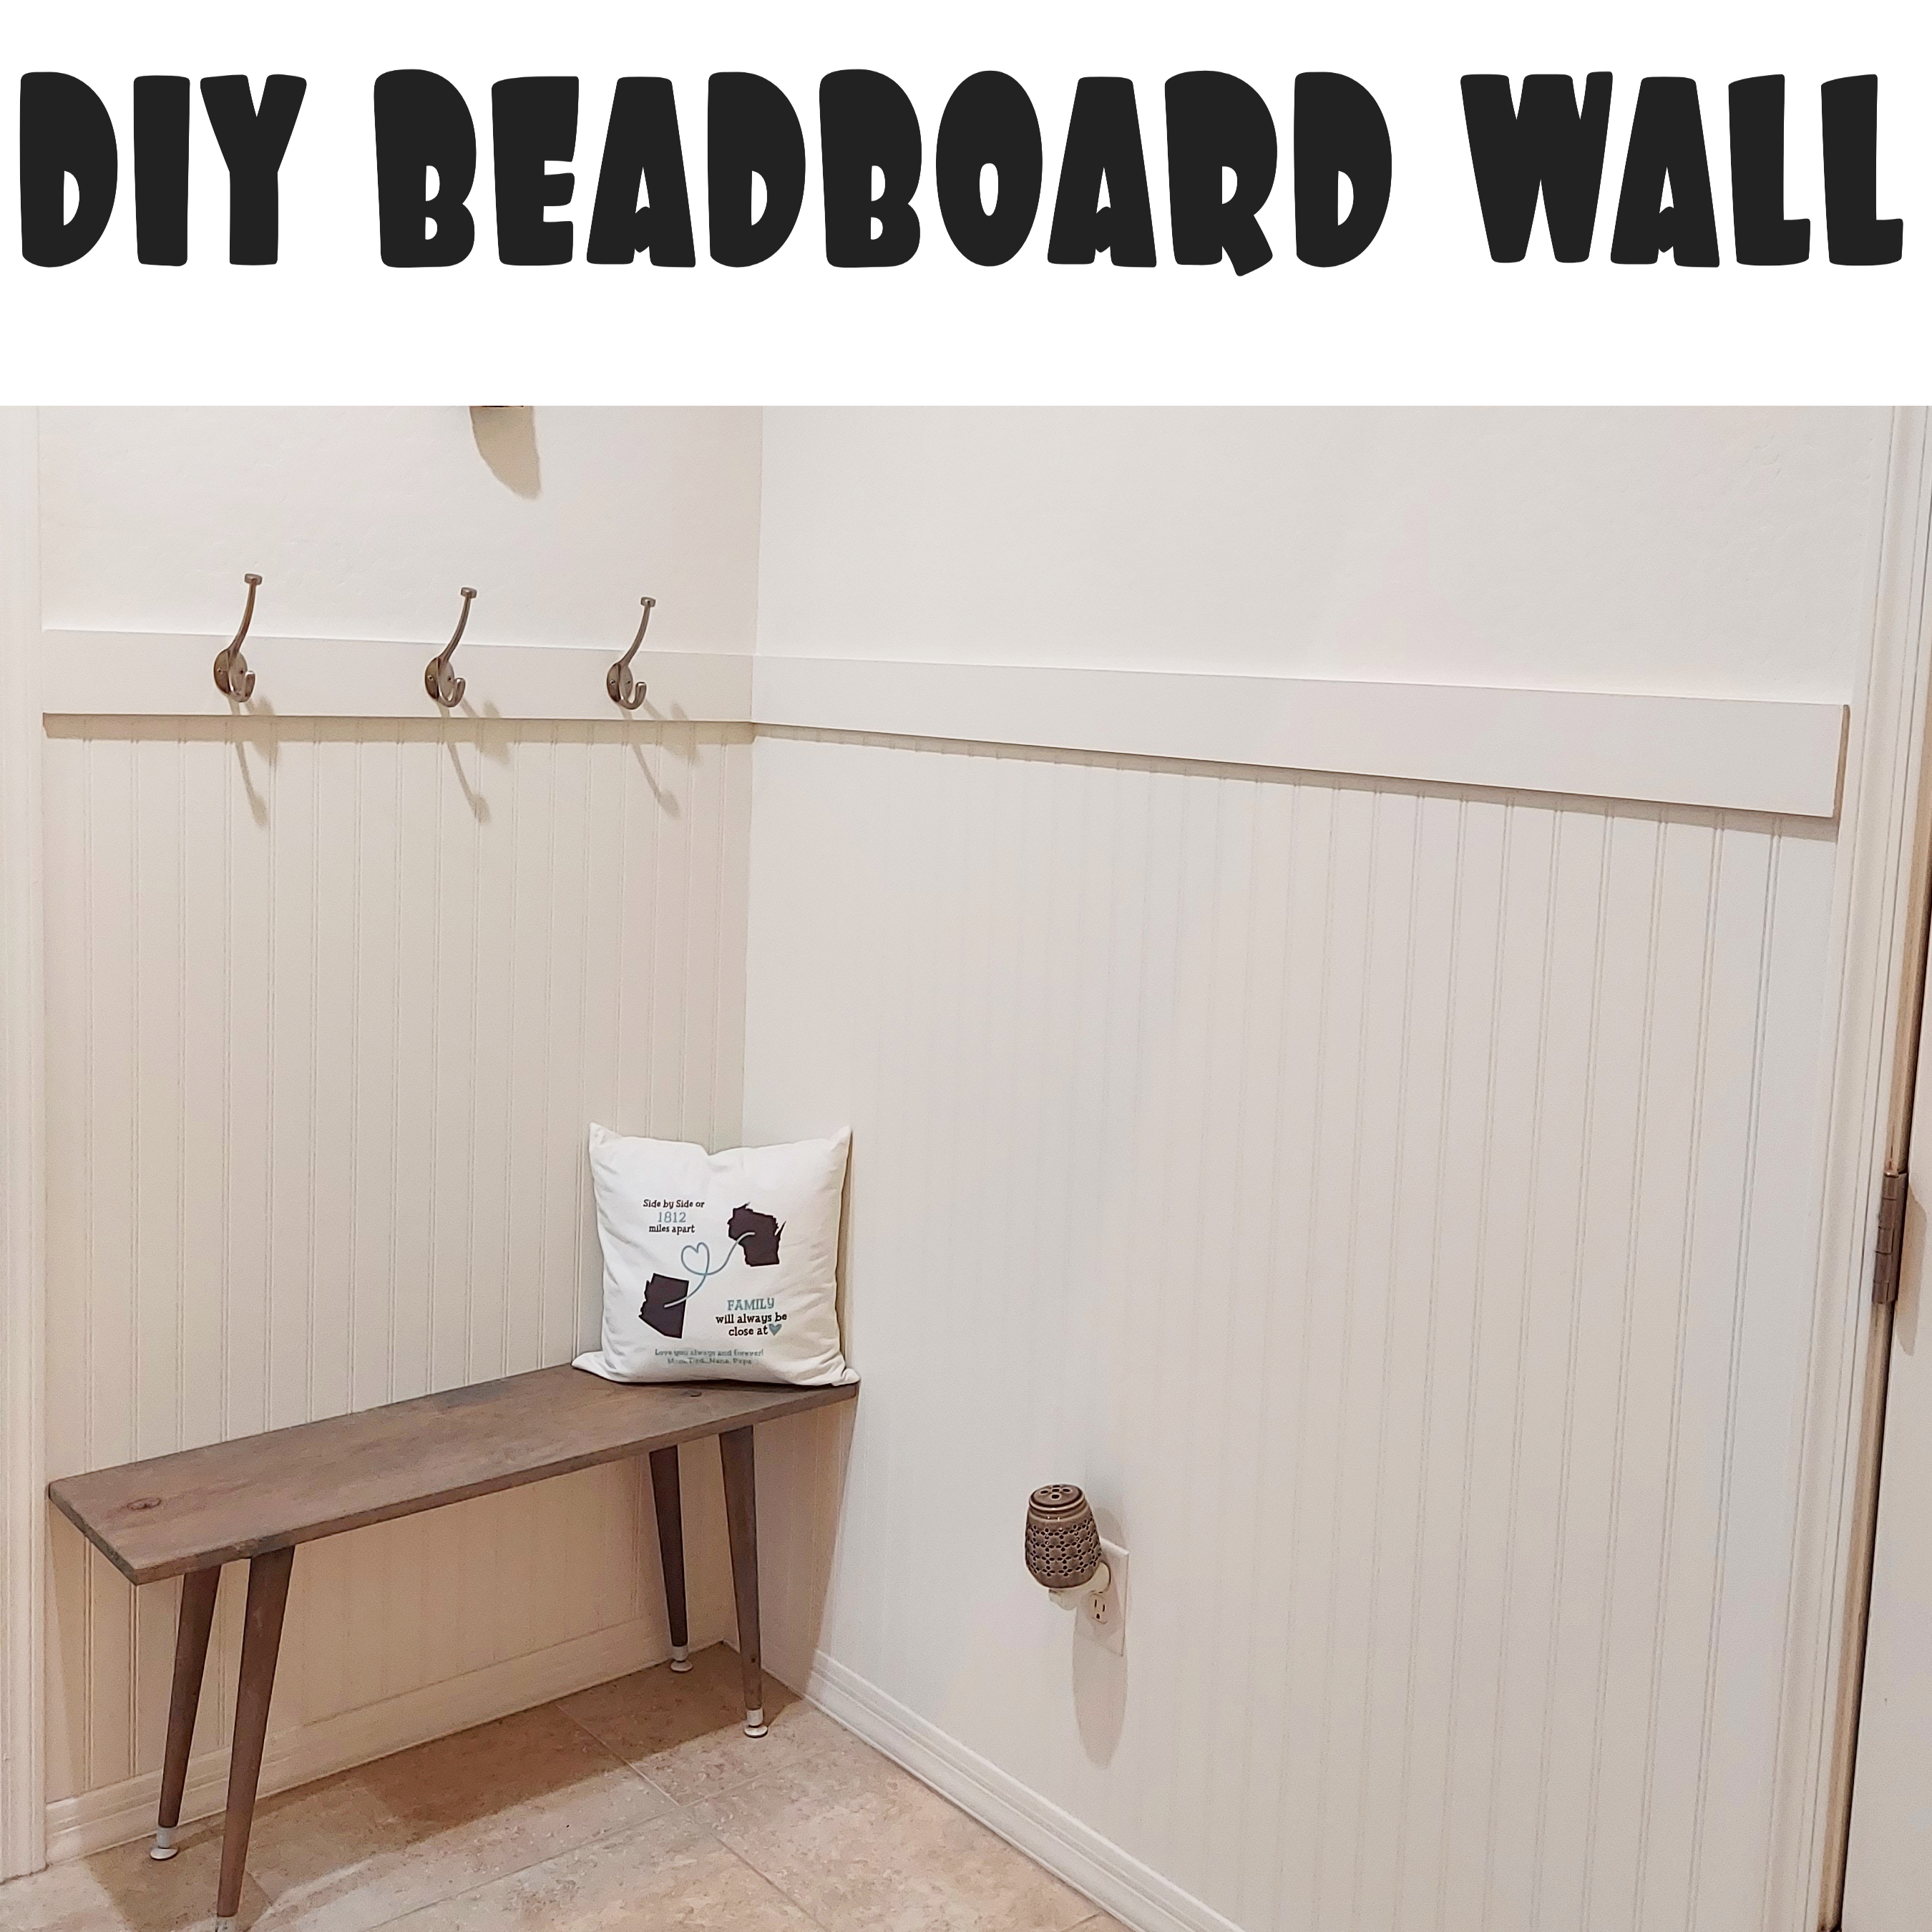
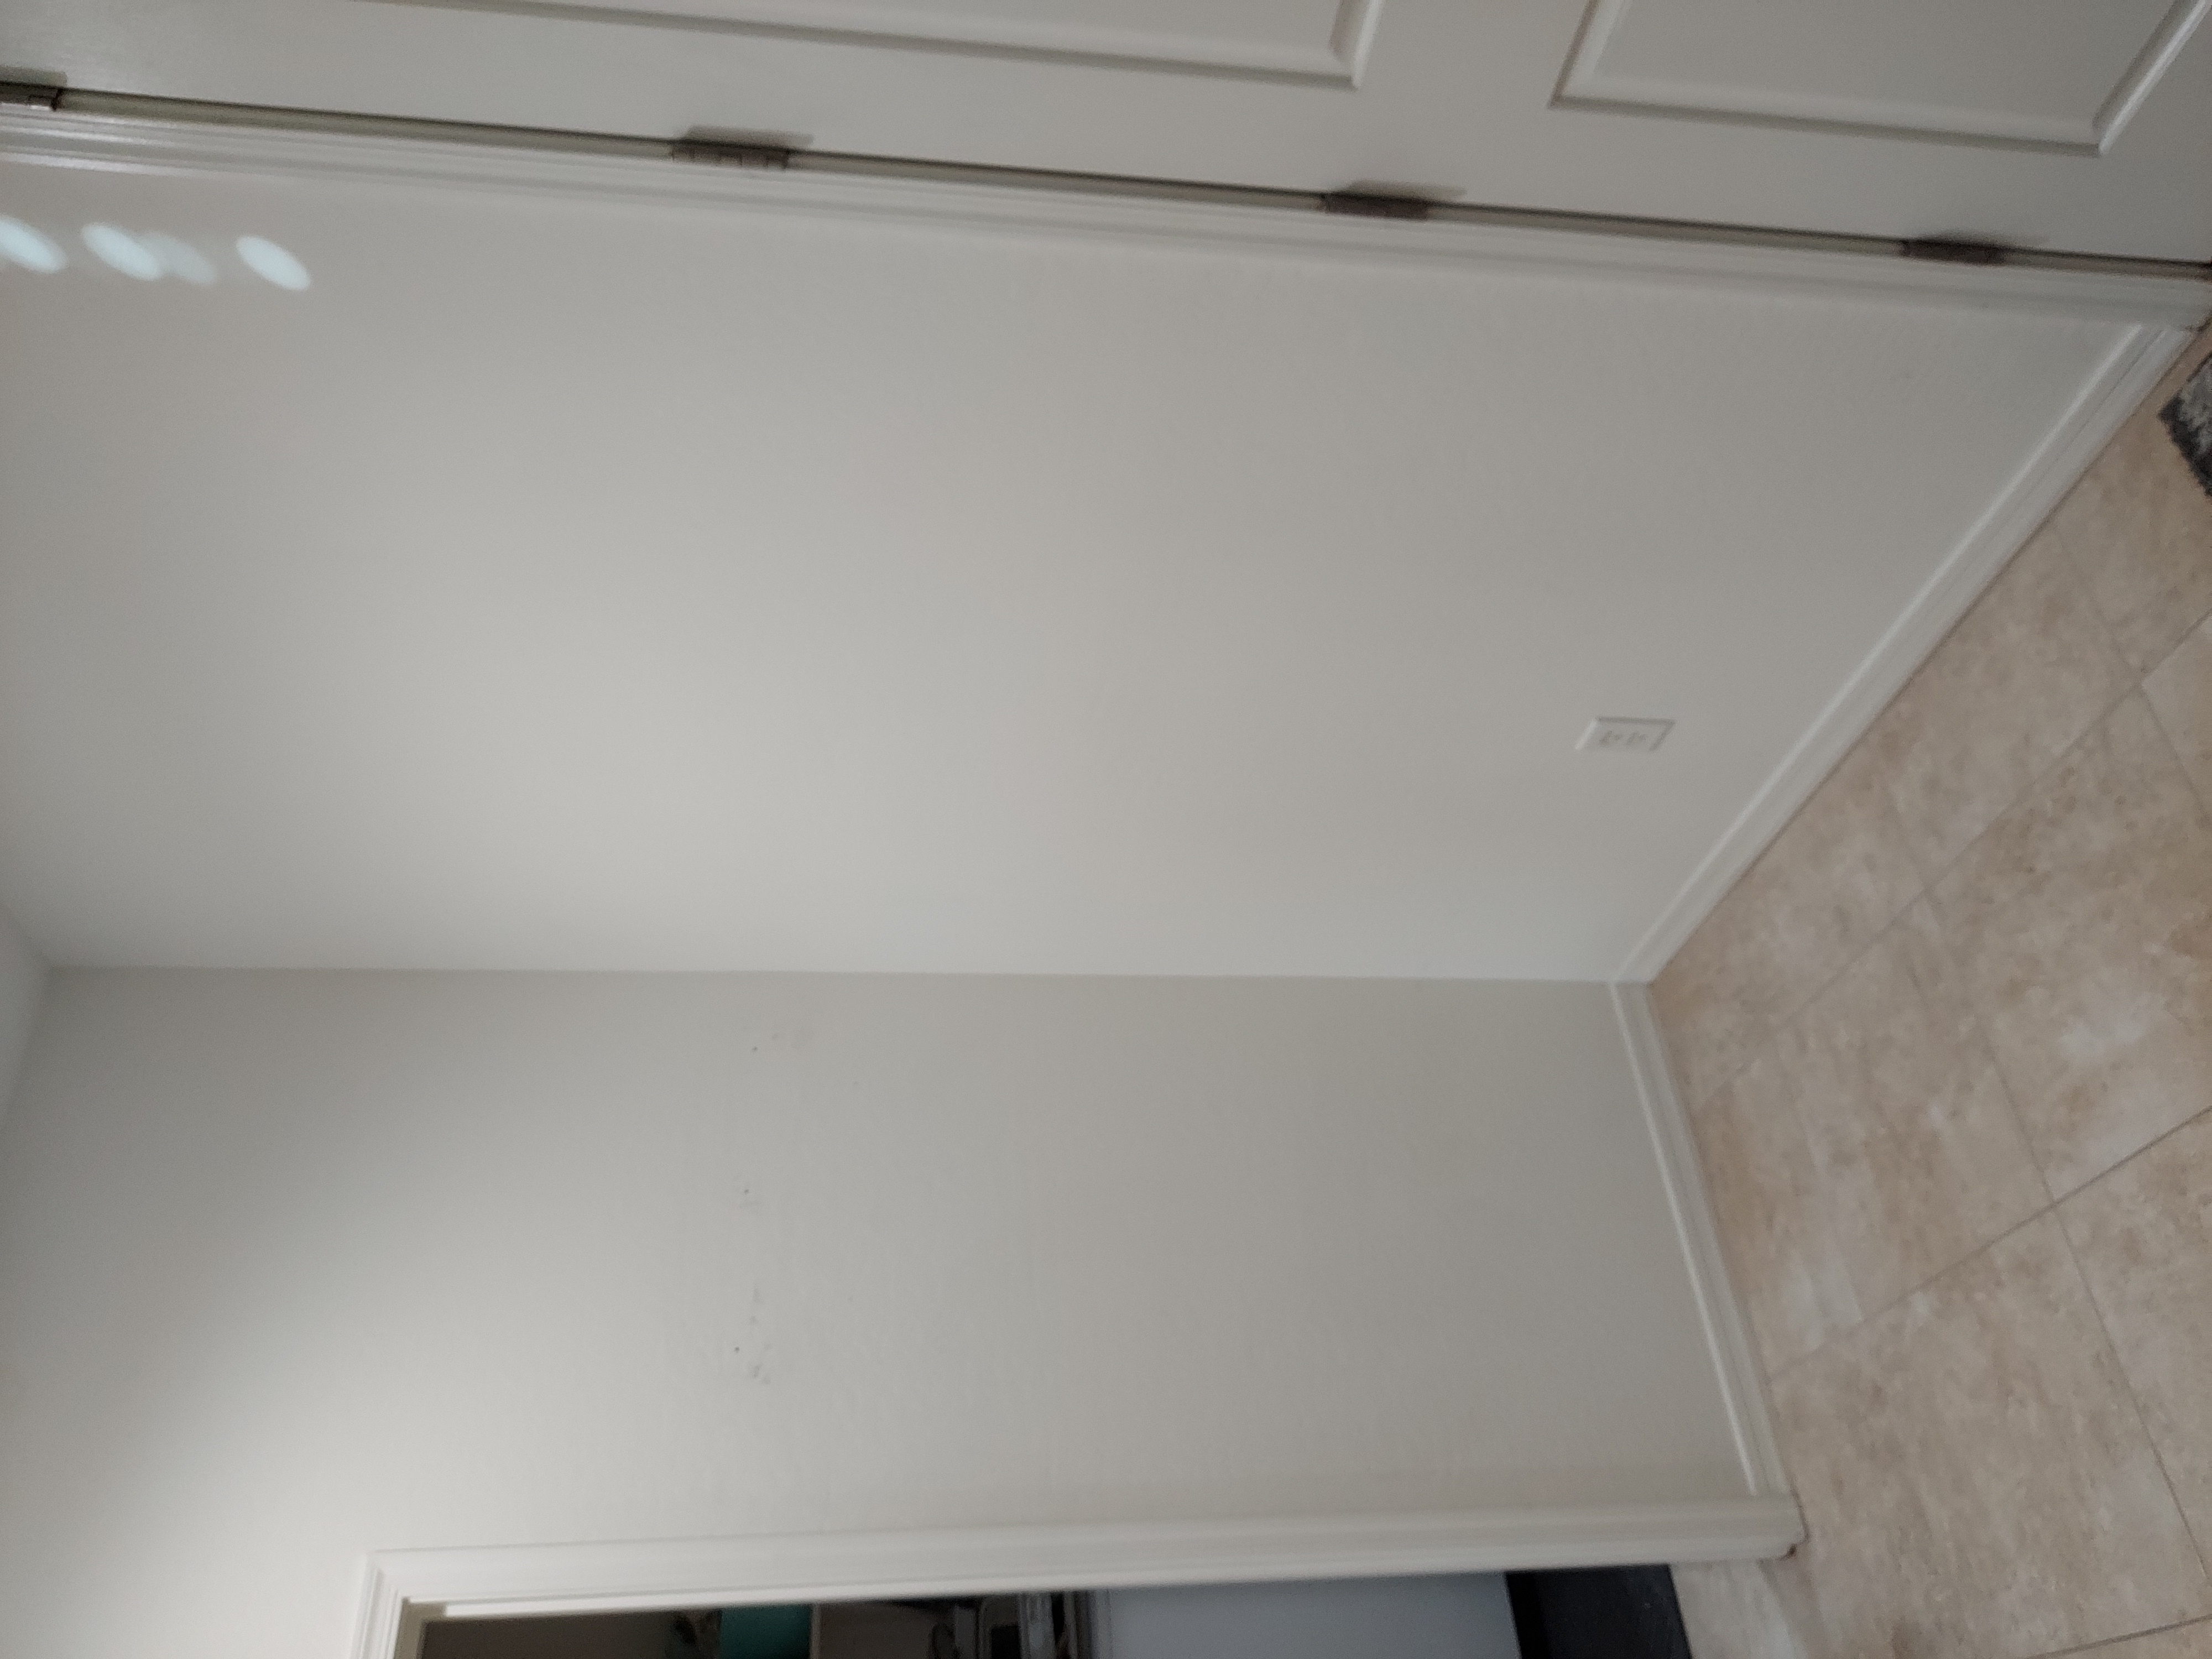
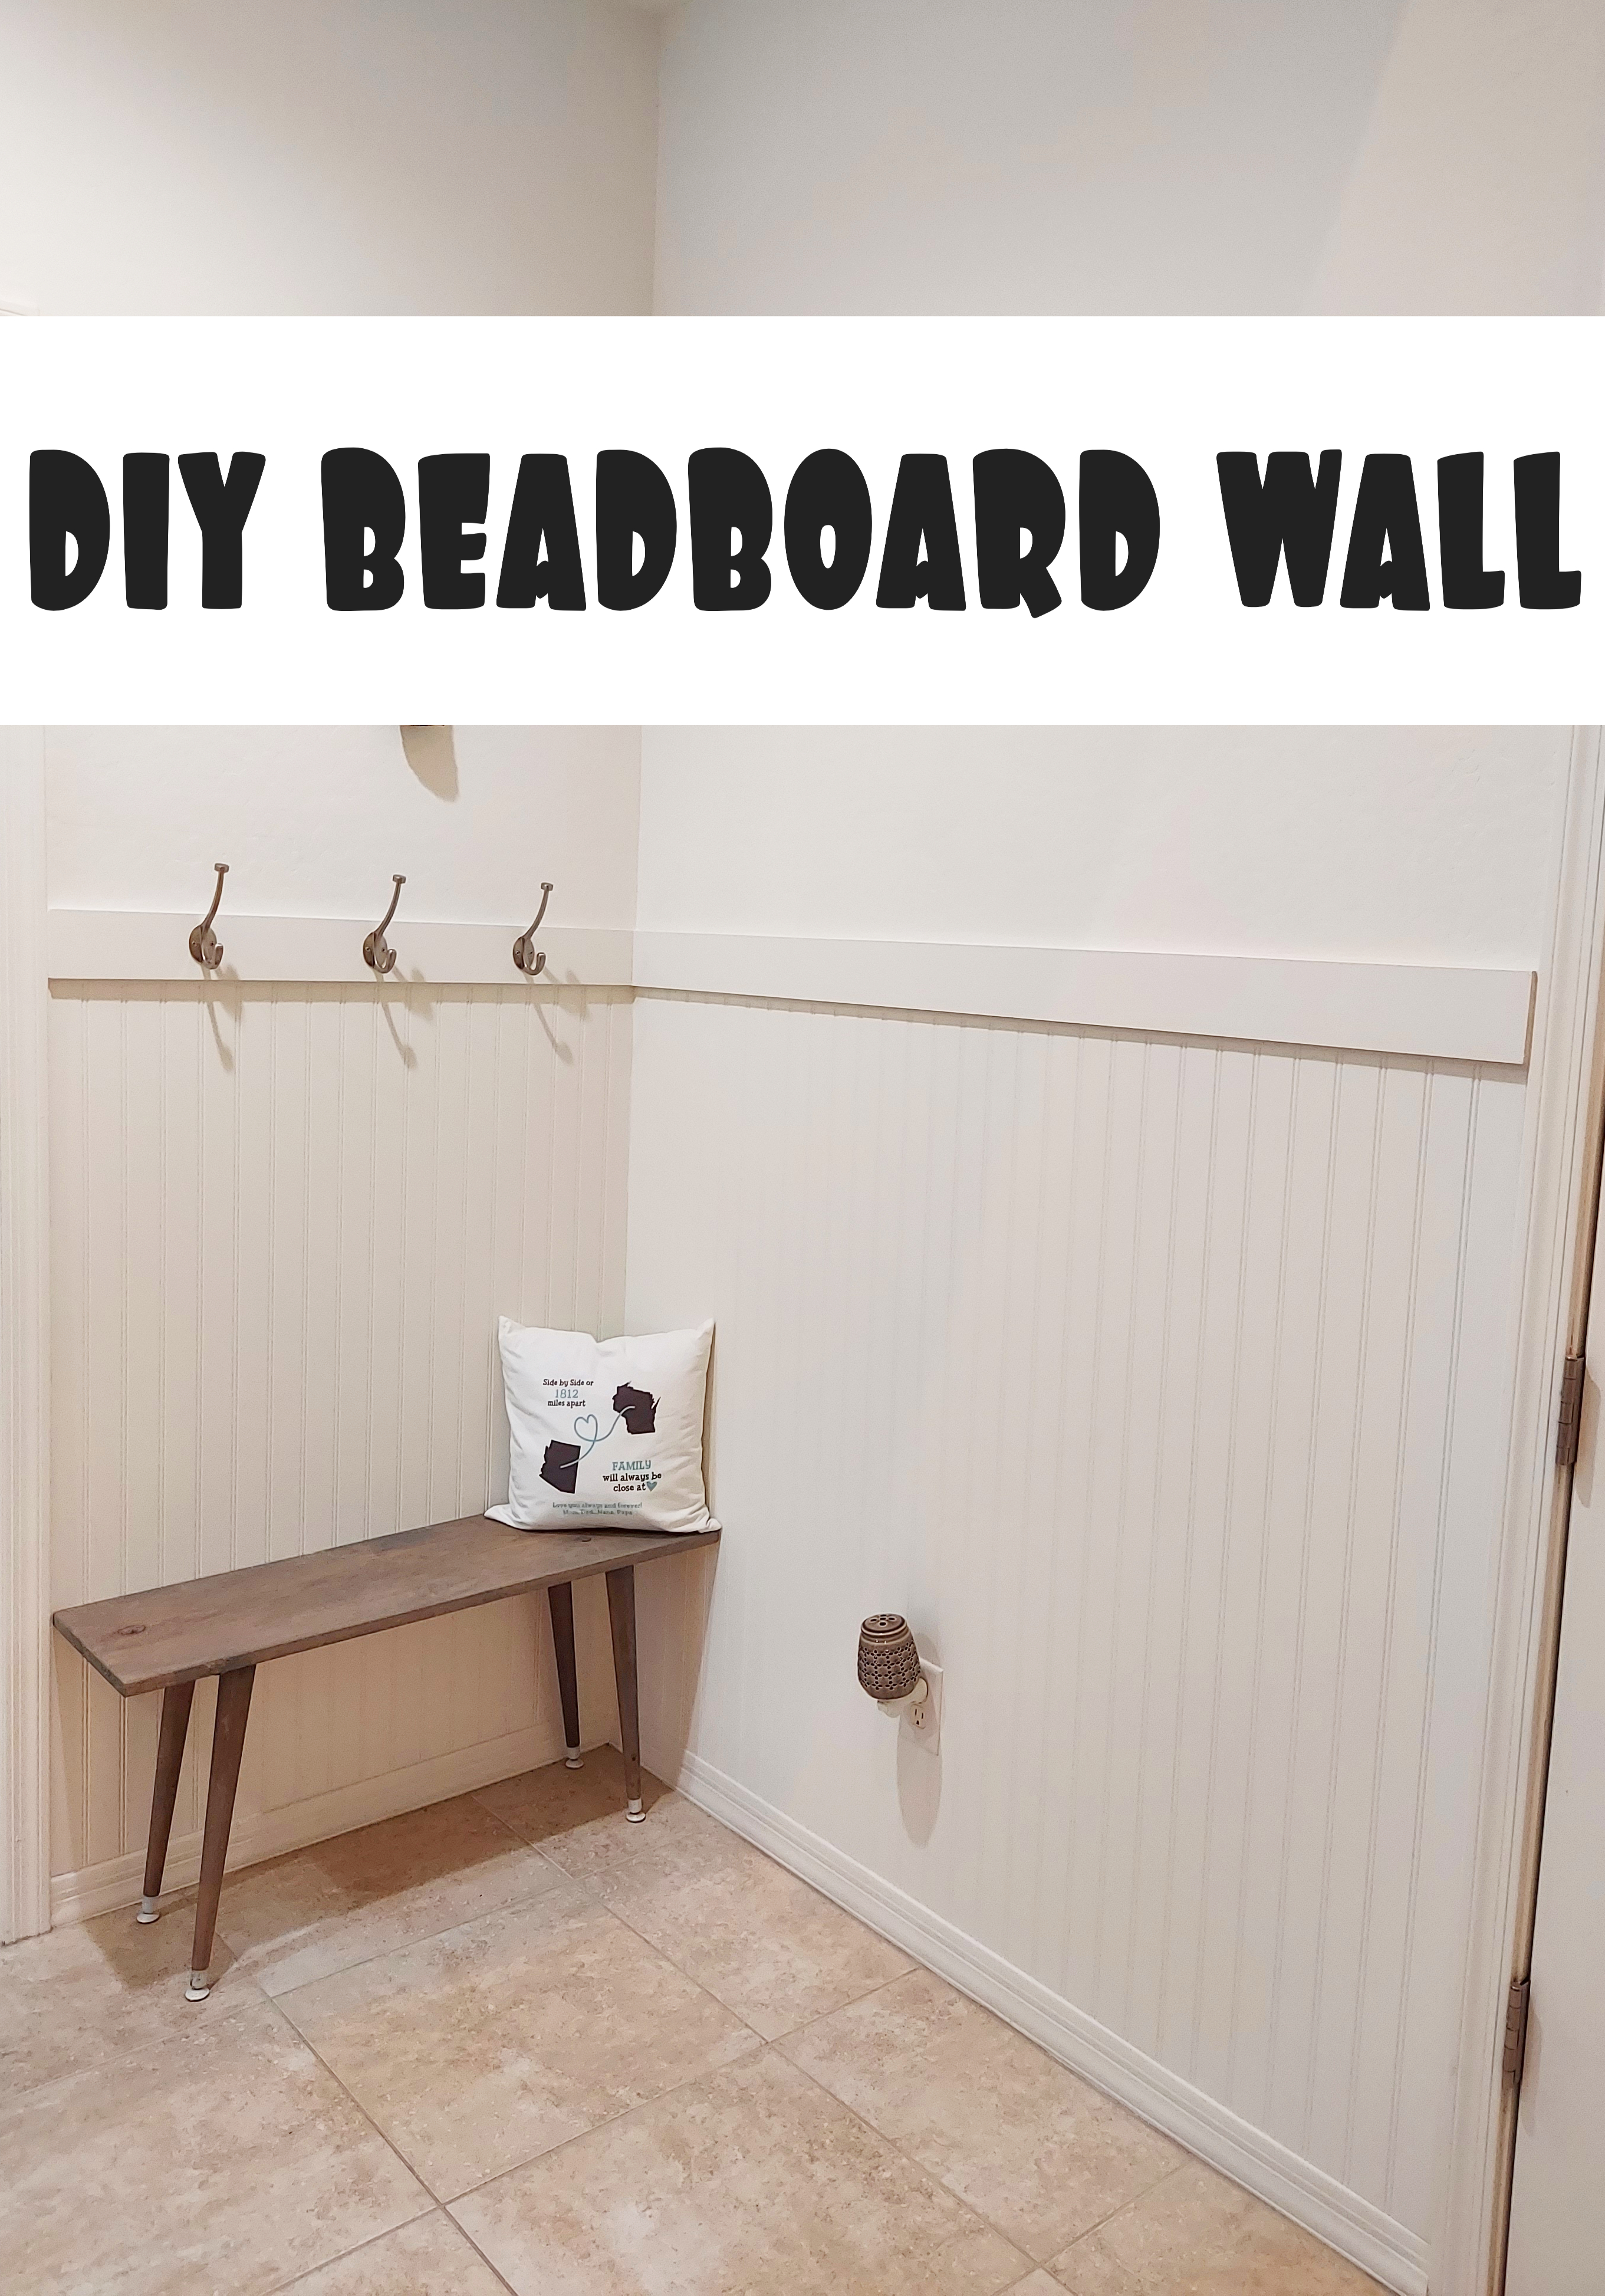
We had this corner right behind our front door that was just there. I didn't want to put any shelves on the wall or any type of furniture because the door swings open into that area. But then once you shut the door, it's back to basic. Ugh.
So I decided to do more of a "feature" wall type of thing. I was going to do a wallpaper type of idea, however the wall goes around the front door and and then goes up 2 stories, with a big window and then opens up into a loft. Nope, no wallpaper was gonna happen. So we decided to do beadboard and I am so glad we did. It gives the wall some excitement without having to add any furniture to the area.
What you will need:
beadboard
nail gun and nails
liquid nails
paintable caulk
tape measure
drill and drill bit
jig saw
circular saw (optional)
1x6 pine board
wood filler
sandpaper
Most beadboard panels come 4' X 8' so the first thing you'll need to do is determine how much you will need. Since I only wanted a portion of the wall done, I ended up having Home Depot cut my boards in half lengthwise and was able to do 4' high and 8' wide which was a few inches more than this entire section.
If you have outlets or any other areas that you need to cut around, locate where those spots will be on your beadboard and use your jig saw to cut them out. To cut out a hole you will need to use a drill and bit to make a starter hole for your jig saw. Then measure out the dimensions of your outlet and translate that onto the beadboard and cut out the opening. You will do a lot of dry fitting the board to make certain everything lines up. You know, measure twice - cut once. :)
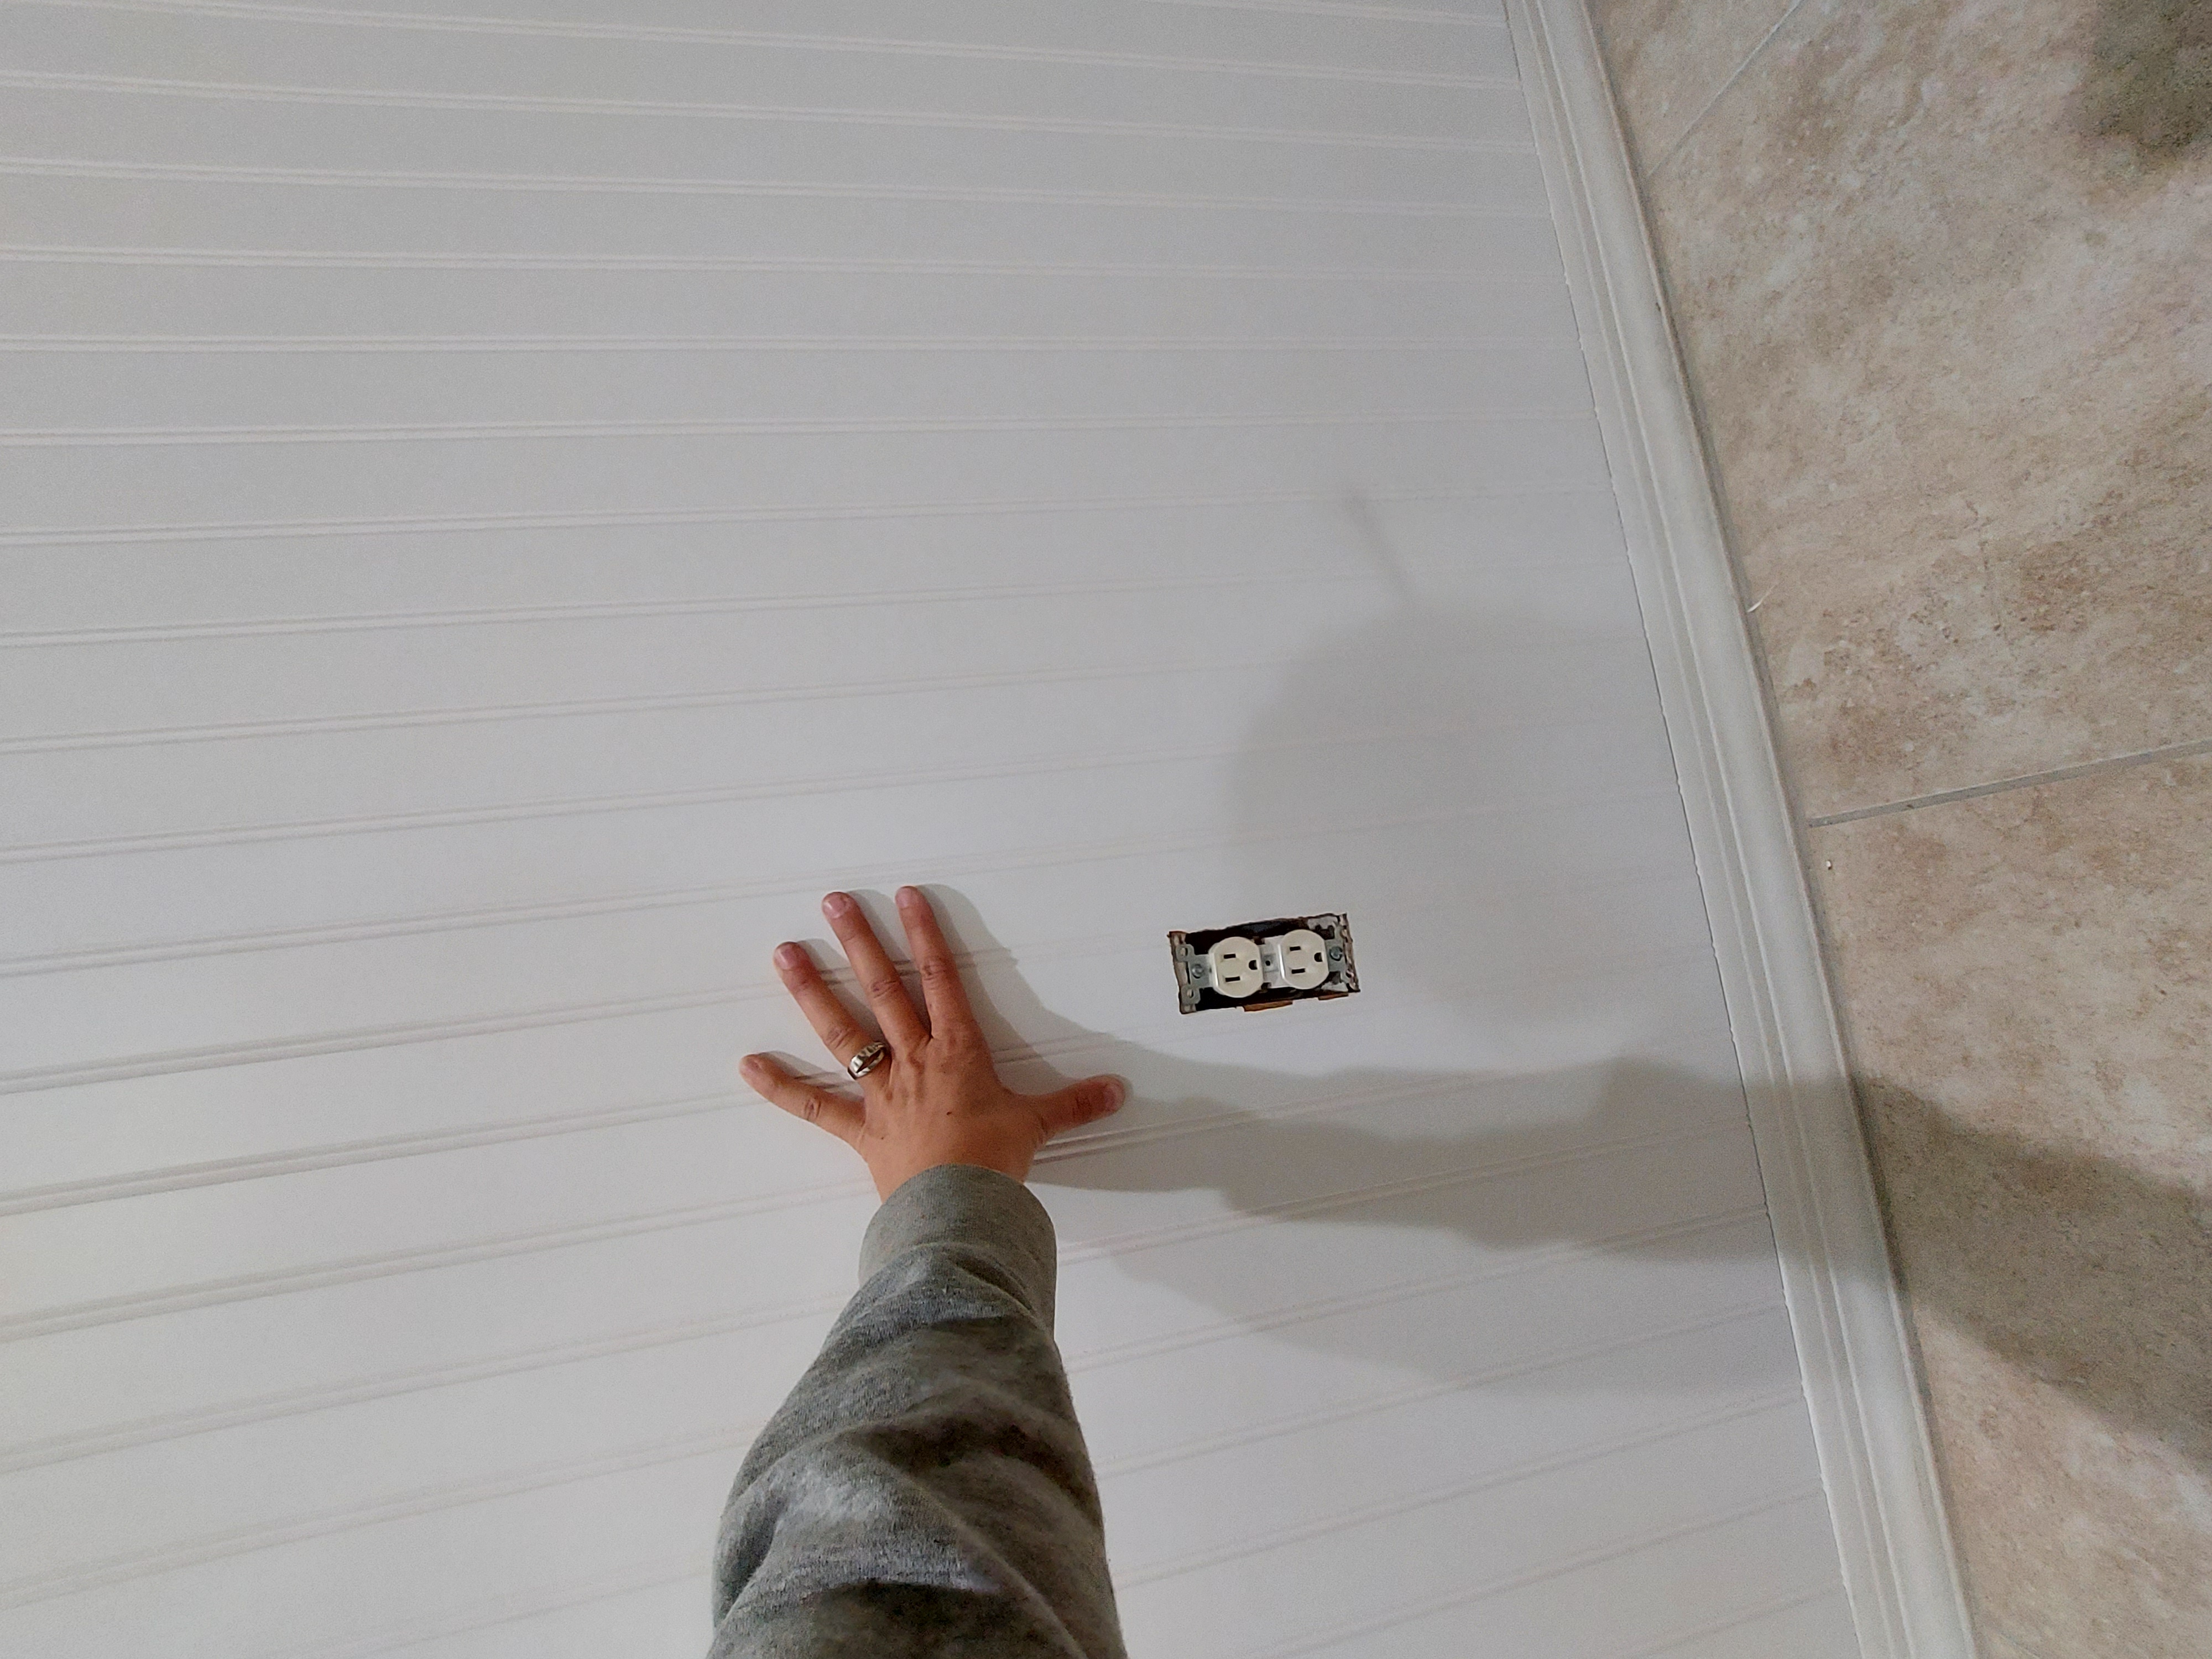
Once you have the board cut to size and fit, put some liquid nails on the back to help hold the beadboard tight against the wall and then use your nail gun to put it in place. Double check that the board is in the correct position (IE up against the door frame or up tight into the corner) before you go crazy with the nail gun.
Get all your beadboard up in and nailed in place before you add the 1X6 to the top. If there's a small gap, no worries, that's what the caulk is for. :)
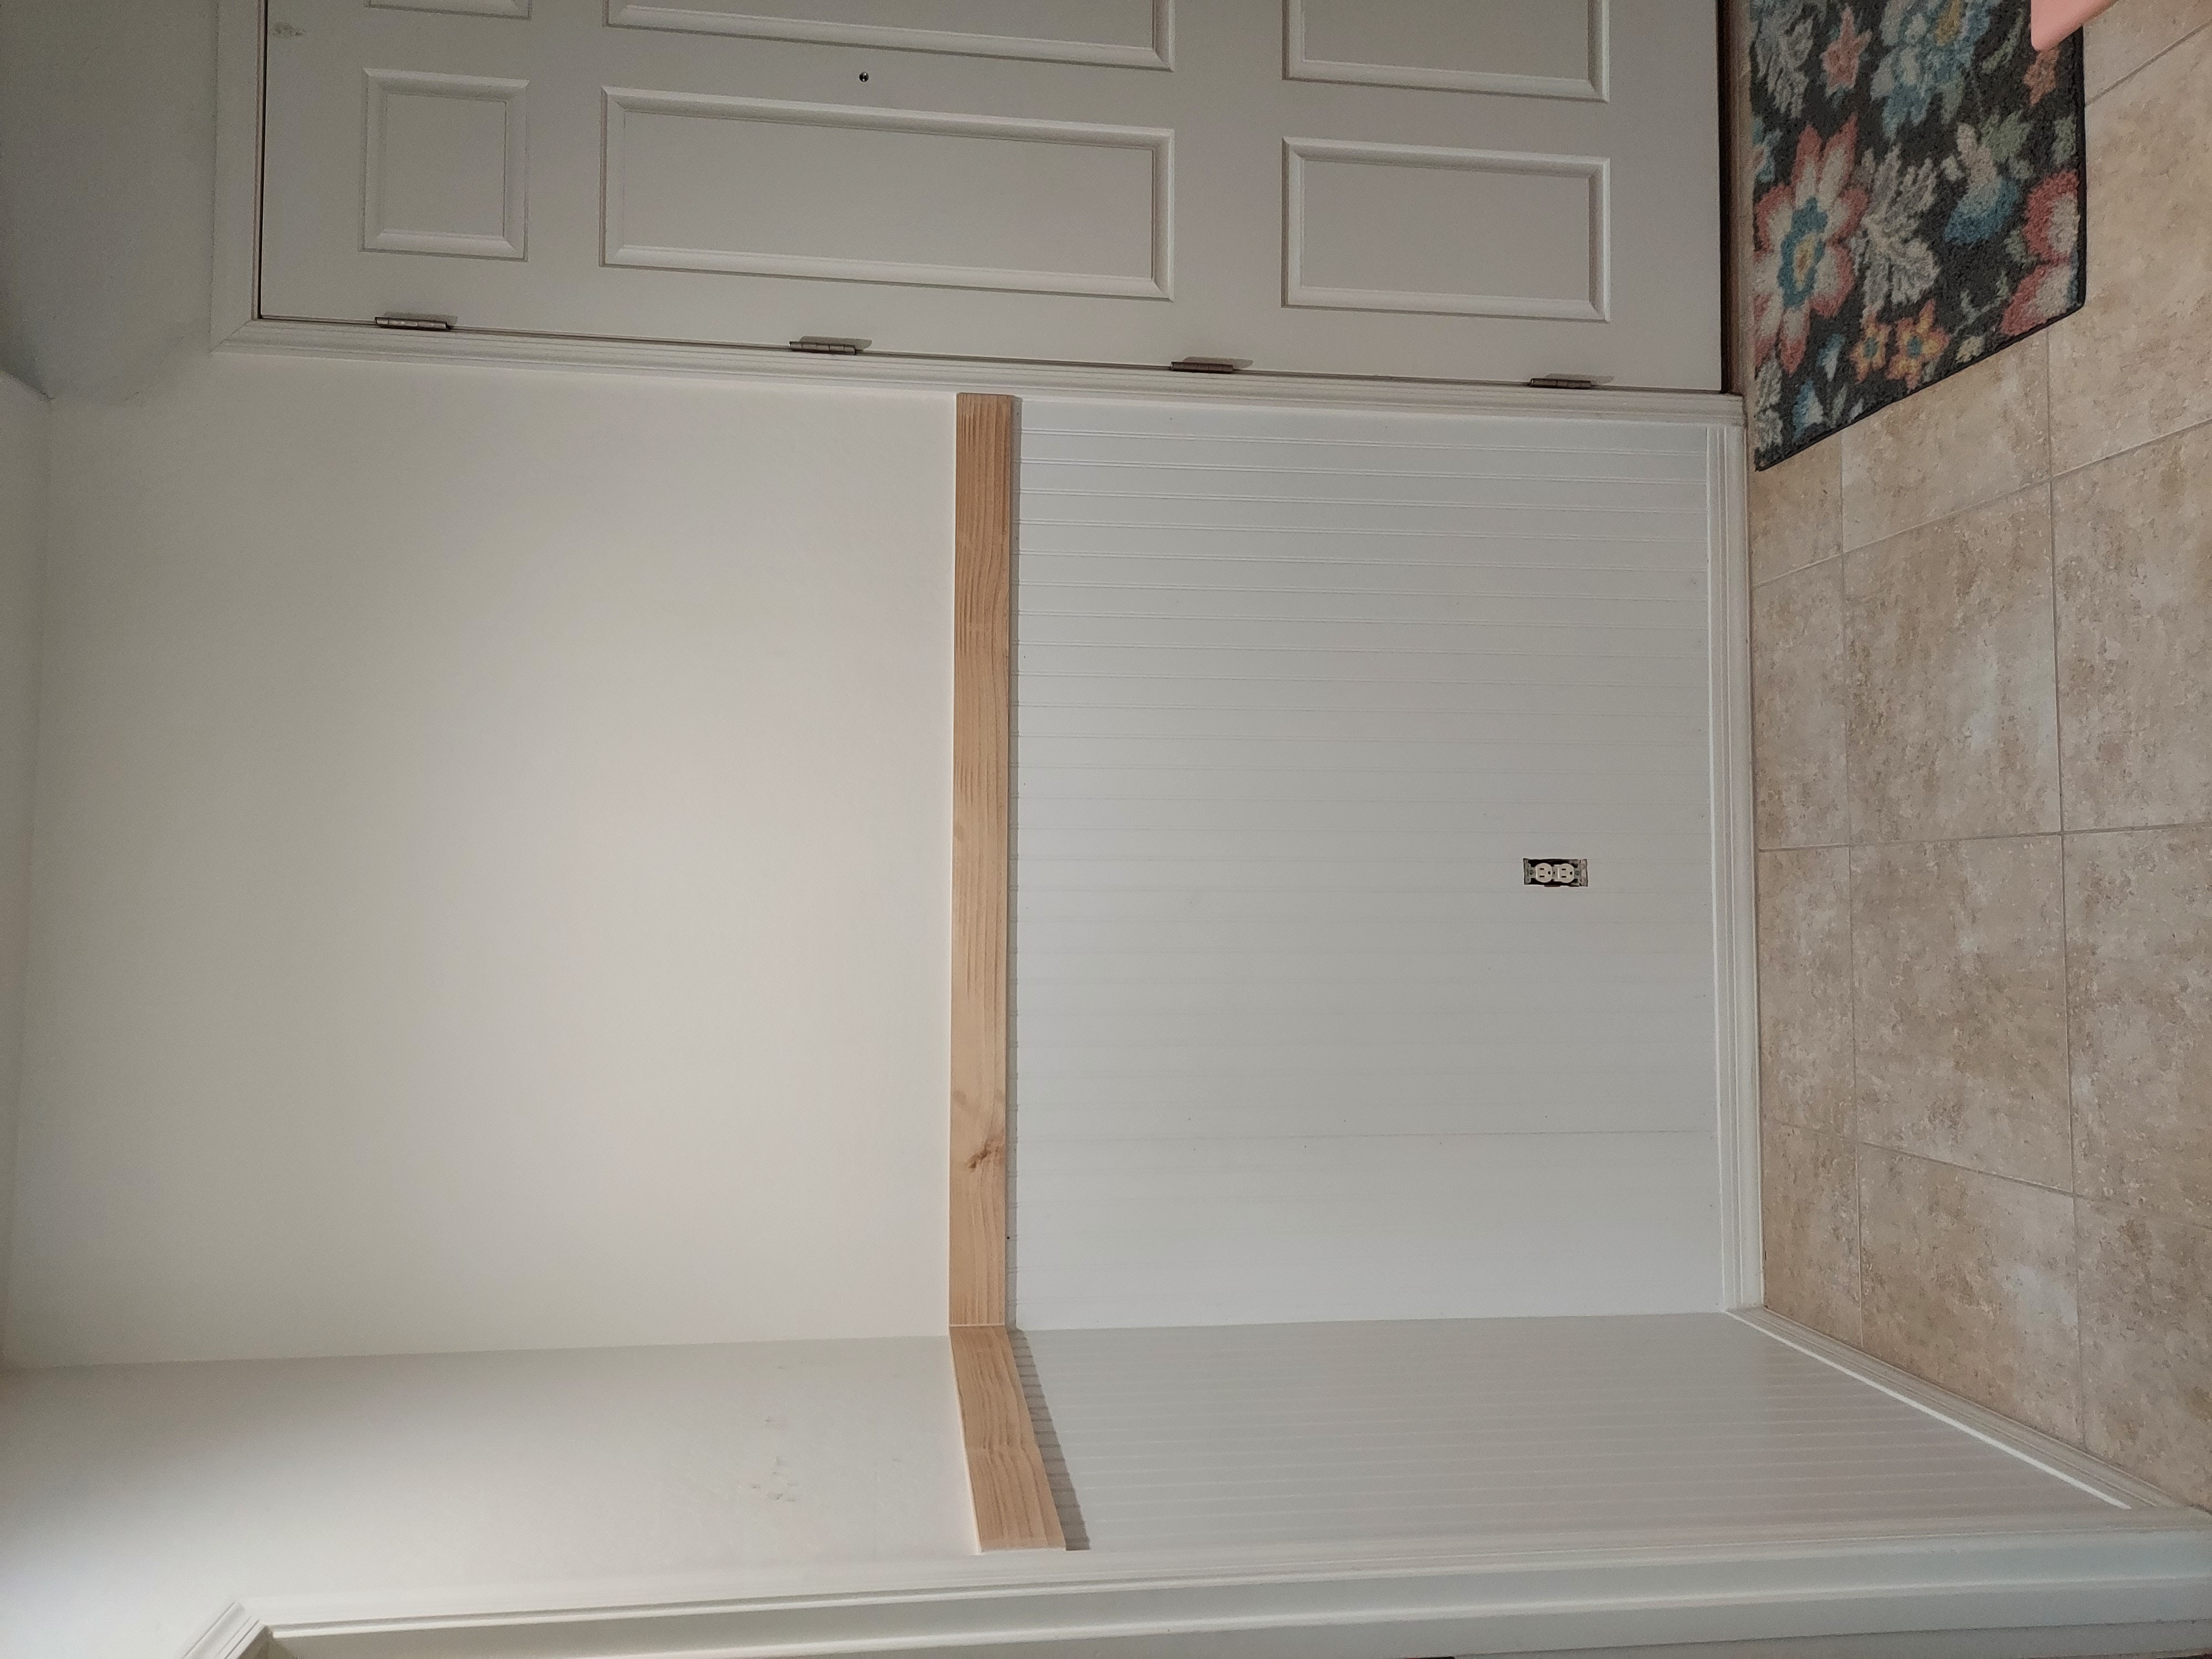
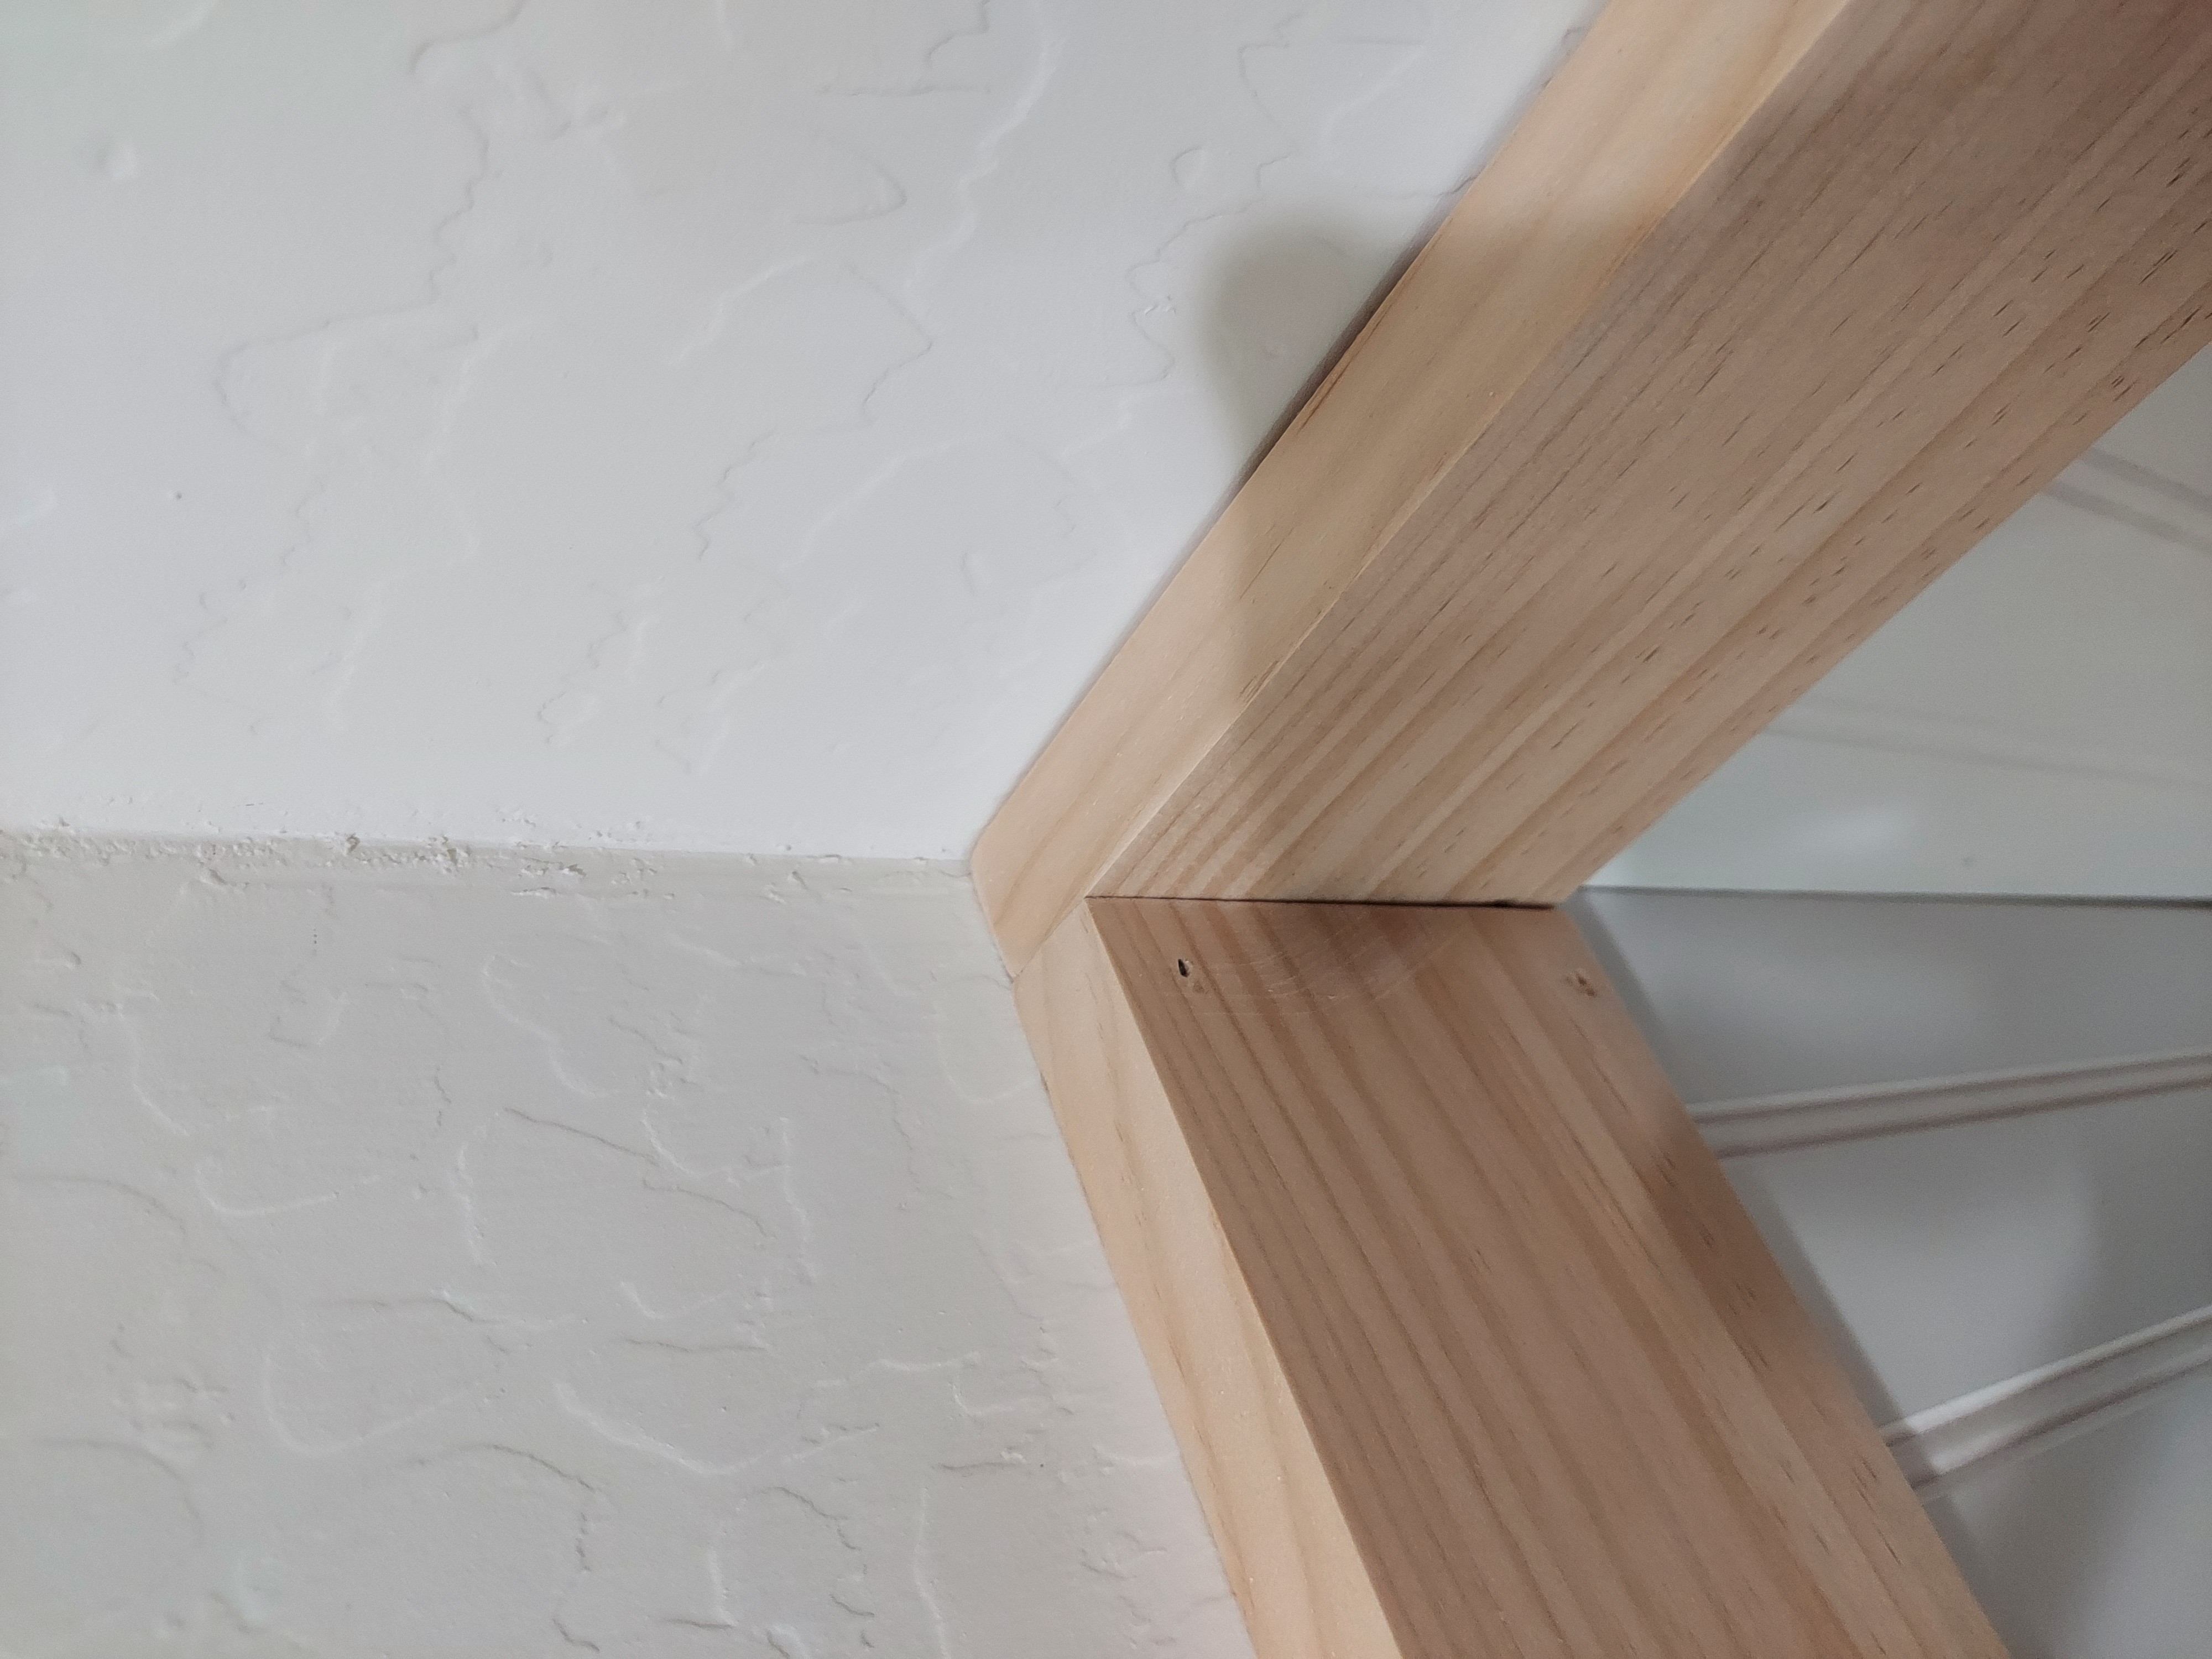
Do the same thing with the 1x6. Measure twice and then cut the board to fit. If you are doing 2 adjoining walls like I did, do one side, nail it in place (making sure to hit studs on each ends) and then do the second board.
When everything is nailed up in place, use your wood filler and putty in all of those nail holes. Once that is done, use caulk and caulk all of the gaps: baseboard to beadboard, beadboard seams, beadboard to door frame, etc. When the putty has dried, take a piece of sand paper and lightly go over each spot just to smooth it out and blend it in.
Take a cloth and dust off all of the sandpaper dust and then you're ready to prime and paint. Once painted, we added those 3 coat hangers to finish off the area and make it a great place to toss purses, sweatshirts, backpacks, etc.
diy projects
Want more DIY's?CrazyDIYmom.com Contact Us Privacy Policy Disclaimer About me